
Photo Editing Tips for Beginners: Food Edition
I am no expert, but here are my beginner-friendly editing tips if you want to upgrade your food photos

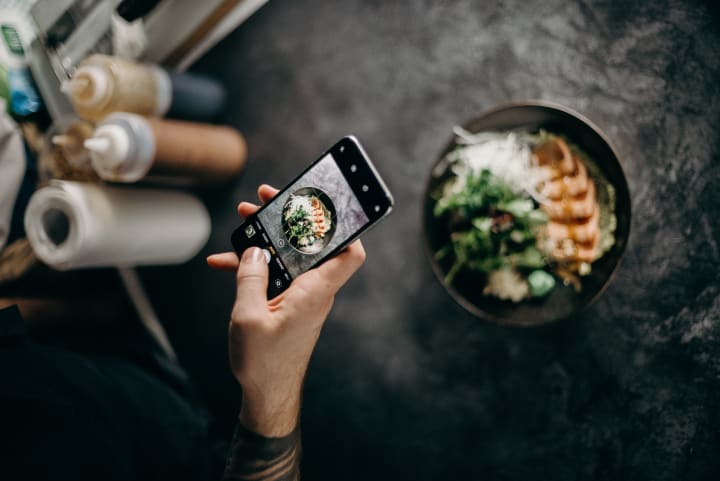
I'm not a photographer. However, I do admire photography and I try to improve my photo skills, even if I'm only using the camera on my phone. I'm also a long-time baker and foodie, but I only recently started sharing my baking experiments with other people through social media, especially on Instagram. I quickly realized that the first challenge to post baking photos is making the food look attractive enough to grab people's attention. This involves taking decent pictures and doing some editing work to make sure that they look (a bit) more professional.
I live in a one room apartment with my boyfriend and my only tool to photograph my work is my (slightly beaten up) Iphone 8. My only "clear" surface is our small, white dinning table, which is usually covered with stuff. Luckily, we do have windows and tons of natural light. Some days, that can be enough to get a nice shot for social media.
My goal with this article is to share how anyone can make the most out of very basic food photos to make them Instagram-worthy. Even if you don't have a professional camera, lots of space at home, much time for editing, fancy props or very advanced software. While your food photos may not look particularly special to begin with, you can get creative with some photo-editing magic to make them worthy of sharing on the 'gram.
So, here are my beginner-friendly editing tips and tricks for food photos on Instagram. They are very simple and you do them with basic editing tools.
Pre-Tips Before Editing
Truth is: No amount of editing can turn a bad photo into a good one. Although your foodie-snap doesn't have to be perfect, it's important to try to take the best photo possible of your dish from the start. This includes:
- trying to get the best possible lighting (for example, by avoiding direct overhead lights and making use of natural daylight) and trying to avoid overexposure
- making sure that the photo is focused and sharp (or at least not too blurry), although that can be improved with editing tools to some degree
- taking several shots from different angles so you can have a range of options to work with
- leaving enough space around your dish in your visual composition in case you need to edit it later (you can use a camera grid for help)
- checking out your photo's background (even if you plan to blur the background, it's hard to edit around a plastic water bottle or a pack of Kleenex)
- using little things around you to make it special (you don't have to buy anything, but if you can find flowers, a simple decoration or a detail that works, then do it!)
Now that you have done everything to take the best possible photo, here are my Basic Food Photo-Editing Tips for Beginners (like me):
There's Need to Invest on Fancy or Expensive Apps
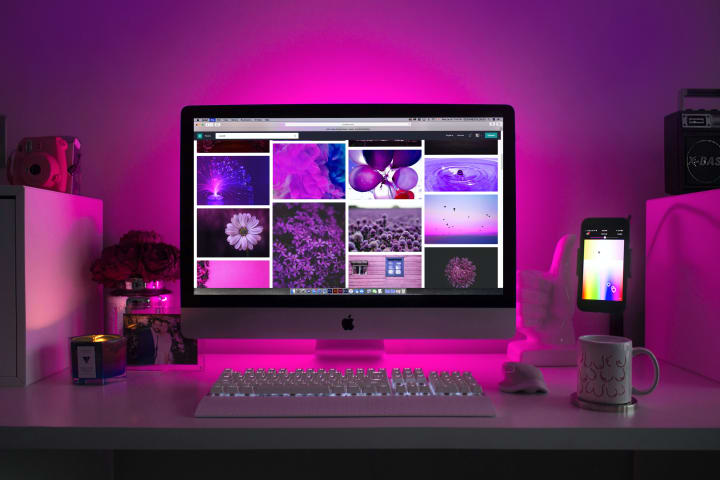
Because I studied a bachelor's in Communication, I have Adobe Photoshop and I know how to use it. However, there's often a misconception that you need to have advanced software to do quality photo-editing. That is not the case. Of course, if you want to be a pro photographer, you will have to invest in software, as well as equipment. But, for mortals like us, who just want to post on Instagram, that's not necessarily a requirement.
There's a world of free, accessible photo-editing apps and platforms that you can use (on your phone or computer) to make your food photos beautiful.
For starters, most operating systems have their own built-in photo software with basic editing tools that you can use. For example, there's the 'Photos' app on Apple devices or 'Microsoft Photos' on Windows 10. Additionally, there are a number of available, downloadable programs that are free or subscription-based (usually with in-app purchases). The options include GIMP, PhotoScape, Fotor, and even a free version of Photoshop Express (on Adobe's Creative Cloud), among many others.
On top of that, Instagram-friendly, graphic design platforms like Canva, Pixelr, Crello and Pixelied can also help with quality photo-edition and have a very reasonable range of editing tools for your photos and posts.
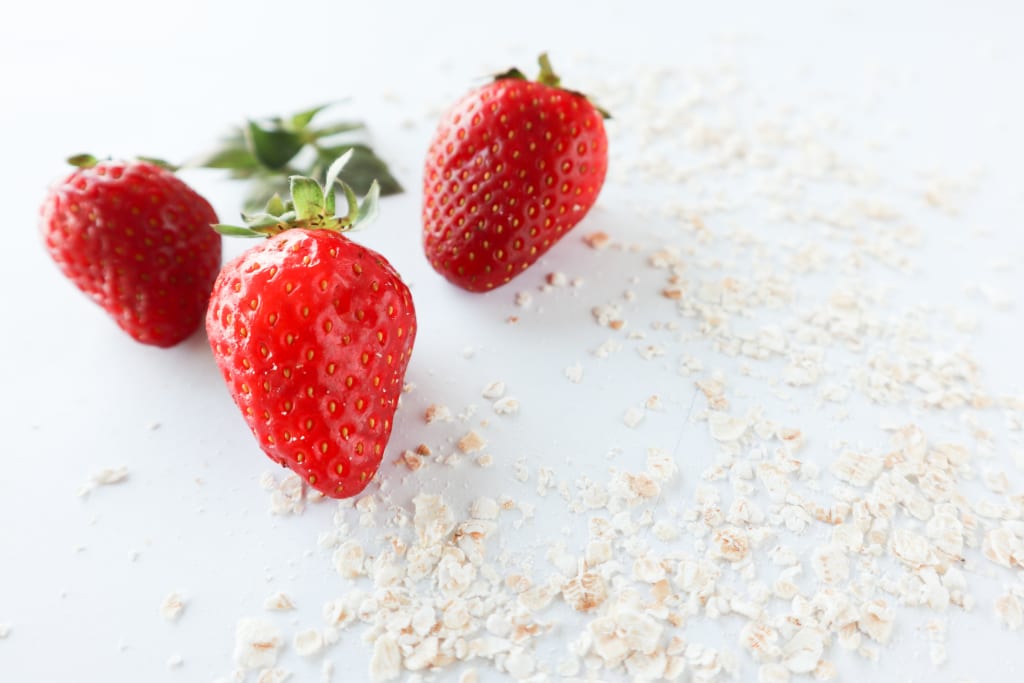
With Food, as with Life: Less is More
For any kind of photography, visual composition is important, and often involves simplicity and balance.
As I mentioned in the Pre-tips, leaving some space around your dish is important, but not only so you can edit around it. Doing this can help you highlight your unique food creation by instantly drawing eyes to it.
In photography, negative space is as important as positive space. Simply put, positive space is the subject of your photo (in this case, your dish or food) while negative space is the space around it. If you don't have some negative space on your photo, there's no main focus. Then, it is hard for your audience to focus on your creation. Keep this in mind when you are taking the photo, and cropping or editing it for Instagram.
Especially with food photos, you want to highlight your creations without distractions. This means toning it down on the background noise and clutter, but it also includes avoiding the use of too many effects and filters. If necessary, you can use 'Blur' and 'Vignette' tools to soften objects in the background which may be overloading your photo. However, be careful not to over-do it. Food needs to look natural to look appealing. The best way to do that is making it stand out with subtle tweaks. I will share more on that on the next sections.
Do Brightness, then Lights, then Shadows, then Contrast
I would recommend to avoid using the 'Exposure' tool during your editing process, unless it's absolutely necessary. For example, if you're working with white backgrounds and bright light, increasing exposure can make the white background 'burn' and look washed-out and unprofessional.
Usually, the 'Brightness' and 'Highlights' tools, combined with the 'Shadows' and 'Contrast' tools, will be enough to give a nice depth and contour to your photos.
After a lot of trial and error, I discovered that it is best to adjust for brightness first, because that will affect the overall lightness of your photo. Once you have that, you can experiment and alternate the lights and shadows to achieve the level of depth and detail that you want. Don't rely on the 'Contrast' tool to give definition to your photos. Try to do that with the lights and shadows, and then just use contrast for the final touch. Leaving it at the end will allow you to use just enough contrast that your food looks natural and not "comic-y".
Additional Tip: If your photo is a little blurry, my advice is to use the 'Sharpness' tool at the very end (after you have corrected everything else that I mentioned). This will give your photo lots of clarity and definition, without any changes in brightness, which can interfere with the details.
Color Correction Is Key (Especially for Food Photos)

While color correction is an important part of any kind of photography, for food photos it's essential. Most editing software and platforms have options to adjust saturation (intensity of all colors) and temperature (yellow/warm to blue/cold balance). Others additionally offer tools for hue (dominant color change), tint (cyan to magenta color balance) and vibrance (intensity of lighter colors). Regardless of the software, you can always find at least a couple of these tools to adjust for color.
The point of color correction is to adjust for the environment where your photos are taken, when you can't do that manually. Using color correction, does not mean that you're faking your food photos, just that you are helping them reflect their best possible version. Basically, showing what they can look like under better conditions. Similar to other tools, it's important not to over-do color in your photos, at a risk of them appearing artificial. Subtle edits in color can go a long way!
One thing that often happens to my photos, due to the lighting in my apartment, is that they take a slightly greenish undertone. This means that I usually have to color correct to a warmer and a slightly more reddish hue to balance them out.
For example, here is a photo of some of my soft pretzels (Brezeln). In the kitchen, they looked more similar to the after photo. However, the picture came out a bit more green-grayish than I expected. So, I adjusted the saturation and temperature to get this effect:
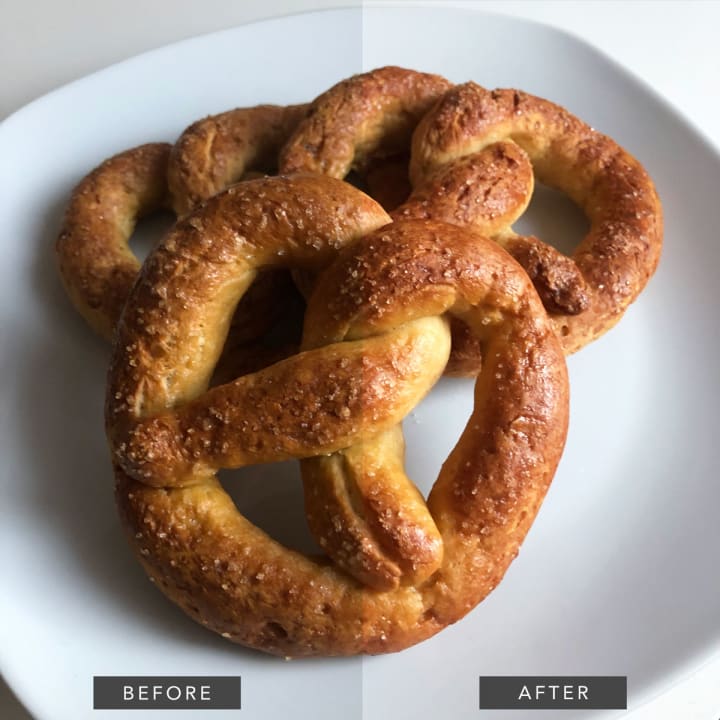
*** Note: The picture above was edited using all the tips mentioned in this article.
- 1) It was edited with simple, free software (I tried with both Photoshop and Fotor with similar results)
- 2) It has a simple composition, taken in a blank surface to highlight the food
- 3) I made subtle light adjustments and color correction to make it more alive
And last, but not least, no retouch tools or filters were needed, which I will cover in the next point:
Filters and Retouch Features are Useful, Not Essential
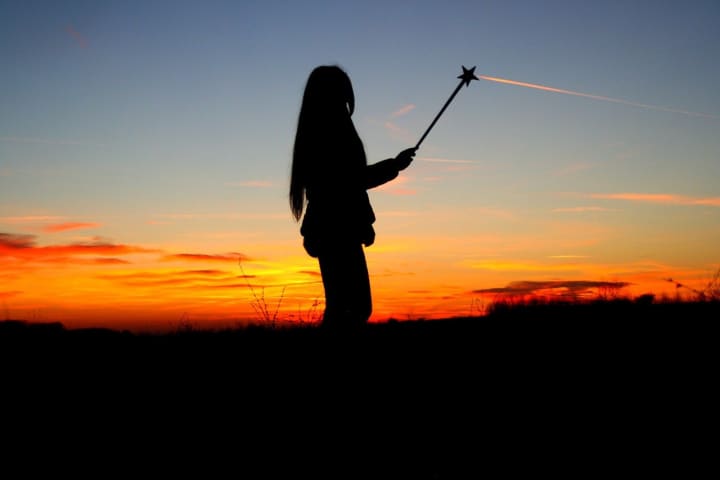
Sometimes less is more. Preset filters and 'Retouch' and 'Enhancement' (or 'Lux') features (a.k.a. the 'Magic Wand' button) are very convenient when time is limited and you don't have much time to experiment. However, this tool allows little control for individual or very subtle changes to your image. The only way to make sure that your edited photo looks exactly as you want it to, is to make the changes little by little. Very often, getting the perfect balance involves a degree of trial and error.
While filters, vignettes and retouch features work nicely with other kinds of photos, like selfies and landscapes, they may not work with food photos. They can make them look overdone and artificial. Similar to overdoing the contrast, these features can make decent food photos look "comic-y". So, use them lightly and wisely.
As I mentioned before, food photos must look as natural as possible to be appealing. Personally, I have enjoyed learning how to gradually use editing tools and exploring with different changes on my own to find what works. You can try it out too!
These may not be mind-blowing photo-editing tricks. However, I've found them very useful for turning basic food photos into Instagram-worthy images. I hope they can do the same for you!
Happy Foodie Photo-Editing!
If you liked this post please press on the little ♥️ button below and give me a shout out with your friends. Tips are also greatly appreciated (and often needed)! Thank you for stopping by.
Love, Marina
About the Creator
Marina Fortuño
I'm a work in progress! I love writing for fun (mainly short stories, informative bits and heartfelt pieces to make people happy).
This is my personal writing page.
Find me:
TW: @marina_writing
Keep reading
More stories from Marina Fortuño and writers in Photography and other communities.
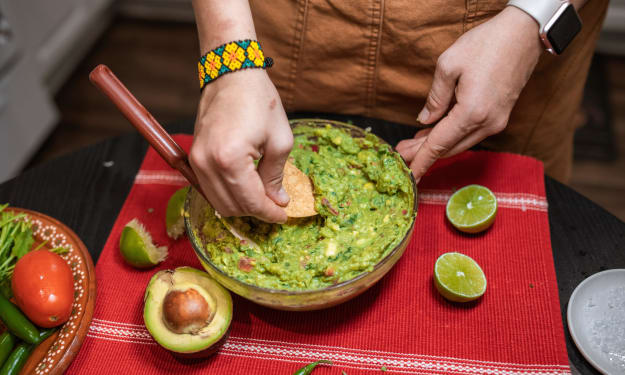
It’s Not Super Bowl without (this) Amazing ‘Guac’!
It’s statistically proven! Guacamole or ’Guac’ (like some people call it), is the queen food of Super Bowl. One of the most eaten snacks, and for me definitely the most delicious. Guacamole is one of the five favorite foods for Game Day, with about 12% of Americans' annual avocado consumption happening during Super Bowl week (Today Magazine, 2021). Every year more than 8 million pounds of guacamole are consumed during day of the Super Bowl in the U.S. (The Post Game, 2018). If you do a Google Search with the terms ‘guacamole’ + ‘Super Bowl’ you will find thousands of recipes with names like “Super Bowl Super Guacamole Bowl” or “Guacamole Footbowls” (which, by the way, look super cute!).
By Marina Fortuño3 years ago in Feast
The Ultimate Photography Tips For The Travel Photographer.
You may think that all you need to take quality travel photos is your camera, your smartphone, or even your digital SLR; and while that’s true, there are still many more things to consider before you press the shutter button, no matter what type of camera you’re using. The following photography tips will ensure that you get quality photos every time – regardless of whether you’re traveling across the globe, or just to the next town over.
By Vijay Mistry6 days ago in Photography
Good Picture
This comprehensive guide to photography focuses on capturing moments, emotions, and stories, not just clicking a button. It covers key principles and techniques such as composition, lighting, and camera settings, aiming to elevate photography to the next level.
By Praveen Pka day ago in Photography

Comments
There are no comments for this story
Be the first to respond and start the conversation.