

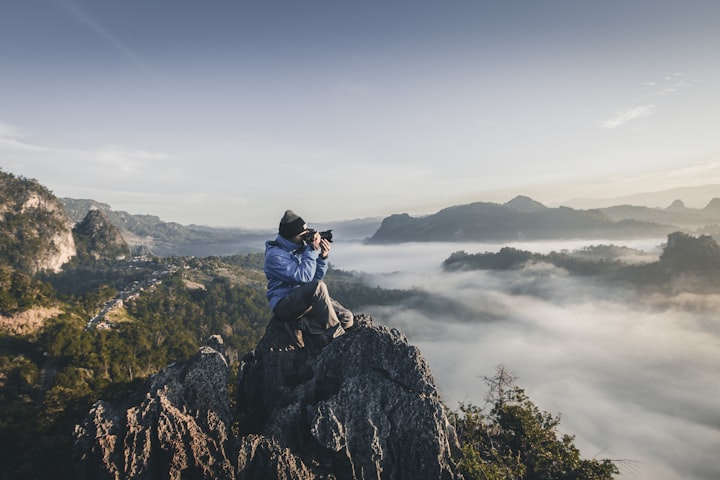
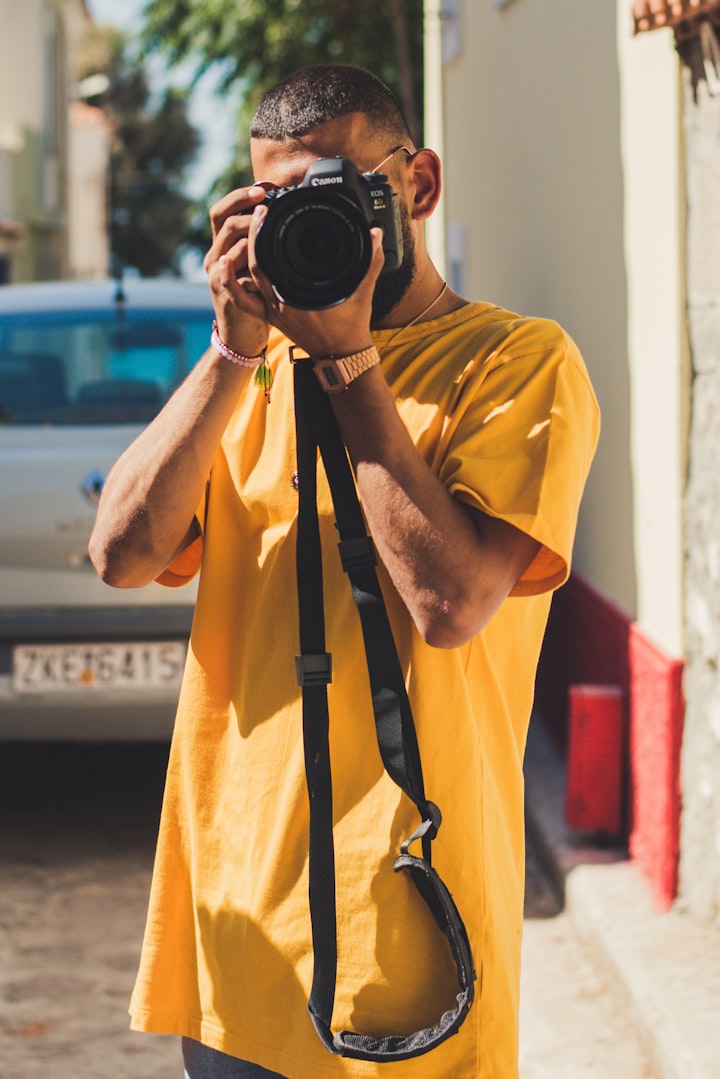
A must have for all expert photographers, this kind of camera filter or tools might also be what you need. In order to know more about ND Filter, we will discuss here about how and why we should choose to use it.
What is a Neutral Density Filter and what does it do?
Neutral Density Filters is a tool or type of filter that can easily be attached on Camera lens that darken images or controls the amount of light that enters your Camera sensor. It allows you to capture photos with a wider aperture or slower shutter speed than normally required.
1. Aperture — Shallow depth of field in brightly lit environments. If you want to use a slow shutter or your maximum aperture when shooting on a sunny day, a Neutral Density (ND) filter will help to prevent your shot from becoming overexposed.
2. Shutter Speed — Slowing your shutter. A slower shutter speed can make waterfalls look silkier, blur clouds, or add a sense of dynamism to moving objects. However, in bright conditions such as daylight, too slow a shutter speed could result in blowout, where bright areas lose detail due to overexposure. One possible solution is to narrow the aperture, but this increases the risk of diffraction, which causes the image to lose sharpness. For this reason, many photographers prefer to avoid doing this, and use an ND filter instead.
ND filters come in all shapes and sizes..
Neutral density filters are available in varying densities, graduations, sizes and shapes. The filter should be sized appropriately to handle the solids volume that is being processed. A general rule of thumb to follow is that the maximum solids height should be equal or less than the agitator stroke, typically 12 to 20 inches.

Types of ND Filters:
SQUARE VS. CIRCULAR ND FILTERS
Using any form of ND Filters won't give any different effects but it gives comfortability to the one who is using. The two major shapes of ND filters are circular and square.
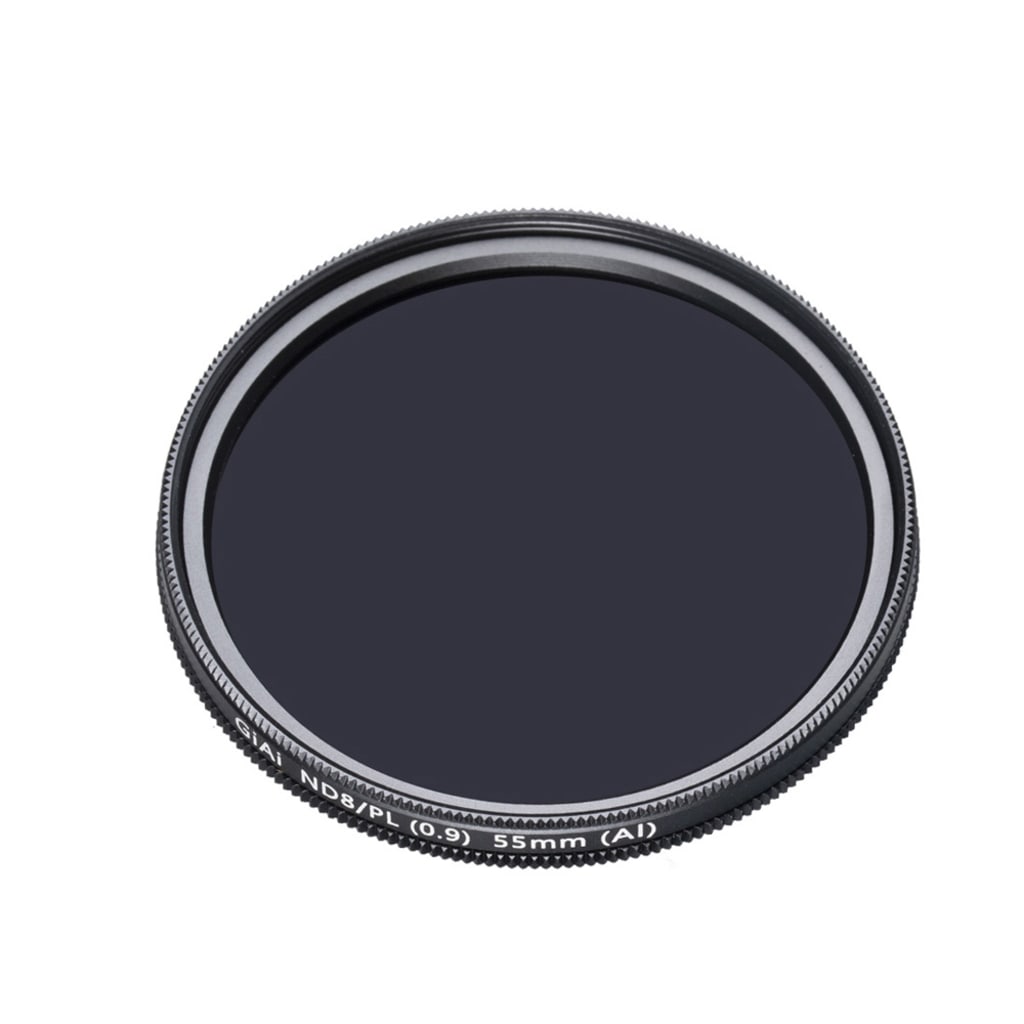
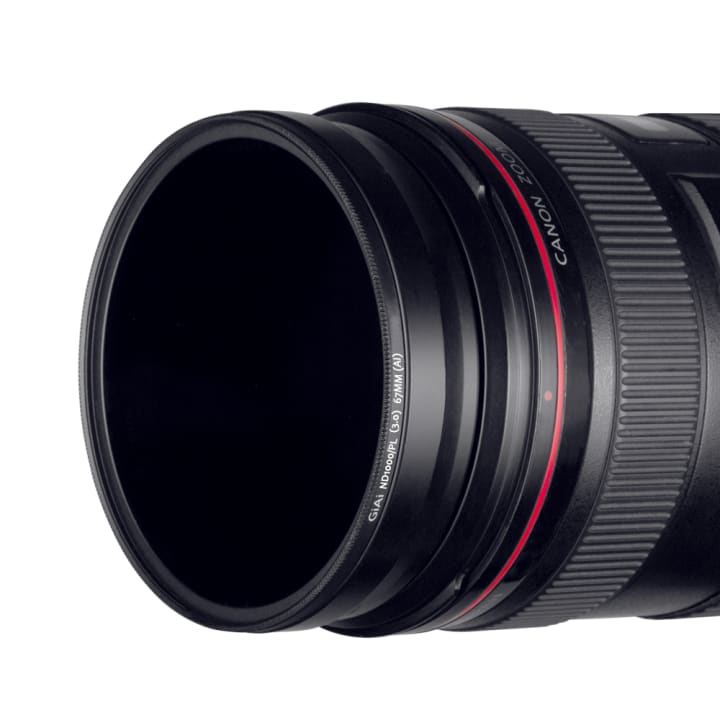
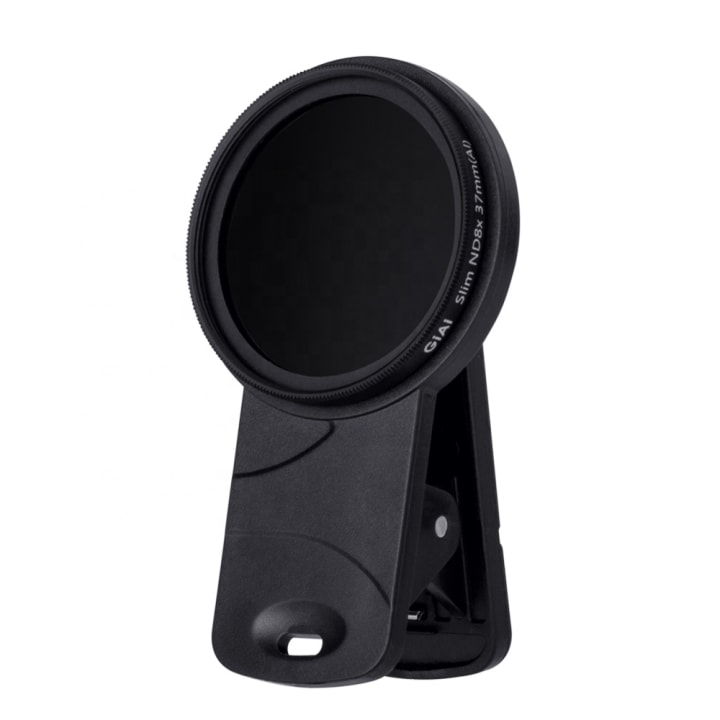
a.) Circular ND filters are designed to directly screw on to the front of lenses that have a screw thread. It is typically designed to fit a specific lens thread size ranging from 40.5mm all the way up to 95mm.
b.) Square ND filters can be both square and rectangular in shape, and come in variations of sizes such as 75mm x 80mm, 75mm x 100mm, 100mm x 100mm, 100mm x 150mm, 150mm x 150mm, 150mm x 170mm, 180 x 180mm and 180mm x 210mm. The choice of whether to use 75mm, 100mm, 150mm or 180mm filters will depend on what lenses you have or plan to have in your lens collection. Square filters require being inserted into a holder that will typically clip onto an adaptor attached to the front of a camera lens.
Other Types of ND Filters:
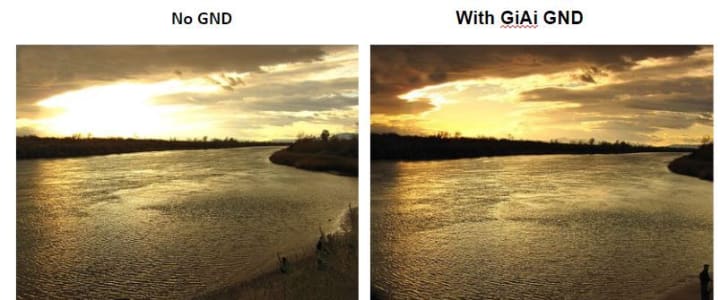
1.) Graduated Neutral Density Filter (GND)
Is a type of ND Filter that also lessen the light that enters the camera but instead of making the image darker, it only darkens a potion of the image. Imagine using a vignette effect on editing your photos.
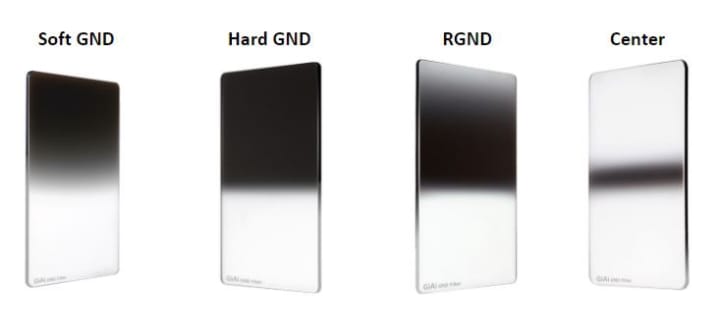
GND filter is best for landscape shots.
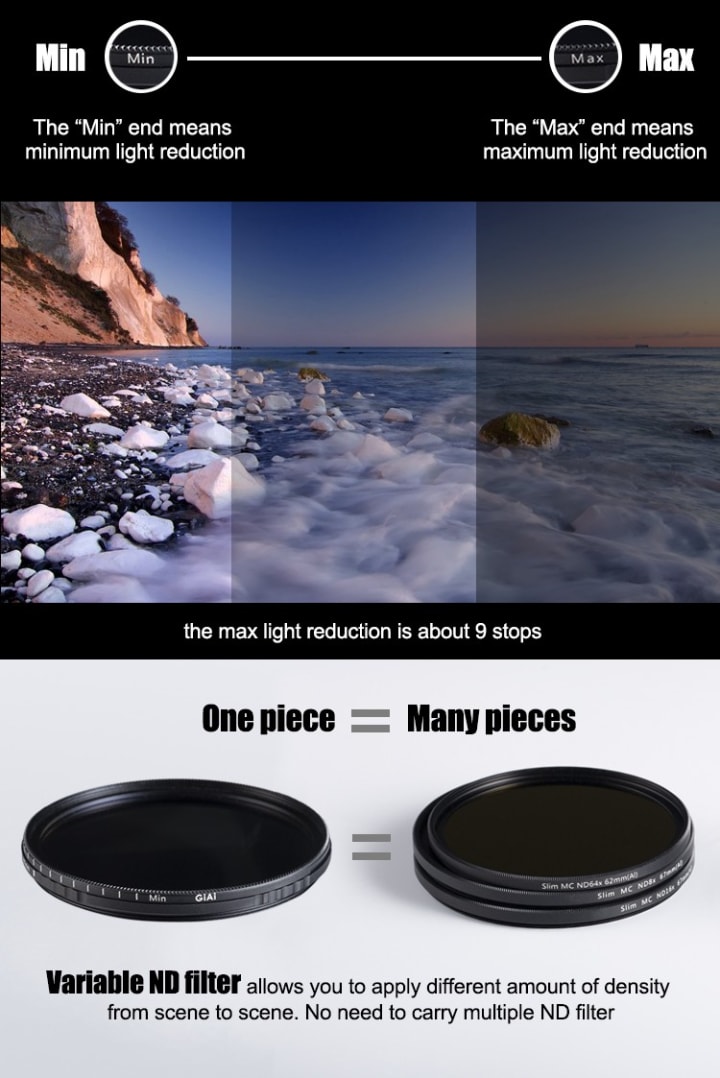
2. Variable Neutral Density Filter (VND)
Advantage for moving photography, VND filters allows you to change light when you need to shoot fast. Unlike other ND filter, you don’t need to change it most of the time to adjust. Better for shooting videos.
3. Center Neutral Density Filter (CND)
The smallest category of ND filter, the CND filter has a darkened center and lighter edges. It serves to balance exposure across the frame when using extreme wide angle lenses.
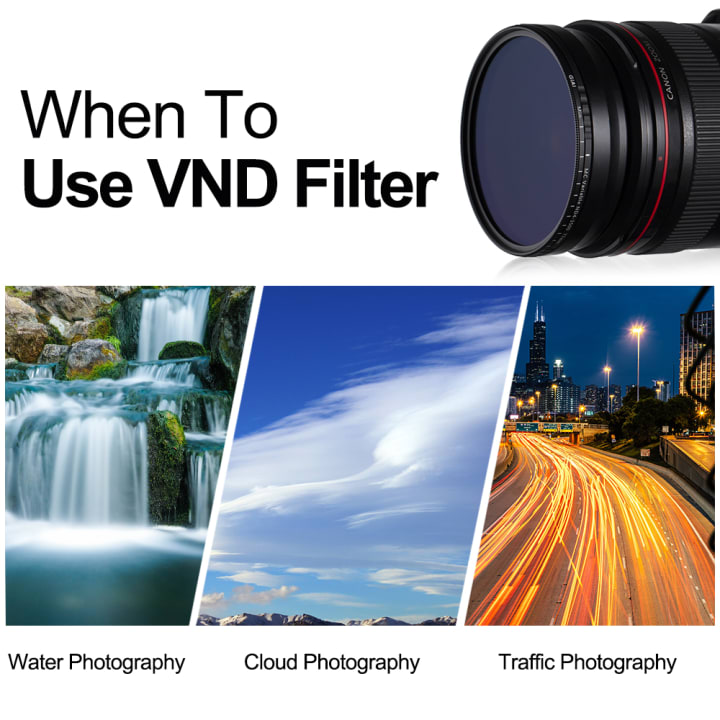
WHEN TO USE ND FILTERS?
Brands
There are a lot of ND Filters available in the market nowadays but truth to be told, this one is the best I have used so far which gives great output because of its great quality. You could visit it here now: https://giaitech.en.alibaba.com/productlist.html?spm=a2700.shop_index.88.29.340f219ekl8CJ3
Accordingly, you could experiment with various density filters and exposure times to gain a greater understand of how ND filters work. Notice the differences in a half second exposure and a two second exposure. Then compare those results with a 30 second exposure and a five minute exposure. Practice gauging exposures under changing lighting conditions and see if you can accurately predict the correct exposure. Watch your histogram and try to bring it to the right side of the graph.
Pursue your passion and enjoy using ND Filters! :D
About the Creator
Keep reading
More stories from lov birds and writers in Photography and other communities.
The Ultimate Photography Tips For The Travel Photographer.
You may think that all you need to take quality travel photos is your camera, your smartphone, or even your digital SLR; and while that’s true, there are still many more things to consider before you press the shutter button, no matter what type of camera you’re using. The following photography tips will ensure that you get quality photos every time – regardless of whether you’re traveling across the globe, or just to the next town over.
By Vijay Mistry6 days ago in Photography
Good Picture
This comprehensive guide to photography focuses on capturing moments, emotions, and stories, not just clicking a button. It covers key principles and techniques such as composition, lighting, and camera settings, aiming to elevate photography to the next level.
By Praveen Pka day ago in Photography

Comments
There are no comments for this story
Be the first to respond and start the conversation.