
Mediocre to Masterpiece
You Don’t Have To Be A Real Photographer To Turn Your Lackluster Photos Into Real Works Of Art

These days, thanks to great photo editing apps, anyone can turn their ho-hum snapshots into frame-worthy photos you’ll be proud to hang on your wall. And I’m not talking about Photoshop - to some of us that program looks a little intimidating. There are many apps out there, but for this article I’m going to focus on two editing apps I use on my MacBook Pro to edit photos I took with my Nikon D3200 - a great camera with auto settings for amateurs like me - and my iPhone.
The main app I use that I absolutely love is called Intensify. It’s filled with lots of different Presets created by professional photographers to add different effects to your photos. It has settings like Natural Enhance, for when you want to keep your photo close to its original state but it just needs a little something, and HDR Vivid for more dramatic effects. Some of my favorites are Dramatic Black & White, Dark Image Fix, Artistic, and Dreamy. Each preset has a slide scale so you can use a little or a lot of the effect to get the look you’re after. You can even layer more than one effect on a photo - the choices are endless! And they’re so much fun to play around with!
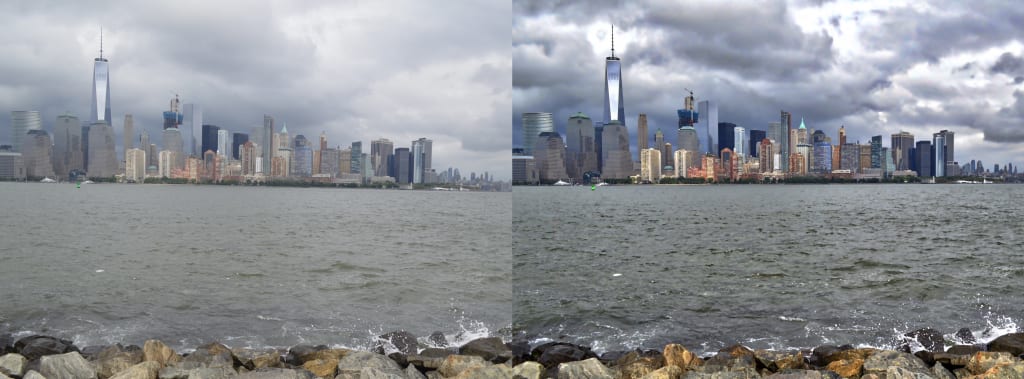
The photo above of New York City, taken on a cloudy day from across the Hudson River, came out pretty drab with the low lighting. The Intensify App allowed me to change the dull to dramatic, and add highlights to brighten it up.
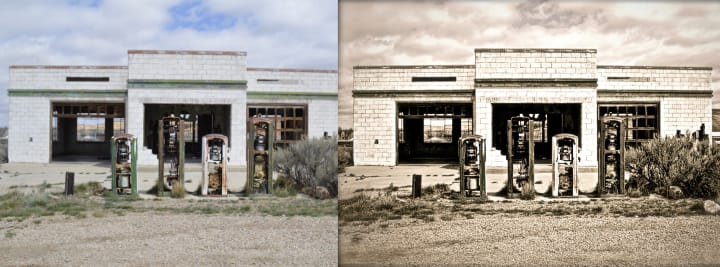
I love to take photos of old abandoned places, but old abandoned places are not necessarily very pretty in their present state. So the photo I took of the old gas station above really didn’t look all that special. But by changing it to a dramatic black and white and adding a little tint to give it a more sepia look, it changed from a photo easily overlooked to one that jumps out at you. Giving old places an old film effect is fun and makes the photo look as old as the subject.
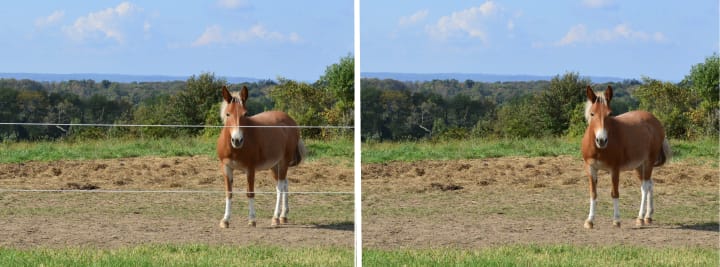
The other app I love using is Snapheal. Don't you hate when you take a picture of a pretty place and there are power lines in the shot? Or you take a picture of that cool historic sight but wish all those strangers weren’t in the picture? I loved that pretty mule I took in a drive-by shot of from my car, but those fence wires always bugged me. Thanks to Snapheal I was able to remove them and I’m really happy with the results. I have deleted hundreds of telephone poles, wires, and all kinds of imperfections from my pictures. And here’s a bonus tip: have a picture of yourself you want to share on social media but hate those little wrinkles showing? You’re welcome!
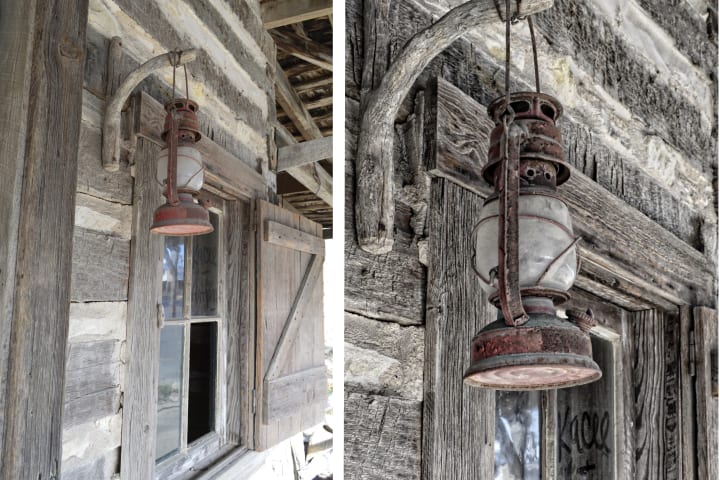
Another favorite editing trick I love is cropping. Sometimes the whole shot you take is just “eh”. But when you crop down to just one part of the image a whole new picture emerges. The shot I took above of the front of an old cabin in Hico, TX, came out a little awkward. But I loved that old lantern so I focused on that and used a dramatic effect and added definition to grab the texture of the wood.

Along with cropping, straightening a photo can make all the difference between a great photo and a cringe-worthy photo. Nothing kills an ocean shot like a tilted horizon. But not every shot needs to be straight. Angles can make a photo really interesting. The upward shot above of Mission Espada in San Antonio is one of my favorites, especially after adding the dramatic black and white effect.
And not every subject matter needs to be centered, as with my donkey shot that uses the rule of thirds. This popular photography rule is when you mentally divide a picture into thirds vertically and / or horizontally and line up the main elements of the photo along those lines. The donkey is in the right vertical third of the photo, and the sky occupies the top horizontal third.
One last discovery I made in improving photos through editing is that a photo does not have to be in perfect sharp focus to become a work of art. The above not-so-sharp, kind of grainy cell phone shot I took was improved upon by using the Dreamy setting in Intensify. It gave it an oil painting look which is very forgiving. There is an Oil Paint setting in Intensify that I use on occasion, but just a touch of it for effect, because otherwise it’s a little too blurry.
So now it’s your turn to get yourself an easy-to-use photo editing app and fix all your favorite photos that were never quite up to snuff. And you will have so much fun with it! The next awesome piece of art you hang on your wall can be your own!
About the Creator
Keep reading
More stories from Judy Loughman and writers in Photography and other communities.
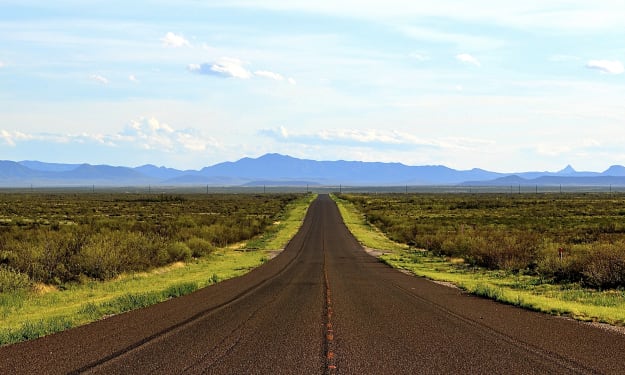
A Girl and her Bug and the Open Road
They all thought I was nuts! A single woman driving across the country by herself in her little VW Bug. But I saw it as the adventure of a lifetime! I'm no dummy, I took precautions: visible NRA stickers on my windows; planning all my driving during daylight hours so I wouldn't arrive anywhere after dark; a dangerous pair of fencing pliers under my seat; and a prayer for safety on the road before I left each day.
By Judy Loughman3 years ago in Wander
Crafting Humble Brilliance
In a world dominated by social media and constant self-promotion, the art of sharing one's photography without appearing boastful has become a delicate balancing act. Crafting Humble Brilliance isn't just about showcasing your work; it's about doing so with grace, humility, and authenticity.
By Thomas Vasas6 days ago in Photography
Capturing Magic
In the world of photography, timing is the key to everything. While skilled compositions and technical proficiency are undoubtedly crucial, the perfect lighting can create the perfect photo. Nowadays, we can determine any light ourselves and are no longer dependent on any natural light source, thanks to the developed technology. We can turn every day into a night by using the right filters. And we can illuminate every night to be seen as a day. A typical process, especially in the film industry.
By Krishan Mubashar2 days ago in Photography
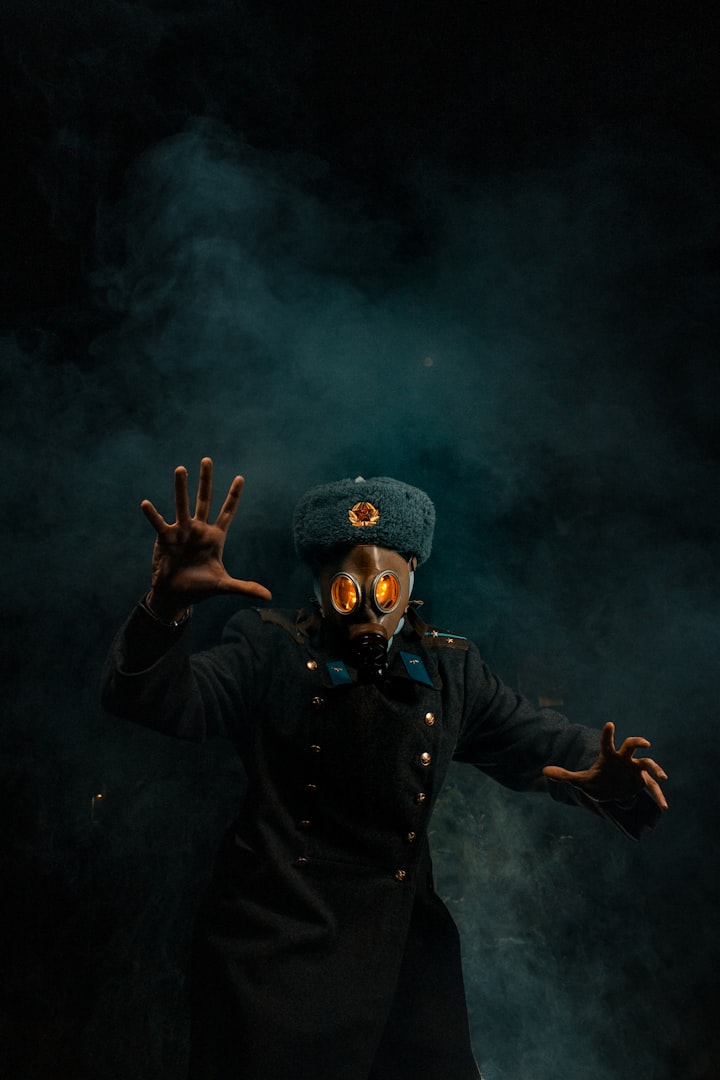
Midnight
60 seconds… 59 seconds… Time was slipping through his fingers, though he clawed at the falling grains of sand, he could not stop the hourglass from flowing. Around him, the silence was deafening. He had taken over every screen in the command centre, putting the terrible seconds before the terrified eyes of his friends and comrades.
By Alexander McEvoy5 days ago in Fiction

Comments
There are no comments for this story
Be the first to respond and start the conversation.