
How to Shoot Portraits in Natural Light
Top Three Techniques for Shooting in Natural Light

Shooting in natural light can be a daunting experience when you begin with photography. The most obvious thing that people struggle with when it comes to natural light is its lack of predictability. From the unpredictable nature of weather, cloud coverage and sun positioning, there's a lot that can happen when shooting in natural light which can feel beyond your control.
Whilst this anxiety is likely to exist regardless of your photography niché, when working with people this can be amplified by the pressure of working with other people (and wanting to appear confident and in control) as well as the visual effects of unpredictable lighting -- after all, you want your subject to look good!
Understanding how to work in different natural light scenarios can allow you to feel prepared and in control, exude confidence and produce outstanding results regardless of what the weather has in store for you.
Let's explore three lighting scenarios and techniques as well as a number of tips you can use to help prepare you for whichever lighting technique you're faced with.
(Direct) Lights, Camera, Action
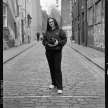
First up, direct light is arguably the lighting scenario that people struggle with most often. It usually refers to when the sun is behind the photographer, shining onto the model. You'll likely experience this kind of lighting at around midday on a summer's day.
When it comes to direct light, you usually run into problems such as uncomfortable looking models, squinting as the sun is in their eyes. This is especially problematic when it comes to group photography at events and weddings when you ideally want everyone to have their eyes open at the same time.
You might also experience harsh shadows underneath your subjects eyes, eyebrows, nose and chin, depending on their facial structure. Too often, this isn't very flattering and so you'll want to try to minimise it.
One way that I try to utilise natural light is by looking out for interesting shadows and reflections. Reflections on bright days can be cast by nearby bodies of water or reflective buildings, and shadows made by buildings, bridges or trees can also provide some visually appealing shapes that you can utilise.

If there aren't any natural shadows being cast, consider using your model's body — for example, their hands — to create shadows to work with.
If you don't want to utilise shadows, you could bring a reflector to reflect the light and fill in the shadows. You can buy a 3-in-1 reflector or consider making a DIY one out of white card, tin foil, or other reflective surfaces.
Remember that the clothing you wear can also impact photos on bright days. If you're wearing white clothing, for example, then you'll act as a natural reflector if you're close enough to your model. If you opt for a bright colour such as orange instead, you might end up acting as a colour cast and reflecting the colour orange into the image. This is something to be mindful of, whether you want to utilise it or avoid it.
What About My Camera Settings?
Let's talk camera settings! When it comes to direct light, balancing your expose between exposing for the shadows or the highlights can be difficult, so here are a few things to think about:
To Overexpose or Underexpose, That is the Question
Generally speaking, when you're shooting with a digital camera it will save more information in the shadows than it will the highlights. Because of this, you want to aim to expose for the skin as you'll be able to recover some of the information in the shadows in post-production. Whilst it's best to expose correctly where you can, if you have to choose between overexposing or underexposing an image, you'll want to underexpose.
However, if you're shooting on film then the opposite applies. Generally, film retains the most information in the highlights and so you'll want to opt to overexpose rather than underexpose. Underexposure usually renders a certain muddiness in the shadows and it's difficult to recover that information.
Top Tip: Get to Know Your Gear
Understanding the gear that you're using is the most important thing about the question between overexposure and underexposure. Different cameras will have different abilities when it comes to dynamic range and latitude, as will different film stocks. For example, my Canon 6D Mark II will likely recover less information from the shadows than my Sony A7iii, and when it comes to film, Portra 400 is often a top choice as it usually renders good results whether you underexpose or overexpose a couple of stops.
Photographer and YouTuber Kyle McDougall creates in-depth videos about different film stocks, pushing them to their underexposure and overexposure limits to see what results they yield, and his channel is a great resource if you're getting to grips with exposing film.
Camera Settings
When shooting in direct, bright light, you ideally want to set your ISO as low as you can. If that still doesn't do the job, adjusting your aperture and shutter speed should be next on your to-do list. If you want to maintain a wide aperture, opt for adjusting your shutter speed. If you want to go for a motion blur, adjust your aperture instead. If you want to utilise a slow shutter speed and a wide aperture, consider investing in variable ND filters for your lenses which allows you to block some of the light entering the lens without altering your camera settings.
If you can shoot in harsh, direct light, then you'll likely be well equipped for any lighting you come across. However, let's chat about the next lighting technique:
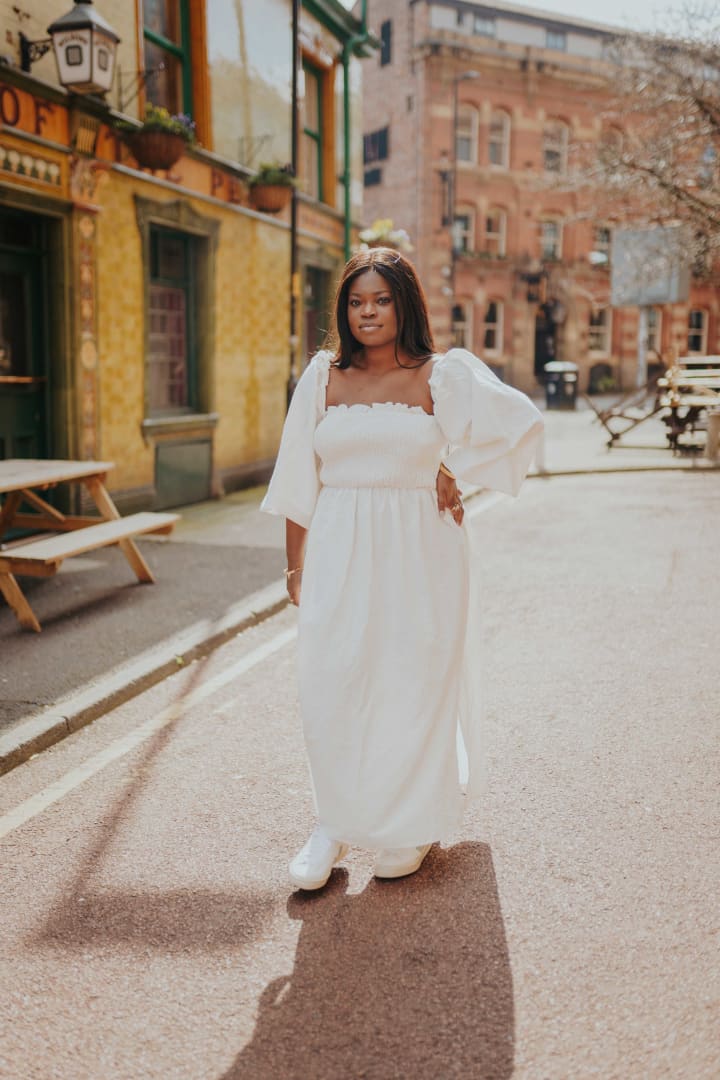
Backlighting & Side Lighting
This technique is one of my favourite because of the soft light, low contrast look it yields. It essentially refers to having the light come from behind your subject or to the side of your subject, illuminating the edges of your model.

Backlighting can help to maintain detail in your backdrop too, especially if you use a reflector to bounce light onto your subject.
The way to know whether or not you are backlighting your subject is to ask them to face their shadow. That should ensure that the sunlight is coming from behind them.
When it comes to side lighting, the technique is similar and you just have to have the shadow to the side of the model.


Backlighting is great for shooting with wedding groups to avoid that awkward squinting that we referred to earlier on.
On occasion, utilising this technique can also cause lens flares which can great an extra dynamic to your work. If you want to avoid these, however, then investing in a lens hood or moving your camera so that you're not directly facing the sun can help to reduce the chances of them occurring.
Next up, let's discuss shooting in the shade.
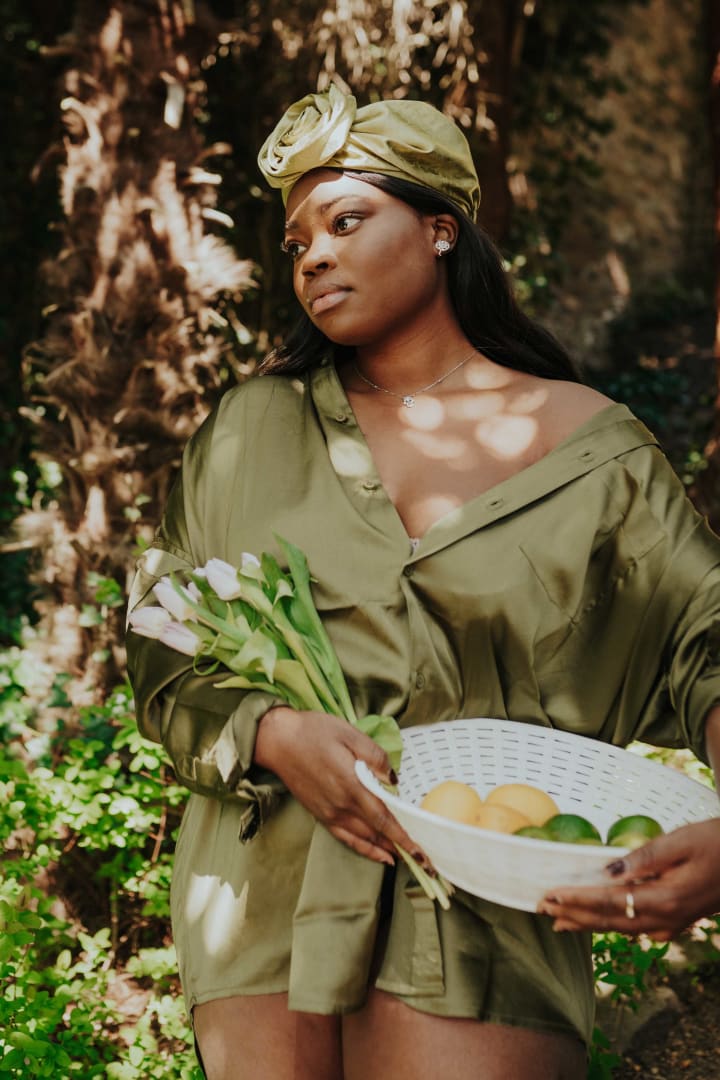
In the Shade
This is, arguably, the easiest of natural lighting techniques as it's not as unpredictable, there aren't as many weird, harsh shadows to deal with and you don't have to worry about whether or not to expose for the shadows or the highlights. It makes it really easy for you to expose your subject correctly and just focus on the composition and contents of the image. It's a very even light which is aesthetically pleasing and makes it easy to draw attention to allow aspects of your image.


However, there are drawbacks in that it isn't as dynamic as other lighting techniques. Because of this, you might want to look out for additional techniques to help to make your image more interesting. When shooting under trees in the shade, for example, you might want to look for dappled or dispersed light where the sunlight is falling through the gaps in the leaves and falling on your subjects.
Like all aspects of photography, the best way to get to grips with shooting in natural light is to get out there and get stuck in. A lot of photography is just problem solving and, like with anything, the more you do it, the more naturally it will come to you.
You can see my video about shooting in natural light for more examples and explanations!
About the Creator
Sophia Carey
Photographer and designer from London, living in Manchester.
sophiacarey.co.uk
Keep reading
More stories from Sophia Carey and writers in Photography and other communities.
A Photographer's Guide to Editing with Adobe Lightroom
As a photographer by trade, photo editing is a big part of what I do. Generally, I spend more time editing my photos than I do actually taking them. Thankfully, an evening spent in front of my laptop, editing my photos from the day and listening to a good playlist (top tip: a good editing playlist is key!) is something that I enjoy and so it doesn't feel too much like work.
By Sophia Carey3 years ago in Photography
Capturing Magic
In the world of photography, timing is the key to everything. While skilled compositions and technical proficiency are undoubtedly crucial, the perfect lighting can create the perfect photo. Nowadays, we can determine any light ourselves and are no longer dependent on any natural light source, thanks to the developed technology. We can turn every day into a night by using the right filters. And we can illuminate every night to be seen as a day. A typical process, especially in the film industry.
By Krishan Mubashar8 days ago in Photography
Revolutionize Your Content with the Top 6 AI Tools to Make A Picture Talk Online
"How do I make a photo talk?" - Christopher With the rapid development of AI technology, it brings benefits to everyone, from individuals to photographers, teachers, marketers. One of the most impressive applications of AI technology is that it leverages deep learning to analyze a photo, animate it and make it talk with audio. The talking photo conveys stiff and complicated messages in an entrancing way, which is very suitable for using in advertisement videos, educational videos and training videos to enhance the storytelling. Individuals can also make photos of deceased loved ones to talk, bring the cherished memories to life.
By JaniceCAabout an hour ago in Photography
Whispering Woods Challenge Winners
Congratulations to Morgan Christy Rickards for their winning Whispering Woods story, Guardian at the Gate. Morgan has been a Vocal creator since February 2021, and this is their first time placing in Challenge — well done, starting with a win! Guardian at the Gate draws evocatively from Welsh tales of the Cantre'r Gwaelod, a lost sunken kingdom between the forest and the sea. Heledd’s dangerous adventure pulls her towards the water but her spirit is anchored in the woods: Morgan’s writing is atmospheric and exciting.
By Vocal Curation Team7 days ago in Resources


Comments
There are no comments for this story
Be the first to respond and start the conversation.