
How to Photograph The Milky Way Like a Professional
A magic formula for you

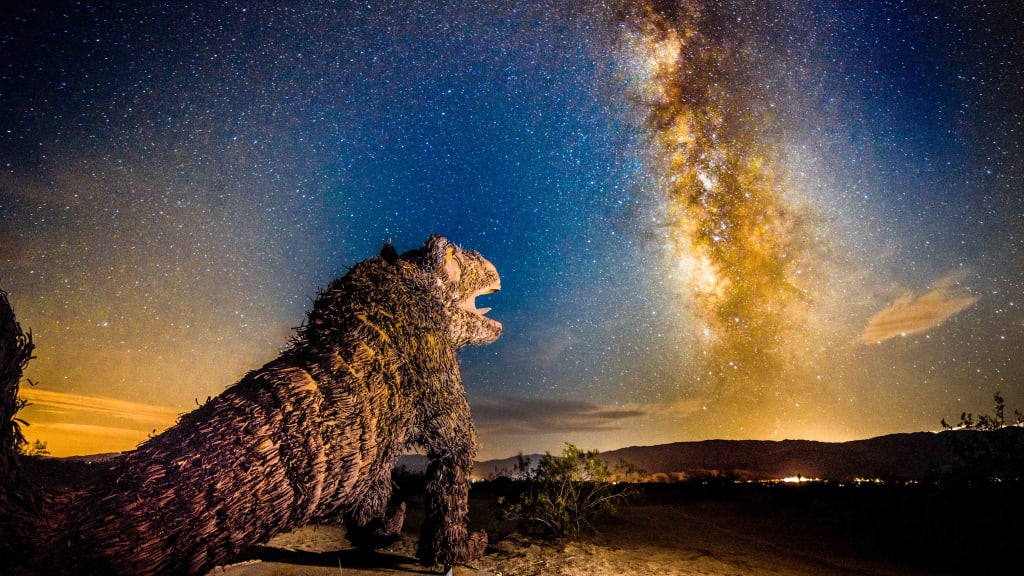
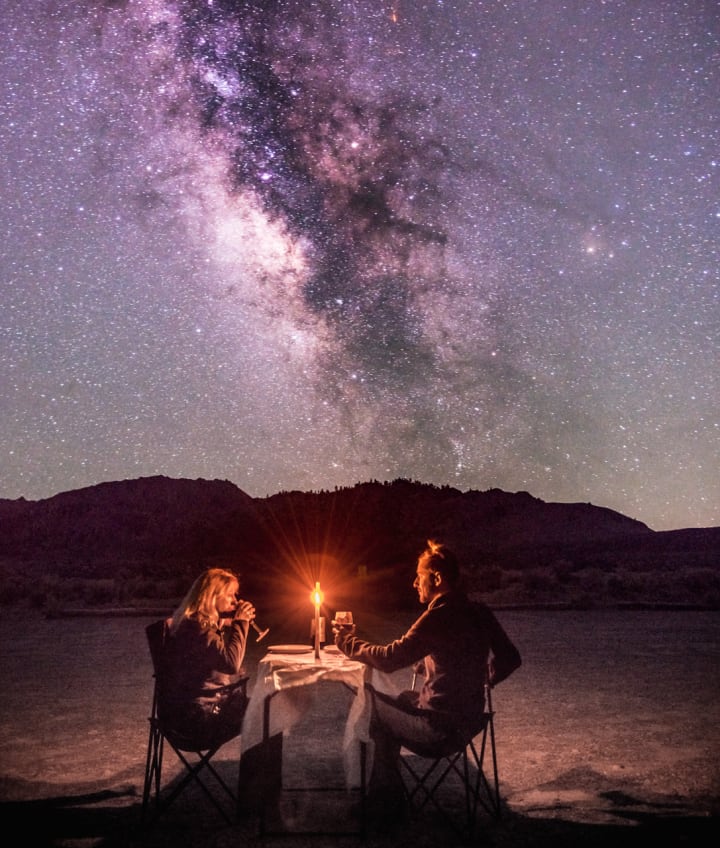
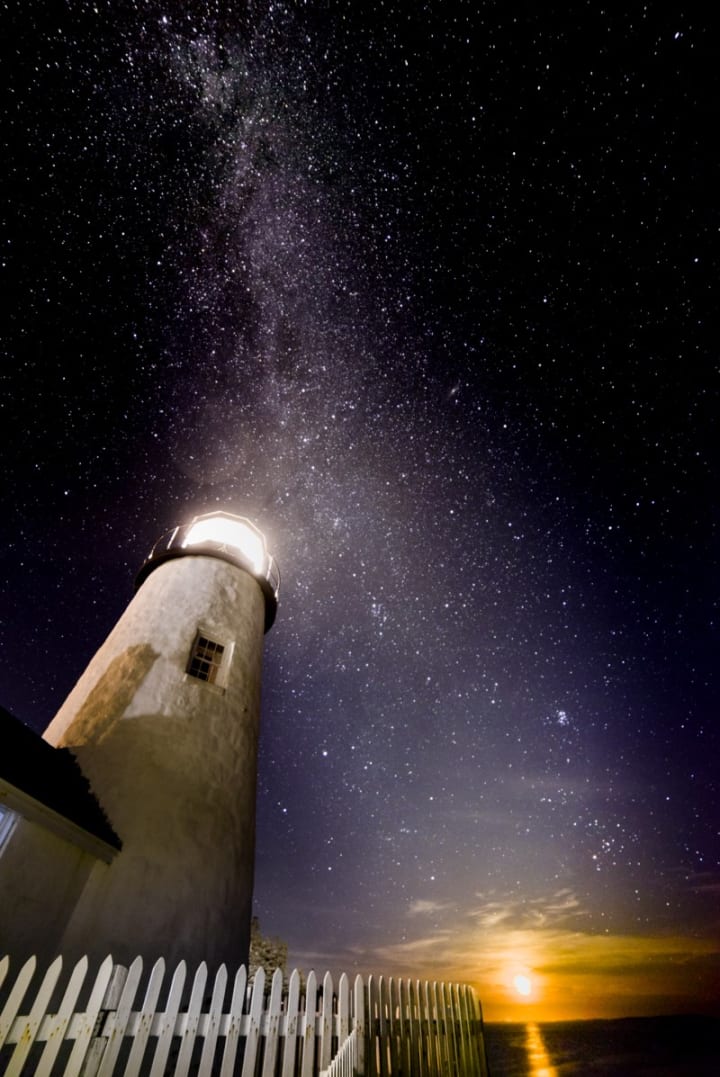
The goal is to get an interesting foreground and spectacular starry skies dominated by the Milky Way!
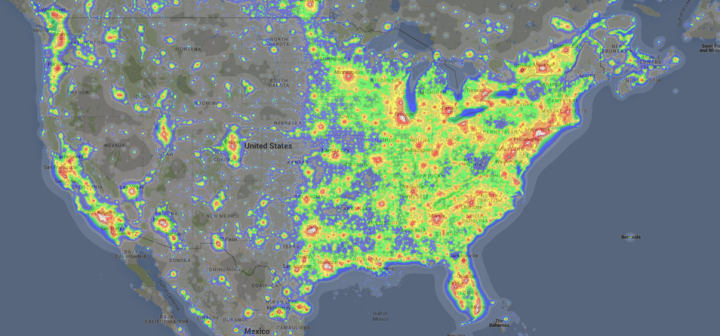
FINDING THE DARKEST SKIES
The Milky Way is best photographed in dark skies, away from the city lights. You can find the best location by looking at the dark skies map provided by:
http://darksitefinder.com/maps/world.html
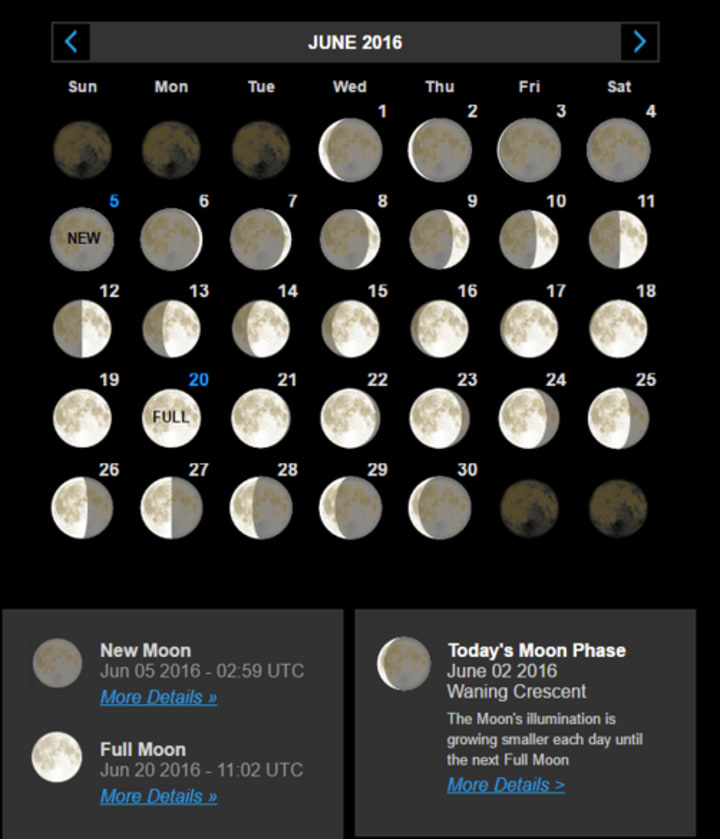
THE MOON
•Shoot under a New Moon
Be familiar with the phases of the moon. Although you can take photos of the Milky Way regardless of the moon's phase, the best and most impactful images are made when the background of the sky is darkest.
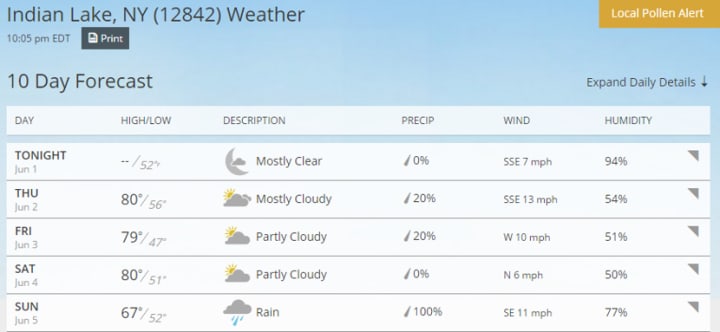
WEATHER
When planning your shot, in addition to the moon, you will have to pay attention to the weather. Nothing is more disappointing than driving five hours to dark skies only to find them clouded over.
LOCATION
- Scout During the daytime
- Take notes
- Take map
- Learn significant landmarks
- Foreground Interest
- Look for and avoid artificial light sources…streetlamps, security floodlights, etc.
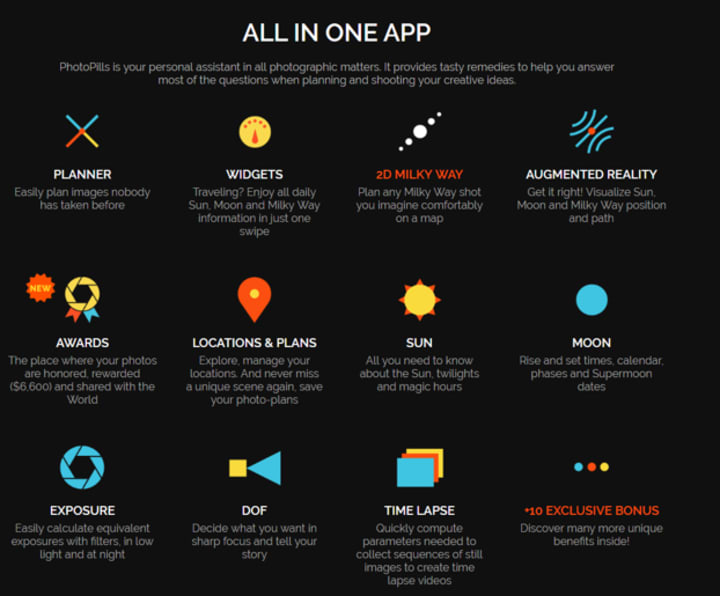
NIGHT SKY APPS FOR YOUR PHONE
- PhotoPills
- The Photographer's Ephemeris
- Starwalk
Milky Way Season
Look for the Milky Way
- April through October
- South>Southwest>West
- Scorpius>> The upside-down question mark with Antares a bright orange star
RECOMMENDED LENSES AND EQUIPMENT
Although advanced cell phone capabilities are improving, some even claim to capture astrophotography, there is nothing better than good kit. It doesn't have to be expensive, but it needs to include the minimums of the following.
- Sturdy Tripod
- Fast f/2.8 or faster aperture
- 24mm or wider focal length lens
CAMERA SETTINGS
Believe it or not, there is a magic formula that will increase your chances of capturing a great shot of the Milky Way.
- 3200 ISO (no need to go higher–that just introduces noise)
- 30 seconds - 25 seconds
- Wide-open…f/2.8 or better
FOCUS
- Do not set the lens at infinity
- Set Focus mode to MANUAL
- Use Live View
- Pick a bright star
- Manually adjust until sharp
FOCUS ALTERNATIVE
- Set Focus Mode to AUTOFOCUS
- Focus on a distant object or horizon
- Set Focus Mode to MANUAL
- Tape the focus ring from moving
- Or mark the focus ring and lens barrel with a single mark across both
FOREGROUND AND LIGHT PAINTING
Because you have 30 seconds to affect the exposure, you can choose to paint the foreground with light. It may take some practice and trial and error. Using a regular flashlight, sweep it across the object of interest for 1-2 seconds.–Do not apply the light for the entire 30 seconds to one object. You can however play the light against different objects during the exposure.
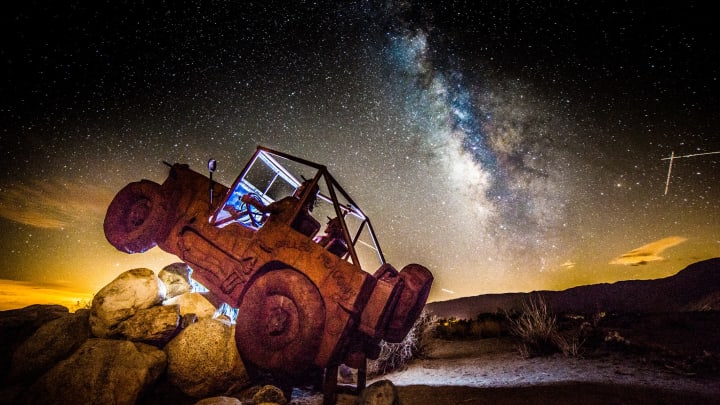
Car headlights often can paint a larger area of the scene. Again, be careful not to park too close, or turn them on for too long, lest you risk overexposure.

BRINGING IT HOME –LIGHTROOM AND PHOTOSHOP POST-PROCESSING
Create a workflow using the sliders in the order below. This is not a requirement; use your own method if you choose.
- Exposure
- Clarity
- De-Haze
- Shadows
- Contrast
- Noise
Make several versions and be sure to use localized adjustments like Gradient or Radial filters to help balance the foreground and background.
SAFETY
Having had my share of close calls, I feel that it is important that I mention being safe:
- Dress for the weather… overnight lows can be surprising
- Appropriate shoes…sneakers, hikers…no sandals or open-toed shoes. Easy to stub toes in the dark
- Flashlight and Headlamp…preferably with red light
- Park safely…off the road, and don’t remain on the shoulder
- Shoot from the safe side of the guardrail
- Watch for drop-offs–This may not be high cliffs, but even a 3-foot hole can twist or break an ankle and ruin your night
- Stay alert for cars, animals, and strangers.
BONUS TIPS
Shooting the moon
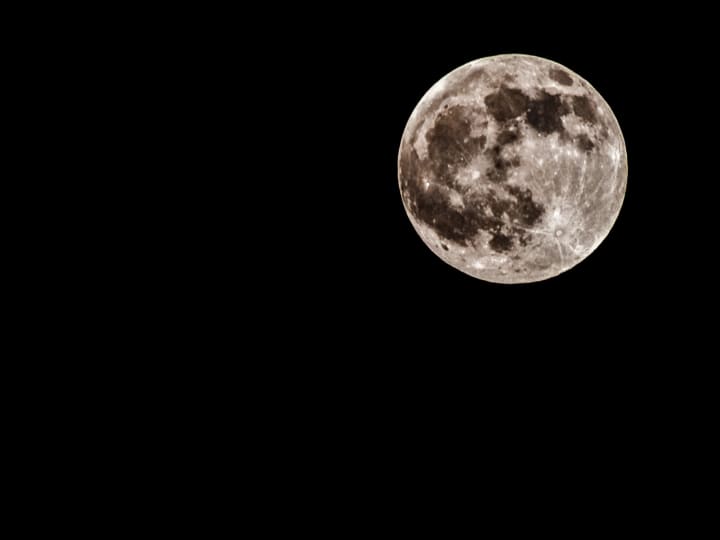
It’s a DAYLIGHT lit object
- Sunny Sixteen Rule
- ISO 100
- f/16
POLAR STAR TRAILS
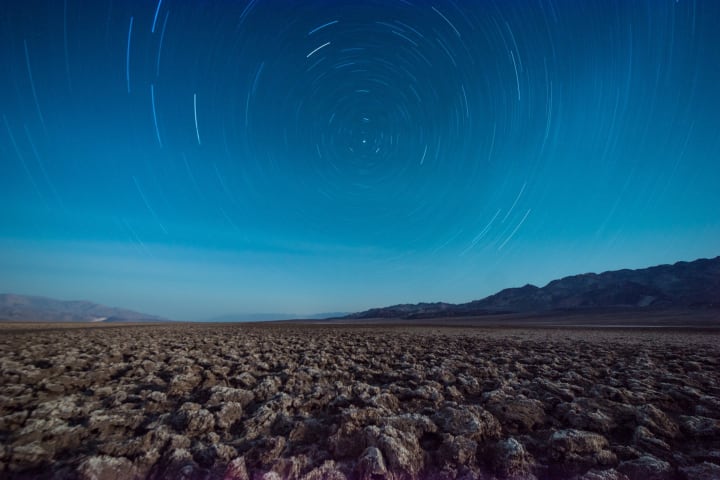
- ISO 800
- f/8
- At least one-hour exposure
- 12 hours is a full circle
- Can stack frames
About the Creator
Jim DeLillo
Jim DeLillo writes about tech, science, and travel. He is also an adventure photographer specializing in transporting imagery and descriptive narrative.
Keep reading
More stories from Jim DeLillo and writers in Photography and other communities.
Where to publish your astrophotography images
I have compiled a shortlist, while not comprehensive, can give you an idea of where you might publish your photos. Each of these settings will require crediting the source of your data. You of course, are credited with the final image and any processing that was done. Remember that if you use data from sources other than @telescopelive, they should receive the credit, regardless of any published policy.
By Jim DeLillo2 years ago in Photography
The Ultimate Photography Tips For The Travel Photographer.
You may think that all you need to take quality travel photos is your camera, your smartphone, or even your digital SLR; and while that’s true, there are still many more things to consider before you press the shutter button, no matter what type of camera you’re using. The following photography tips will ensure that you get quality photos every time – regardless of whether you’re traveling across the globe, or just to the next town over.
By Vijay Mistry4 days ago in Photography
Good Picture
This comprehensive guide to photography focuses on capturing moments, emotions, and stories, not just clicking a button. It covers key principles and techniques such as composition, lighting, and camera settings, aiming to elevate photography to the next level.
By Praveen Pkabout 3 hours ago in Photography


Comments
There are no comments for this story
Be the first to respond and start the conversation.