
How to Paint with Light
A Simple But Effective Photography Technique

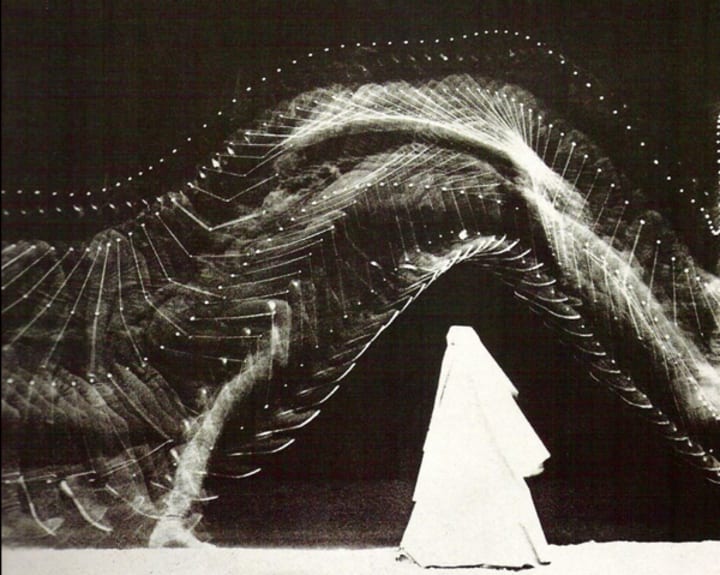
If you're like me, you've dabbled in photography at an amateur level before. It's quite possible you may have heard about light painting. Despite gaining popularity in recent years light painting has been around for a while. The first recorded light painting picture was first taken in 1889 by Étienne-Jules Marey and Georges Demeny, and was achieved by strapping incandescent bulbs to the joints of an assistant.
This was the image they created:
Interesting no doubt, however, I can imagine this is not why you are here. You are here to learn about modern-day light painting, so let's get on with this, shall we?
First let's go through what you're going to need before we get shooting:
Equipment Needed
You'll need:
- Camera with manual shutter speed and aperture adjustments.
- Tripod or some safe place to frame the shot and keep the camera still.
- Light source of any kind—a phone torch will suffice.
- Dark Space of some sort (I usually shoot in the garden at night).
- Place your camera on the tripod and frame the shot. As we're only doing this basically to start off with, don't spend too much time framing up the shot; you most likely won't be able to see much of anything on the camera's screen. So long as the shot is level and focused, you should be fine. It's just a bit of trial and error.
- Set the camera to manual and adjust the shutter speed to anywhere within the 15- to 60-second mark. This should allow enough time for you to get in front of the camera and start drawing.
- Next is the aperture. You'll want the aperture NOT to be at its widest. A wider aperture will allow a lot of light and might make the light paint too bright; for me, I found around F5.6 to F11 was a good range. Please note, though, that a higher F-number will make the shot easier to focus, and due to a smaller aperture, the depth of field will be shallower.
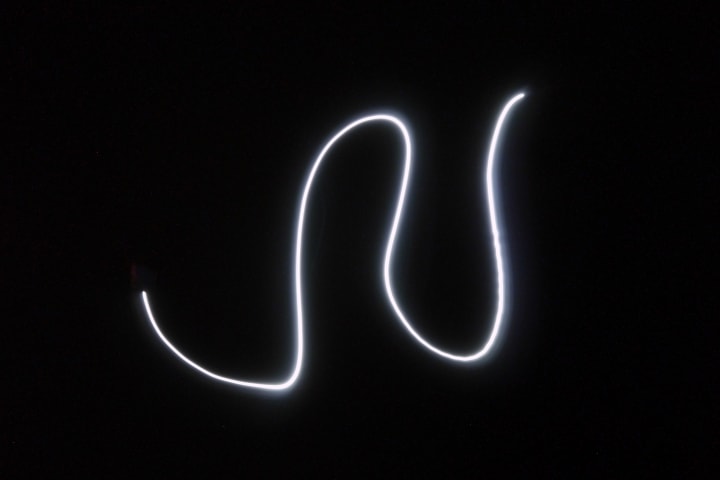
- Now that your camera is all set and ready to go, the best thing now would be to press the shutter and start painting! Be creative because now the world is your canvas.
- Finally, if your first pictures don't come out quite the way you wanted, then experiment, play around with the settings, and I'm sure that soon enough you'll be getting great results.
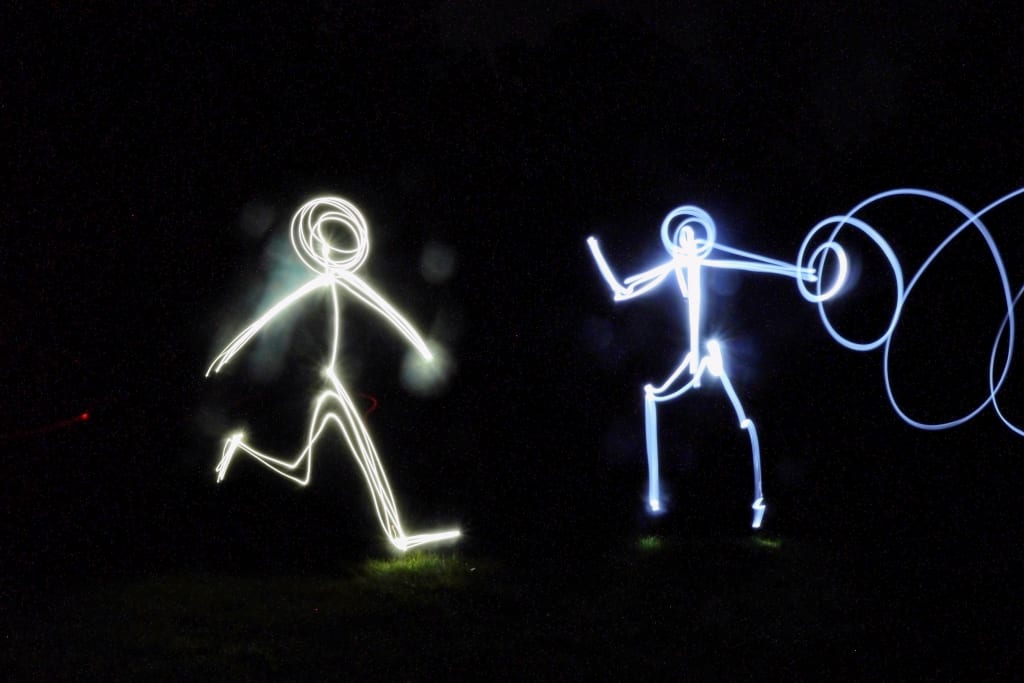
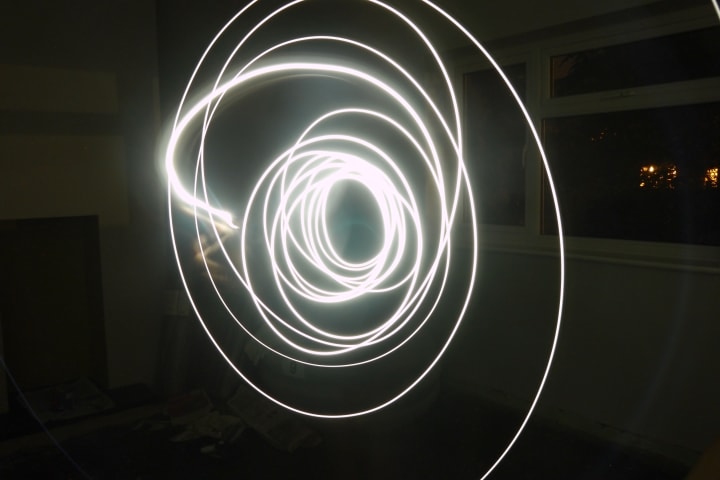
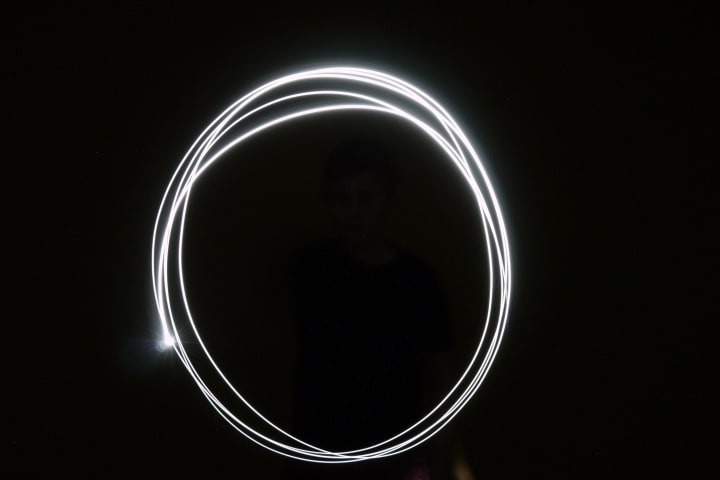
Below are some of the first attempts I made when I was 15:


About the Creator
Josh Mathews
Never quite sure what to say on an about. Read some items I've posted and see if you like it?
Cheers :)
Keep reading
More stories from writers in Photography and other communities.
Capturing Magic
In the world of photography, timing is the key to everything. While skilled compositions and technical proficiency are undoubtedly crucial, the perfect lighting can create the perfect photo. Nowadays, we can determine any light ourselves and are no longer dependent on any natural light source, thanks to the developed technology. We can turn every day into a night by using the right filters. And we can illuminate every night to be seen as a day. A typical process, especially in the film industry.
By Krishan Mubashar5 days ago in Photography
Top Modern-Day Cameras
In an era where every moment seems to demand documentation, the quest for the perfect shot has become an integral part of our daily lives. Enter the world of digital photography, where innovation knows no bounds. From the sleek sophistication of the Saneen Digital Camera, boasting 4K capabilities tailored for both photography and video, to the rugged resilience of the KODAK PIXPRO WPZ2, designed to withstand the harshest of environments, The range of options available is as diverse as the creative visions they aim to capture, offering not only cost-effective choices. And amidst this landscape of technological marvels, the 4K Digital Camera for Photography emerges as a beacon of versatility, offering auto-focus precision and anti-shake stabilization, ideal for the ever-evolving realm of YouTube vlogging. As we embark on a journey into the intricacies of modern-day photography and the evolution of cameras, these innovative tools serve as our guide, illuminating the path towards boundless creativity and endless possibility.
By Kaleb M2 days ago in Photography
The Dangling Bead
My life is splashing before my eyes, as I precariously suspend and prepare for the end, the consumption of my Self and identity. I know that gravity will be the victor in this struggle. Like a pendant, slipping from the chain, the tension has caught me in this moment, bestowing one last gift of reflection. I cling desperately, questioning my purpose. Searching for comfort. And I remember…
By Leslie Stavena day ago in Fiction


Comments
There are no comments for this story
Be the first to respond and start the conversation.