
How to Edit Your Photo Using a Free Online Photo Editor
Crop, Resize, Adjust Brightness and Contrast, Remove Unwanted Artifacts
Have you ever wanted to learn how to edit your own photos, but don't want to spend a fortune on photo editing software? These days there are many free tools available both off and online for that very purpose! One such free online photo editing software is called Photopea. It is open source so is completely free to use!
I ran into this on my own personal quest to find an alternative to the all-powerful Photoshop, since I did not want to spend money every month for a subscription...
In this post, I will show you how to make some light edits to your photos using Photopea.
First, go to www.photopea.com
Then, you can either go to File—Open, or hit Open From Computer to find your photo...
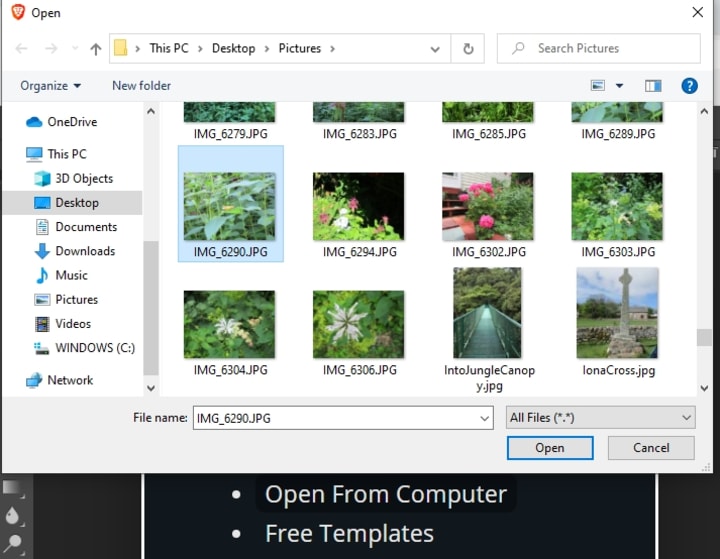
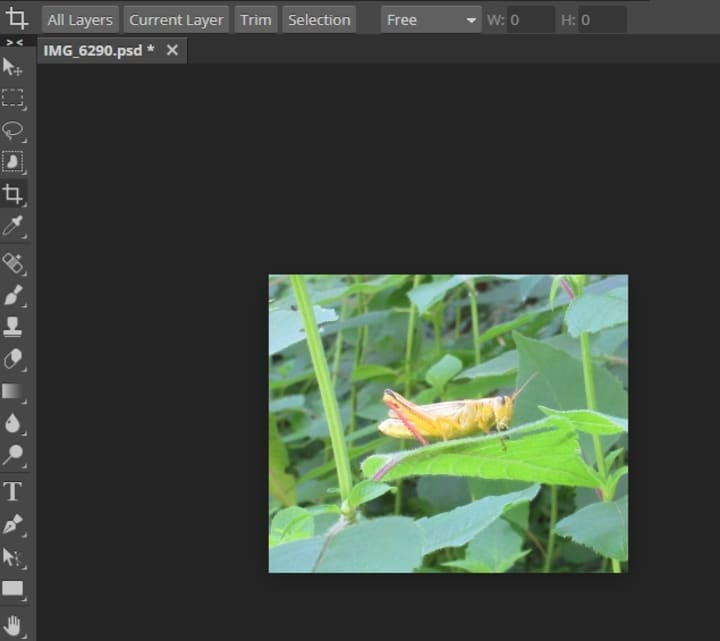
Navigate to your photo and hit Open...

With this photo, we will be cropping, resizing and adjusting the brightness and contrast.
Cropping
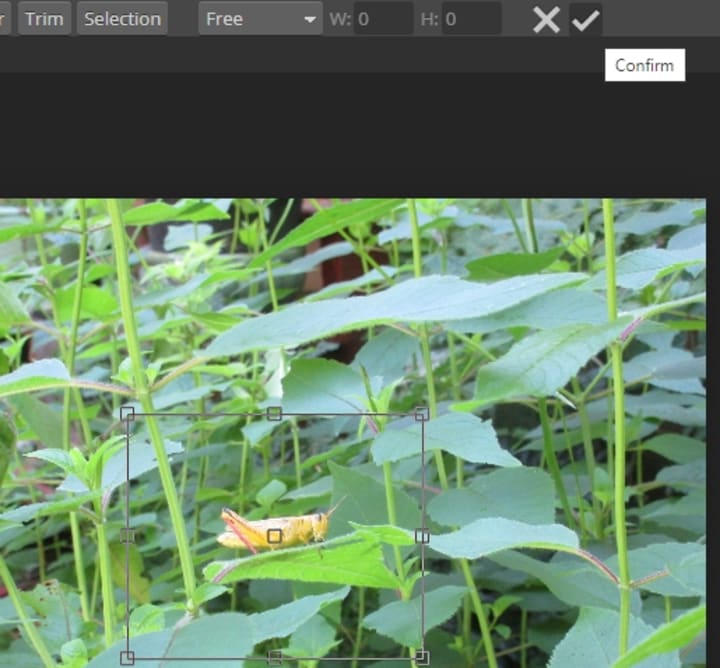
Over on the left hand side there is the tool bar. Find the Crop button...

click it and then draw a box around the part of your photo you wish to crop...
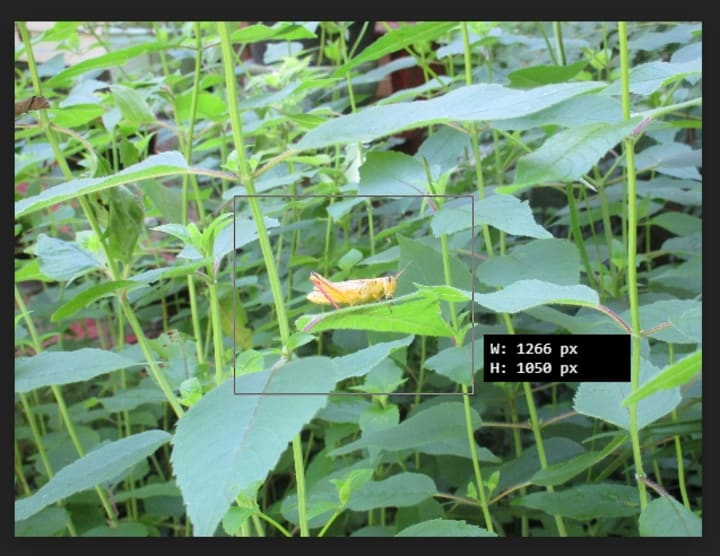
After you draw the box, there is a check mark in the upper right that you can hit to confirm...
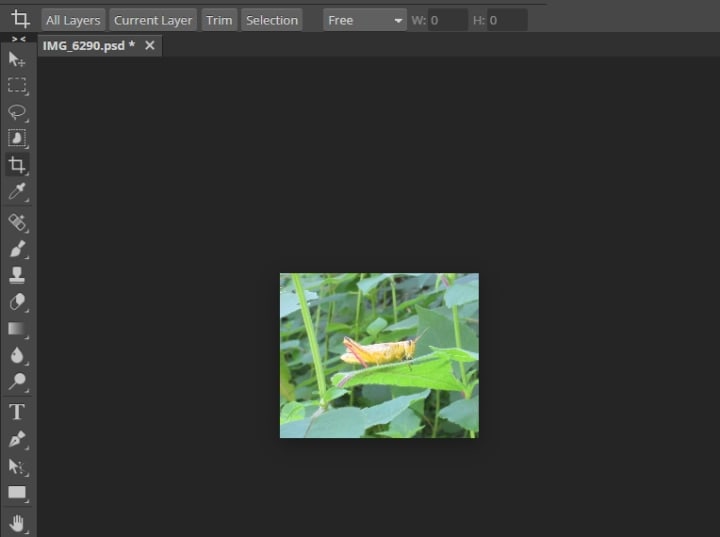
you should now have a cropped image...
Resize
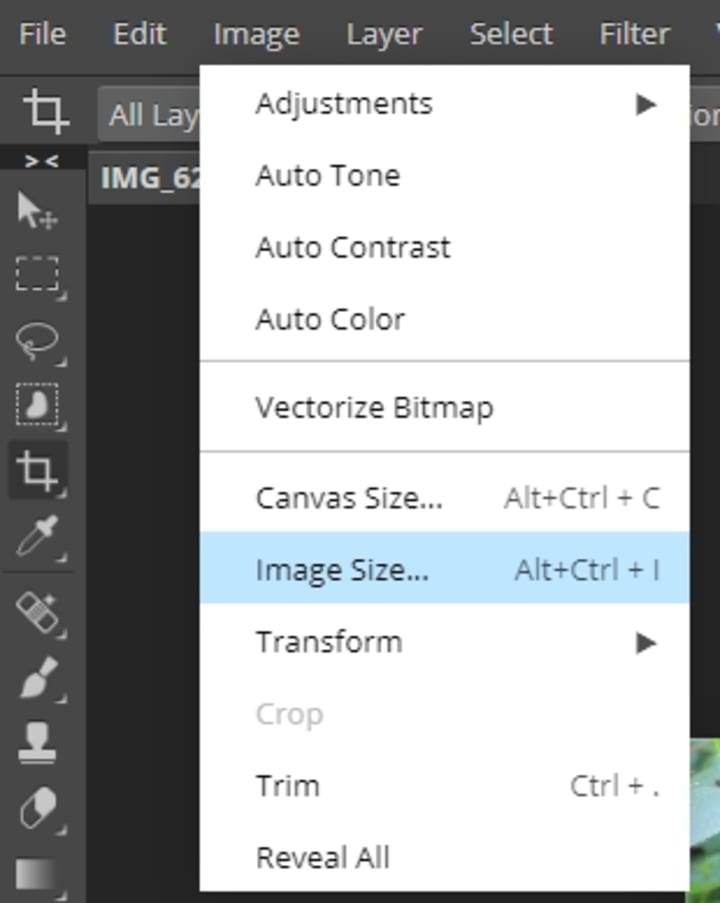
This image is now a little small, why don't we make it bigger? In order to resize, go under Image and choose Image Size...
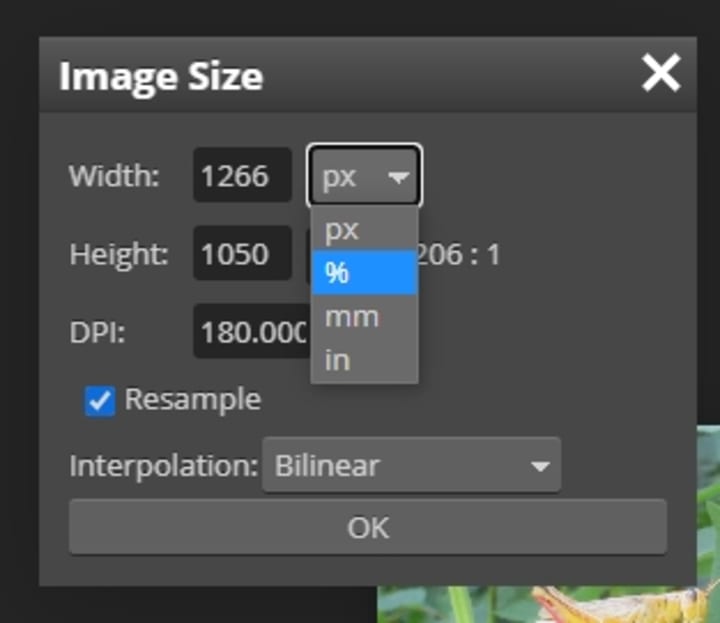
A screen will pop up with options. You can resize using several different measurements, including pixels, percentage, millimeters, and inches. The fastest and easiest way is to use percentage, unless you already know the exact size you want your photo to be. You can also adjust the DPI, which effects image quality (the higher the better), and leave the interpolation to Bilinear, unless you want to try out another option to see what happens;)
once you make your adjustments, hit okay. Now your image should be bigger...
Adjust Brightness and Contrast
Once your image is the size you want it, you can play around with adjusting the brightness and contrast, among other things. Go under Image again and then to Adjustments, go to Brightness/Contrast...
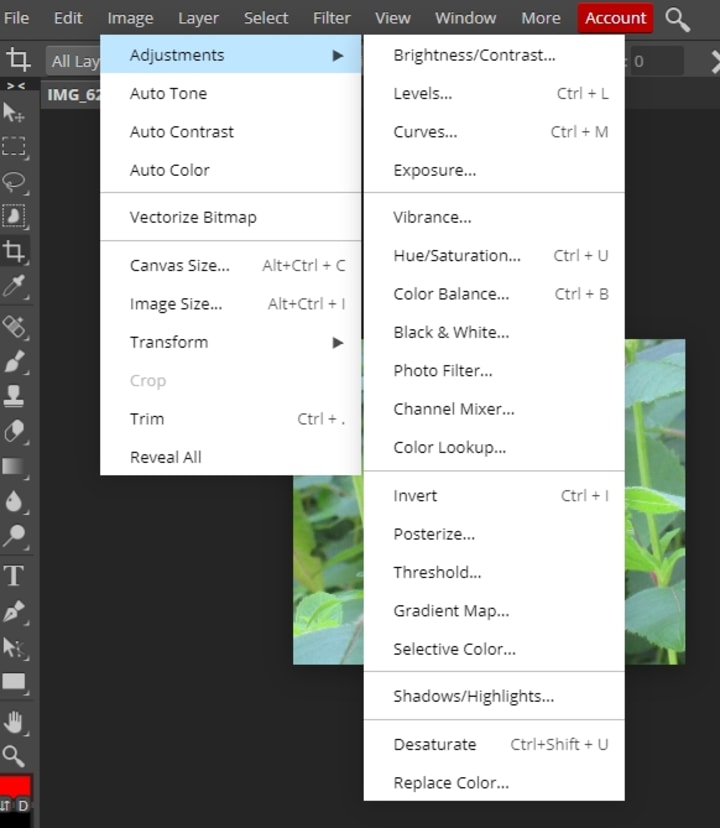
There are many other ways to adjust the image under Adjustments, feel free to play around and try them out! For this guide we will stick with Brightness/Contrast.
A new pop up will appear where you can adjust the brightness and contrast. You can drag it out of the way so you can see a preview before you commit to any changes...
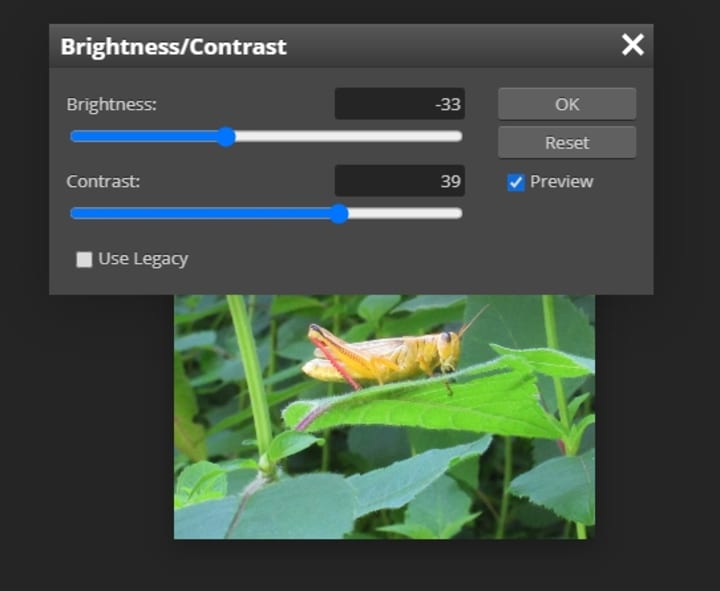
Once you like what you see, hit OK.
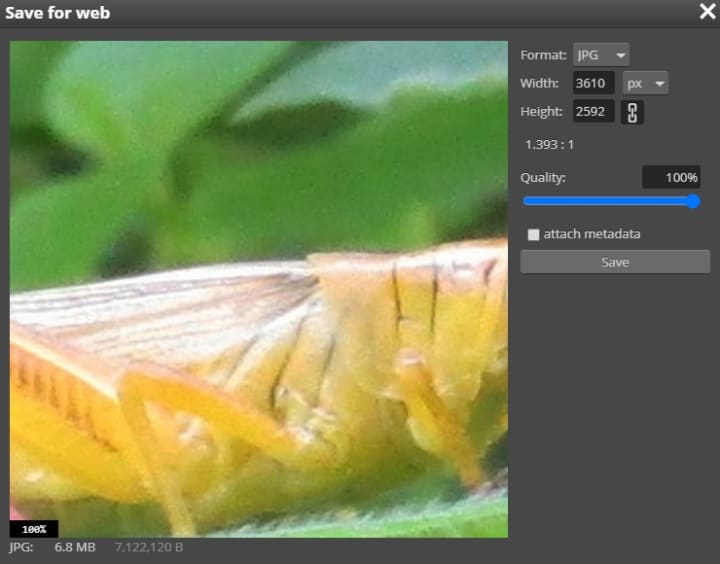
If everything looks great, go to File and Export As, which gives you several options and formats to save your files...
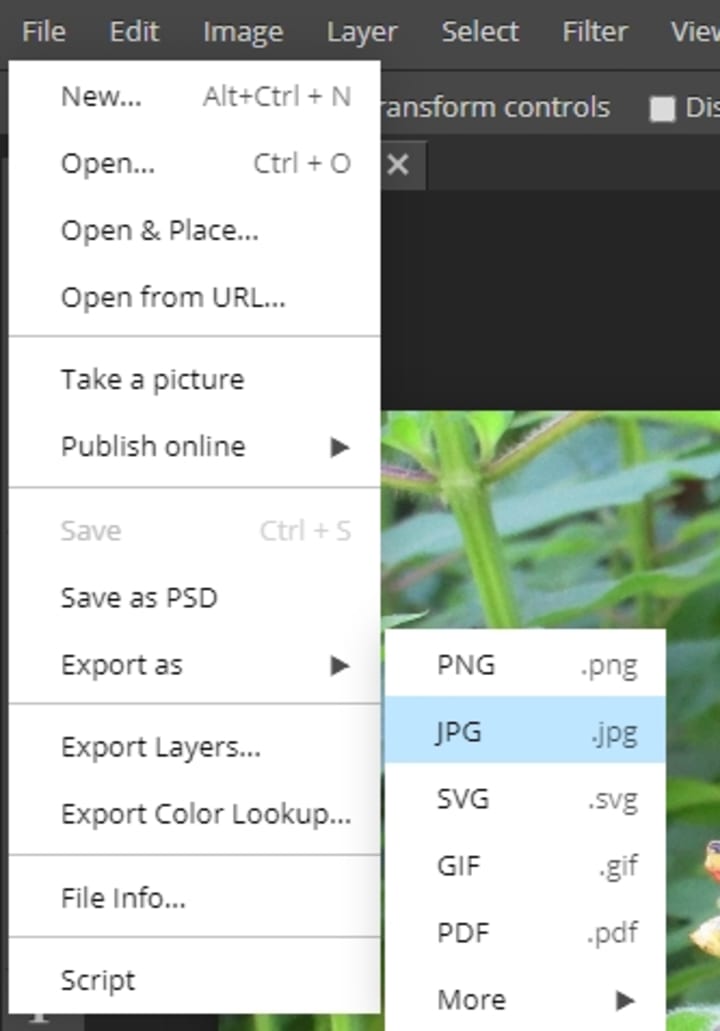
another window comes up where you can make final adjustments to format and size, then hit Save...
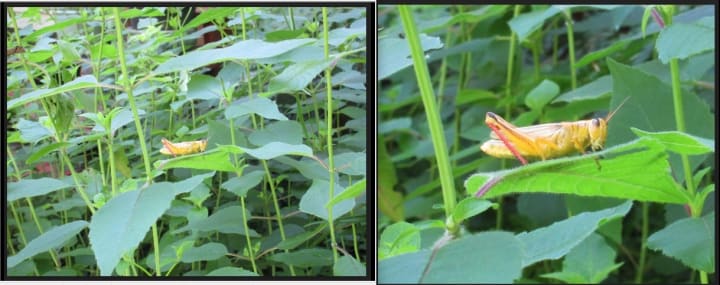
Here is a before and after of the photo above...
Spot Healing- Get Rid of Unwanted Artifacts
Another thing that you can do in Photopea is use the Spot Healing tool to remove things you don't want in your photo. There are several other ways to do this as well, but we will stick with the spot healing tool for this guide.
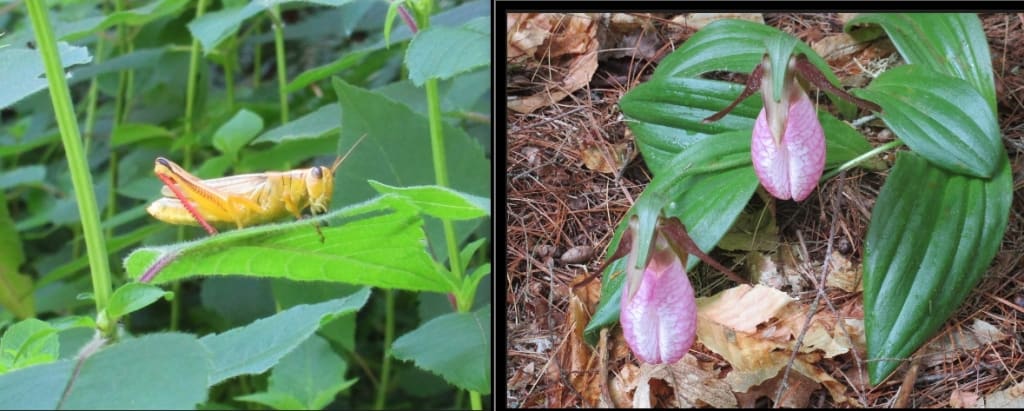
Notice in the photo below that there are some pieces of pine needles, etc. on top of the lady slipper leaves...

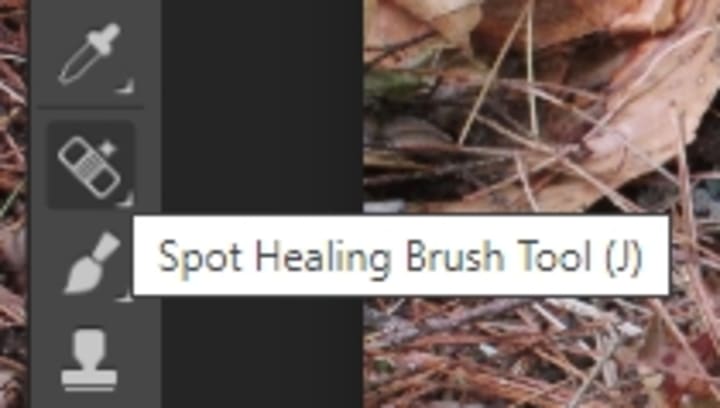
I want to remove these to make the photo look a little nicer. One of the ways I can do this is to use the Spot Healing Brush tool, which is found on the left hand side...
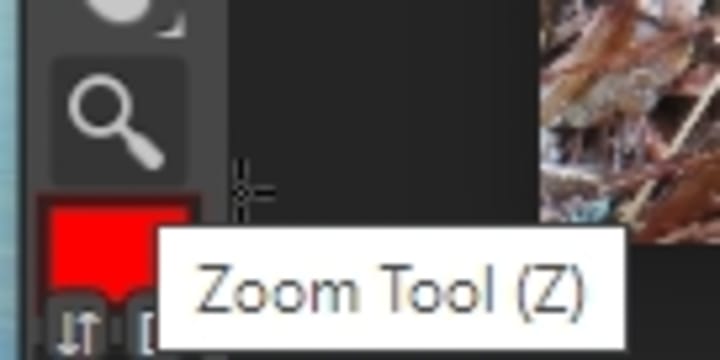
But before we begin, it would be easier to zoom in, so hit the zoom tool first and zoom in on the part of the photo that you want to work on...
after zooming in, hit the Spot Healing Brush tool and drag the cursor over a spot you want removed...
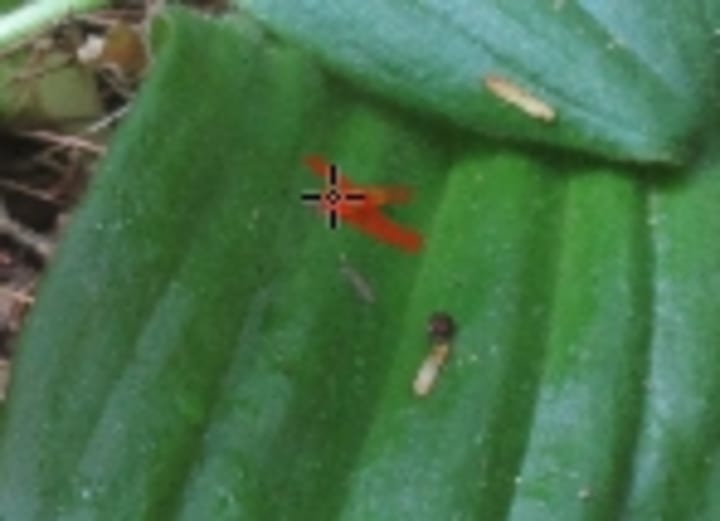
continue on for the other spots...

until you are satisfied with how it looks...zoom out by using the minus sign in the upper left to see what your photo now looks like...

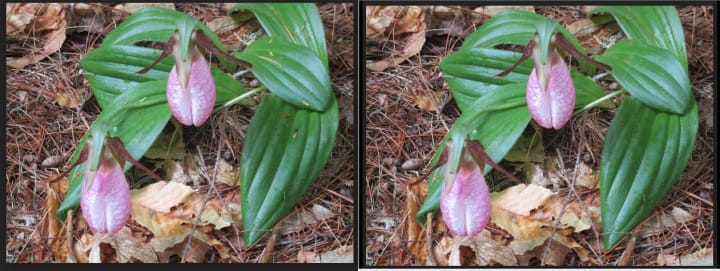
Here is a before and after of this photo...
Always remember to save when you are finished editing!
#photoediting #howto #guide #photography #crop #resize #brightness #contrast #spothealingbrush #photopea
About the Creator
Keep reading
More stories from Rachael Spafford and writers in Photography and other communities.
Capturing Magic
In the world of photography, timing is the key to everything. While skilled compositions and technical proficiency are undoubtedly crucial, the perfect lighting can create the perfect photo. Nowadays, we can determine any light ourselves and are no longer dependent on any natural light source, thanks to the developed technology. We can turn every day into a night by using the right filters. And we can illuminate every night to be seen as a day. A typical process, especially in the film industry.
By Krishan Mubashar7 days ago in Photography
Photo Tool: AI Photo Editor
The AI photo editor streamlines complex image editing tasks, empowering users to achieve professional-looking results effortlessly. With a wide range of AI editing tools, including automatic enhancement, object detection and removal, background manipulation, portrait retouching, and stylization. This editor simplifies the editing process while delivering captivating outcomes.
By xia sophiaabout 4 hours ago in Photography


Comments
There are no comments for this story
Be the first to respond and start the conversation.