
How To Create Film Presets
All the vintage vibes.

A Vintage Adventure
One of the quickest rising and trendy aesthetics is the vintage look of film. I agree that the grainy surface and vibrant pops of colour add a timeless value to your photo. There is almost something more meaningful about the older appearance than the general style of any standard print. If you are a photographer who is steady with the trends of the social world, film is continually becoming more popular, and will certainly help you attract more visitors to your page!
Let’s get started!
I also here a guide for social media marketing, here.
If you wish to visit my website for more content, here.
Timeless Style
Begin your editing with any standard photo, generally of RAW quality. Adjust the lighting to your preference and select one of the Adobe vintage profiles as your foundation. I will quickly note that I will be using Adobe Lightroom for all of this tutorial. Once you have found your perfect settings, we can move to colour mixing! I also love dimming the highlights with the tone curve, likewise:

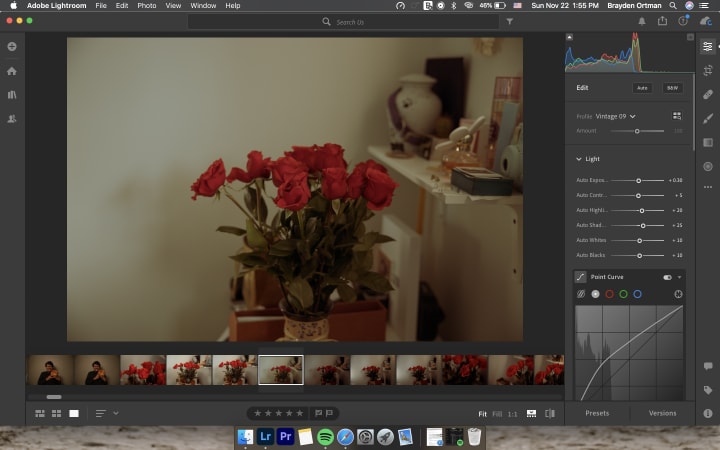
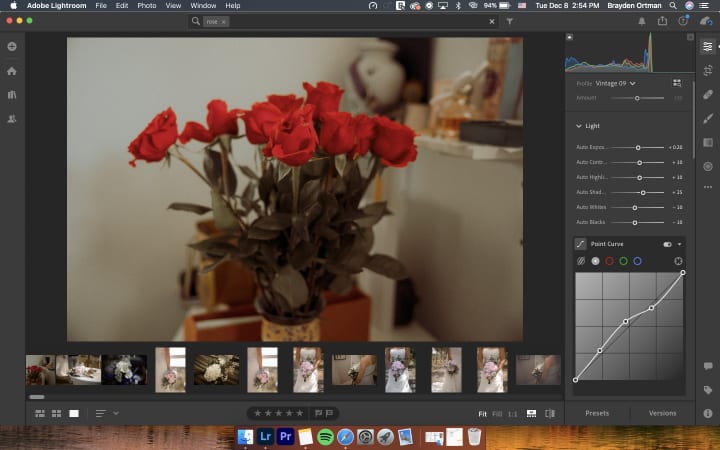
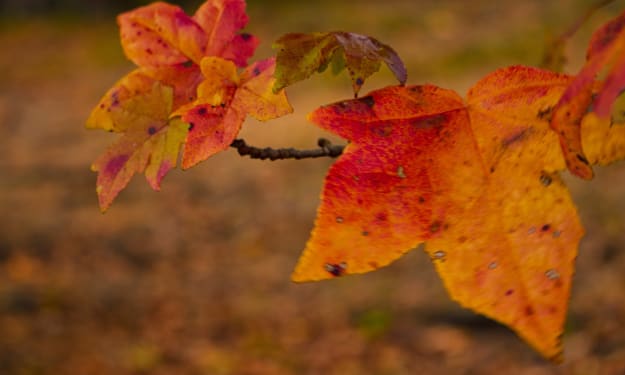
The most effective film presets use the colouring mixer to achieve their older style. This mainly consists of highly desaturated secondaries with one vibrant pop of a primary. In this photo of the roses, I chose to desaturate every single colour, except red. This allows you to attain the beautiful antique tones, but retain the excitement of your photo! I highly suggest keeping the subject as colourful as possible to direct visitors to the purpose of your picture. After all, there is no point in posting your stunning stills if the subject isn’t the main reason!

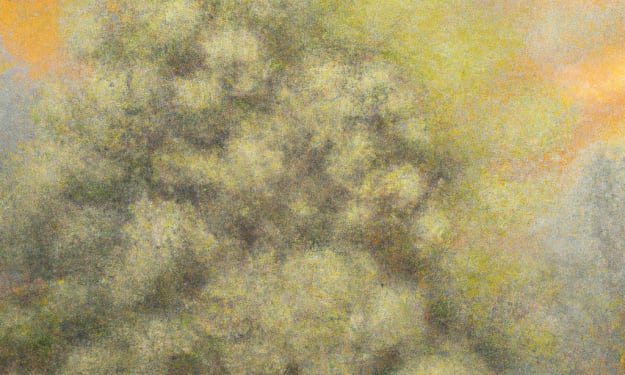
Once your colours have been set, we’ll thrown some grain into your still, which is arguably the most important part of creating a film preset! There are three very crucial settings in the grain section.
- Grain (itself)
- Size
- Roughness
You have to ultimately experiment with these to find which settings look best on your photo. However, I can teach you what each of these dials control! The grain will control how close or far apart (and how small or large, to an extent) each individual grain will be. If you choose far apart, your photo will not appear very old, and if you choose closer together, your photo will be fuzzier!

The next setting is the size of the grain! Essentially, the higher the number of the size you set, the older your picture will look. Since each individual grain size will be increased, the fuzz will occupy more space, which will limit how many details will clearly appear. This is one of the bigger factors to determine if your photo will truly look vintage! If you want that old-school vibe in your album, choose the higher settings. After all, most productions before the early 2000s were not crystal clear quality, your work shouldn’t be either!


Finally, the roughness will change how static the photo appears when fully visible. This setting will allow the photo to appear blotched and messy, and for many, this will appear artsy and timeless. The change is almost like switching from an older television (high setting) to a new television (low setting), or the equivalent of shooting on a high ISO.


Everyone has different preferences when they begin creating film presets for their photos! I can show you how to achieve all of these styles, but you will ultimately create what you envision for your business or hobby! I hope that this short tutorial gave you some insight into new knowledge and will be useful for you in the future! Happy shooting!
If you want to learn more, I have the following articles available:
5 Social Media Marketing Tips For Photographers
How To Capture Genuine Emotion Through Photography
Elevating Your Wedding Photography Business
Thanks!
About the Creator
Brayden Ortman
I am a wedding photographer, content creator, educator, and media marketer based in Saskatchewan, Canada.
Keep reading
More stories from Brayden Ortman and writers in Photography and other communities.
6 Reasons To Be Thankful As A Creator
Unceasing We can always create content! That is what we have always done best. I am grateful that this wonder does not fade or break, we will always have these outlets to be hopeful. Our ability to create is the entire reason we started our line of work! From our paint brushes, to our vocal chords, and even within our photos, we are limitless and continue to bring our spectacular art into the world without worry! If you encounter any problems, trust me, I believe in you! You will find another way to pursue your biggest dreams and passions. If you need some beginning tips on starting (for photography), I have some information, here.
By Brayden Ortman3 years ago in Photography
Artistic Grace
Within the domain of photography, how you show your work is as imperative as the work itself. "Creative Beauty" is around finding the sensitive adjust between displaying your photography with pride and lowliness, guaranteeing that your creative expression resounds with authenticity.
By Thomas Vasas5 days ago in Photography
Crafting Humble Brilliance
In a world dominated by social media and constant self-promotion, the art of sharing one's photography without appearing boastful has become a delicate balancing act. Crafting Humble Brilliance isn't just about showcasing your work; it's about doing so with grace, humility, and authenticity.
By Thomas Vasas7 days ago in Photography

Comments
There are no comments for this story
Be the first to respond and start the conversation.