


In the above image is a portrait of the Student Scout & Guide Organisation (SSAGO) working on the Aberystwyth Club's records. This task is probably not one of the more interesting tasks to photograph, but it is still my job there to make it interesting.
To explain my thought process, I am going to take it step by step.
Step 1 - Style
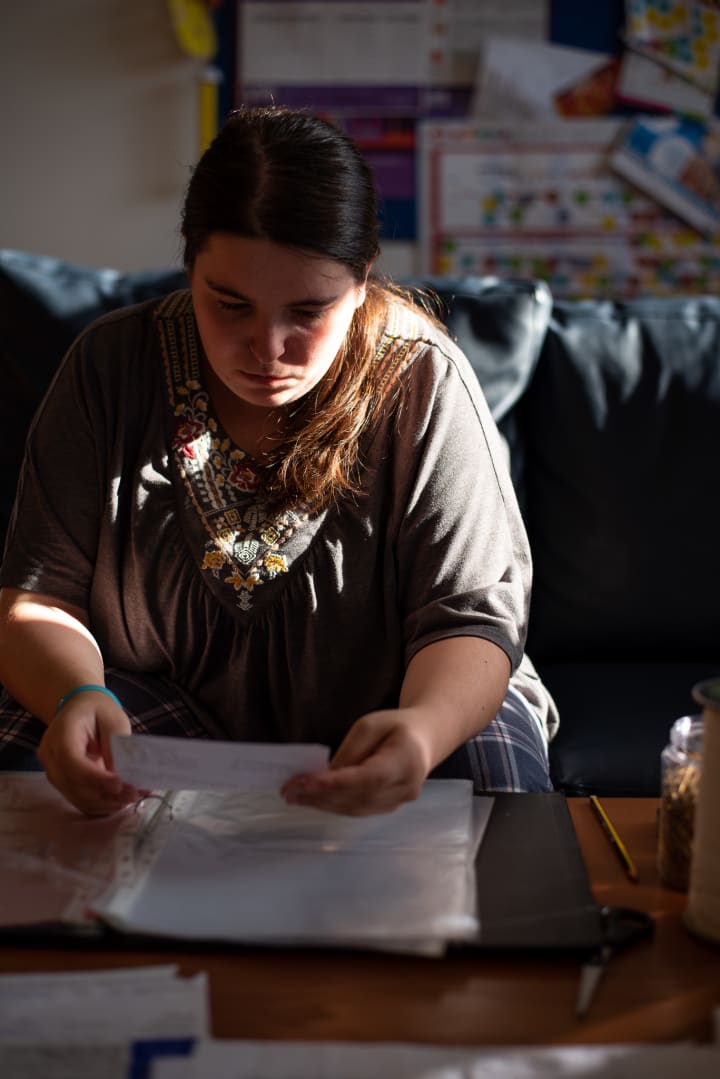
Nikon D750, ISO 100, 50mm, f2.2, 1/400th
The first point to establish with any client is to work out what style the images need to be in. Hopefully, but not always, a client (whether it be a friend or someone hiring you) will have an idea for the end look. I was lucky and unlucky in that my client did not have a clear idea of what they wanted.
That gave me a lot of creative freedom, which meant I could kinda do what I wanted, which means I opted for a less posed look and a more candid style while still having a dramatic look.
The image above shows you can still get a dramatic look with just the sun. It isn't impossible, just needs some work. If you want the kind of "Nat Geo" look, try exposing for the Highlights—some of the high-end Nikon Cameras will expose for the highlights anyway which is useful—and shooting into the sun (but try not to get distracting flare). These two elements can really get some good results. Here, I am not able to shoot into the light as of the positioning of the Archivist.
Another consideration in Style is what are you actually photographing?
For this shoot, I was photographing the archiving in process. I was documenting the documentation and creation of the archive. This leads me into shooting in a Low Key style so the action they were taking was more important than them. It allows the subject to shift between the person and the material being archived (I also love taking dramatic portraits).
Step 2 - Lighting
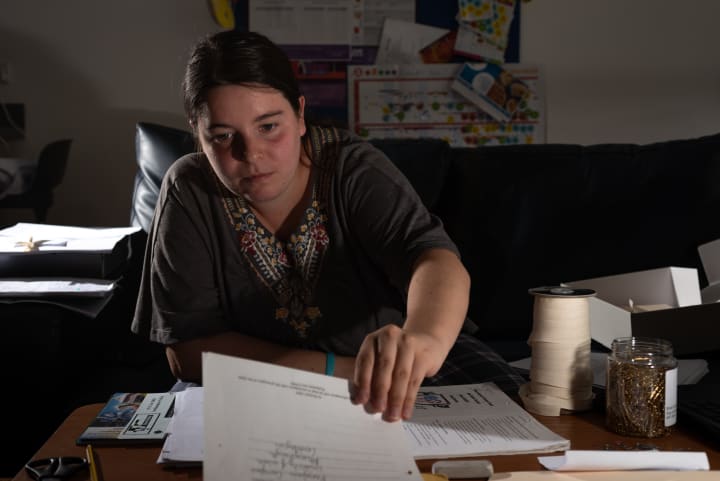
Nikon D750, ISO 50, 42mm, f/5, 1/200th
In this image above, you can see the lighting style which I ended up using as the clouds covered up the sun. It resulted in a two-light system, the first being set to stage right and slightly behind the subject shooting forwards to make the "kicker" light.
This light acts to separate the subject from the background to make some definition for the edge of our subject.
Now I knew the kicker was set and it was going to be a good job. I just had the rest of the image to fill in with one flashgun and needed to keep the dramatic look. I pointed the flash at about a 60-degree angle up and towards the subject and pulled out the bounce card and inbuilt diffuser. This light was set to being on a low power setting—I think it was around 1/32. This filled in the shadow areas while adding contrast to the picture.
You might be wondering how this looked when the sun was streaming through the window. Have a look below. I think it is not that bad, but I prefer it without the sun.

Nikon D750, ISO 50, 36mm, f/2.8, 1/200th
The sun does add a different characteristic and other challenges, especially as it moves around.
Step 3 - Exposure
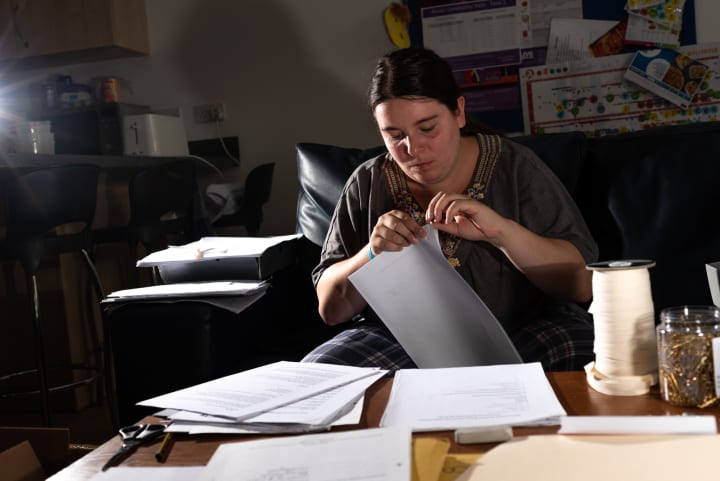
Nikon D750, ISO 50, 40mm, f/5, 1/200
I cannot teach you how to expose your pictures. That is the creative choice which you will need to take. I can, however, explain how I work mine out.
I start by working out the end look I want—in this case, a low key, moody look.
I wanted a shallow depth of field to draw the attention to the actions being carried out by the archivist. This leads to having a wide aperture which in turn lets me have a very low ISO so that I could keep the Low Key look, especially as my shutter speed was limited to the sync speed, the speed which the flashes will light the whole picture.
I also like to get my exposure as close to the finished look while still in camera, as this saves me time in post-production stages. Others choose not to do this but would rather fix it all in post.
As with all pictures, a white point and a black point should always be present in an image.
Step 4 - Post Processing

Nikon D750, ISO 50, f/4, 1/125th
Not a lot of post processing was needed as most of the work was done in camera.
I boosted the contrast a little and made sure a white point and black point existed. That was about it.
In case you are unaware, a white point is where the colours are blown out and look white and a black point is where they are blown out and look Black.
About the Creator
Harrison Galgut
Professional Wedding, Events and Portrait Photographer. Always looking for new experiences and people to meet. Have a look at my work: www.edit6.co.uk
Keep reading
More stories from Harrison Galgut and writers in Photography and other communities.
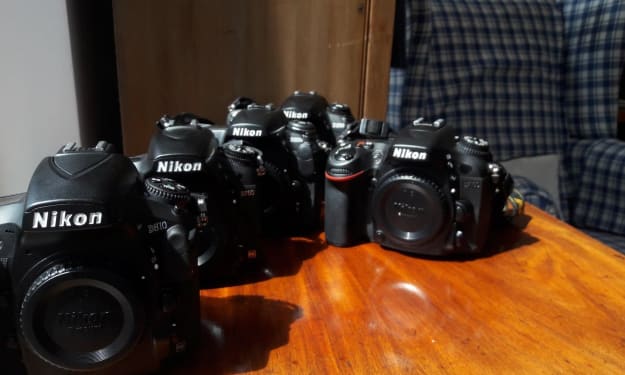
Canon vs Nikon
This article is about what makes a good camera and how to pick a camera for you. I feel now is a good time to write this article as I have a rather large gathering of cameras in my house. If you have read the captions under the photos in my other articles you might see a trend in the cameras I use... Nikon.
By Harrison Galgut6 years ago in Photography
Capturing Magic
In the world of photography, timing is the key to everything. While skilled compositions and technical proficiency are undoubtedly crucial, the perfect lighting can create the perfect photo. Nowadays, we can determine any light ourselves and are no longer dependent on any natural light source, thanks to the developed technology. We can turn every day into a night by using the right filters. And we can illuminate every night to be seen as a day. A typical process, especially in the film industry.
By Krishan Mubashar8 days ago in Photography
Cristiano Ronaldo, often hailed as one of the greatest footballers of all time
Cristiano Ronaldo, often hailed as one of the greatest footballers of all time, has had a storied career marked by unparalleled success and remarkable achievements. From his humble beginnings in Madeira, Portugal, to becoming a global icon, Ronaldo's journey is nothing short of extraordinary.
By Mithun Gainabout 2 hours ago in Photography
In The Blink of Her Eye
Time itself bent and morphed, allowing Shannon the precious seconds needed to see and adjust to the disaster unfolding in front of her. Each frame showed minute details she would have missed had the clock not slowed down until she heard every click of the hands as they swept toward the end of everything. If only she was being melodramatic...
By Lisa VanGalen3 days ago in Fiction


Comments
There are no comments for this story
Be the first to respond and start the conversation.