


This was a fun project to do, the result is amazing and the design is simple!
There are lots of resources on the web for DIY Viking Chairs; pages, videos and plans. There are no set rules! You can find all sorts of different measurements. For my project the upright pieces are roughly 4 ft. and the seat pieces are roughly 3 & 1/2 ft.
I cut the bottom of the hole about 10" measured up from the bottom of the upright pieces. I then traced a paint can to mark the round cut to create feet and jigsawed the rounds.

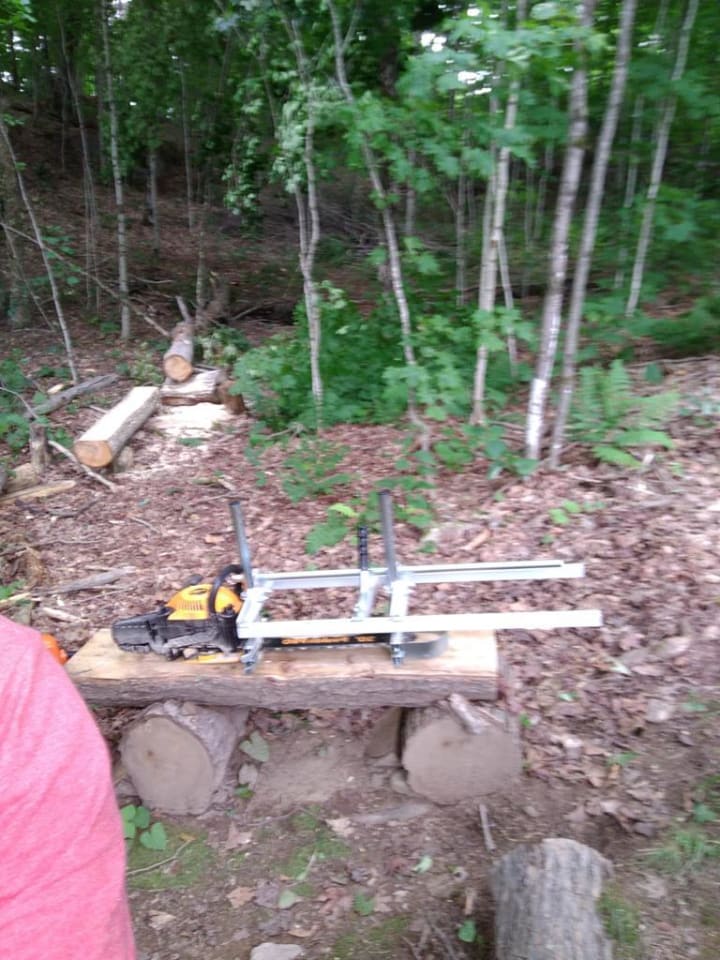
Now, you can make these out of 2 x 12 lumber. And most people do just that. For me, I happened to be sitting on a piece of live edge Basswood that I milled from a dead tree we had to take down on our property. My girlfriend had gotten me an Alaskan Sawmill for a birthday present and I went to work slicing a bunch of planks up for project boards.
That tree gave a great harvest! The wood was used to make an arch for my niece's wedding. I also used some to make a small bench. This happened to be my last full ones and they were calling out to me to be used!

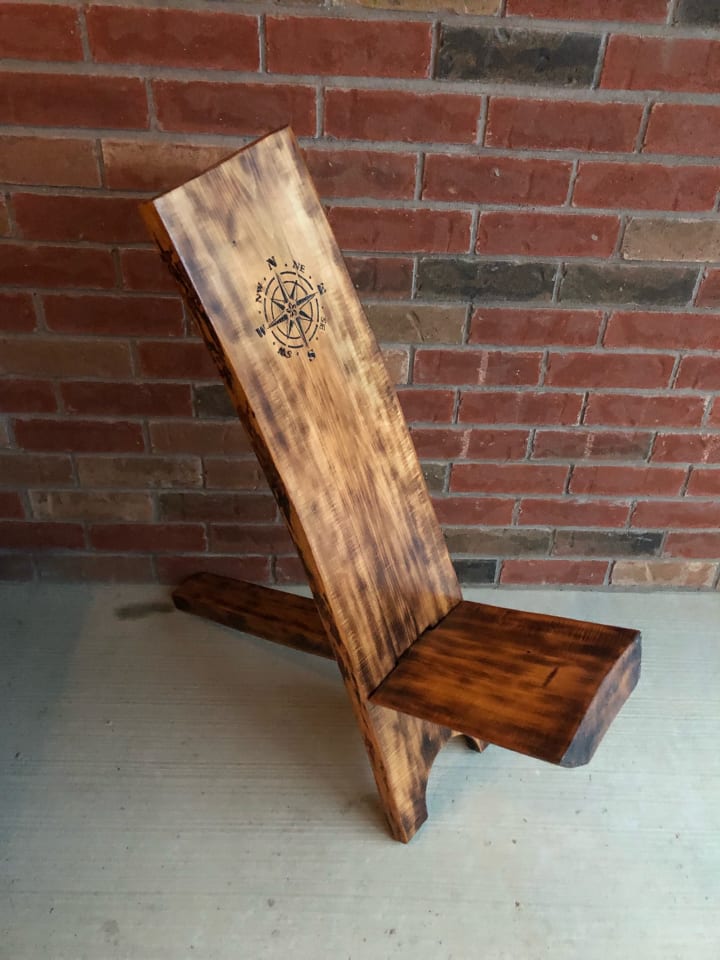
Working with live-edge lumber can be a challenge. As you can see; the boards curve. There are no straight edges, which can be a problem to the OCD in us all or you can go with it and embrace the organic feel.

I measured and cut the holes in the upright pieces. Then I cut the seat pieces to be able to fit through those holes. There was some sanding and filing that took place to ensure they fit.
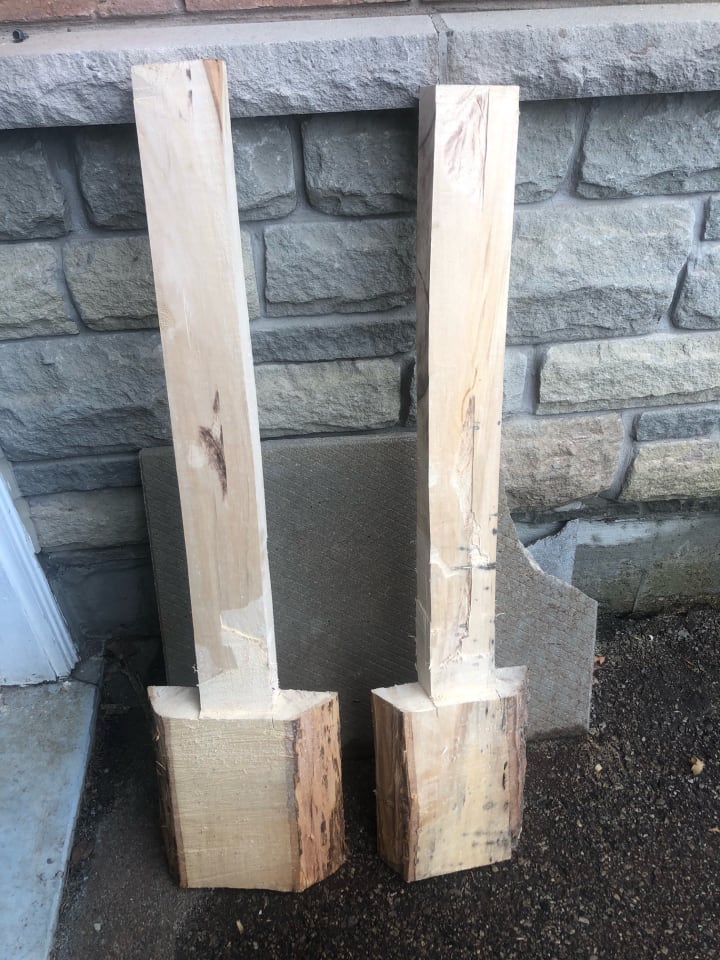

I used a paint can to trace and cut out the rounds at the bottom. I centred the can and chose an appropriate arc on the first chair. Using a sharpie, I marked the edges of the can where they met the bottom of the board and then repeated tracing on the second chair.
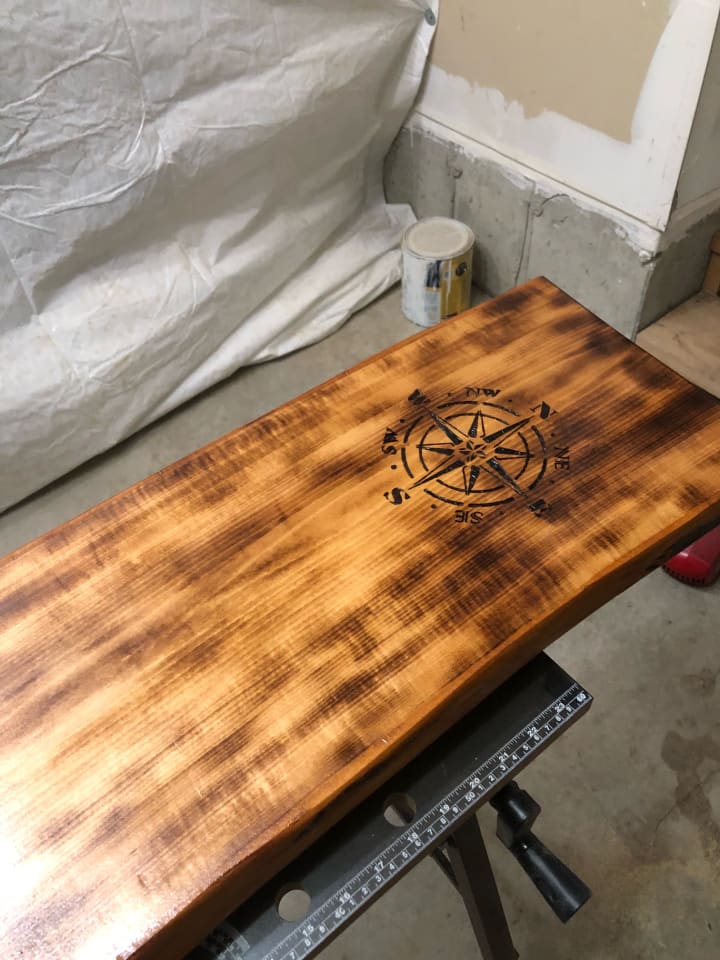
Next I used a propane torch to lightly burn the wood. I find the trick here is to keep moving the flame. Slowly! But try not to stop and rest in any one spot. Anywhere I stopped the flame for too long or went back over for a second pass got really darkened. Too fast is no good, too slow is no good either...you're going to burn certain spots too much. Face it, it's like roasting marshmallows!

Once I had both sides of each board charred, I went back over them with a 120 sandpaper to feather and blend in the burn marks.
I took a break at this point and thought about something to really give some character to the chairs. I appreciate some of the Celtic knots and designs. Also, my girlfriend and I love the outdoors and camping. So I went on Amazon and searched out stencils. At first I considered just painting something on and then varnishing over it. There are lots of reusable plastic stencils on Amazon that are perfect for this. Then I found a metal compass rose stencil and I decided that would be even better! I have a wood burning kit and the metal would stand up against it. So I bought that through Amazon Prime and got it within a day.

Tape the stencil in place so it doesn't move, and change up the bits in your wood burner for the larger and finer parts of the stencil. Don't be afraid to burn deep!
At some point I fit the pieces together and decided that there was too much movement in them when I sat down. So I decided to cut a hole in the seat portions behind the uprights. I then used a piece of a branch to make locking pins. With these, the chairs feel more sturdy when sitting down, and you can lift and move them on your deck without the pieces coming apart.

To finish up, I used a light Varathane stain covered by an outdoor Poly. These can also be gotten from Amazon. Choose your colours by taste!
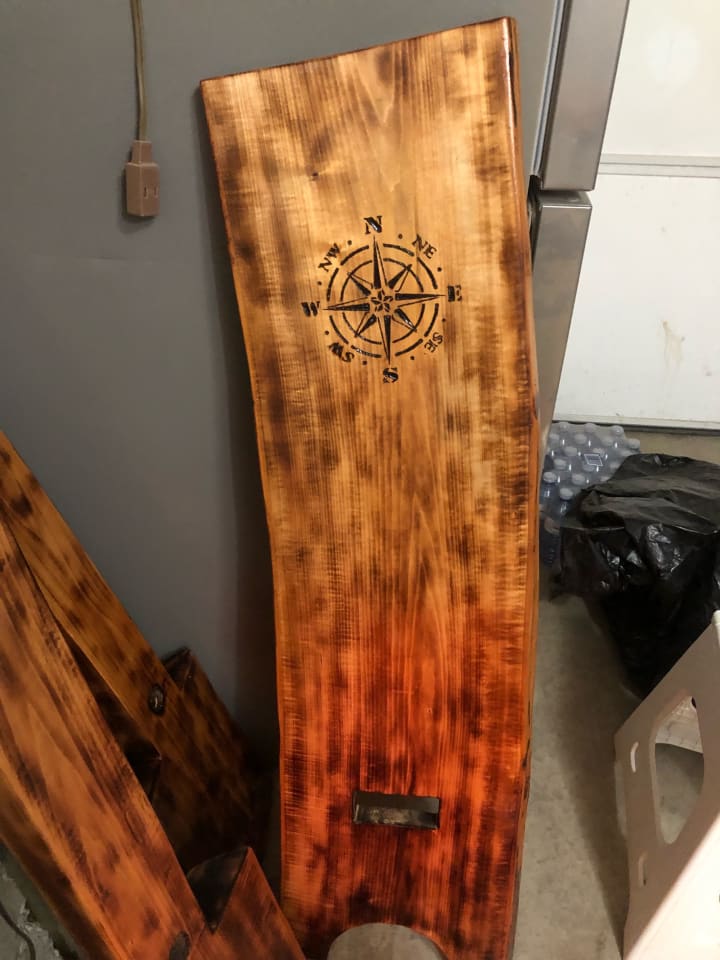
And voila! Two Viking Chairs! Portable, easily stored, comfortable and stylin'. Ready for some patio weather!

I'm hoping this inspired you to make your own Viking Chairs. If so, drop a picture or a link in the comments!
About the Creator
Michael Gimera
Michael is an author and background actor with varied interests.
I try to write slowly, in deference to those who don't read very fast. ;)
Whether you loved, endured or hated my story; please leave a comment to tell me about it!
Keep reading
More stories from Michael Gimera and writers in Lifehack and other communities.
A One-Stop Online Shop Serving All Of Canada? That's Aosom!
Has it ever happened to you, that you find a really great-looking product online at an amazing price, and only after you've placed your order do you realize that it's being shipped from the other side of the world? While looking up your tracking number, you're assured that it will arrive in 14-20 days, but months later it still hasn't arrived. Or, after you've found the perfect item and found it on sale, you learn that it's listed in another currency. Then, on check-out, you find that there will be unexpected extra shipping, tax, and import fees tacked on that undermine the great deal you thought you were getting.
By Michael Gimera3 years ago in Lifehack
The Ultimate Guide to Extreme Weight Loss
The Ultimate Guide to Extreme Weight Loss: Effective Strategies for a Healthier You Losing weight is a common goal for many people looking to improve their overall health and well-being. While there are numerous weight loss strategies out there, extreme weight loss methods have gained popularity in recent years. This guide aims to provide you with effective strategies for achieving extreme weight loss in a healthy and sustainable way. Whether you're looking to shed a few pounds or make a significant transformation, this guide has got you covered.
By Abbaoui Abdelhafidabout 12 hours ago in Lifehack


Comments
There are no comments for this story
Be the first to respond and start the conversation.