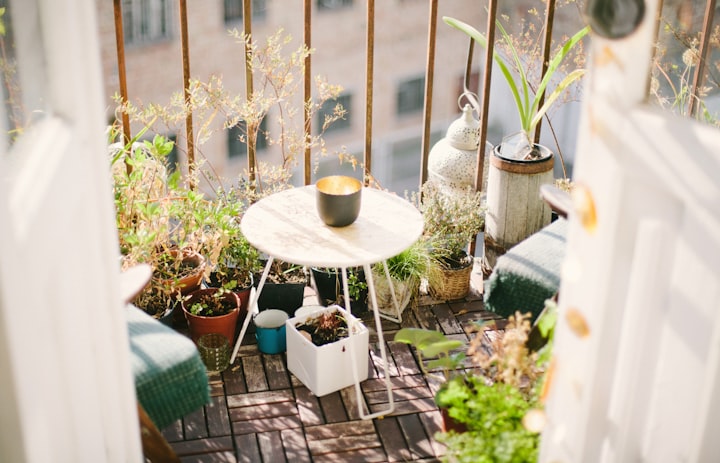
This is how you renovate your balcony!
As a rule, a balcony is often exposed to constant weather conditions.

As a rule, a balcony is often exposed to constant weather conditions. Moisture plays a particularly important role here. Water accumulations, which are also formed by dew but mostly by rainwater, can flow between the concrete floor of the balcony and the layer above. For example, some people have fitted their balcony with wooden planks, usually for visual and/or haptic reasons. This accumulation of water is not entirely without danger because it can attack wood from the underside, for example through mould growth. Especially in winter, however, there is a risk of frost. This causes the water to freeze to ice, which spreads due to its lower density and can cause serious damage to the concrete.
For this reason, in addition to the natural precautions against such situations, one should always be prepared for an emergency. For example, it may be necessary to renew the balcony flooring. Here there are various options as to how exactly this can be done. In almost all cases, however, this also depends on the individual nature of the balcony. As a rule, you should regularly carry out a renovation or have one carried out. This can be done according to a very specific pattern of six steps.
German Experts over at gewa-balkone.de shared their expertise with us. If you want to know more, visit their page on: Balkonboden Belag erneuern (german).
Step 1
First, the old flooring should be removed until only concrete is visible. This is then thoroughly cleaned, this is usually best done with a high-pressure cleaner. Then the absorbency should be checked by pouring a small puddle of water onto the balcony floor. If it is not absorbed by the concrete within three minutes, the floor should be sanded down again thoroughly with a sander.
Step 2
Afterwards, any cracks and holes in the concrete should be closed with mortar. A trowel is ideally suited for this. It is also important to note that the entire surface of the balcony should be slightly sloping away from the house wall. In most cases, a slope of 1 to 2 percent is sufficient to allow rainwater and melt snow to run off. If necessary, a layer of screed can be laid, increasing in the direction of the house wall. An insulation strip should be inserted between the house wall and the screed.
Step 3
The next step is to seal the balcony. The sealing coat must first be mixed. It can then be applied evenly with a tassel or paint roller. This must usually be repeated several times. The paint should be allowed to dry completely after each application. More detailed information can usually be found in the manufacturer's instructions.
Step 4
A recommended option is now to install decoupling, building protection or drainage mats. They ensure that movements and tensions of the subfloor are not transferred to the tiles. In this way, they can usually remain intact for longer. Furthermore, they should always be used to even out minor unevenness, while at the same time protecting the sealing coat underneath. Finally, the joints and edges at the edges should be sealed with sealing tape.
Step 5
If you decide against the mats for decoupling the balcony, you should now sand the top layer of the sealing coat with quartz sand. In this way, the coating can bond better with the tile adhesive and the tiles can adhere to the substrate optimally. Decoupling mats do not need to be sanded. The tile adhesive should now be applied both to the underside of each tile and its respective place on the balcony floor. Once the tile has been successfully fixed in place, it can be tapped with a rubber mallet.
Step 6
The tile adhesive needs about two days to dry. Afterwards, all connection and corner joints should be grouted using weatherproof silicone. The tile surface should also be grouted with grout. If necessary, you can now carry out a few more improvements, such as a new railing or new gutters.


Comments
There are no comments for this story
Be the first to respond and start the conversation.