

As the name sounds, Restorative yoga is all about bringing the tense muscles into a state of deep relaxation.
History of Restorative Yoga
When modern yoga was emerging in India during the 19th century, many famous styles of yoga took birth from it. A famous yoga teacher at that time BKS Iyengar developed a style of yoga, popularly known as Iyengar Yoga, bought light on yoga props. Using yoga props, a person with any physical injuries, restrictions or disability could perform advanced posture with ease and get benefits from it.
Later this concept of using yoga props and holding poses for longer duration turns out in another form of yoga we know today Restorative Yoga. Judith Lasater while working with Iyengar Yoga came up with the idea of Restorative Yoga and popularized it in the United States.
How is Restorative Yoga Different from Other Styles of Yoga?
Restorative yoga is totally the opposite of Vinyasa yoga in terms of flow. Where in Vinyasa yoga you jump from one pose to another with the very subtle breath change, In Restorative yoga, the same poses are held for an extended period by the use of yoga props.
For example, among most common resting poses, one can get the child’s pose extra advantages when performed using yoga props like bolster and place it between the legs before lying down.
However, you can relate Restorative Yoga to yin yoga when we emphasize on two things alone;
1. The use of props
2. Holding poses for longer duration
But still, in contrast to Yin yoga, Restorative yoga is preferred when you have some kind of physical injury or less experience for a yoga pose rather Yin yoga poses are performed by healthy individuals and here intention of holding poses for longer duration is to build strength not deep relaxation.
What are the Top Benefits?
Restorative yoga cultivates a sense of relaxation physical as well as mental level. This makes it a great option to be a part of your meditation session.
In restorative yoga, when you hold a pose for a longer duration, it releases tension from muscles and promotes a deep sense of relaxation. Physically the poses of restorative yoga are very soothing for lower back pain and frozen shoulders.
“When the body is relaxed, the mind comes to its rest state automatically” This exactly happens in restorative yoga. Brain starts reducing the production of stress producing hormones and our parasympathetic nervous system (rest & digest system) activates. It makes restorative yoga pose a helpful remedy in mental illness.
Restorative Yoga Poses
Child Pose(Balasana):
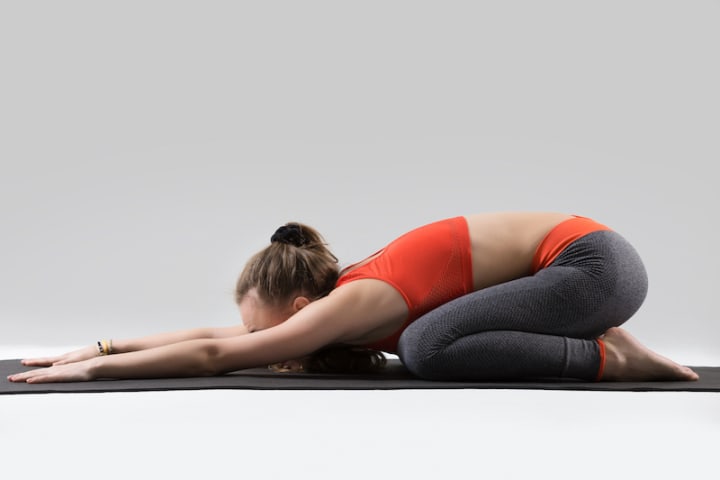
Child Pose Step:
- Kneel on the floor with your arms by your sides. Inhale; draw your navel in and slowly fold forward. Rest your torso on your thighs. Exhale; lower your forehead to the floor.
- Stay in this position, inhaling; feel your body expand, exhaling; allow your body to soften and contract. Let go of any tension and simply focus on your breath. Allow your spine and hips to passively open.
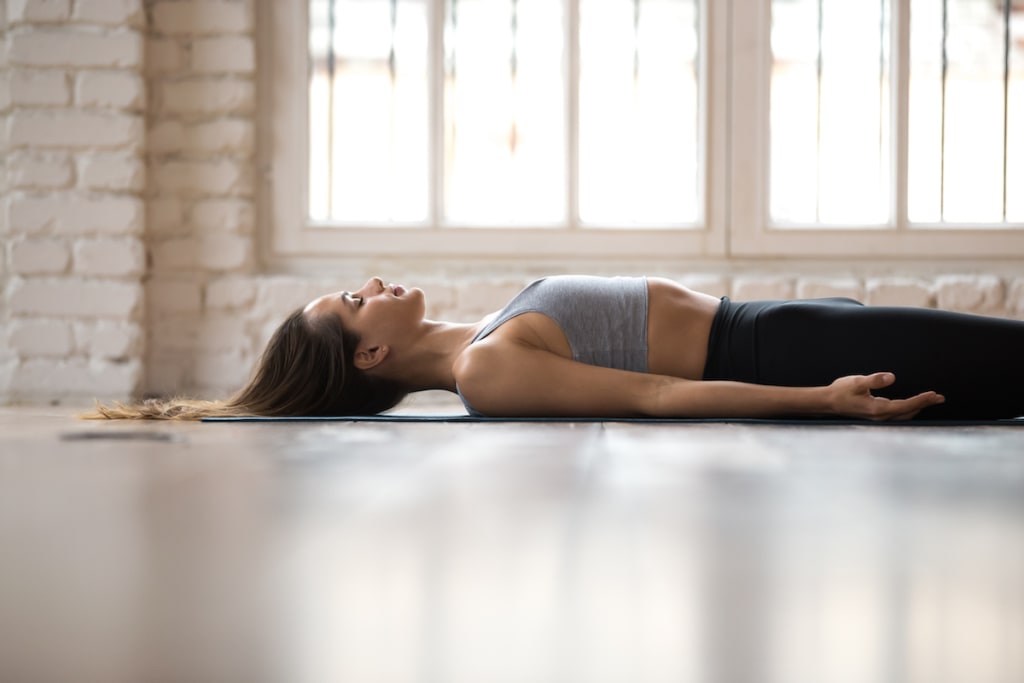
Fish Pose(Supported Matsyasana)

Fish Pose Step:
- Sit in padmasana and relax the whole body. Carefully bend backward supporting the whole body with the arms and elbows. Lift the chest slightly, take the head back and lower the crown of the head to the floor.
- Hold the big toes and rest the elbows on the floor.
- Adjust the position of the head so that the miximum arch of the back is attained.
- Relax the arms and the whole body, aallowing the head, buttocks and lags to support the weight of the body. Close the eyes and breath slowly and deeply.
- return to the starting position, reversing the order of movements.
- Repeat the asana, with the legs crossed the other way.
Corpse Pose(Shavasana)

Corpse Pose Steps
- Lie flat on your back with your legs together but not touching, and your arms close to the body with the palms facing up.
- Keep your eyes gently closed with the facial muscles relaxed and breath deeply and slowly through the nostrils.
- Starting at the top of the head and working your way down to the feet, bring your attention to each part of your body, consciously relaxing it before proceeding on to the next.
- Remain in the shavaasana for between 3 and 5 minutes or longer. If you become sleepy while in the shavaasana begin to breath a bit faster and deeper.
Supine Twist Pose
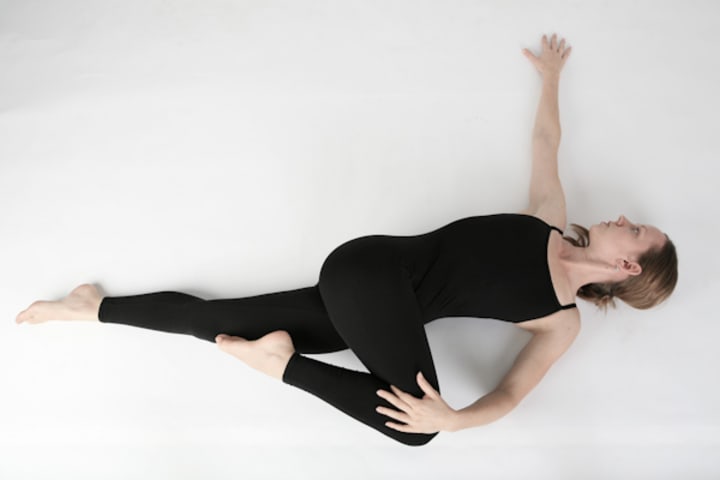
Supine Twist Step
- Start by lying on your back with your knees bent and up toward your chest.
- Stretch your arms out into a T position on the floor, maintaining alignment between your elbows and shoulders.
- Lower your knees gently to the right, up as high as your belly button, while trying to keep your left shoulder blade pressing into the floor.
- Create length along the left side of your torso by focusing on your left hip and your left shoulder reaching in opposite directions. Your head and neck should stay where you are most comfortable.
- After a few deep breaths, switch sides
About the Creator
Subham
I am Subham from India. I am learning and writing about yoga from last few years. I also love travelling to explore myself.
Rugs and Carpets: Stepping Up Your Decor Game
Rugs and carpets are the unsung heroes of interior design. They are more than just floor coverings; they are powerful tools that can transform a space. According to a 2023 survey by the American Society of Interior Designers, a whopping 78% of design professionals believe a well-chosen rug can significantly elevate a room's aesthetics. Rugs can define areas (think visually separating open-plan living areas) and add a touch of personality through bold patterns, vibrant colors, or unique textures.
By Shahla Khana day ago in Lifehack
Overcoming Social Anxiety: A Journey to Confidence and Connection
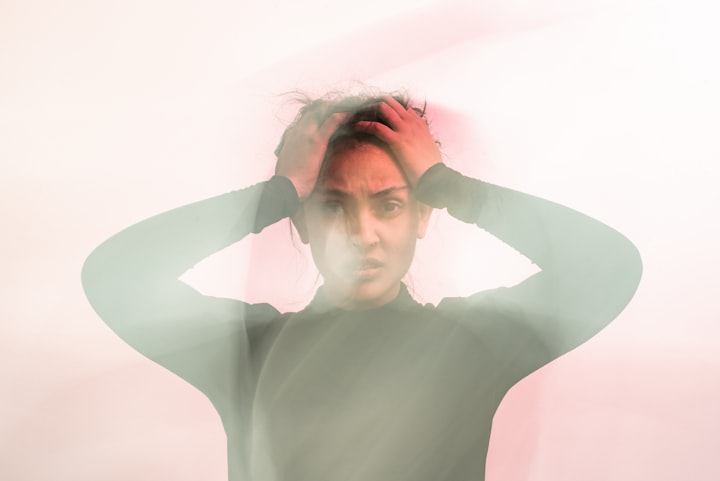
Social anxiety is a common mental health condition that affects individuals of all ages and backgrounds. It can make social situations feel overwhelming, leading to feelings of fear, self-consciousness, and isolation. However, with understanding and effective coping strategies, it is possible to manage social anxiety and thrive in social interactions. In this post, we will explore various aspects of dealing with social anxiety and provide practical tips to help you overcome it and cultivate confidence and connection.
By Rebecca Smith7 days ago in Lifehack
The Business of Nature
Dew drops reflected the light of the sun. The inhabitants of Whispering Woods woke up to the golden droplets of water on the leaves of the flora. The oaks particularly enjoyed the light and the maples did, too. Happiness enveloped all who lived there, even the rocks that cried out in the night delighted in the morning.
By Skyler Saundersa day ago in Fiction


Comments
There are no comments for this story
Be the first to respond and start the conversation.