
Packing It Right
How To Assemble A Bug-Out Bag

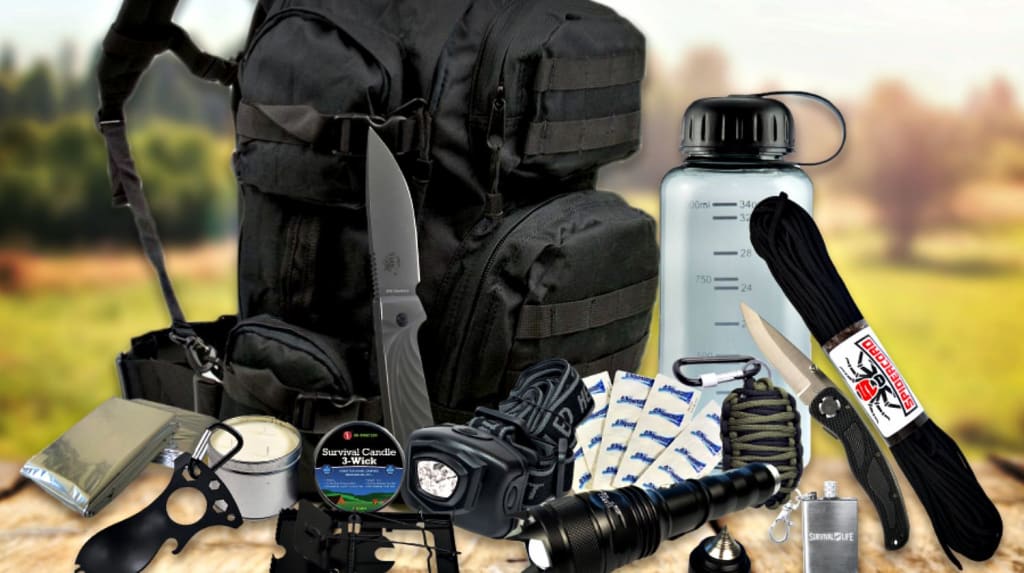
Once you get your home disaster ready, the next big step is to assemble a bug-out bag (or BOB). The point of your bug-out bag is to help you evacuate as quickly as possible. Many sites provide you with a list of what to pack, but almost no one tells you how to pack it. I’ve seen bug-out bags filled with everything you could think of, including a kitchen sink. Bug-out bags are completely personalized, so I can’t tell you for certain what to pack in yours, but I can give you tips on how to make a more reliable bag.
Where Are You Going?

This is the first thing to consider when assembling a BOB. Let’s assume Point A is your home. What supplies do you need to get from there to your bug-out location (or BOL)? How long will it take you to reach it on foot? Are you passing by any loved ones’ homes? These are all factors that you’ll need to answer to decide on what supplies you need to carry. The goal is to get out of the yellow zone, which can be ten to twenty miles long. It would take you two to four hours of walking to clear this distance without resting. If in a red zone, your best chance of survival is to shelter in place (https://vocal.media/education/sheltering-in-place). You should plan to take at least one break during this trip. This is why you should plan your route, so it passes by a loved one’s house. By adding stops along the way at trusted locations, you can carry a much lighter pack as you can use these as refill stations. Knowing where you are going also helps you determine what to carry. If staying with someone, or at a hotel, you won’t need to bring toiletries or bedding, but you would need to bring these items if staying in a public shelter to make your stay more comfortable. Plan to stay at your BOL for at least a minimum of 48 hours.
Selecting A Bag
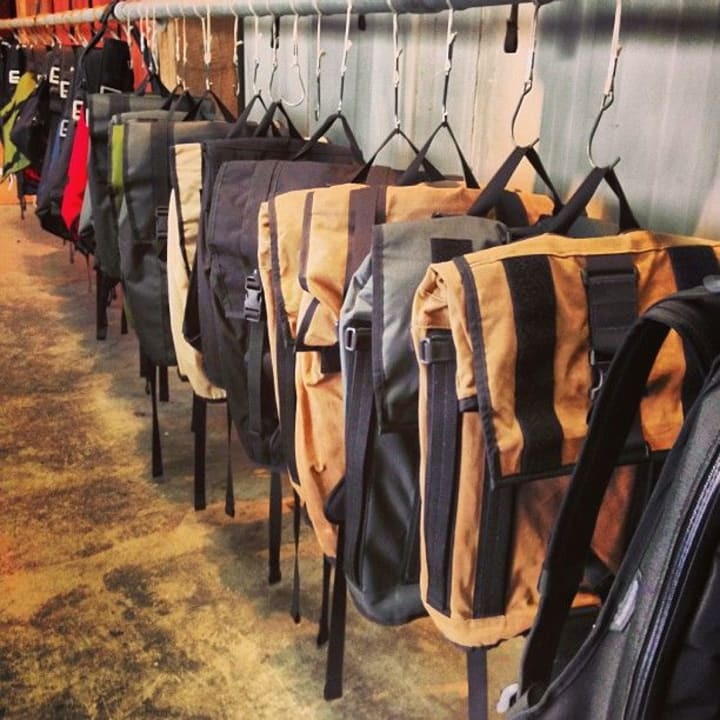
Once you know what you need to get there, you’ll have a rough idea of what bag you’ll need to get to carry everything in. The bag’s weight should not exceed 20% of your body weight. The bag doesn’t have to be a fancy hiking backpack, it could be as simple as a rolling suitcase. Another thing to consider while bag shopping is how it looks. Camouflage might make you look cool, but it’ll make you a target to thieves thinking you are part of the military and carrying high-grade supplies. If it’s from a fancy designer, they will think you are carrying top-of-the-line electronics. Your best pick would be a plain black or brown bag you can get at a back-to-school sale from any big-box retailer. Get one with one to four pockets on it to store little things like lighters and nail clippers. If you get too many pockets, then you’ll likely lose your stuff in them.
Pack It Like A Stop Light

This is an old trick taught to me by veteran preppers. What this means is, consider your BOB as a stoplight. The bottom, or green light, is the stuff you’ll need once you settle down for the night. This section will include heavy items like canned food and books, your sleeping bag, and basically anything you need to relax for the evening. The middle part, or yellow light, is the supplies you’ll need to set up the actual camp. This will include rope, shelter, fire-starting supplies, and quick energy snacks. At the top of your bag are the red supplies. These are the most important essentials you’ll need at a moment’s notice, like a first aid kit, flashlight, and a map. How your supplies are divided into these tiers is entirely up to you.
Dry Run

This is the best way to ensure your bug-out bag is at its most efficient. If possible, do a practice run at least once a month with your BOBs. This will show you where your weak spots are, and what supplies you don’t need to reach your bug-out location. This will also give you an overall view of how long it will take you and your family to reach each marker, or rest stop, along the way. You don’t have to go to the extreme of going from your home to the bug-out location every month if you don’t want to (but you should do this at least once a year). A simple backyard trip will be just fine. Just as long as you are outside living off just your bag. Try to practice the weather patterns most common in your area. This will provide you with the most accurate understanding of what you need in your bug-out bag to make travel smoother.
About the Creator
M.L. Lewis
Welcome to my little slice of pie. This blog will primarily focus on prepping and homesteading skills with a sprinkle of fiction every now and then.
Reader insights
Nice work
Very well written. Keep up the good work!
Top insights
Easy to read and follow
Well-structured & engaging content
Expert insights and opinions
Arguments were carefully researched and presented
On-point and relevant
Writing reflected the title & theme
Keep reading
More stories from M.L. Lewis and writers in Lifehack and other communities.
Nature's Seasonings
Herbs are easy crops that are perfect for beginner gardeners. An herb is any herbaceous plant that is seed-bearing and doesn’t have a woody stem that dies shortly after the flowering phase. They are often used as a flavoring, food, medicine, or perfume base. Herbs have always played an important role in many cultures for centuries. They originally were used as a food preservation method and have grown into much more than that. These are just some of the great choices available for the doomsday garden.
By M.L. Lewis2 years ago in Lifehack
Principles of a Purposeful Life: Insights from Hadith and Civil Dialogue
In a ageless hadith, the Delivery person of Allah, peace be upon him, conferred important standards basic for driving a deliberate and fruitful life. These standards, established in intelligence and divine direction, offer a guide for exploring life's complexities with elegance and ideals. Let us dive into each guideline and investigate its noteworthiness in forming our lives:
By Ahsan Ahmad5 days ago in Lifehack


Comments (1)
Very insightful! I have some bags I bought awhile back that I hope to use for this purpose. Trying to become better prepared for emergencies but not lose my shit about it. XD