
Install FaceFusion | Swap Faces on a video
Industry-leading face manipulation platform
In this blog, we will guide you on how you can install Facefusion locally on your computer. Facefusion is a leading face manipulation application that can be used to swap faces, AI Face Swapping Videos, and more.
Whether you're a beginner or an advanced user, this step-by-step guide will help you set up FaceFusion locally on your computer. We have included all necessary files download links, creating the python environment setup, and useful commands you need to run FaceFusion. By the end of this guide, you’ll have Facefusion up and running locally, ready to create face swap videos or images from your desktop. However, please do note that the speed of the conversion directly depends on your PC capabilities. Faster will be the result if your computer has the NVIDIA graphics and GPU compared to only CPU laptops.
Here is a complete installation guide to install Facefusion.
1. Install Anaconda
To install Facefusion, we will be using Anaconda. The installation process is very simple. You can go to the Anaconda official website (or click on the link below), choose the operating system, and simply download the Anaconda and run the installer. The setup process is very simple.
For those who do not want to use Anaconda, this application can also be run using Python version 3.12. However, in this tutorial blog, we have provided all the instructions using Anaconda (you may skip a few steps).
Download Anaconda: Click here

2. Create and activate Python environment
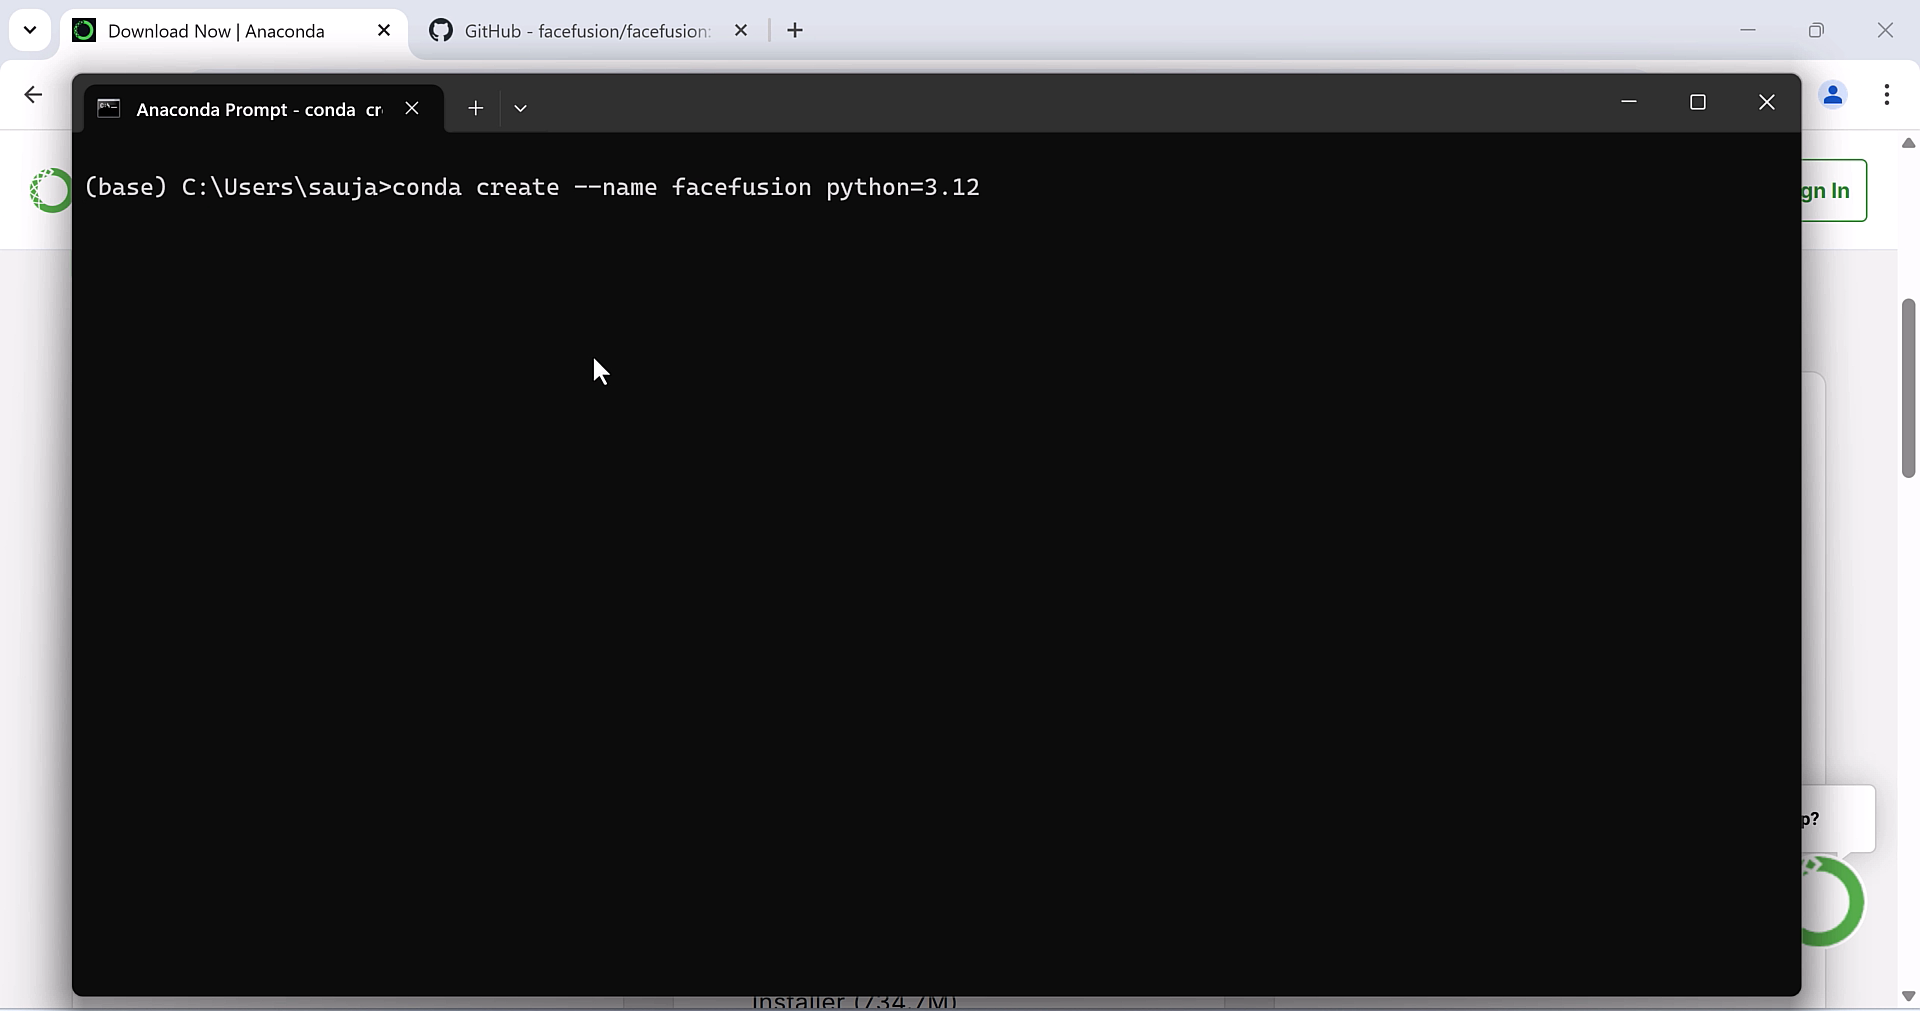
After Anaconda is installed, go to the start menu and open Anaconda Prompt. Now we will need to create a Python environment and activate it. To do that, simply run the following command. This will create a python env with 3.12.
Create Python Env: conda create --name facefusion python=3.12
Activate Python Env: conda activate facefusion
3. Download the facefusion files
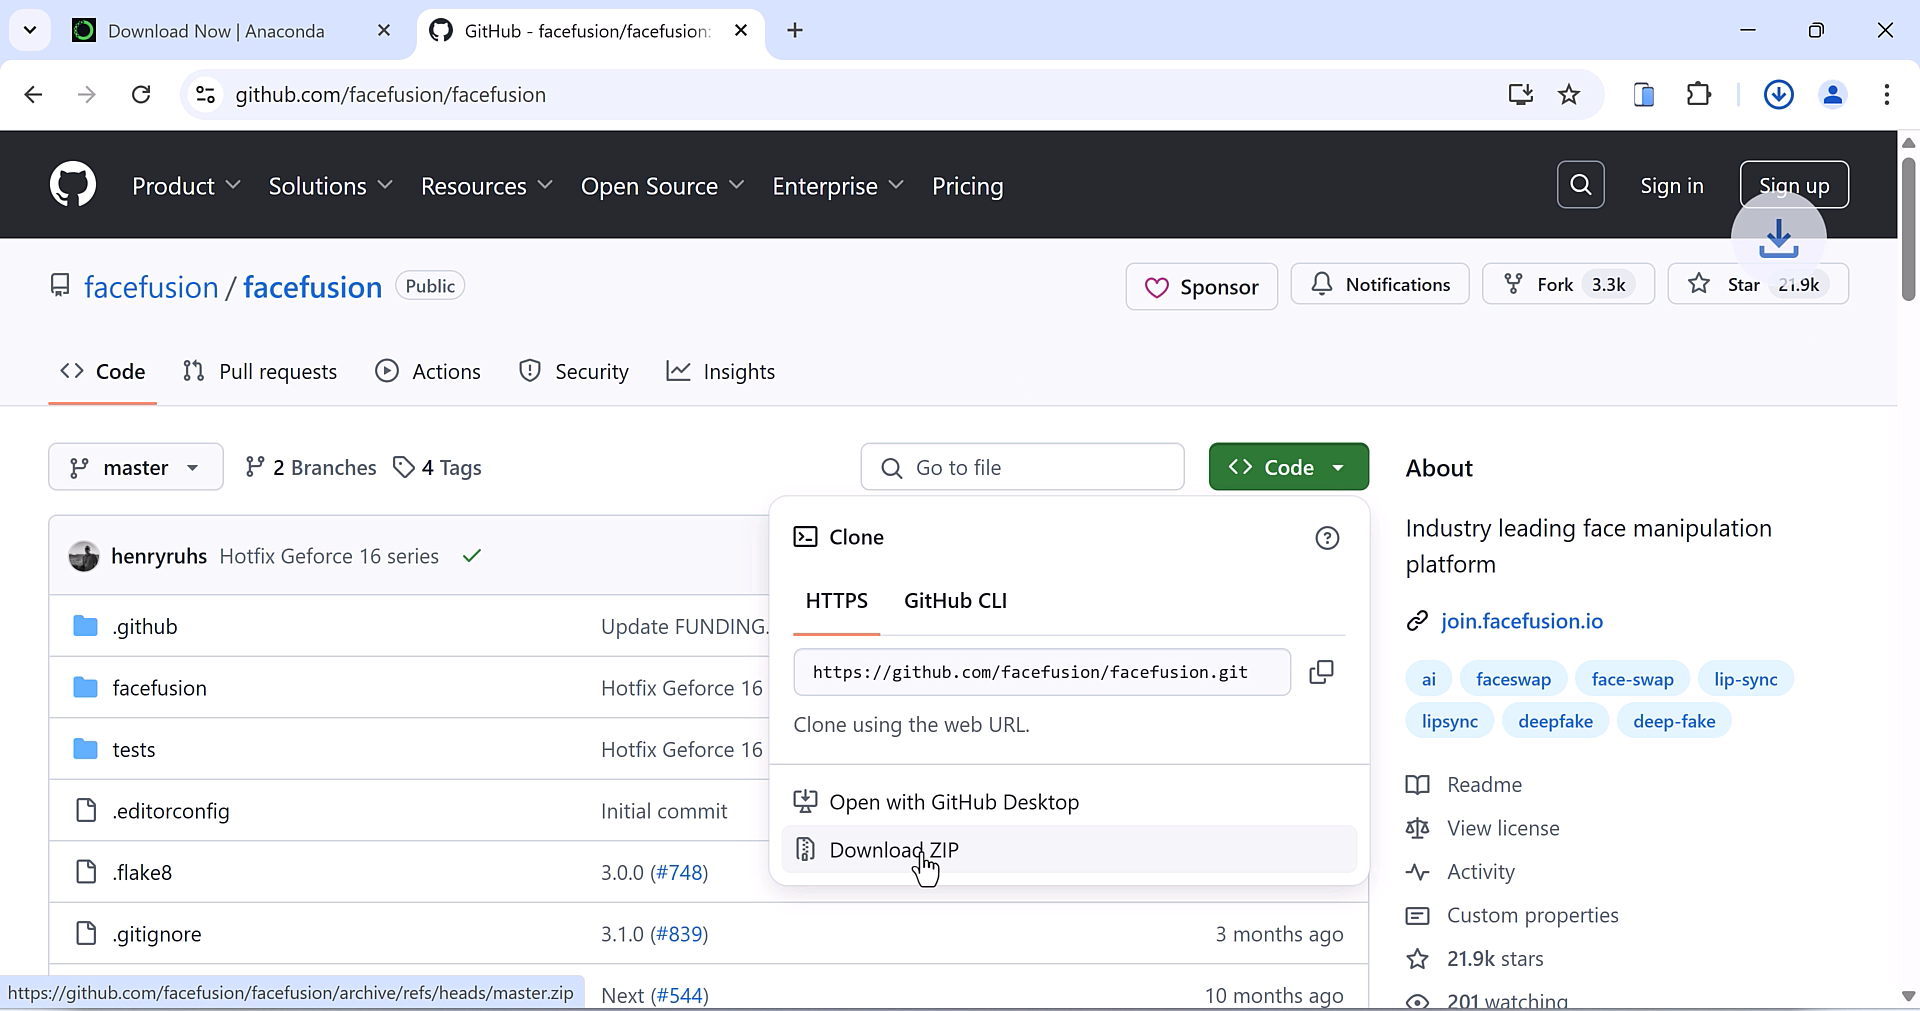
We will also require the facefusion files to run the application. For that, head over to the github page and download all the facefusion files. Extract the zip file to your computer.
Download Facefusion: Click Here
4. Install dependencies
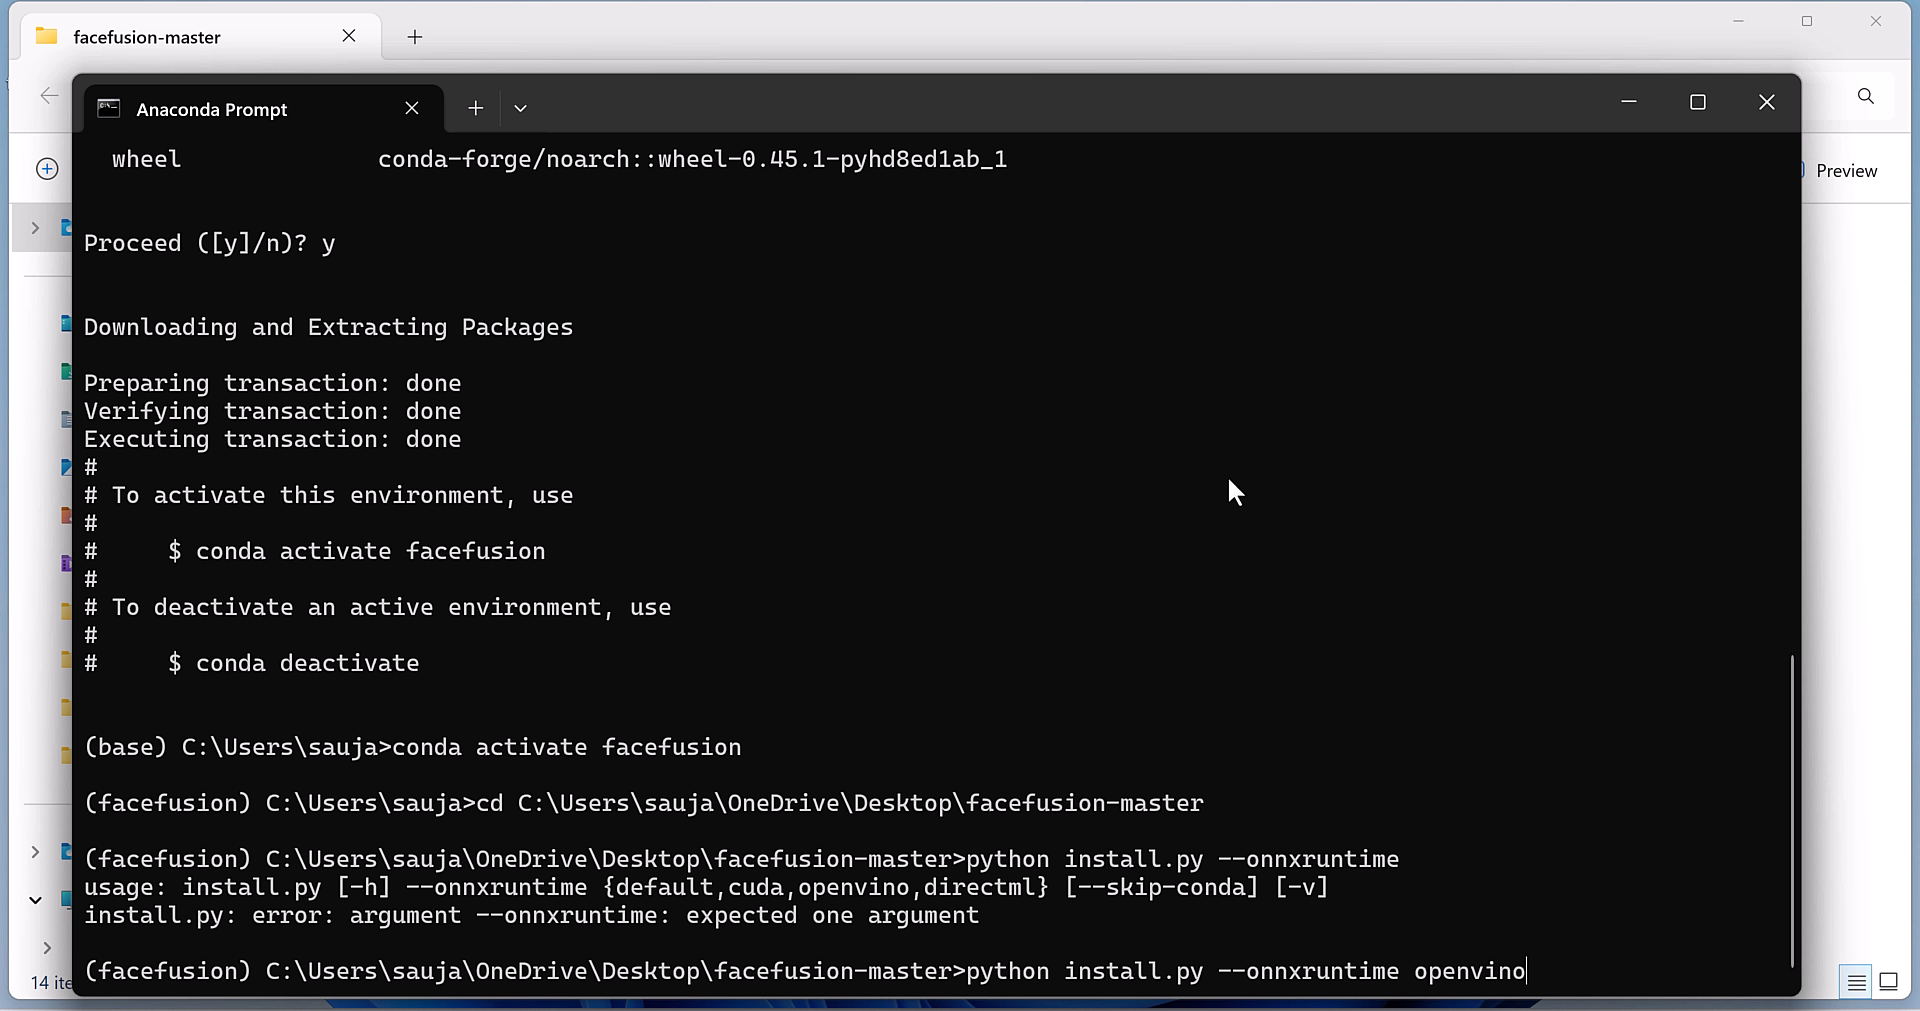
Now we need to install all the dependencies to run Facefusion. First, navigate to where you have downloaded the files and run the command for onnxruntime. Depending on your system, you can use cuda, openVino, or DirectMl. Use CUDA — if you have Nvidia Graphics card; use OpenVINO — if you have an Intel CPU; use DirectML — if you have AMD CPU and GPU.
Navigate to the folder: C:/Your_folder
Run Onnxruntime: python install.py --onnxruntime {use Cuda, OpenVino or DirectML}
5. Run the application
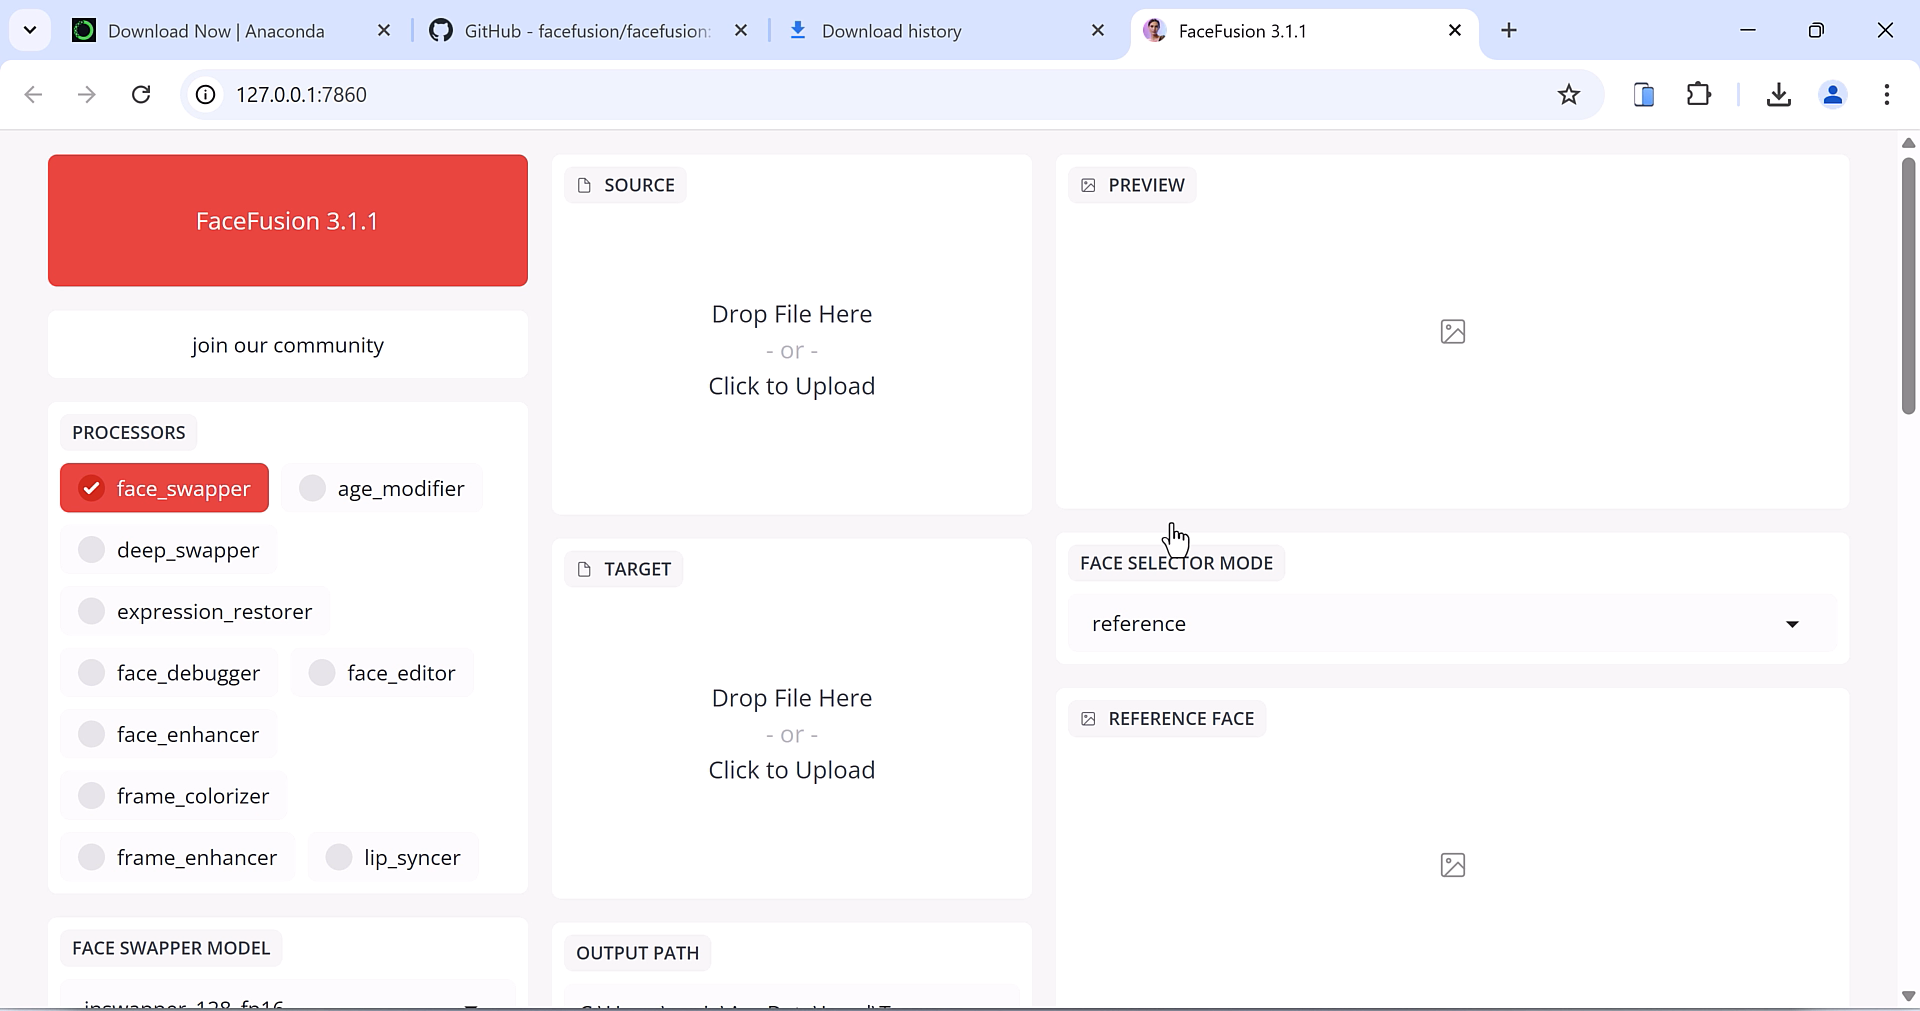
After everything has been installed, simply run the application with the following command. This will open a browser and you can use Facefusion.
Run Facefusion: python facefusion.py run --open-browser
6. Re-opening the application
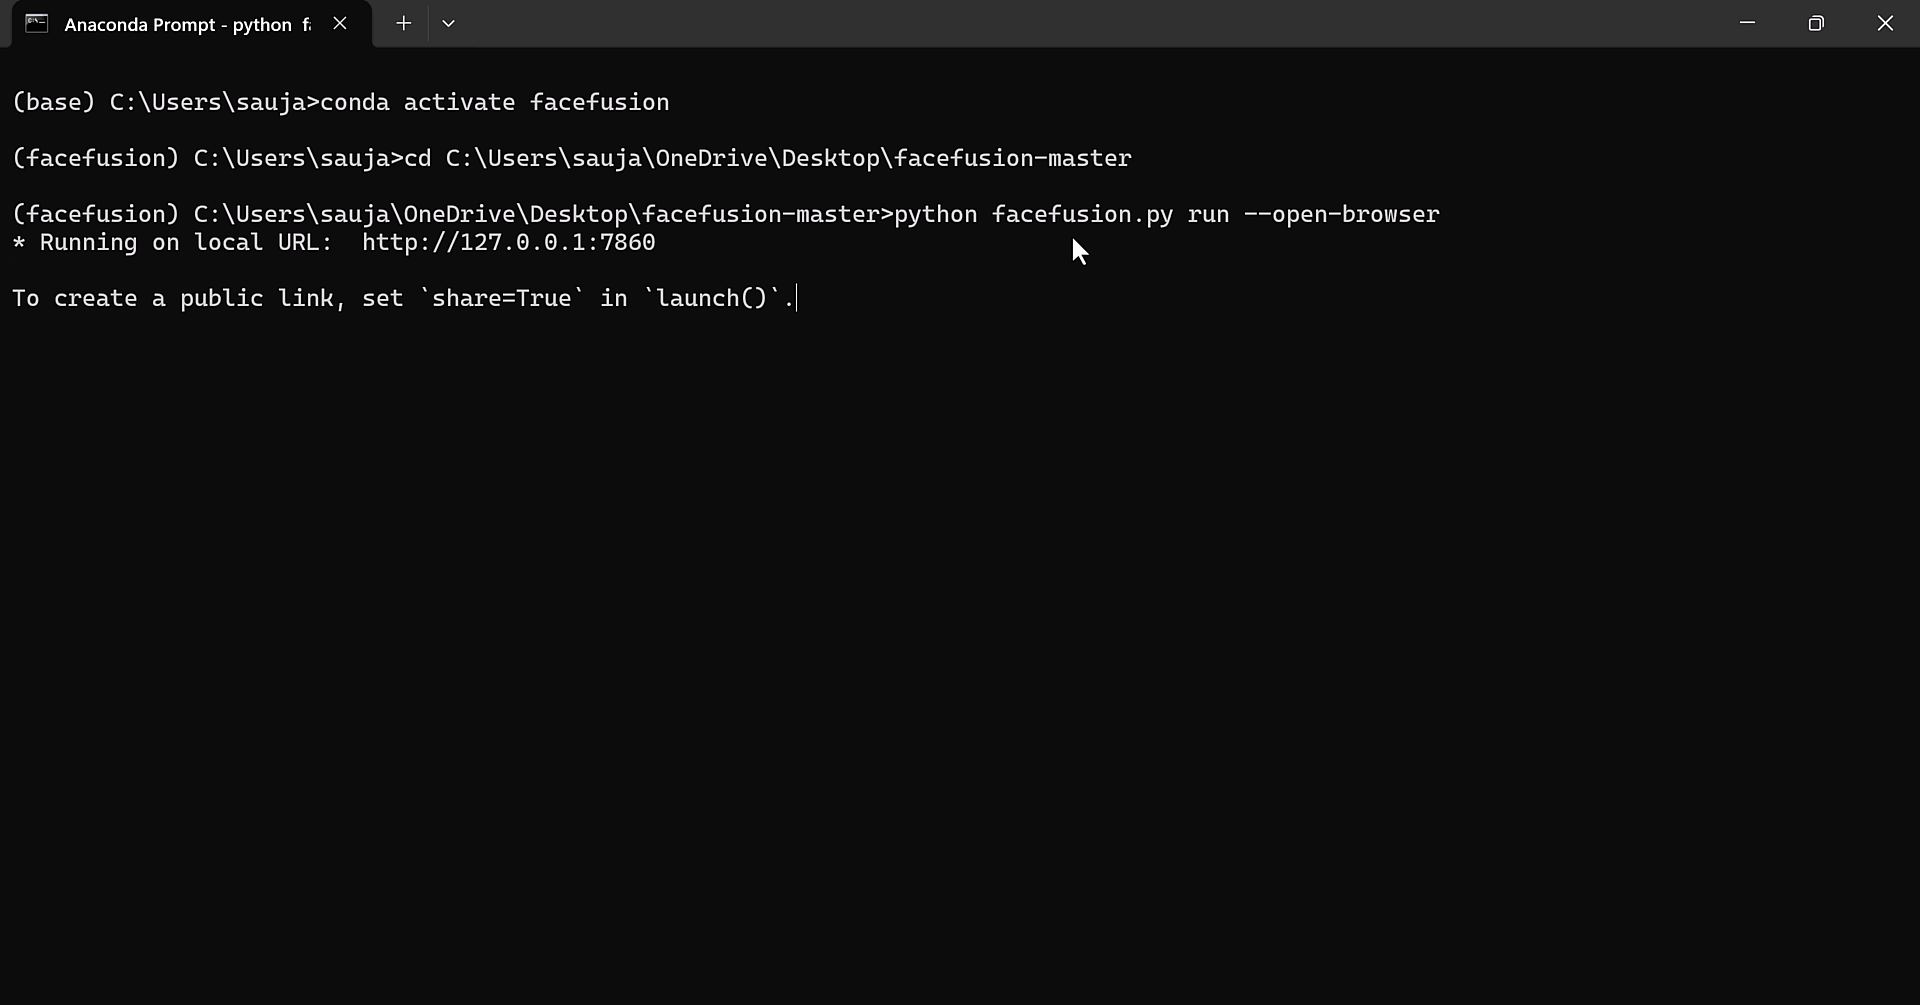
If you want to open the application, you do not need to install everything. Simply open Anaconda Prompt, and then activate the environment. Then, navigate to FaceFusion files folder on the Anaconda prompt. Then simply run the following command. This will take some time to run, and the FaceFusion application will open.
Once the application is open, you can start using its FaceFusion features. However, please make sure that all necessary files are present in the directory, or else it may produce some errors. Do not delete any existing folders. If you encounter issues, kindly double-check the environment activation and file paths. If everything is all good, FaceFusion should load automatically after running the necessary commands (as shown below).
Navigate to the folder: cd C:/Your_folder
Activate the env: conda activate facefusion
Code: python facefusion.py run --open-browser
For more interesting content: Click Here
About the Creator
Enjoyed the story? Support the Creator.
Subscribe for free to receive all their stories in your feed.
Comments
There are no comments for this story
Be the first to respond and start the conversation.