
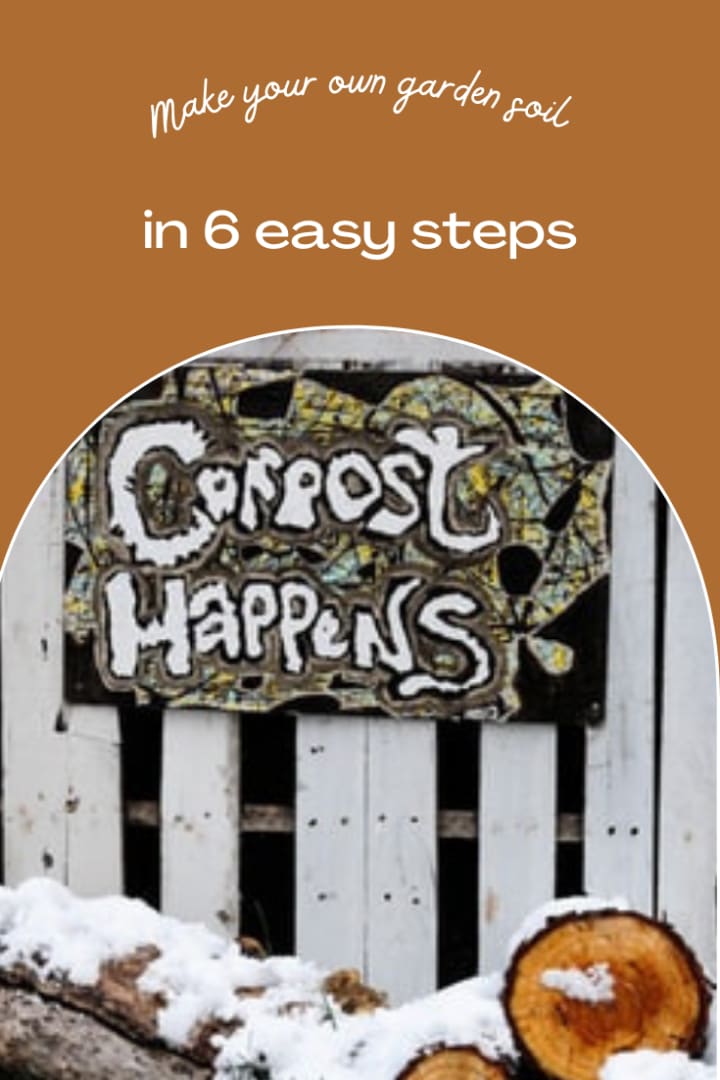
How to Make Healthy, Free Garden Soil
Did you know that compost is a fancy word for that stuff you find in plastic bags in your garden centre?

Before I started making my own soil by composting, I would spend up to $8 per bag for potting soil. Once we moved to a 3 ½ acre homestead, I knew there must be a cheaper way. After all, our thrifty forefathers didn’t have a Bunnings or Home Depot just down the road. They also didn’t have regular curbside rubbish pick-ups. Frankly, they didn’t even have plastic bags to haul the black gold home from the local hardware store.
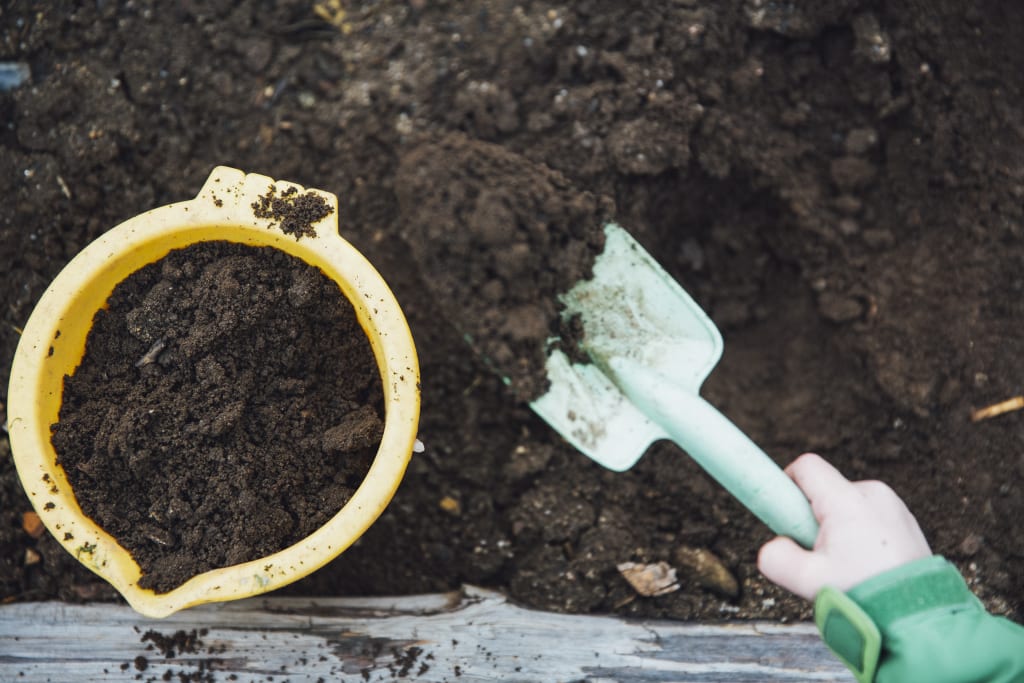
Creating your own compost is actually very easy to do, and it doesn’t take up much space. You likely already have all the tools and ingredients you need to start composting in your yard. You can use the compost to improve garden soil for planting, and even use it for container gardening if you live in a concrete jungle of a big city. It’s the best way to make the richest garden soil and the healthiest plants.
Using your own rubbish to make your soil is a fantastic experience. After just a few weeks to a few months, you end up with rich, black soil that smells fresh and new. It’s nature at its finest, breaking down the materials into the basic building blocks of life.
Step #1: Find your spot in the garden
You don’t even need a fancy compost bin! If you have a 3 metre x 3 metre area in your garden, you can make a heap of compost right there on the ground. You can use big sticks and fallen branches to mark out the perimeter of your compost area. Of course, if you live on a small Torrens title property with a postage stamp yard, you probably want to contain your compost heap a bit more, so you can buy an easy to assemble compost bin that will lock out the smells and view from your neighbors. Simply place this area in a sunny location that is easy to get to, but still far enough away from your doors and windows.
Step #2 Gather Carbon-Rich Materials
Shredded newspapers, fall leaves, straw, dead flowers, and other brown matter from your rubbish bin and yard will work great as brown materials. I also include torn-up cereal boxes, junk mail, and shredded cardboard in the mix. These all degrade quickly and provide plenty of soil in the future. They have the added benefit of acting like a sponge once they break down, which will help to retain moisture. Spread carbon-rich materials, making it at least a few centimeters thick. It speeds up the process if you tear more significant pieces into smaller pieces.
Step #3: Add Nitrogen-Rich Materials
Now take green materials like grass, plant-based kitchen waste, and barnyard animal manure from non-carnivore animals. Chicken manure works well. Just remember that it is acidic, so you should check the pH of your finished product before adding it to the garden. You may need a handful of lime to reduce the acidity for more alkaline-loving plants. Layer this mixture on top of the brown materials a couple more inches thick. The ratio to remember is three times as much brown material as green material.
Step #4: Add Garden Soil
You normally don't hear this step in the fancy composting posts, but it works well for me. On top of the green and brown materials, add a thin layer of garden soil. It will add necessary insects, worms, and fungi that will help the decomposition process.
Step #5: Prepare your patch
Now you want to make another layer with brown materials. Moisten the layers, then add several more layers until your pile is at least three 2.5 metres tall. Again, you’re looking for a ratio of three parts brown materials to one part green materials. It doesn’t matter how many layers you use, just keep in mind this ratio as you make your layers. Since we have chickens that produce plenty of manure, I sometimes stockpile the brown waste near the compost pile and then add it as needed. An easy way to do this is every autumn, after raking your leaves into a pile, cover them with a plastic tarp and weigh it down with bricks. Then, borrow from it as needed.
Step #6: Mix it up regularly
Next, move the soil with a fork or shovel every couple of weeks. You want to move the materials from the inside to the outside of the pile. Keep the pile moist but avoid allowing it to get soggy. Be sure to cover it after you’ve moved it around, so the rain won’t wash it away or let it to get too soggy. As you mix these materials together, the brown and green bits start to heat up and cook the pathogens and weed seeds away through a natural chemical process. If you actively manage the pile, the compost process will happen much faster than if you let nature take its time. An unmanaged pile can take 2 or 3 years to turn into gorgeous soil.
By making your own compost (potting soil), you will be reducing your carbon footprint, saving money, and making the best soil you’ve ever had. So, when is the right time to start? Today!
About the Creator
Monique Littlejohn
Monique Littlejohn is an artist, photographer, and writer living on a hobby farm in South Australia. She shifted between Southern California and Australia for a few years before making Stirling her permanent home 4 years ago.
Keep reading
More stories from Monique Littlejohn and writers in Lifehack and other communities.
Creating a sustainable grocery budget
When we first purchased our townhouse in Southern California with its 200 square foot backyard I had visions of starting my own victory garden full of vegetables, herbs, and fruit trees. I thought that we could preserve the surplus and enjoy nature’s bounty for much less than what we were paying at the grocery store. How wrong I was! While gardening has many benefits, saving money is not one of them. After spending money on amending the soil, plants and seeds themselves, fertilizing, and water, every tomato, squash, and bean became more expensive than the organic asparagus in Whole Foods!
By Monique Littlejohn4 years ago in Lifehack
How to learn anything
Hello, everyone. Two years ago, my life underwent a profound transformation. My wife Kelsey and I were blessed with the arrival of our daughter Lela. The journey into parenthood is truly remarkable; it's like stepping into a whole new world where your priorities shift overnight. Adapting to this new role comes with its own set of challenges, such as mastering the art of dressing your child – something I found quite daunting at first, as evidenced by some of my initial wardrobe choices for Lela.
By Ugochukwu victor6 days ago in Lifehack
Dwarf Yaupon Holly: A Petite Evergreen Treasure
Title: Dwarf Yaupon Holly: A Petite Evergreen Treasure Word Count: 802 --- Tucked away in gardens and landscapes across the southern United States, the Dwarf Yaupon Holly stands as a petite yet captivating evergreen treasure. With its compact size, glossy foliage, and versatility, this ornamental shrub has become a favorite among gardeners seeking year-round interest and low-maintenance beauty.
By Kavya Organic Garden3 days ago in Lifehack


Comments
There are no comments for this story
Be the first to respond and start the conversation.