
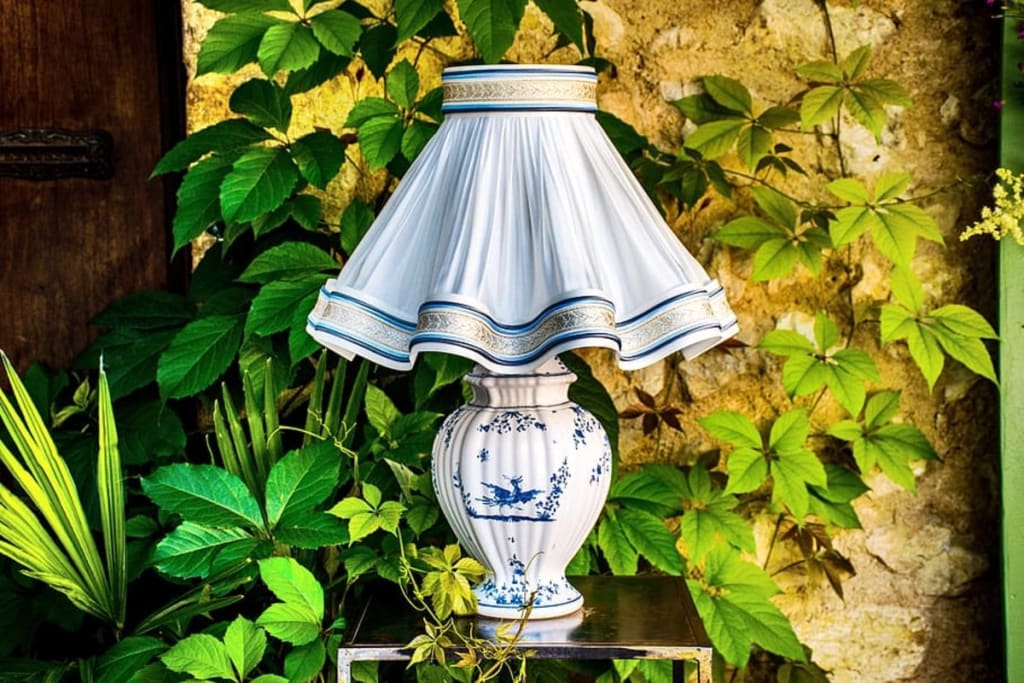
How to Make a Lampshade Frame
This article will provide a picture illustrated format of what kind of tools and materials are needed to make a simple lampshade frame.

Lampshade Frames
Rigid Lampshade frames, which are made of lightweight metal, are needed to provide support, structure, and shape for many types of lampshade.
The frames are available from specialist suppliers in a wide variety of shapes and sizes. Lampshades made from self-supporting, stiff paper or lightweight card can be supported by purpose-made lower and upper rings.
These are obtainable in different diameters. When choosing a suitable frame, you will need to decide on the size and shape of the finished lampshade, and take into account the material for the cover and any trimmings that you might wish to add.
Choosing a Frame
The exact shape of a lampshade is determined by the size and style of the frame, or in the case of the ring-mounted lampshade, by the diameter of the upper and lower support rings and the distance between them.
Fabric lampshades always needs the support of a rigid frame. Card or paper is best suited to being supported on purpose-made rings.

Safety Notice
As there are people out there who are just beginning on their journey of complete home furnishing. I would advise taking great care when it comes to dealing with sharp knives, scissors and especially pins.
Frames
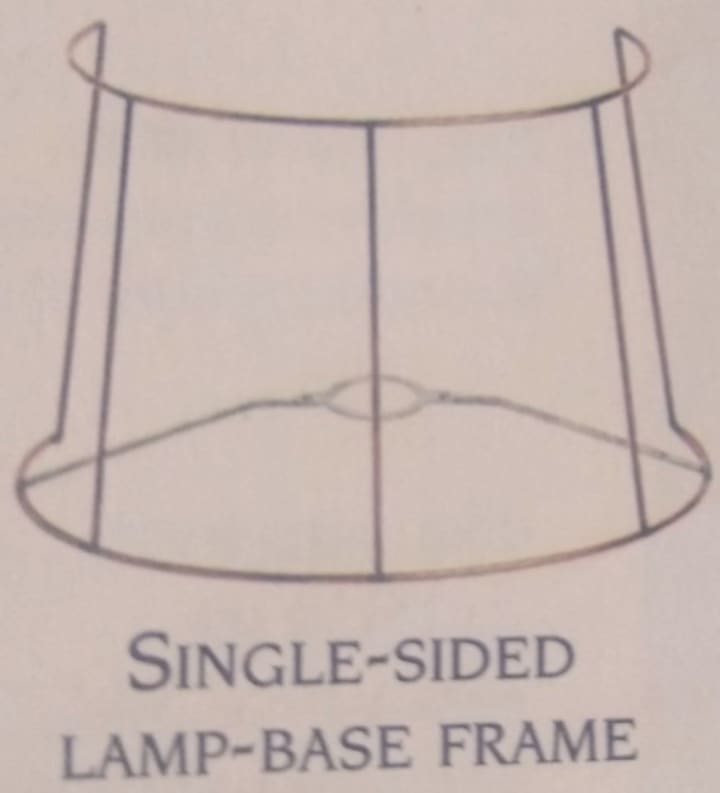
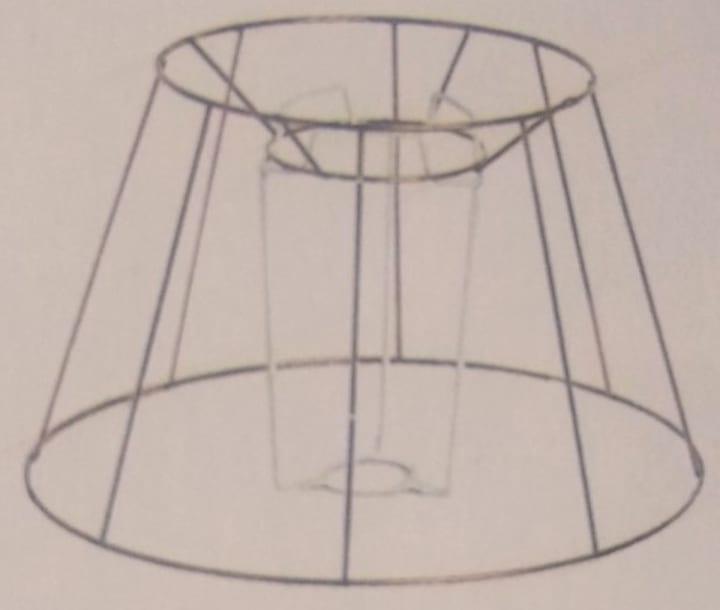
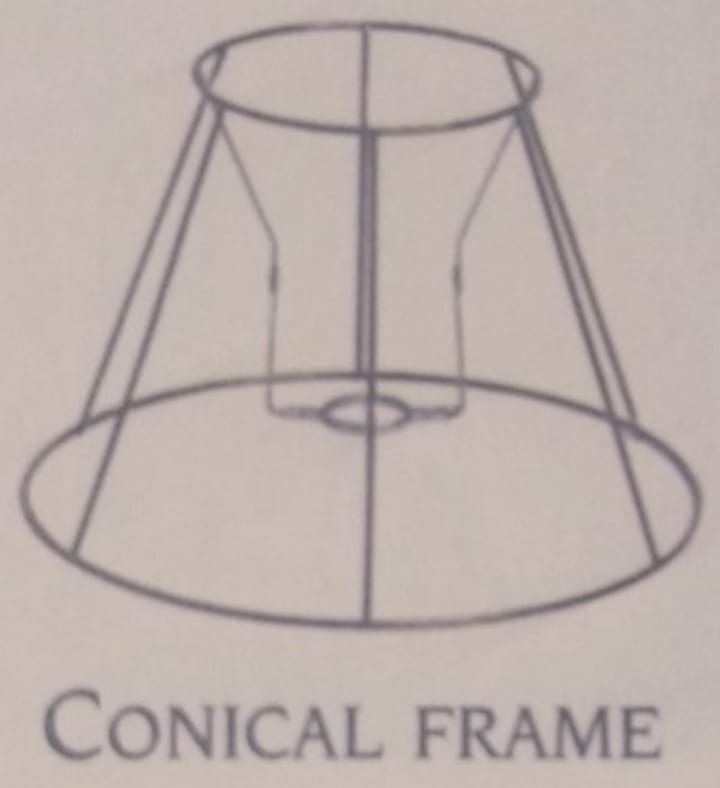
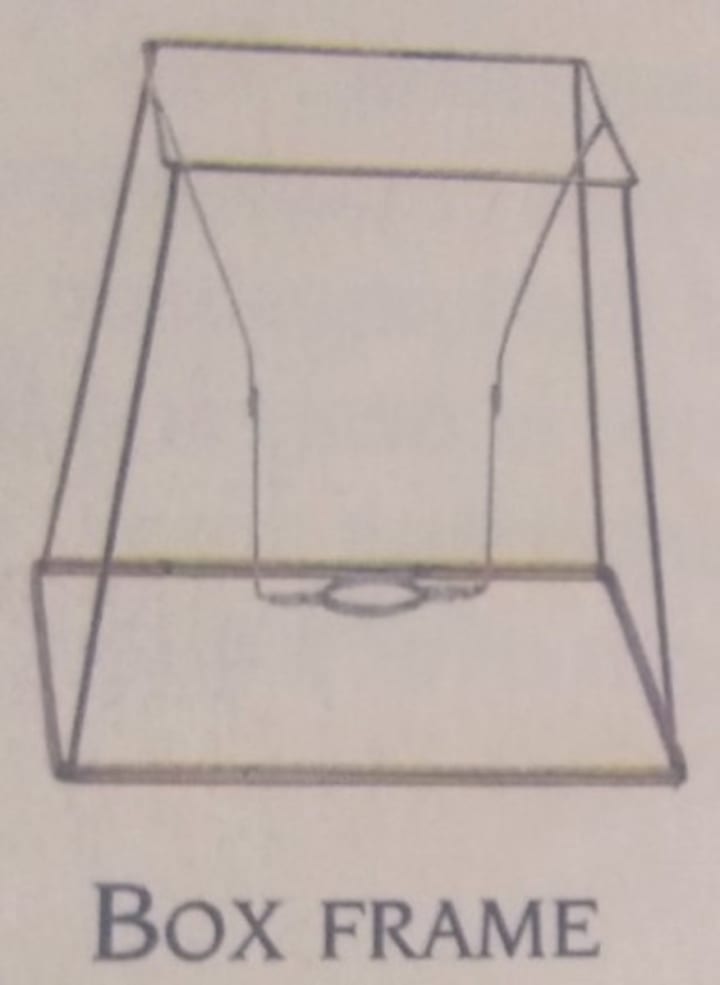
Lampshade frames are available in an extraordinary variety of shapes and sizes to suit every decorative style. They are designed to fit lamp bases, pendant light fittings, and even candles.
Light-bulb clips are used for supporting very small lampshades. The metallic frames are sold either unfinished or coated in white enamel paint. Below is a list of pictures which show the different variations of lamp frames.


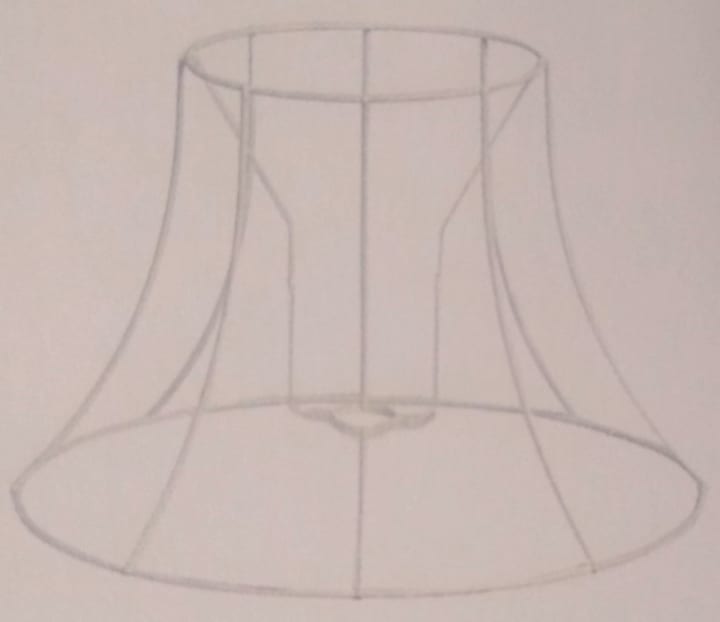
Lampshade Rings
Pleated and small shades made from stiff paper or card need only an upper ring fitted with a mounting ring or gimbal. Shades made from light paper require a lower ring for extra support.
Ensure that the rings form a circle and that the struts are aligned before you assemble the lampshade. Please look at the pictures below to get an idea.

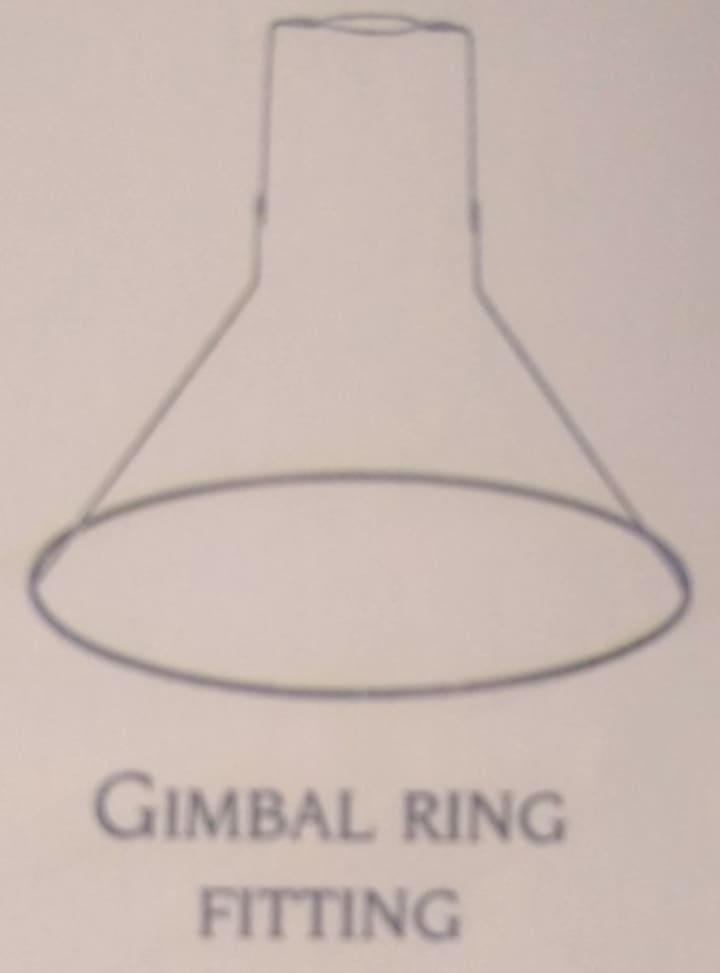


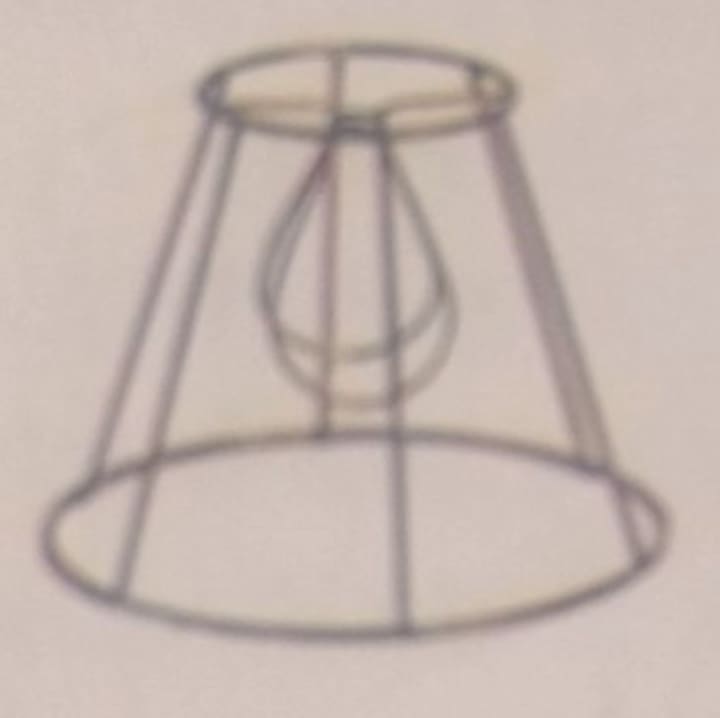
Frames with Gimbal Fittings
For versatility, choose a frame that has a swiveling gimbal, since this will allow you to fit the lampshade either to a lamp base or to a pendant light.
Painting Lampshade Frames
Paint bare metal frames and support rings to prevent the covering material from being stained by rust, and to stop the binding tape from slipping when you bind the uprights and rings.
You will need medium-grade sand paper, a small paintbrush, enamel paint, and a paint solvent for diluting it. See the images below.

Safety Notice
Where silicon padded gloves if necessary and make sure you use a pin cushion for all your collection of pins. Stay away from the fireplace in your house, as the majority of the fabrics are highly flammable.
1. Keying Surface: Key the surface of the frame or support ring by rubbing it down evenly and smoothly with a piece of medium-grade sandpaper.

2. Applying Paint: Carefully paint the frame or support ring, using a small paintbrush. Avoid the surfaces that will be in direct contact with the light bulb.

Tools and Equipment
Making up a shade does not require special tools. Accuracy in cutting and assembly is important, however, ensure that the equipment is in excellent working order.
The tools required for making up the fabric and paper shades are basically the same, with the few exceptions noted below.
Additionally, you will need some equipment from the household tool kit, the basic sewing kit, and a specific lampshade frame or support ring.

Fabric and Paper Lampshades
You will need medium-grade sandpaper, enamel paint, solvent, and a small brush for painting the frame.
To bind the frame, you will need lampshade binding tape and clear glue that will not stain fabric or paper. Use clean clothes pegs to hold the shade material in position on the frame while the glue is drying.
Paper Lampshades
Use paper scissors for cutting. When gluing paper, position a weight on the join until the glue sets. For measuring up, use a compass made from a strip of card.
Pivot it with a drawing pin secured to a cutting board. Attach the cover to the rings using masking tape. Score creases with a knife edge. Use a hole punch for pleated shades.
Taping a Lampshade Frame
After painting the frame or rings, apply the binding tape. Loosely woven tape designed for the purpose is bound to the frame or rings, presenting a surface to which you can either sew a fabric or glue a paper shade cover.
Estimate how much tape you will need by measuring the circumference of the rings and the lengths of the vertical struts, and double this measurement.
Do not bind the internal wires that hold the shade to the light fitting, You will also need the basic sewing kit

1. Securing Tape: Tape the vertical struts, starting and finishing in each case at a top or bottom support ring. Secure the binding tape in place by folding one end under the top ring and down the outside of the strut to a length of approximately 2.5 cm (1 in).

2. Taping Strut: Wind the tape in a spiral along each strut, covering over the initial fold, and making 3 mm (1/8 in) overlaps. Wind the tape as smoothly and as tightly as possible to avoid unsightly ridges and to prevent the possibility of the tape slipping.

3. Knotting End: At the other end of the strut, wind the tape over the outside of the lower ring to the back, and pass the end through the loop to form a half-knot. Pull the knot tight, and cut the tape. Tape all but one of the remaining struts in this way.

4. Taping Top Ring: Start at the upper end of the untaped strut. place the tape end on the outside of the ring. Wrap the tape around it and the strut to hold the end in place. Tape around the ring, making figures of eight at the tops of the struts.

5. Taping Strut: Wind the binding tape down the untaped strut and around the lower support ring, again securing it in place at each strut with a figure of eight.

6. Stretching End: To finish binding the frame. fold under about 6 mm (1/4 in) of the tape end and stitch it neatly to the outside of a bound ring. Check the fit of the tape on the wire. If it twists over the wire, it will need to be unwound and reapplied.

About the Creator
Temoor Dar
💡Topic: Entrepreneur and Writer💡
♟️Hobbies: Traveling, Poems, Playing Chess and Solving Puzzles♟️
🎂Born: July 7, 1991🎂
📍Born in Stockholm, Sweden, and now a Londoner since 1996📍
📚Lifelong Learner📚
🌟Wisdom from Mentors🌟
Keep reading
More stories from Temoor Dar and writers in Lifehack and other communities.
Rejuvenate Your Space
In a world that frequently focuses on comfort and utilization, the idea of upcycling furniture has arisen as a reference point of imagination and supportability. Instead of disposing of old pieces, why not reinvigorate them and release their secret potential? Go along with us on an excursion of change as we investigate the specialty of upcycling furniture, share moving genuine models, and uncover how you can imbue your space with character and appeal while thinking about Search engine optimization and key viral words.
By Sharon Adhiambo6 days ago in Lifehack
Top 10 Essential Oils for Stress Relief and Relaxation
In our fast-paced and demanding world, stress has become an all-too-familiar companion. Fortunately, there are natural remedies that can help alleviate stress and promote relaxation. Essential oils, derived from plants and renowned for their therapeutic properties, can be valuable in your self-care routine. In this blog post, we'll explore the top 10 essential oils for stress relief and relaxation, along with their benefits and ways to incorporate them into your daily life.
By Jain Perfumers5 days ago in Lifehack


Comments
There are no comments for this story
Be the first to respond and start the conversation.