
How to Build a Raised Garden Bed
Step-by-step Instructions

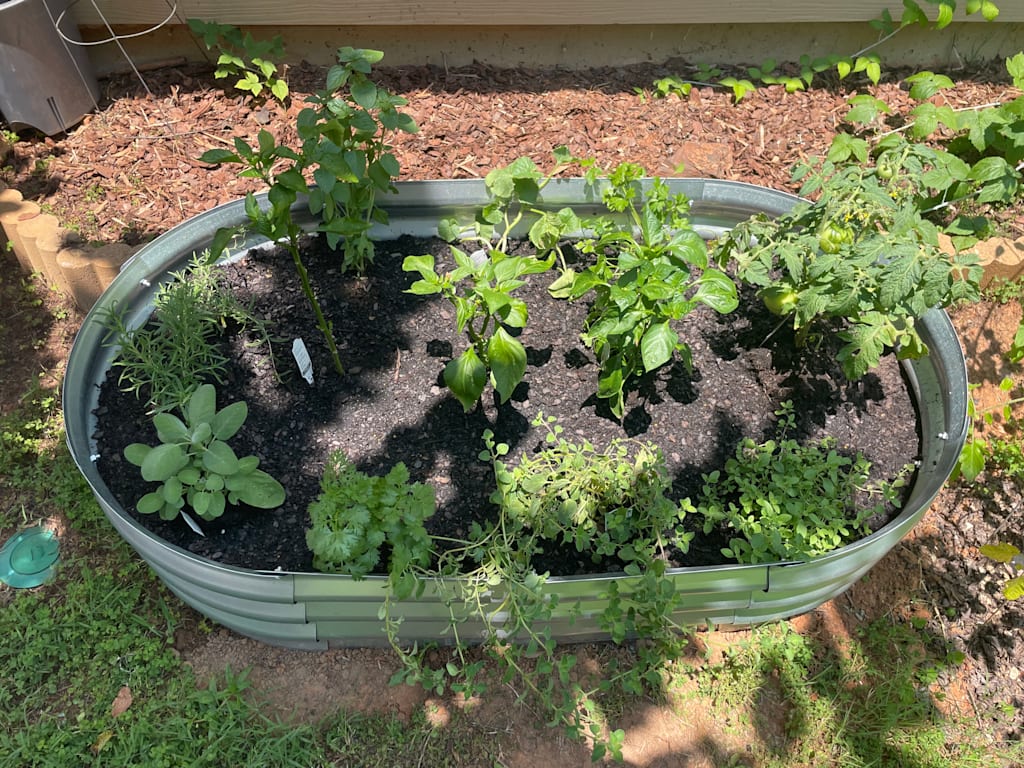
When I got back to my house from Tbilisi, I immediately started working in my garden. I love my garden, have fruit trees and berry bushes, as well as flowers I adore. Taking care of them is meditative, brings me joy, I talk to my plants and they give me peace of mind and happiness.
So I've decided to get on the recent trend of setting up a raised garden bed. I have a piece of land right next to my deck that always has a lot of sun and is ideal for growing vegetables and herbs. For years, I was growing tomatoes and peppers there in the ground but this time I decided to try a raised bed.
I measured the space I wanted to put it in and got a two-pack galvanized raised bed that would fit there perfectly, from Amazon:
Assembling the bed was easy, you just need to make sure that the screw heads are on the outside so that when they inevitably loosen over time you can always easily tighten them up. Also, leave one of the middle panels to be screwed in last, it will be easier to overcome the tension of the curves. A second pair of hands could help.
From then on, I just followed these steps:
1. Clean out the space you will be setting the bed on from all the weeds and plants. Level it out if necessary (mine had a little slope I had to level out).
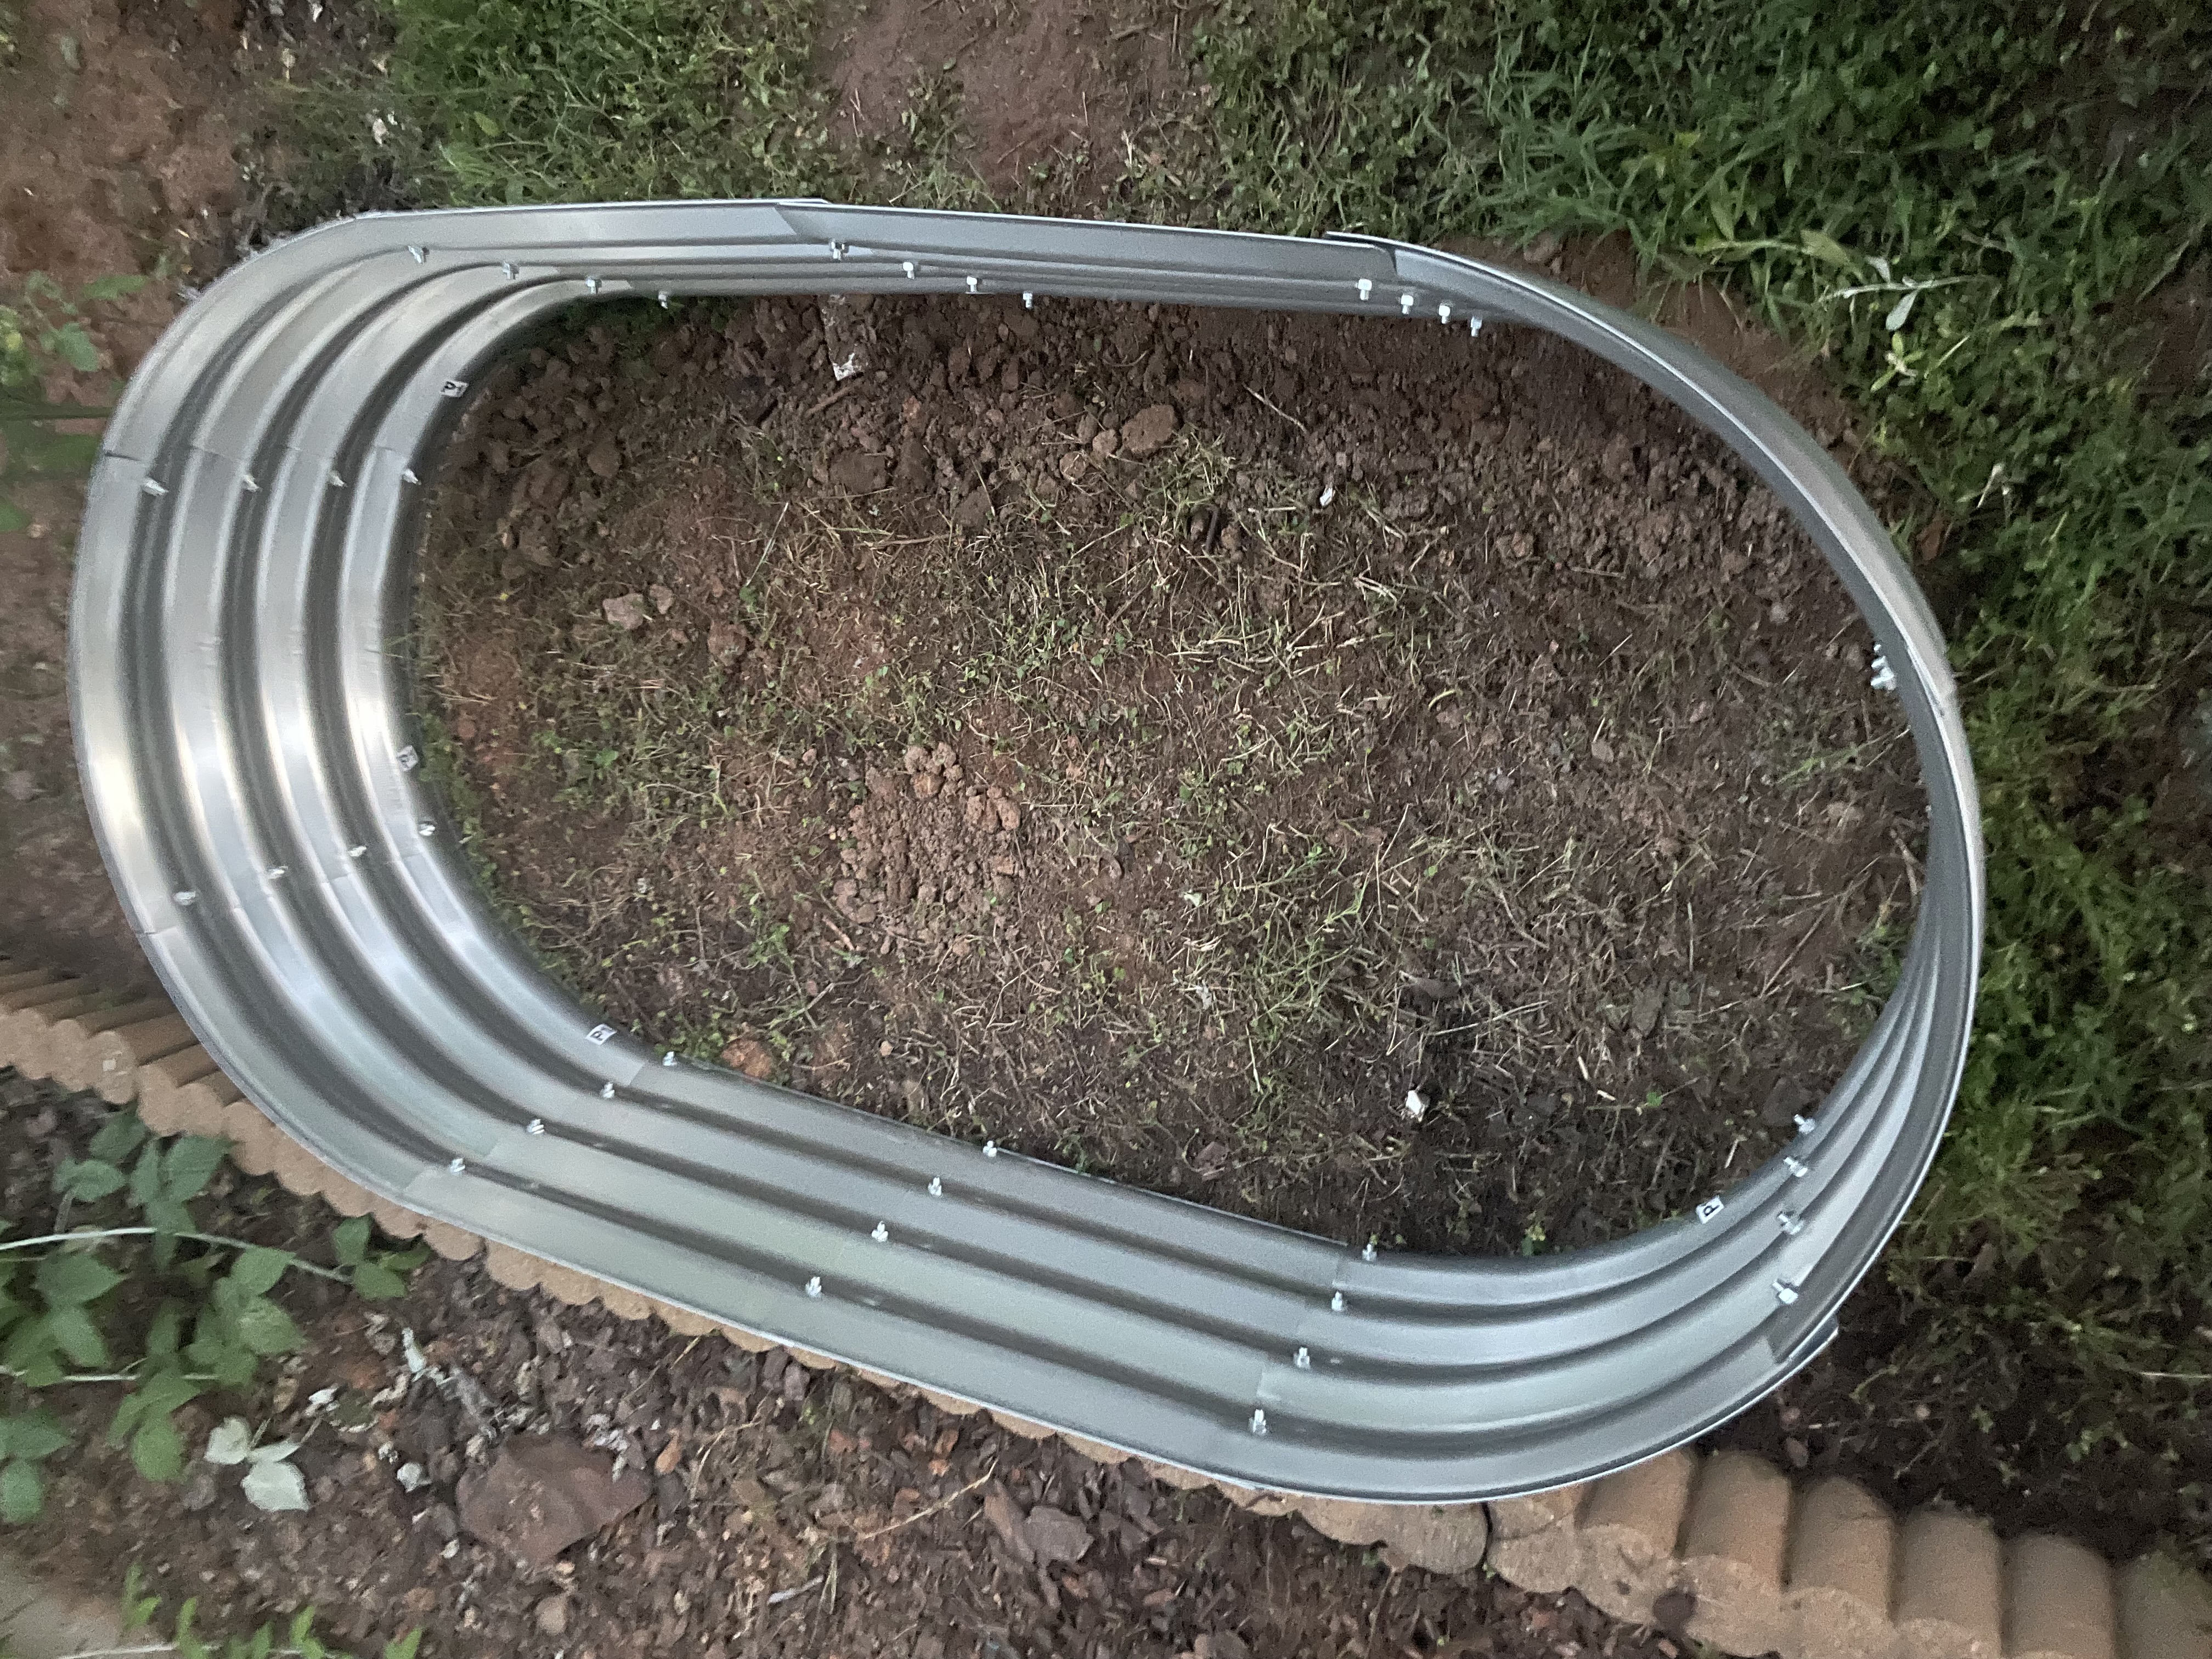
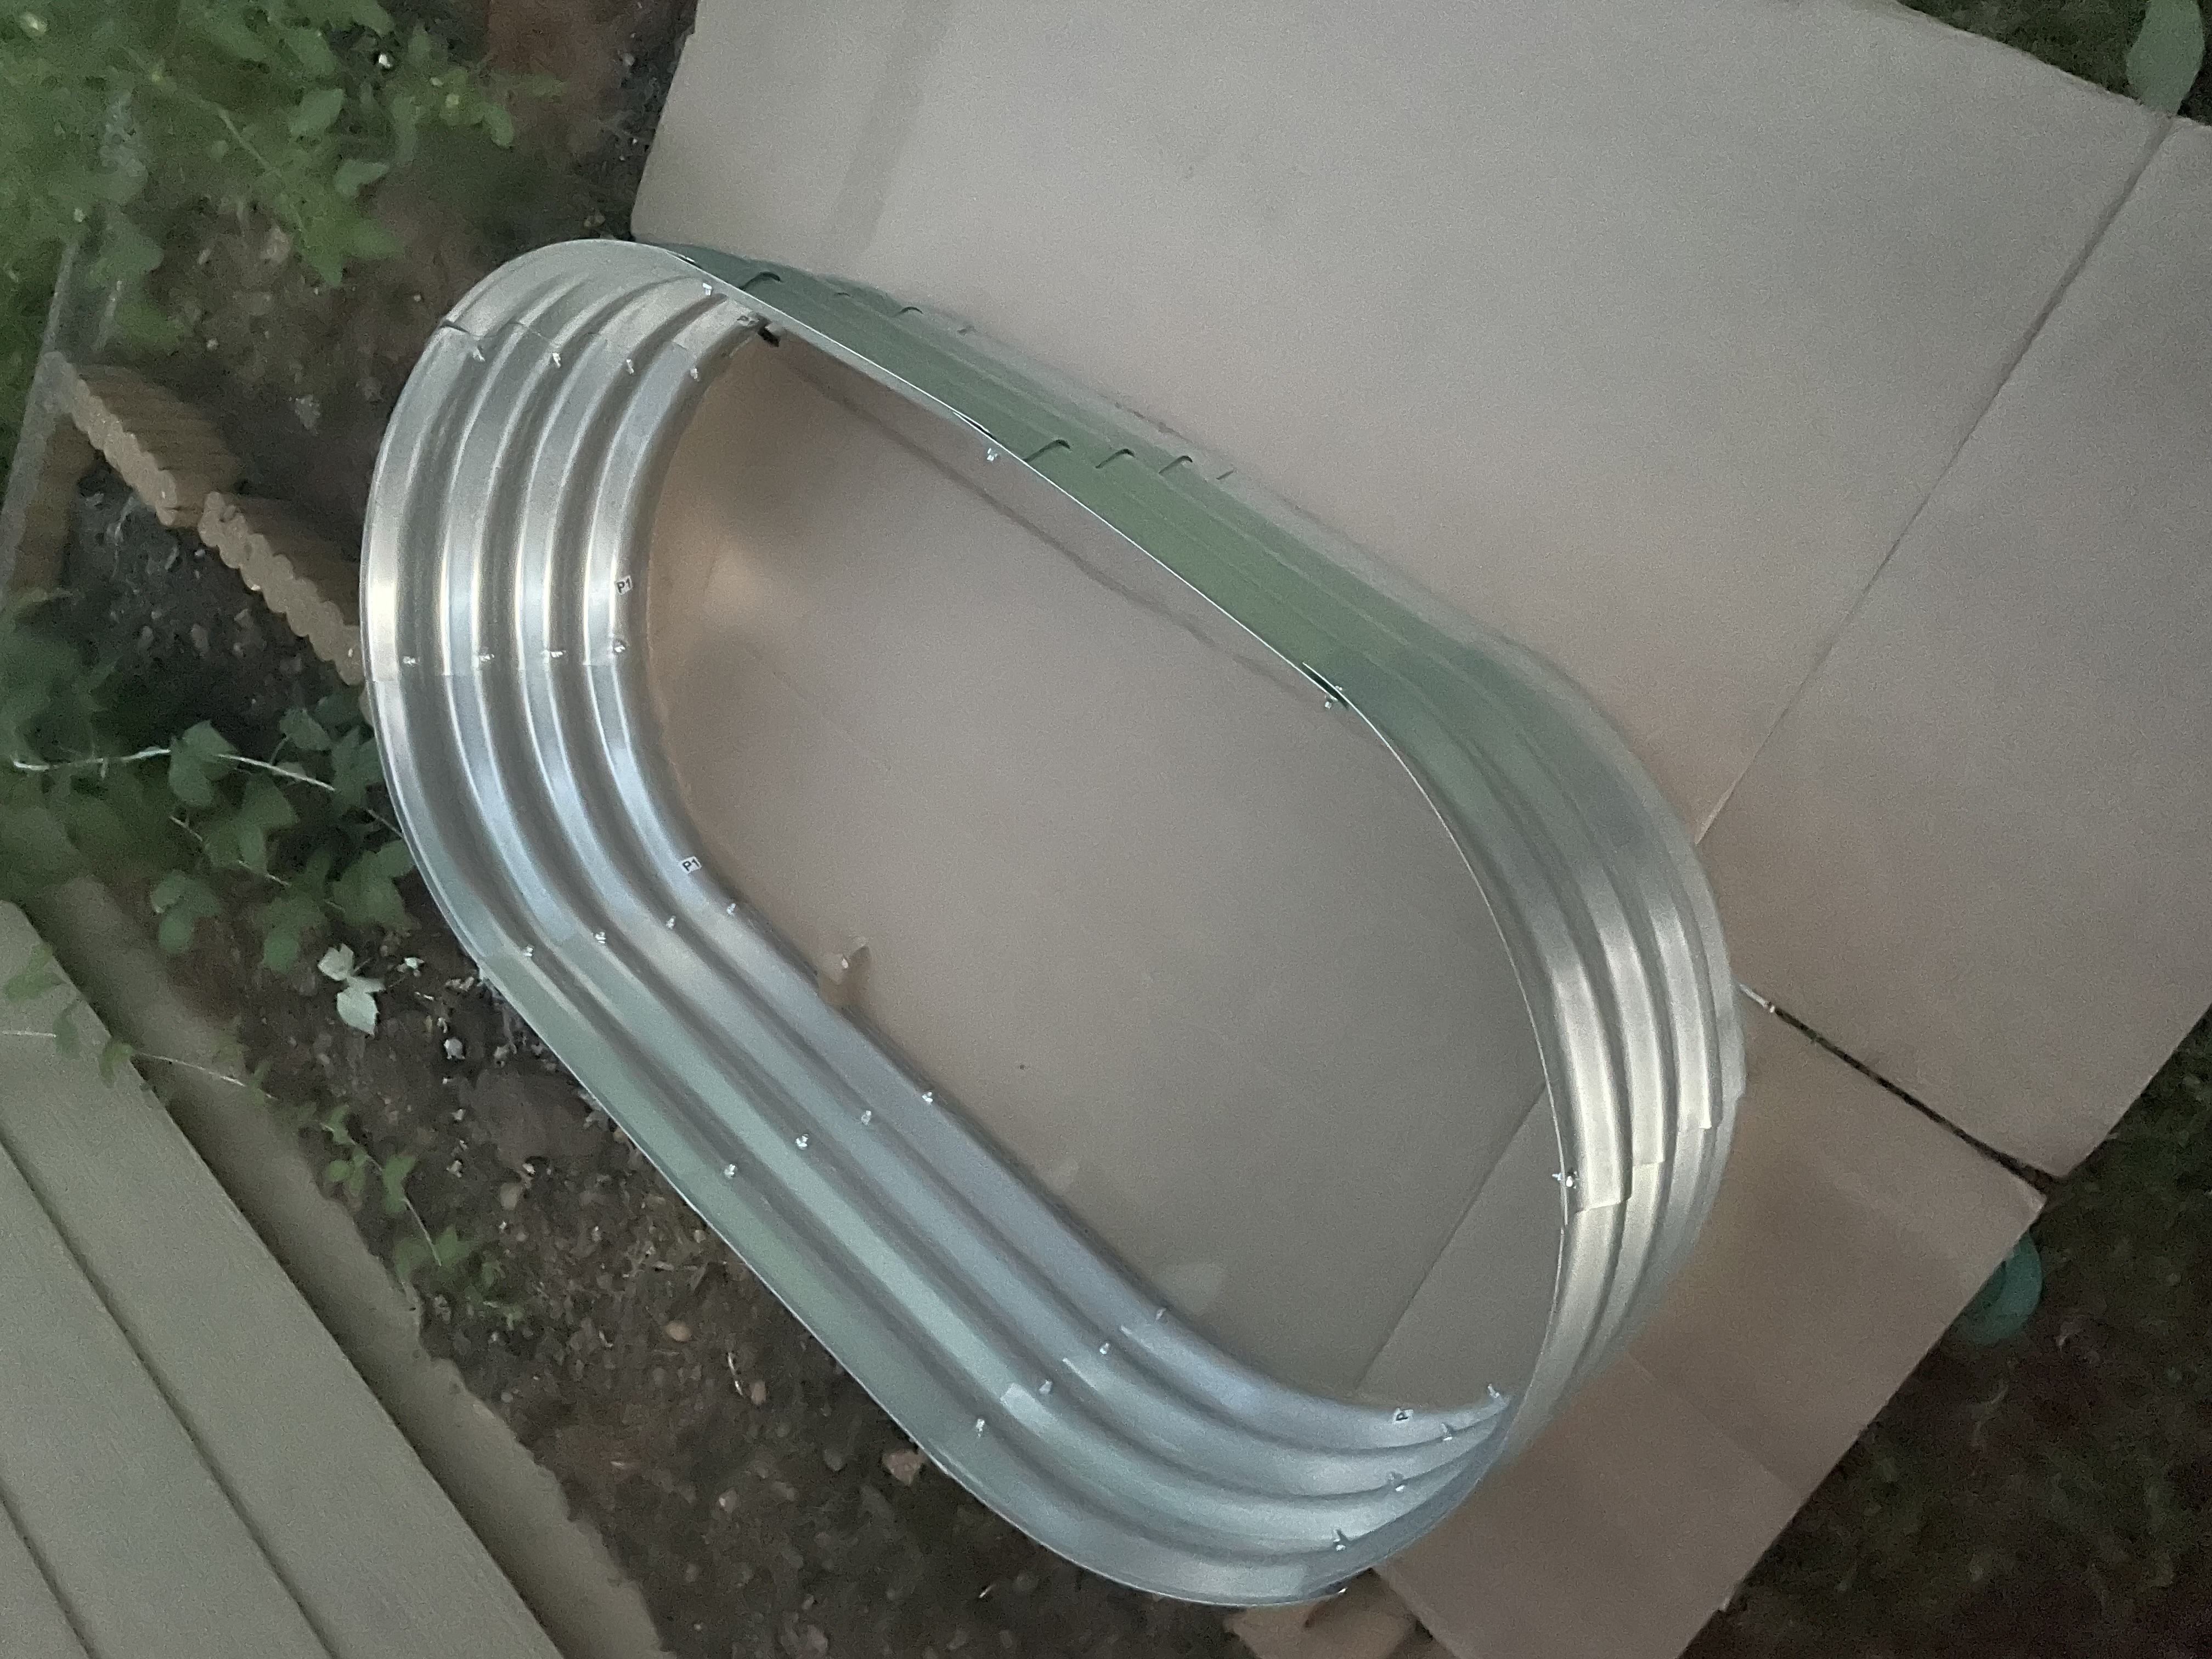
2. Lay out cardboard and cut it around the bed. Putting it in first will prevent weeds from getting into the bed from beneath. I have put the parts I cut out in as the second layer as well.
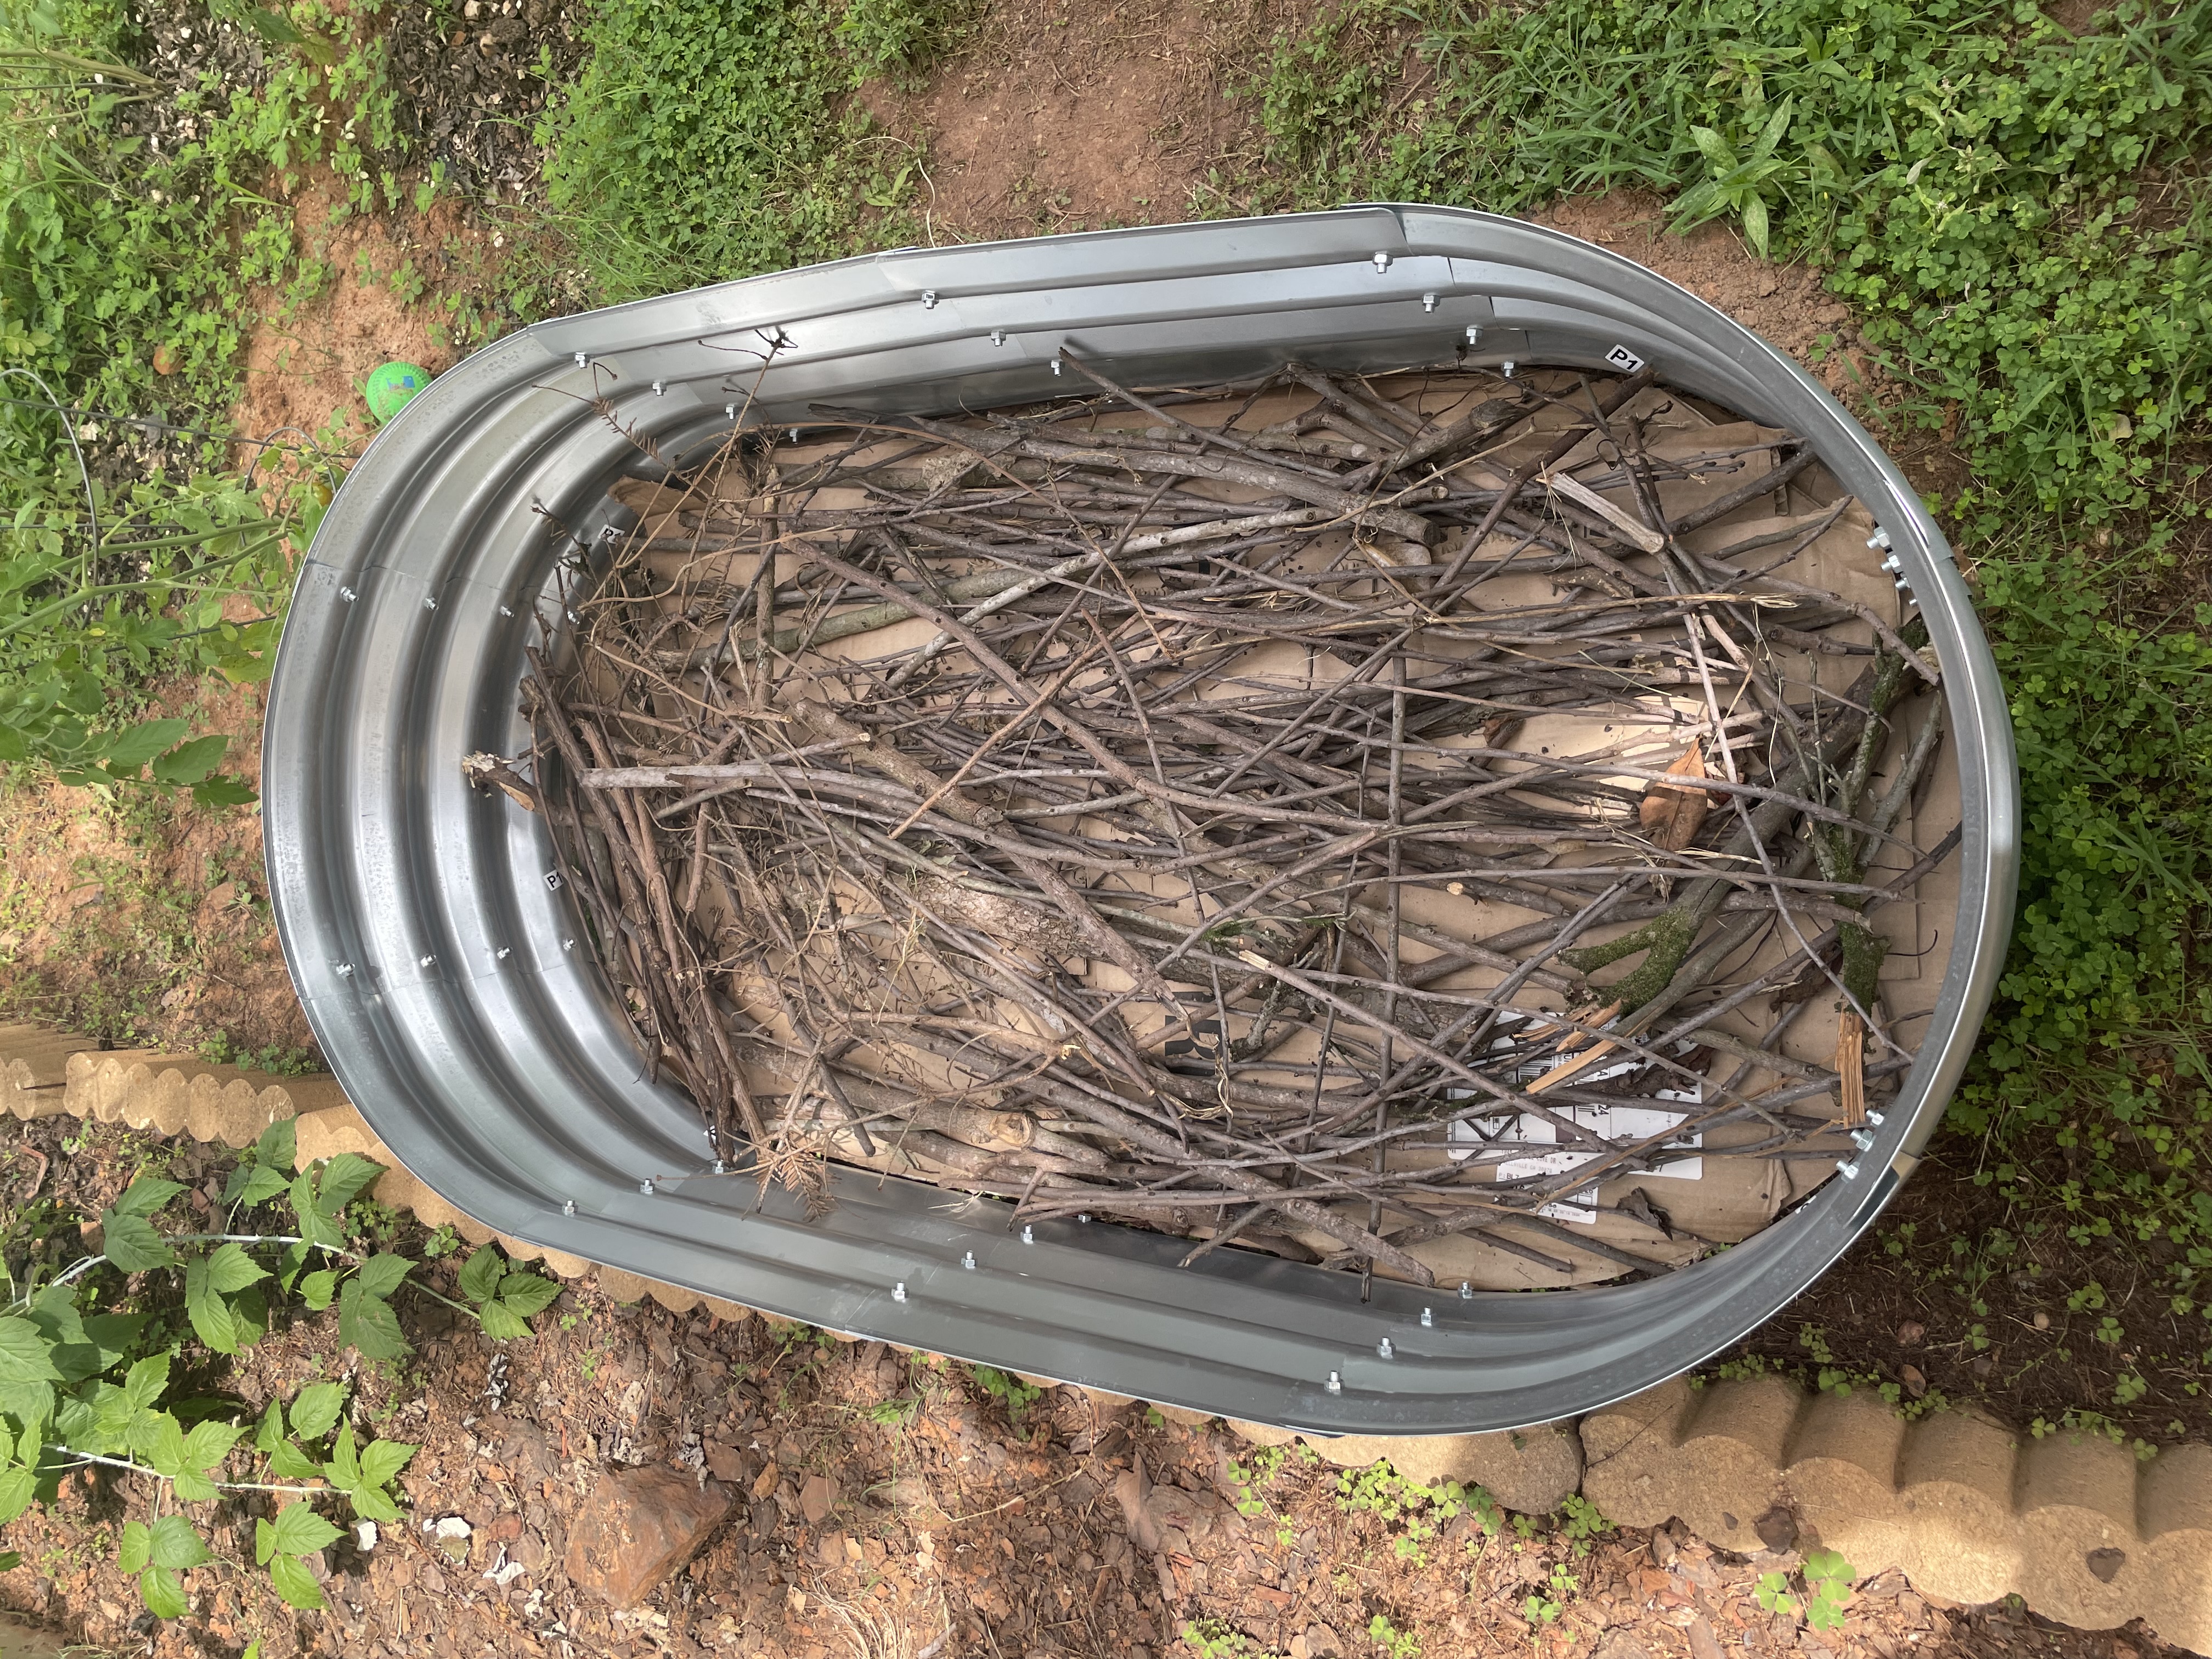
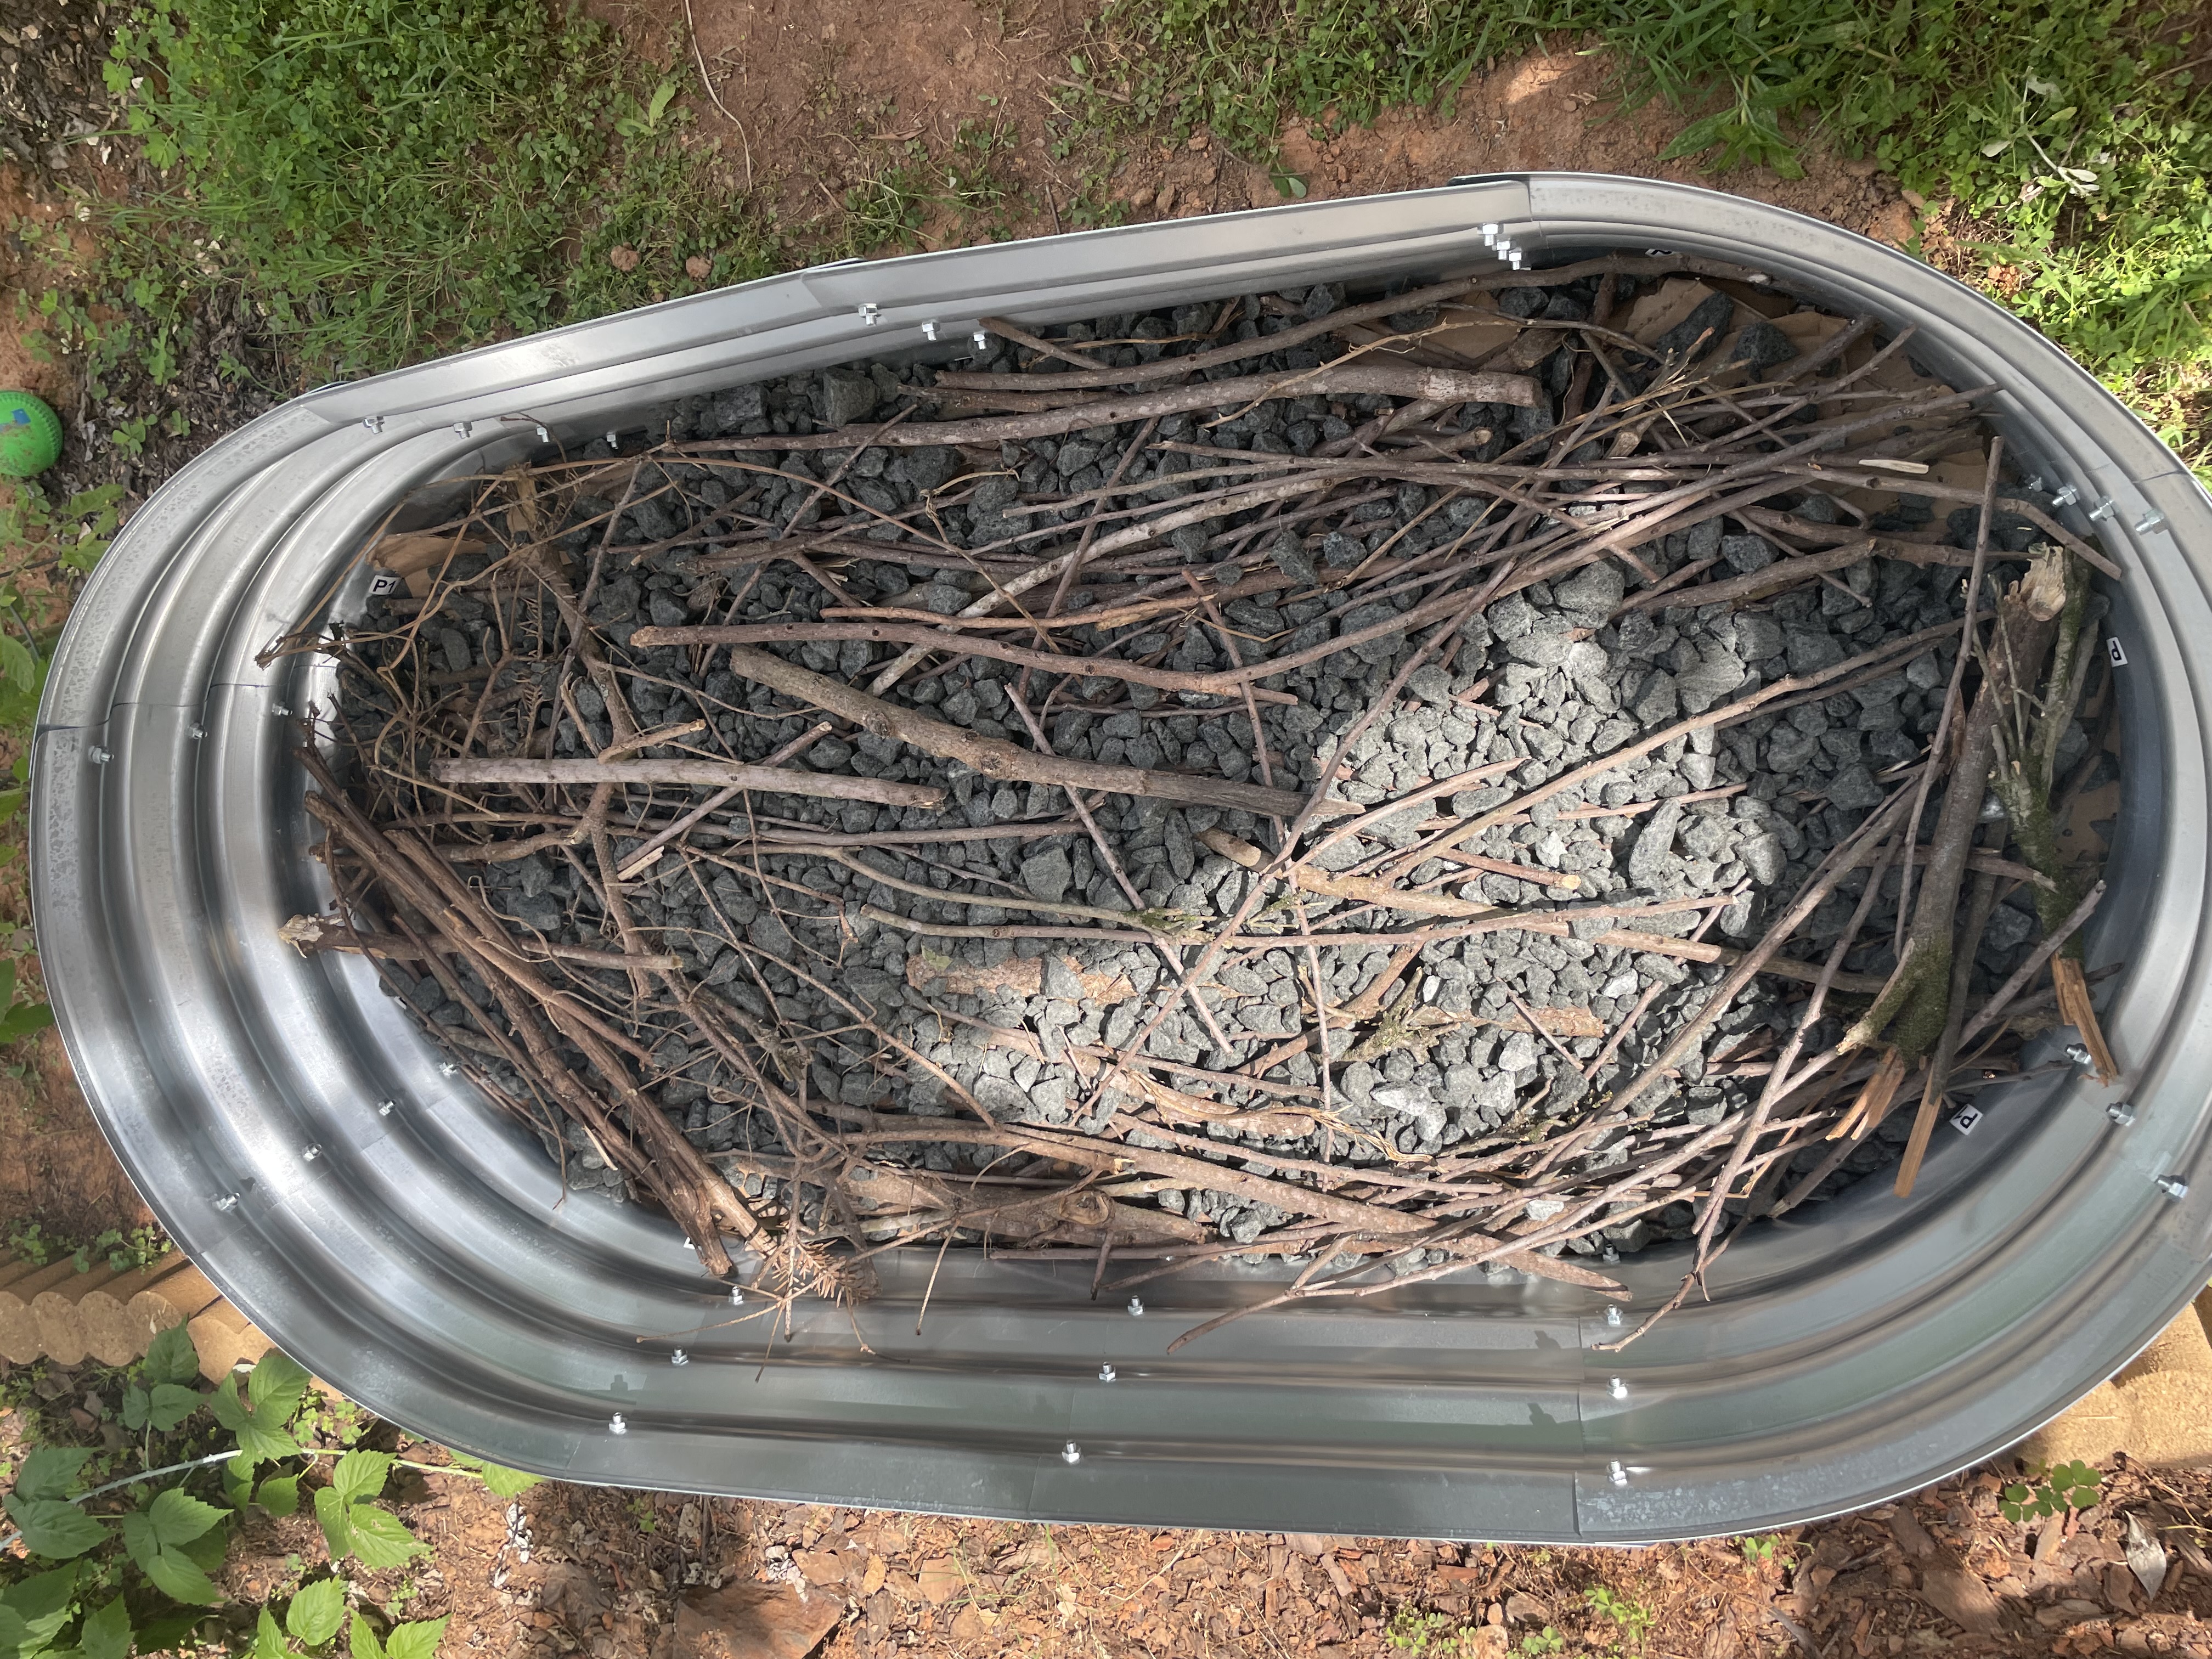
3. Put in a layer of old dry branches to create volume and to save on good soil you'll put on top. I've had a lot of branches from the pruned fruit trees, so it was easy to fill it up.
4. Spread one bag of small drainage rocks (about $7 per bag at Lowe’s) to fill the space between the branches and help water drainage.
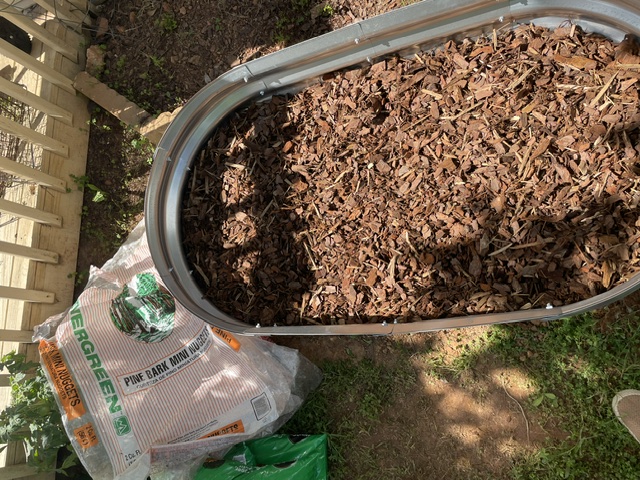
5. Cover the rocks and branches with one bag of mulch. I've used small pine nuggets and put about two bags at first (pictured). But then I realized it was too much and had to take half of it out to put the soil to the level I wanted.
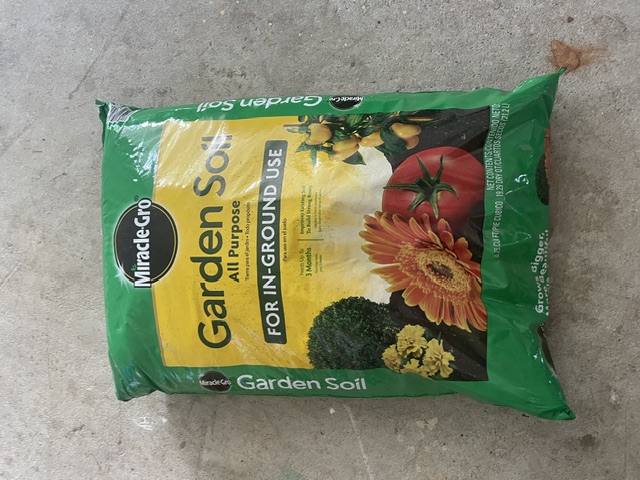
6. Put the first layer (one bag) of the best garden soil you can find. I've got four bags on sale for $10 at Lowe's and it was so good it smelled earthly rich and composty when I spread it out in the bed.
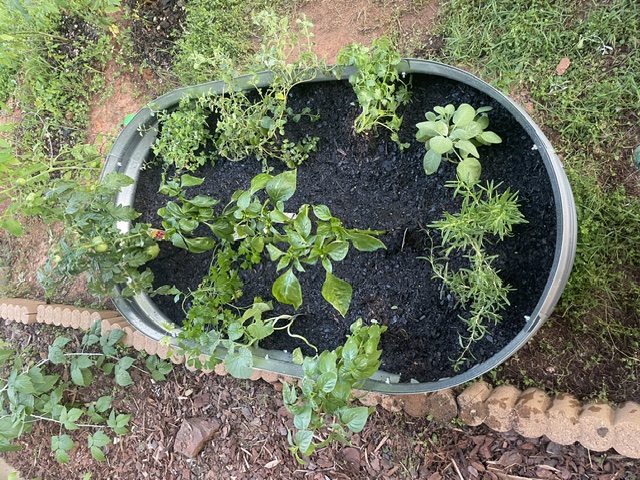
7. Put your plants in, giving them a decent amount of space to grow. I wanted this to be mostly the herb bed, so I got two rosemary saplings, sage, parsley, Greek and Italian oregano, cilantro, and lemon basil. I also got a cantaloupe in the middle of the long edge, a hybrid tomato plant on the end and three pepper plants (green, red, and yellow) in the middle of the bed. I'm still hoping to get dill somewhere even though I never had luck with growing it here in Georgia.
8. Spread out the second bag of good soil around the plants. Water them right away. This is how it looked when I was done with the setup:
9. For about a week, water the bed two times a day: in the morning before all the dew evaporates and around sunset. Later, the plants can be watered once a day, in the morning. Best to use rain water if you have it. If you don't, adding plant food like the one Miracle-Gro makes to drinking water would help the plants establish and flourish.
I can't wait for new rain. My rain barrels are almost empty.
The total cost of the whole project was about $100, mostly because I bought cheaper small plants.
I wrote this up mainly for my cousins to be able to replicate the steps for the second raised bed next year. This year, we have cherry tomatoes in the ground in that space.
About the Creator
Lana V Lynx
Avid reader and occasional writer of satire and short fiction. For my own sanity and security, I write under a pen name. My books: Moscow Calling - 2017 and President & Psychiatrist
@lanalynx.bsky.social
Enjoyed the story? Support the Creator.
Subscribe for free to receive all their stories in your feed. You could also become a paid subscriber, letting them know you appreciate their work.
Comments
There are no comments for this story
Be the first to respond and start the conversation.