
'Excitebike' Perler Bead DIY
How to make a rider from the 1984 NES motocross racing game

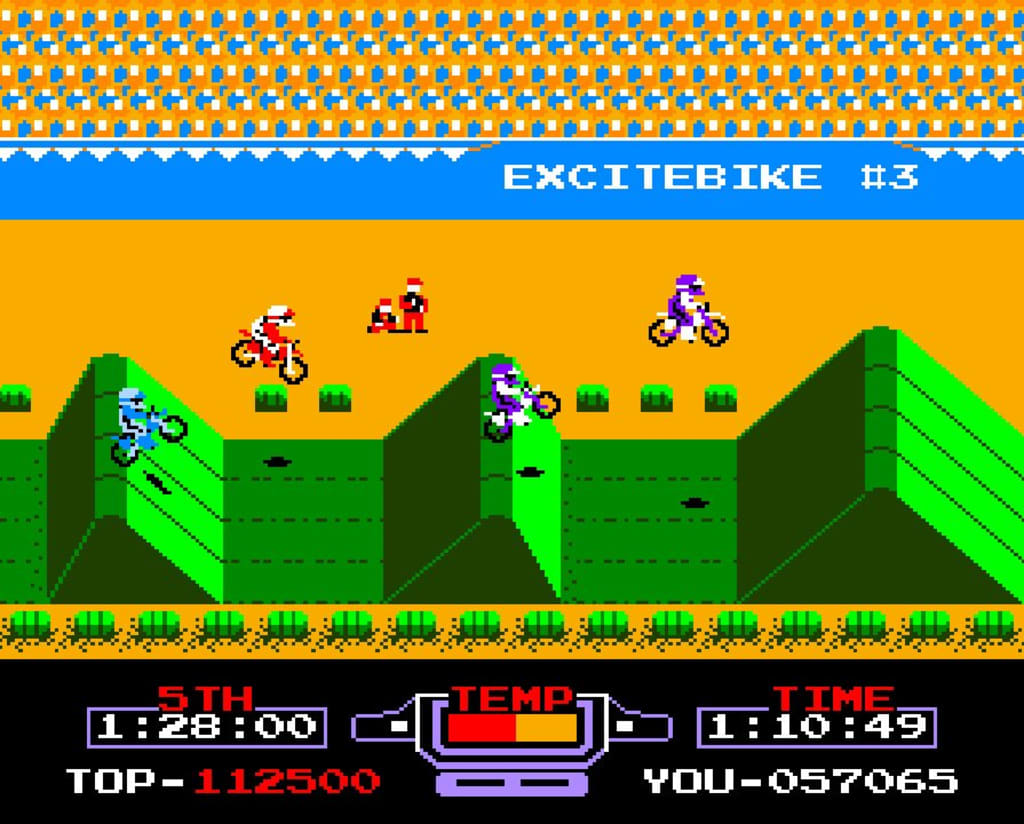
Greetings, Vocal readers. It’s been a while since I’ve done a perler bead DIY. The last one I’ve done was the Nintendo logo, which was about a month ago. In case you haven’t seen it, I’ll post a link to it at the end of this article. In this article, I’ll show you how to make this rider that you see above from Excitebike. This game made its debut on the Famicom in 1984 and as a launch title for the NES a year later. When I first played it on the NES Classic a couple of years ago, it wasn’t like any of the other racing games that I was used to playing. Every time I would jump over a ramp, I would fall off my bike. So long story short, I placed 23rd in a race and haven’t played that game since. Hopefully I’ll play it again someday and improve.
For this DIY, you’ll need a regular sized pegboard, perler beads (red, black, and white, ironing paper, and an iron. This will be a much easier character to complete in a short amount of time, compared to other projects I’ve done so far. Let’s get started on it.
Step 1: The Head
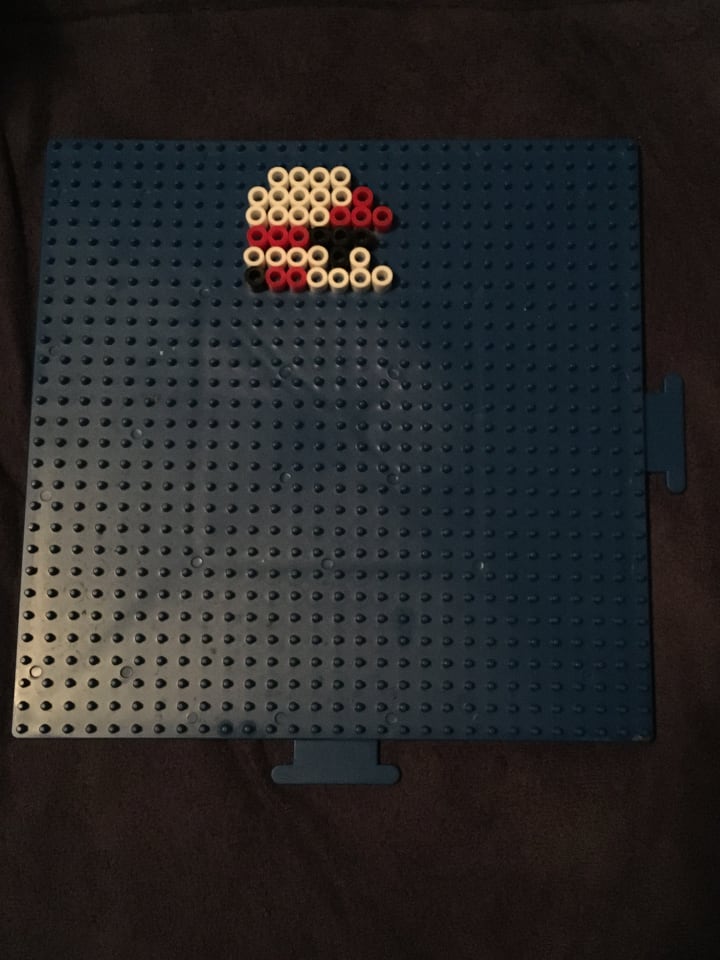
I always create my perler bead art one row at a time in most projects, because it’s a lot easier and saves time. The rider’s helmet is complete, so let’s go on to the next step.
Step 2: The Rider’s Body
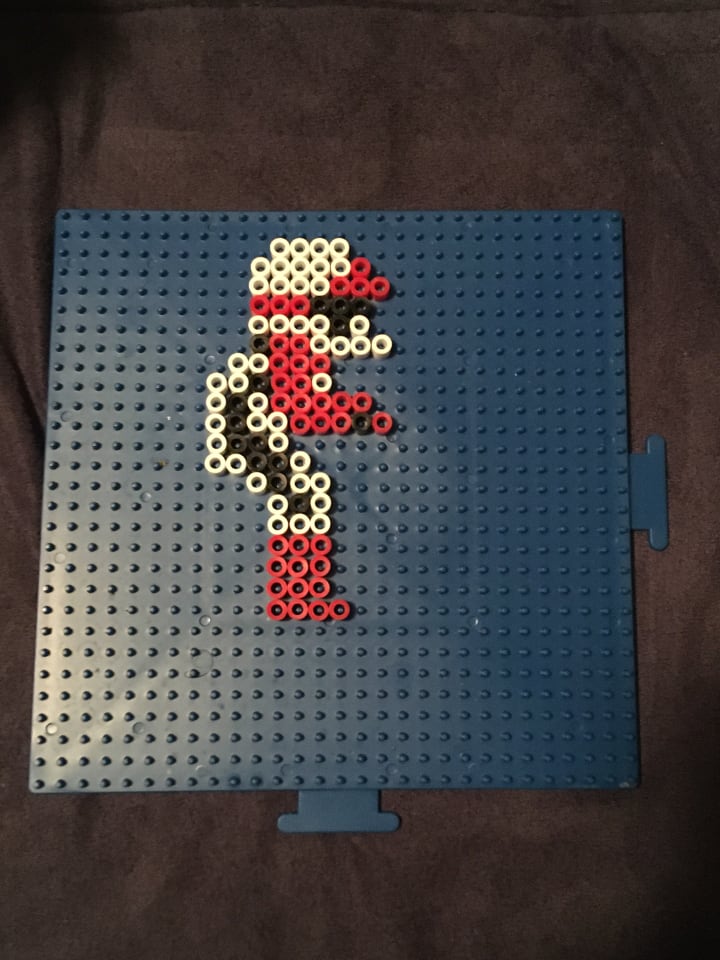
Proceed to make its arm, body, and foot. From the looks of it, you might think that the rider is standing up, but it’s not. You’re halfway done, so let’s see what step three has in store for us.
Step 3: Back of the Bike
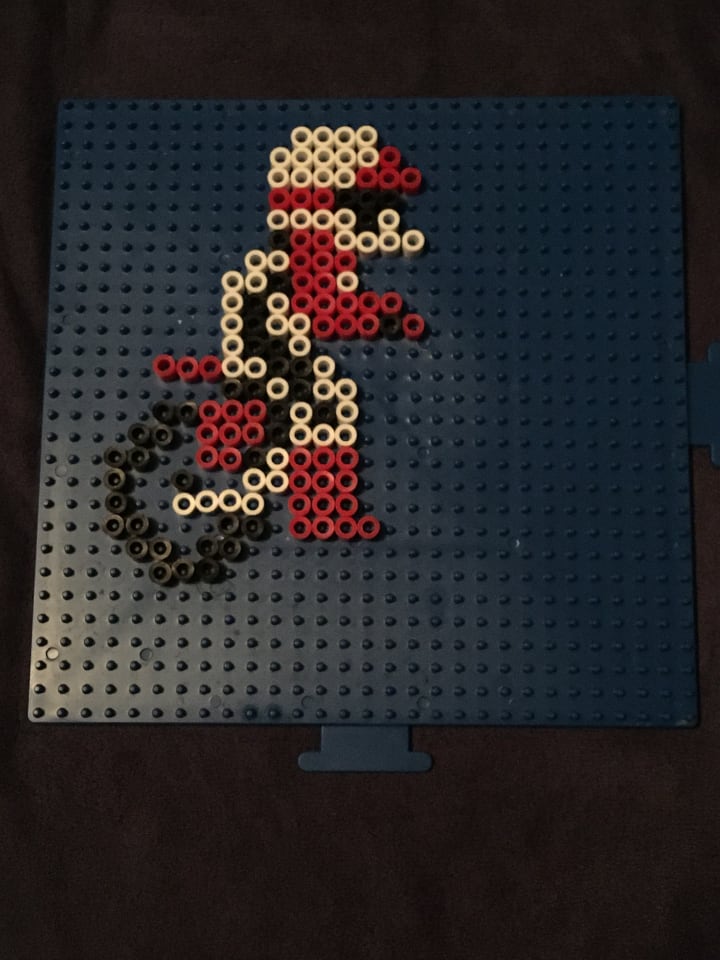
Using black perler beads, create the bike tire and using white perler beads, create the hub. Make the otter foot using red perler beads. Around that foot is the seat, which you’ll make with black perler beads. Finally, using red perler beads, make the end of the seat. It should have three red beads at the end of it. We’re almost done making this, so hang on tight.
Step 4: Front of the Bike
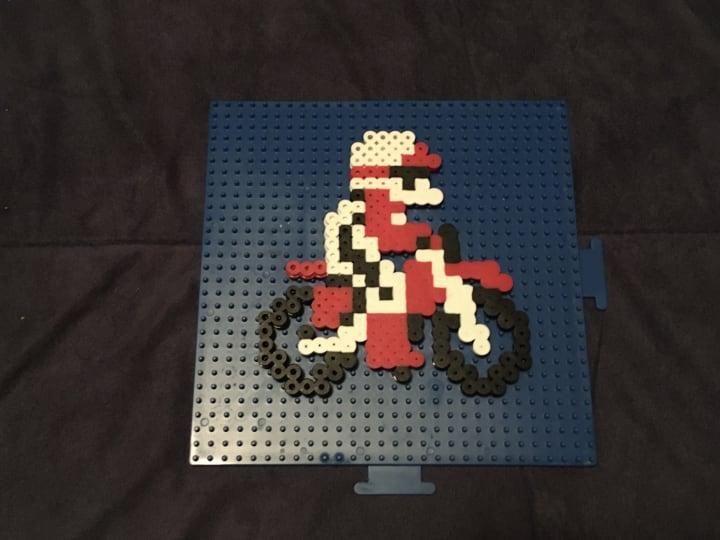
Just like step three, you’ll create the bike tire and hub the same way. Finally, add in the rest of the details and now that you’ve completed the rider, it’s time to iron it. Remember that you don’t need water to iron any designs that you do.
Place a sheet of ironing paper over the design and iron on medium heat for two to three minutes or until all the beads start to form together. Let it cool for at least 15 minutes before doing the same thing for the other side. You have now made a rider and ready to put it on a display or used to apply it to your other projects. As you can see in the cover image at the beginning of the article, you can create these riders in different colors.
If you're new to perler bead art or interested in it, I'll be writing an article in the next week or so about the items you'll need to make wonderful art. I've been doing perler bead art for three months and to me, it's a stress reliever. So be on the lookout for that article soon.
Be sure to check me out on social media. All the info to my social media pages are in my bio. In the meantime, if you like the articles I've written and like my content, feel free to send me a small one-off tip, that's located towards the end of every article. Your support is greatly appreciated. Your tip not only helps me, but also helps other Vocal content creators create outstanding content and better stories. Be sure to support them and read their articles. Also, I encourage everyone to join Vocal+, a premium membership for Vocal content creators like me to write better stories, connect with creators, and a lot more. So, be sure to sign up for that membership and support your favorite Vocal content creators.
Nintendo Logo DIY: https://vocal.media/gamers/nintendo-logo-perler-bead-diy
About the Creator
Mark Wesley Pritchard
Award-winning cosplayer, cosplay model, influencer, retro gaming fanatic, die-hard Texas Rangers fan, and nostalgic freak. Need I say more?
Threads: @thecosplayerfromtexas
Instagram: @thecosplayerfromtexas
TikTok: @thecosplayerfromtexas
Keep reading
More stories from Mark Wesley Pritchard and writers in Lifehack and other communities.
Perler Bead DIY: Block from 'Super Mario Bros. 3'
Greetings, my nerdy fam. Some great things have happened to me recently. Late last week, I got engaged to my fiance, Dale. No wedding date has been set yet, but we're hoping to tie the knot before the year is over. The second thing is that I recently became a Vocal+ Founding Member. I'm grateful to be among over 200 members who are committed to bringing you better content. If you like the articles that I or anyone else has written, feel free to send us a one-off tip. No matter how big or small it is, your tip encourages us to reach out to so many people through our storytelling.
By Mark Wesley Pritchard5 years ago in Lifehack
Preventing burnout in high-stress industries: A comprehensive guide
Burnout has become a significant concern for both employees and employers in today’s fast-paced and increasingly demanding work environments, particularly within high-stress industries. It is a state of emotional, physical, and mental exhaustion caused by prolonged stress or frustration.
By Amara Gomeza day ago in Lifehack
Unveiling the Secrets: How to Achieve Pure Nature-Intended Weight Loss
In a world filled with fad diets and quick-fix solutions, achieving sustainable weight loss can feel like an elusive goal. But what if the key to shedding those extra pounds lies not in complicated regimens or restrictive eating plans, but in embracing the natural rhythms of our bodies and the gifts that nature has to offer? In this guide, we'll explore how you can achieve pure, nature-intended weight loss by harnessing the power of the world around you.
By Mukteshwar Ranaa day ago in Lifehack
In The Blink of Her Eye
Time itself bent and morphed, allowing Shannon the precious seconds needed to see and adjust to the disaster unfolding in front of her. Each frame showed minute details she would have missed had the clock not slowed down until she heard every click of the hands as they swept toward the end of everything. If only she was being melodramatic...
By Lisa VanGalen3 days ago in Fiction


Comments
There are no comments for this story
Be the first to respond and start the conversation.