
Cooking a whole deer in the ground
(with my kids helping)

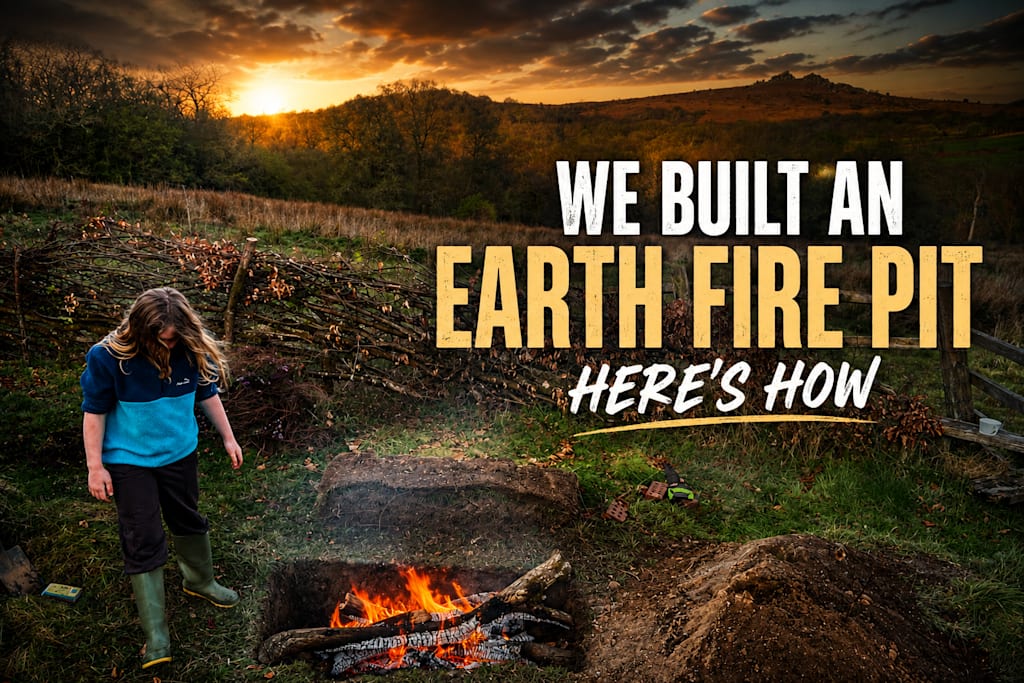
A kind landowner dropped off a whole deer in our garage a couple of weeks ago. Culled as part of their effort to control the deer population and encourage regenerative tree growth on the estate. As a family, we're in support. Especially when it results in 20kg of free, wild meat on our door step.
I've processed a few deer in the past and it usually takes me at least 4-6 hours, late at night. And even with the best YouTube tutorials, I usually end up butchering it. So this time I decided to try a new approach to save time and effort: cook the deer whole in an earth oven.
What could be so difficult about that?
I was surprised not to find any definitive video tutorial or guide based in UK on how to do this.
So I patched together an action plan using information from several sources, translating them to our context and limitations, here at home.
1 - DIG A HOLE
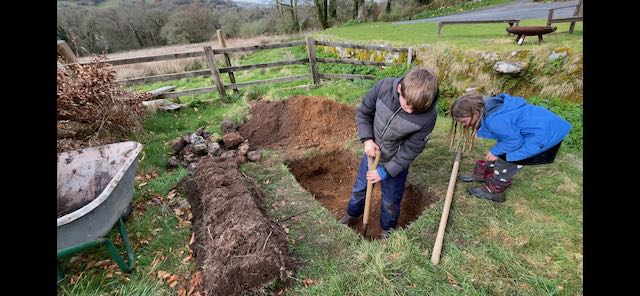
This is the first step in creating the oven. The advice was to dig a hole about 1.5 mtr long and 60-90 cm deep. But we hit some very stony ground at 50 cm and gave up, having already spent 2 hours digging.
The principle here seems to be: make sure you have enough space for the pit to be lined with fist- to melon-sized granite rocks and still have enough rooms for a bed of hot coals, the deer itself and a further 15cm+ of soil.
2 - GET A LOT OF WOOD
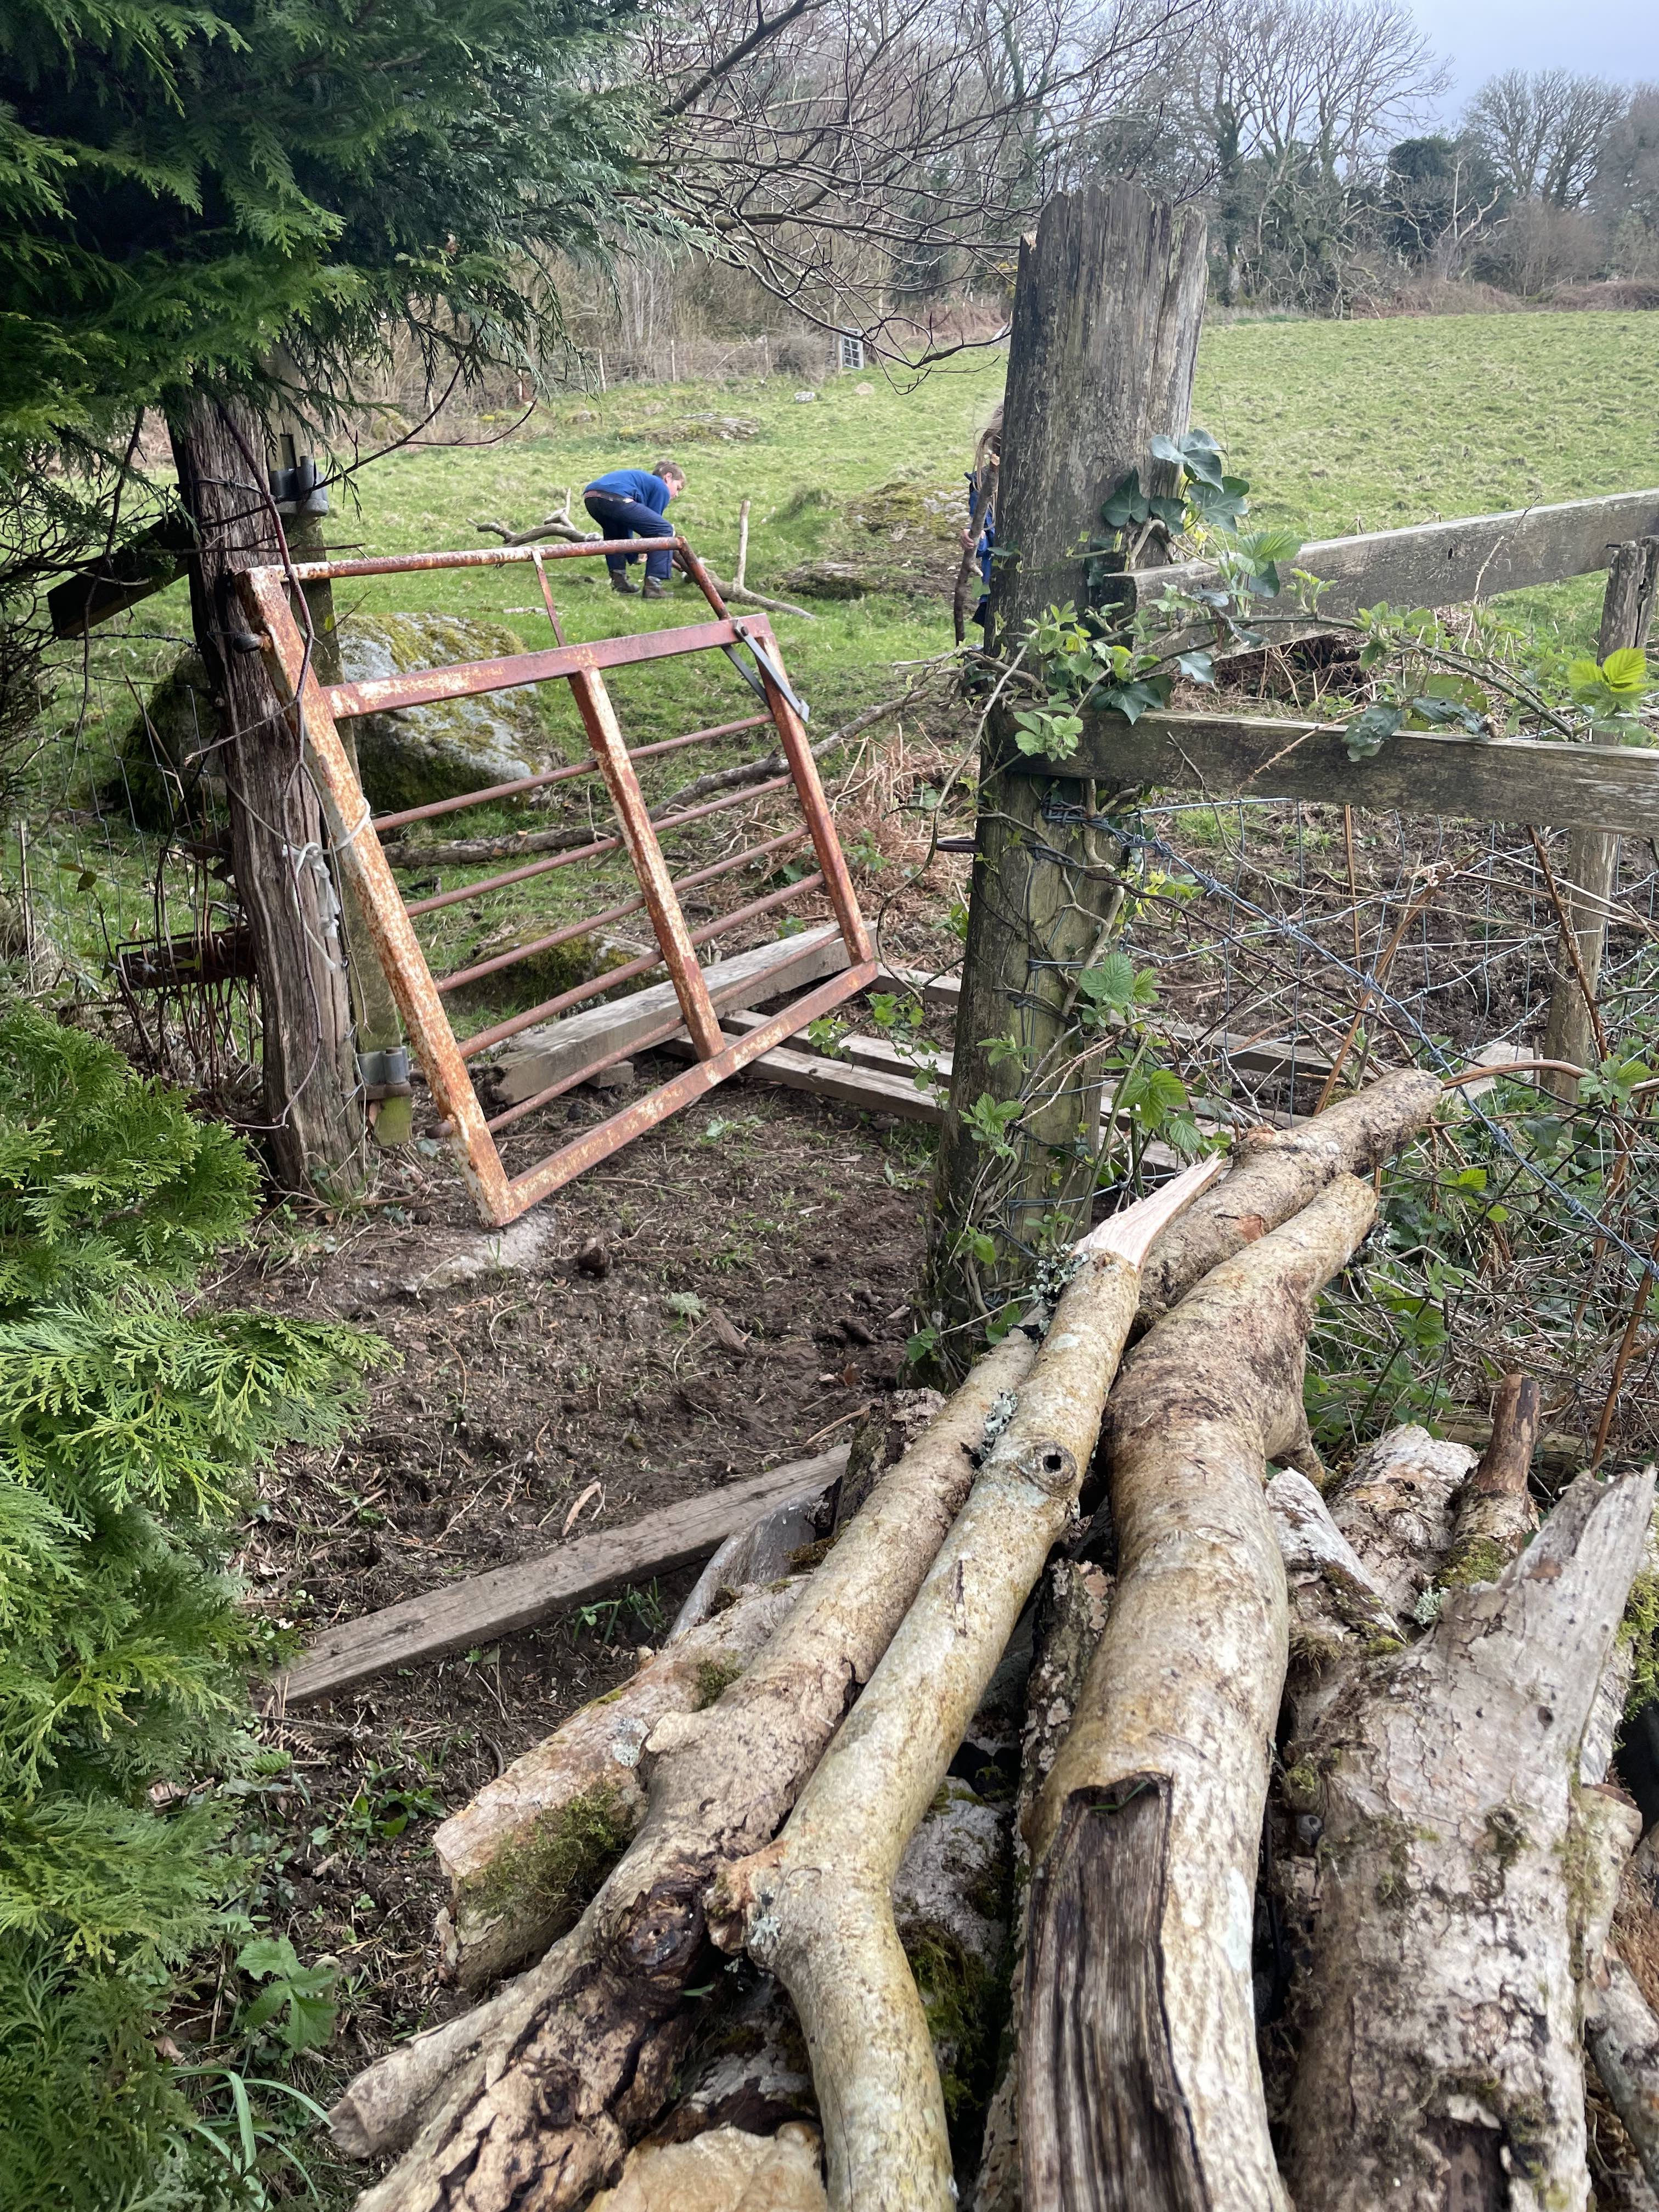
It took us 1.5 hours to collect enough limbs from a dead ash tree 200 mtrs from the fire pit. We snapped or cut the pieces to about the length of the fire pit and piled it up ready for the following day.
How much wood to collect was instinctive based on the guidance that the fire would need to burn vigorously for at least two hours. We collected about 4 wheel barrow loads of long pieces - enough to keep a roaring bonfire going for 2-3 hours.
Key detail: you need hard wood (eg oak, ash, beech, hazel) and dry wood (not just to the touch, but seasoned).
3 - LINE FIRE PIT WITH ROCKS
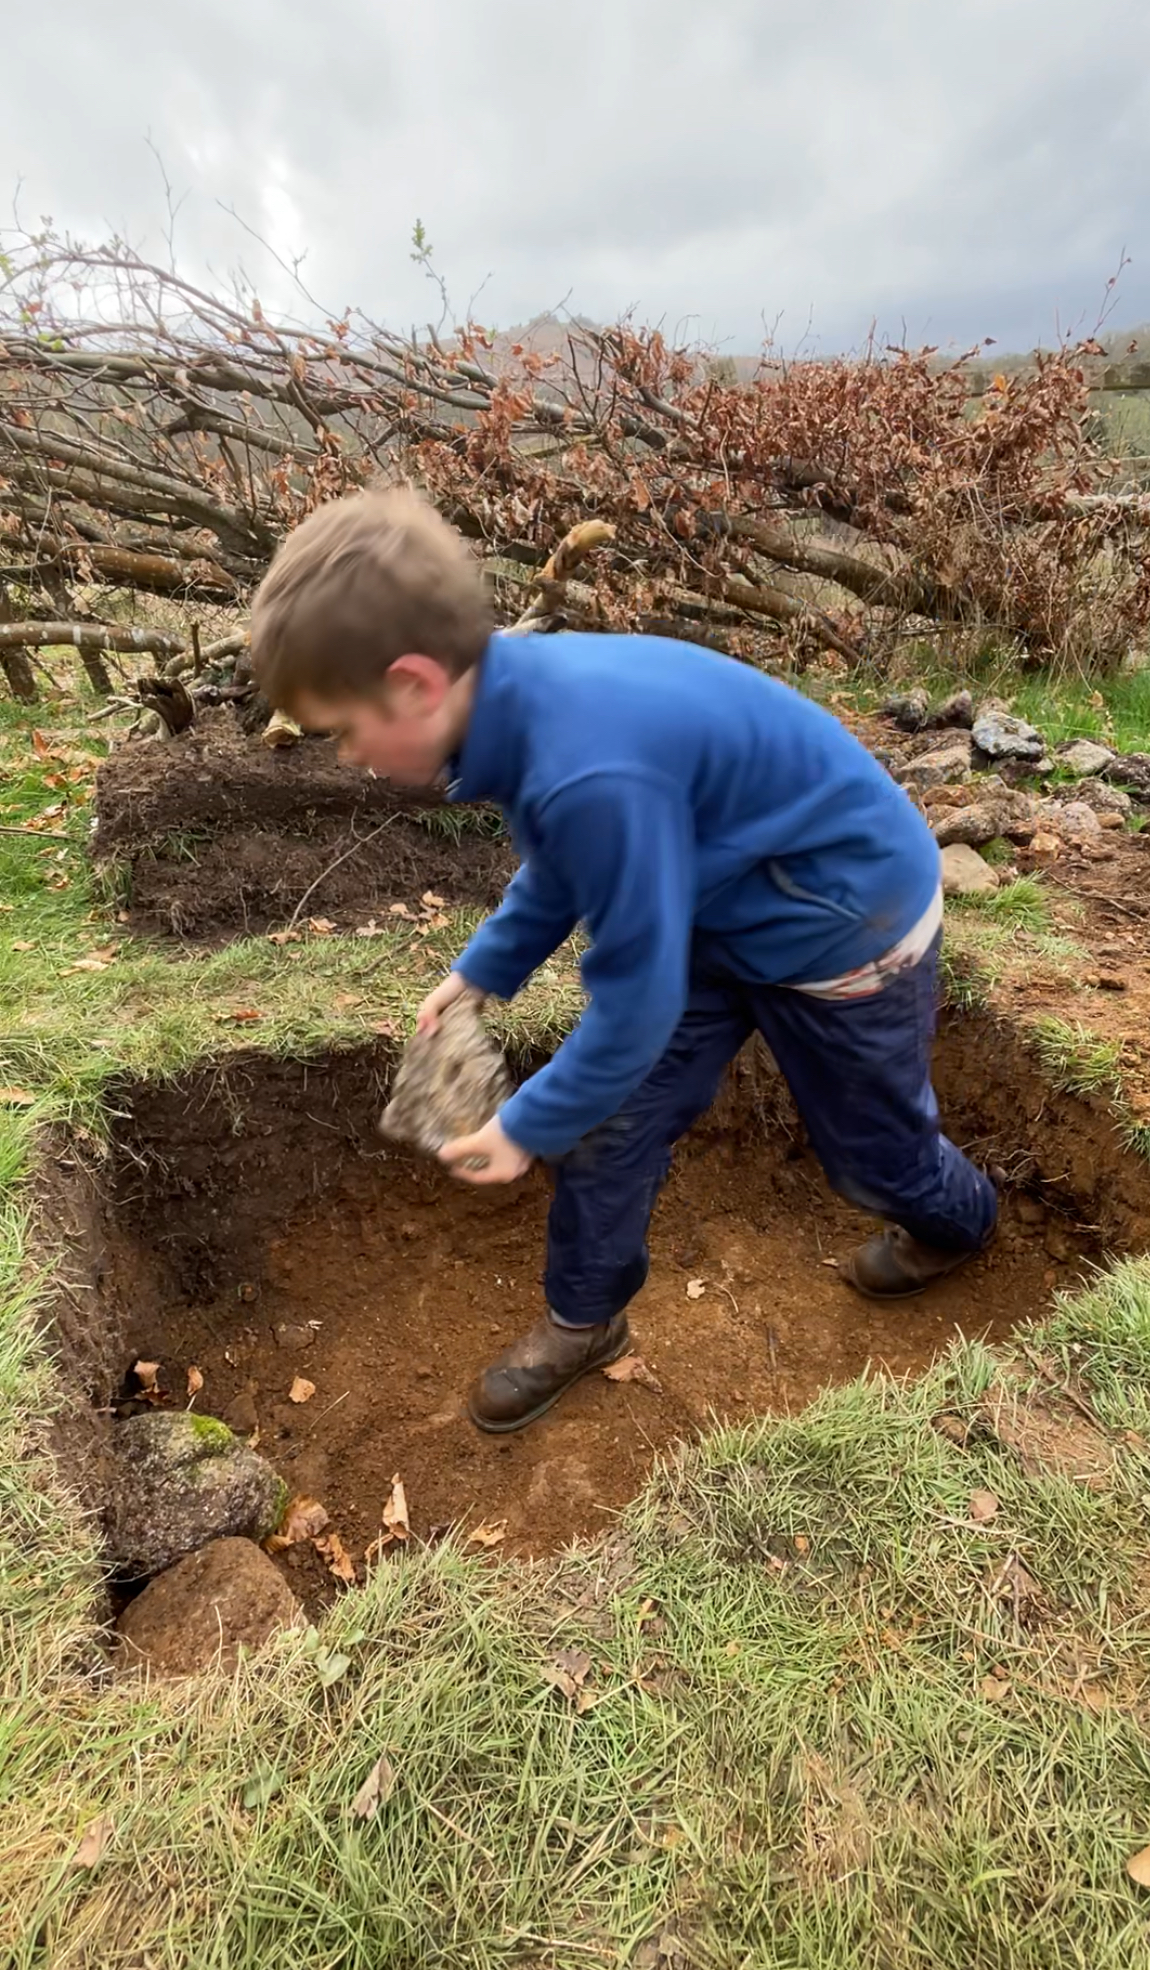
We found loose granite rocks around the garden that varied in size from fist- to melon-sized.
The instruction was to cover the base of the fire pit (in our case, about 1 square metre) and to line the walls of the fire pit - which we did not do. This turned out to be a mistake.
Important: use rocks that won't explode when heated - ideally granite. River rocks (due to trapped water) and any sedimentary rocks are likely to crack or explode.
4 - COLLECT PILES OF VEGETATION
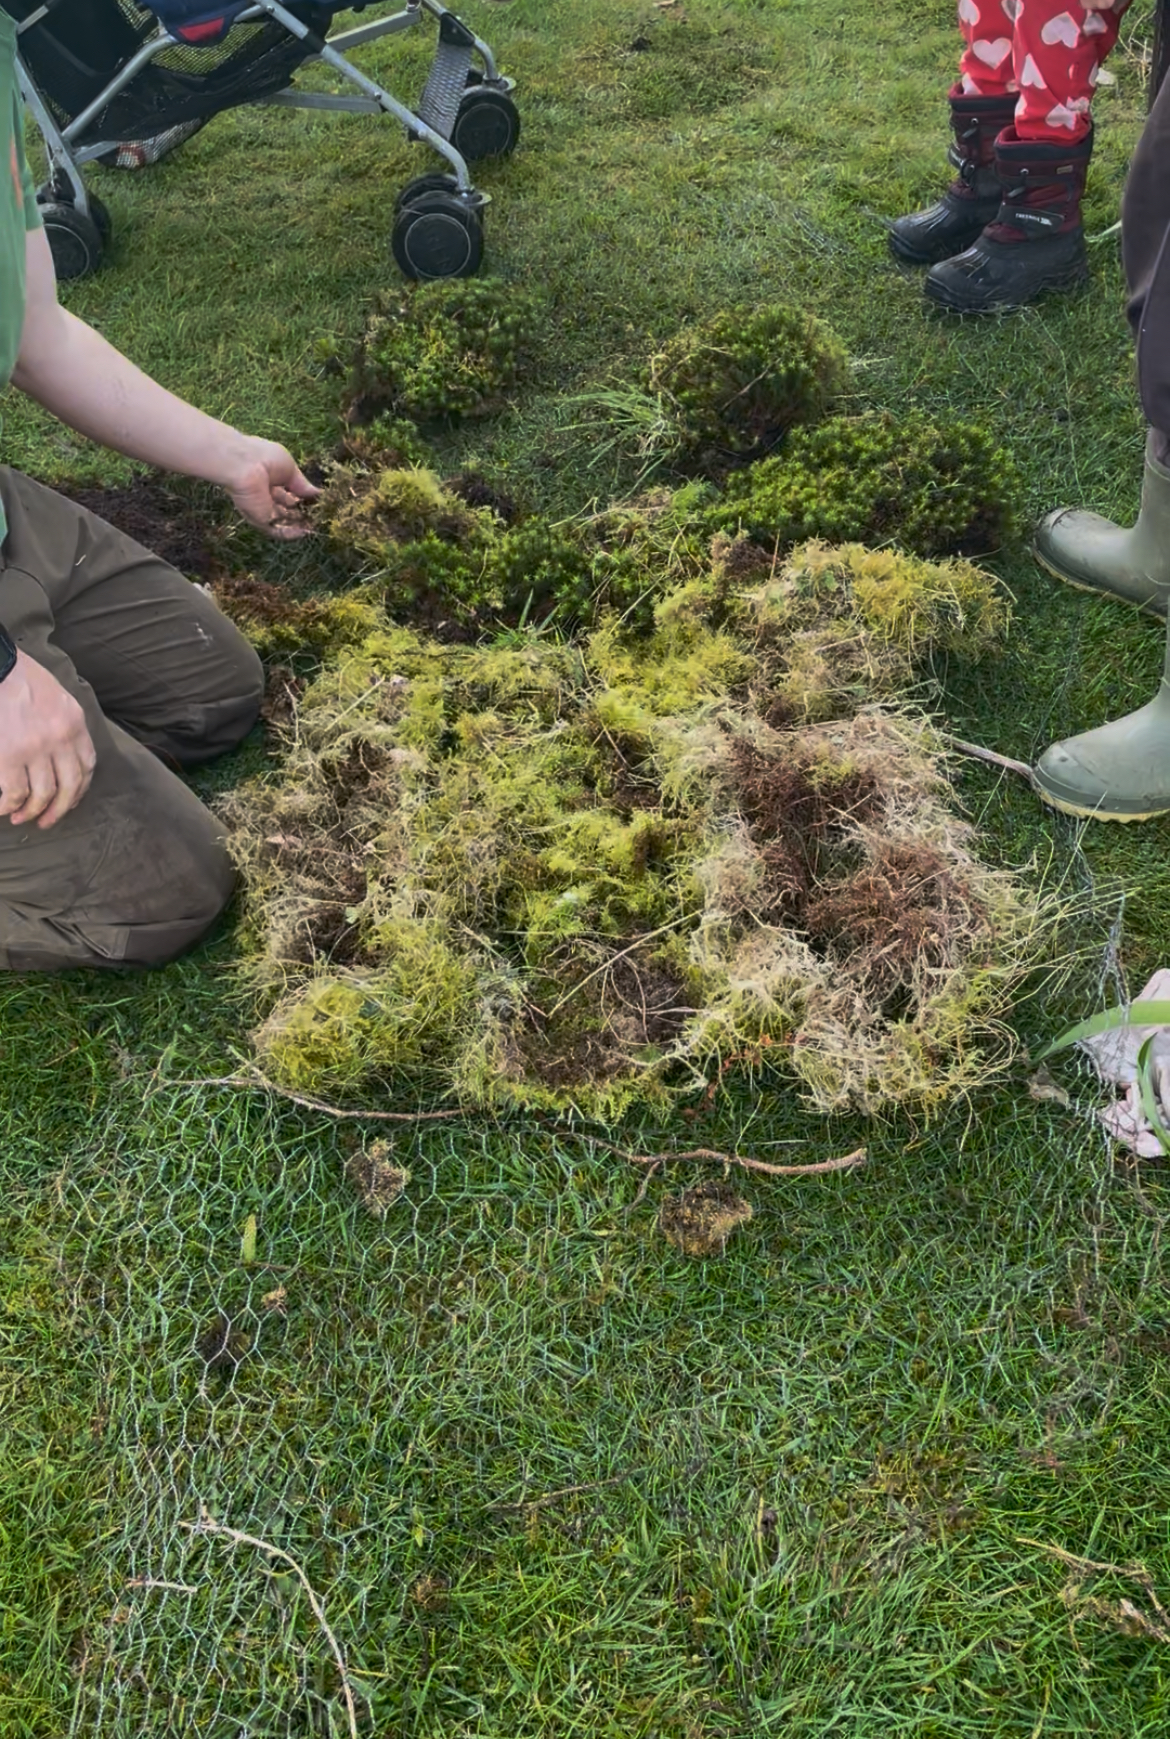
The principle of the earth oven is that heat is generated through the bed of embers and rocks which, in turn, is tempered by the vegetation packed all around the deer. In theory, this creates a slow steam cooker that keeps the meat moist.
We collected a small pile of moss and a big bundle of heather, also cut from the garden.
You could also use long cut grass, nettles or young, green, bushy branches from willow.
5 - LIGHT THE FIRE, PREPARE THE DEER
We did all the preparation on day one - and it took most of the day.
Our site and materials were well prepared.
The plan was to get up early the following morning to start the fire and prepare the deer.
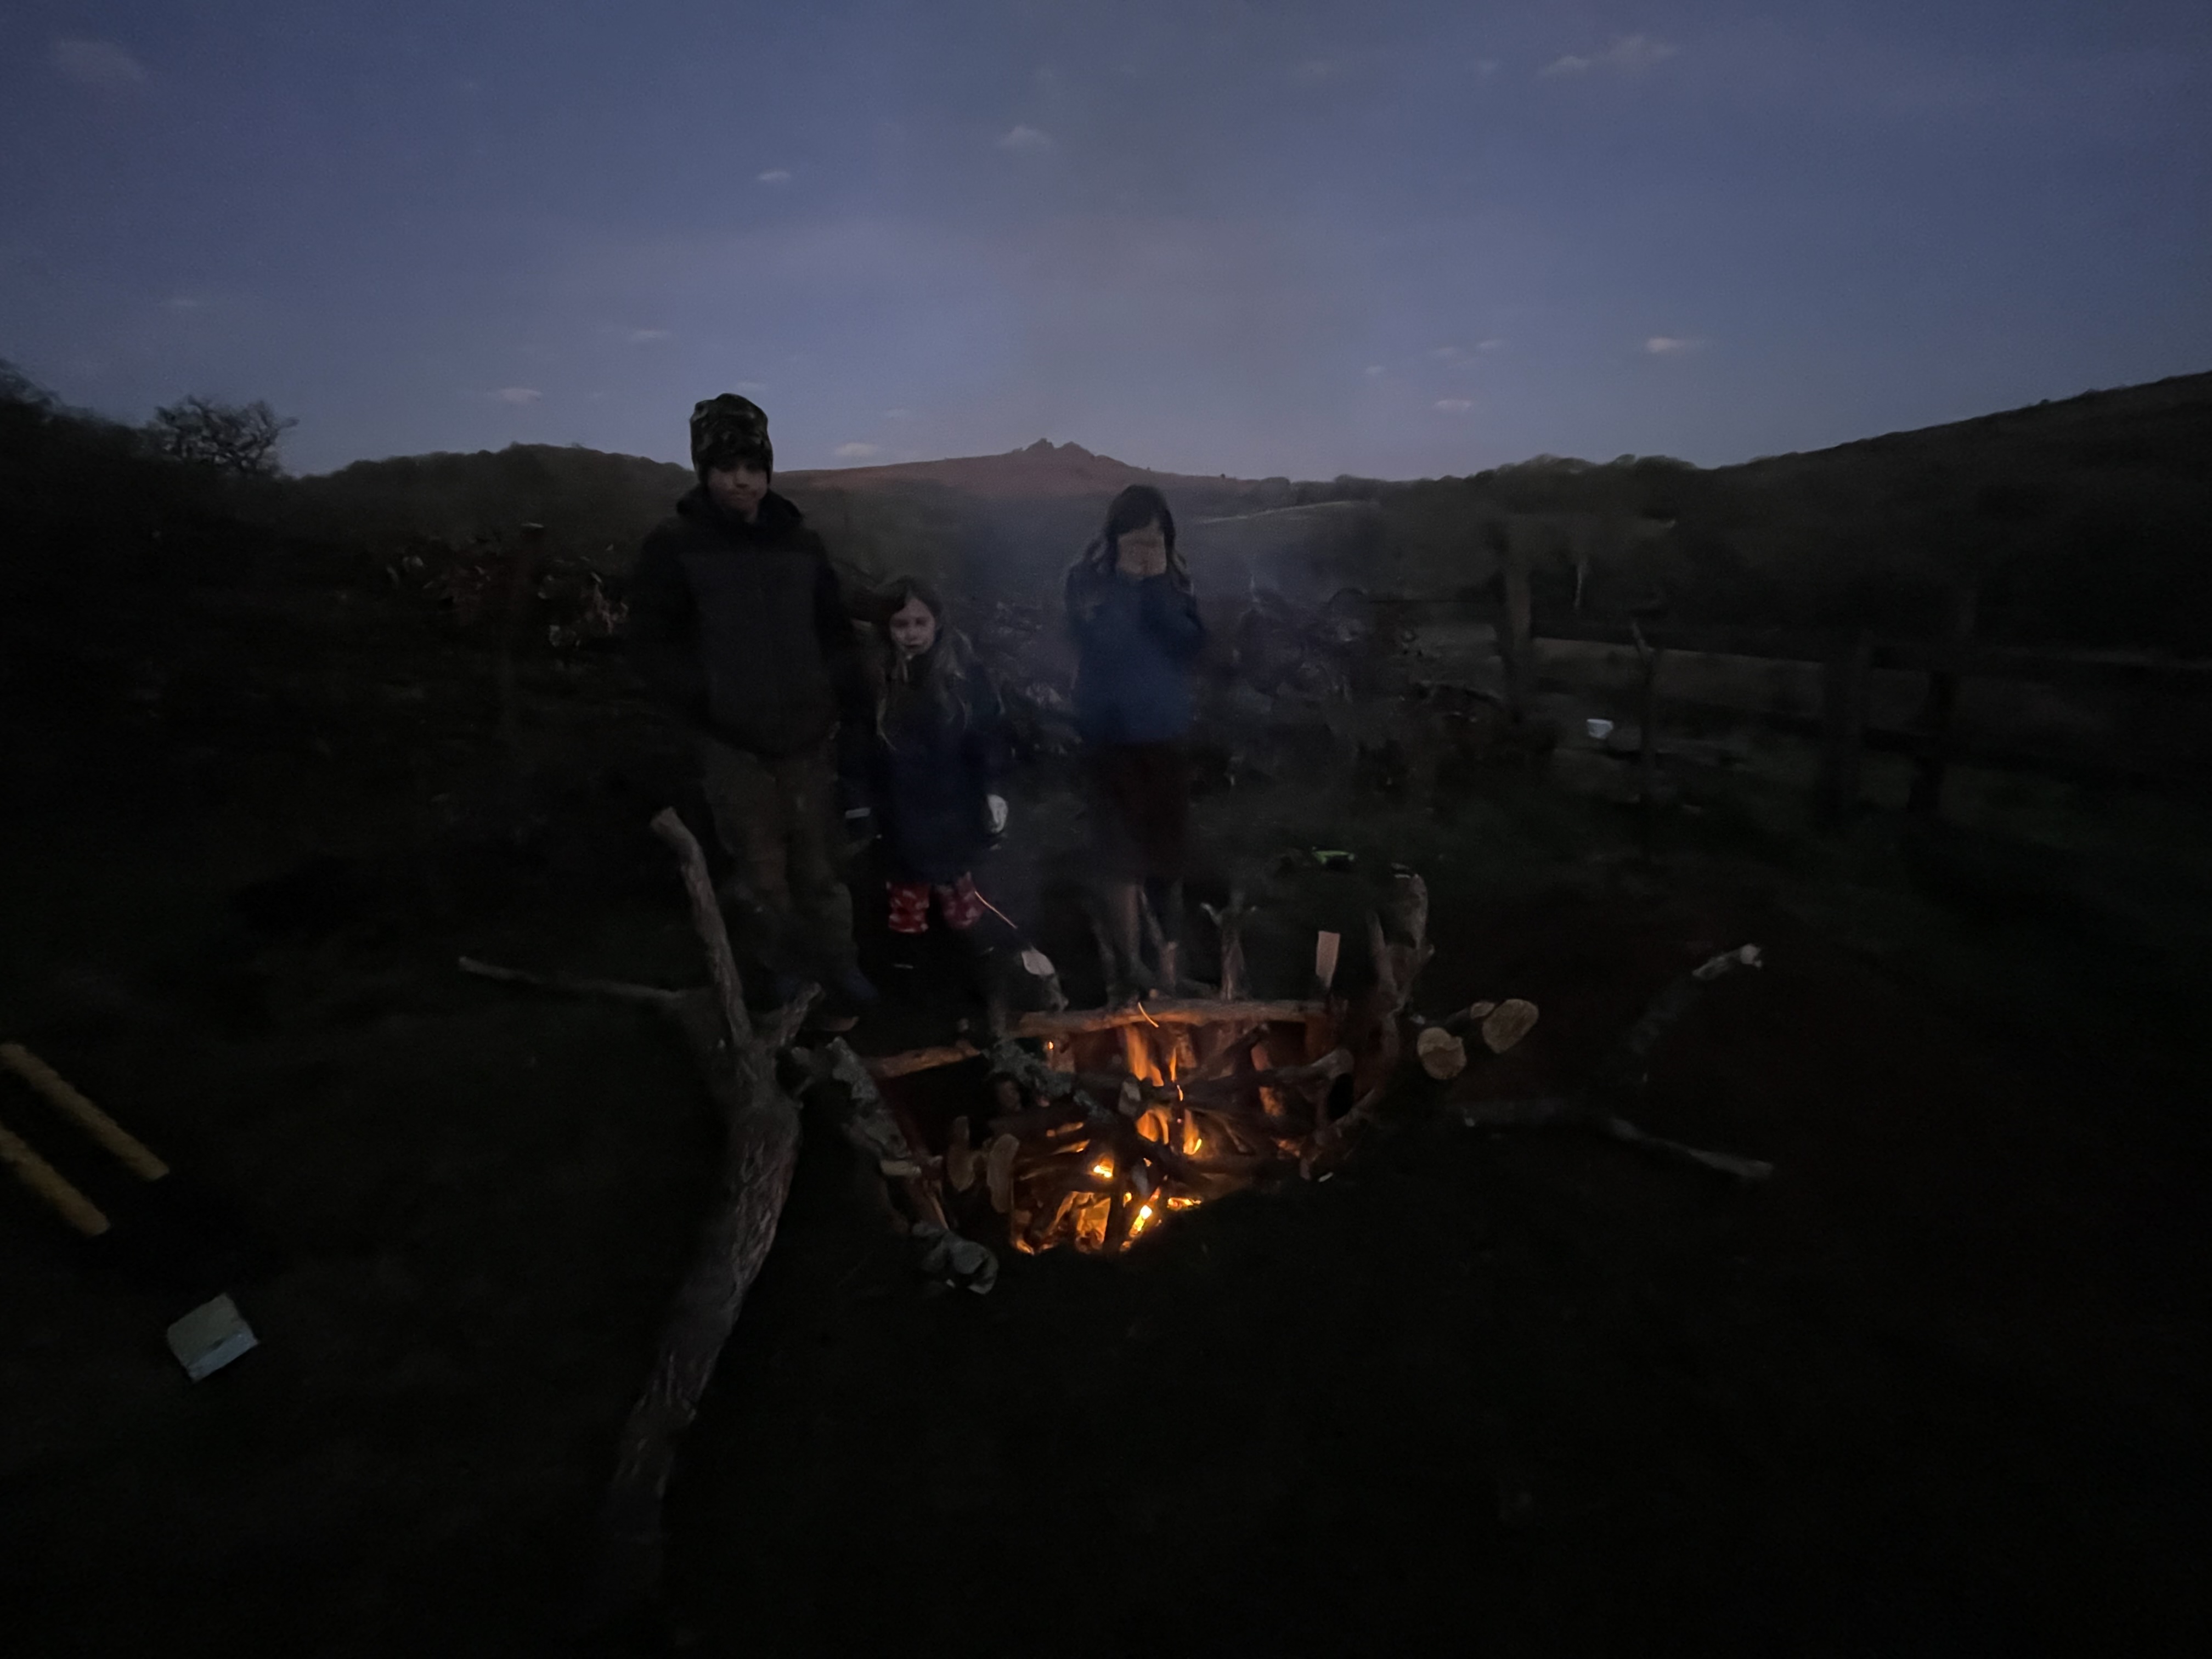
It was pitch black at 5am. We got hot drinks, collected tools and made our way down to the fire pit.
It was alight and roaring just before 6am as the sky began to light up and the dawn chorus began.
Honestly, the whole thing was worth it just to experience the intense beauty of a day beginning.
As the fire roared, we began preparation on the deer:
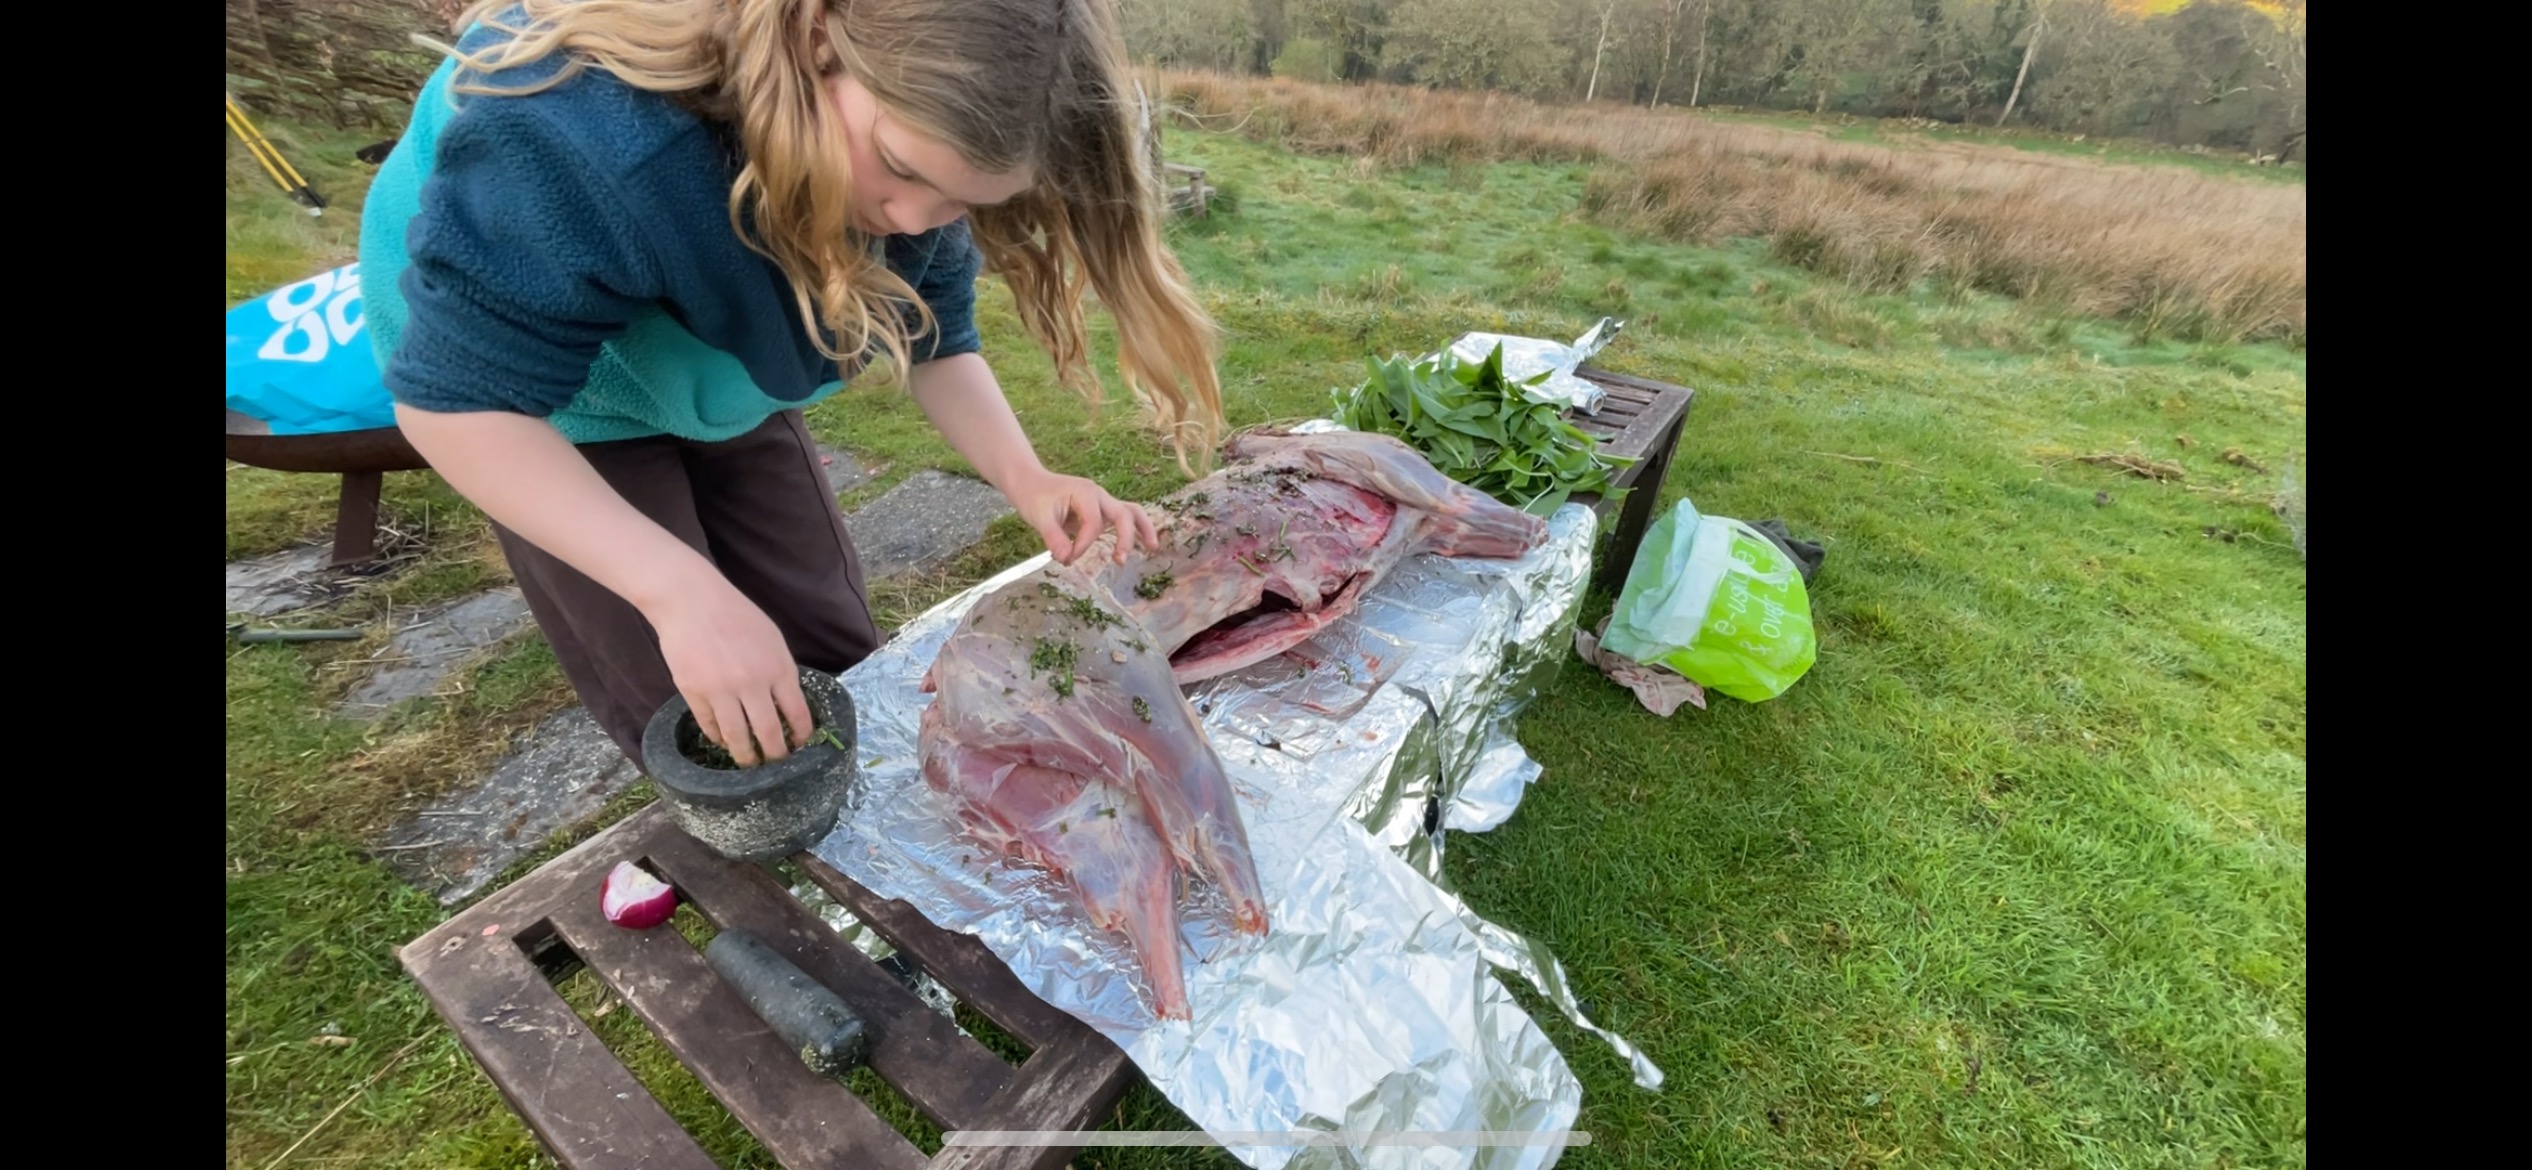
- Washed it out with a garden hose
- Dried it
- Rubbed salt, pepper and chopped herbs all over
- Covered the deer with some left over strips of pork fat
- Pushed several peeled onions and a bunch of herbs inside the cavity
- Wrapped the whole thing in wild garlic leaves and several layers of foil
- Wrapped the whole foil package in moss and a chicken wire cage
6 - PUT IT ALL TOGETHER
Everything was ready: the fire, the vegetation, the prepared deer, and the soil to seal it shut.
I followed the process I had researched the day before.
As follows: heat (coals and hot rocks); 10-15cm layer insulation (vegetation); deer (wrapped in foil and moss); 20cm layer insulation (vegetation); soil (fill in all gaps); turf.
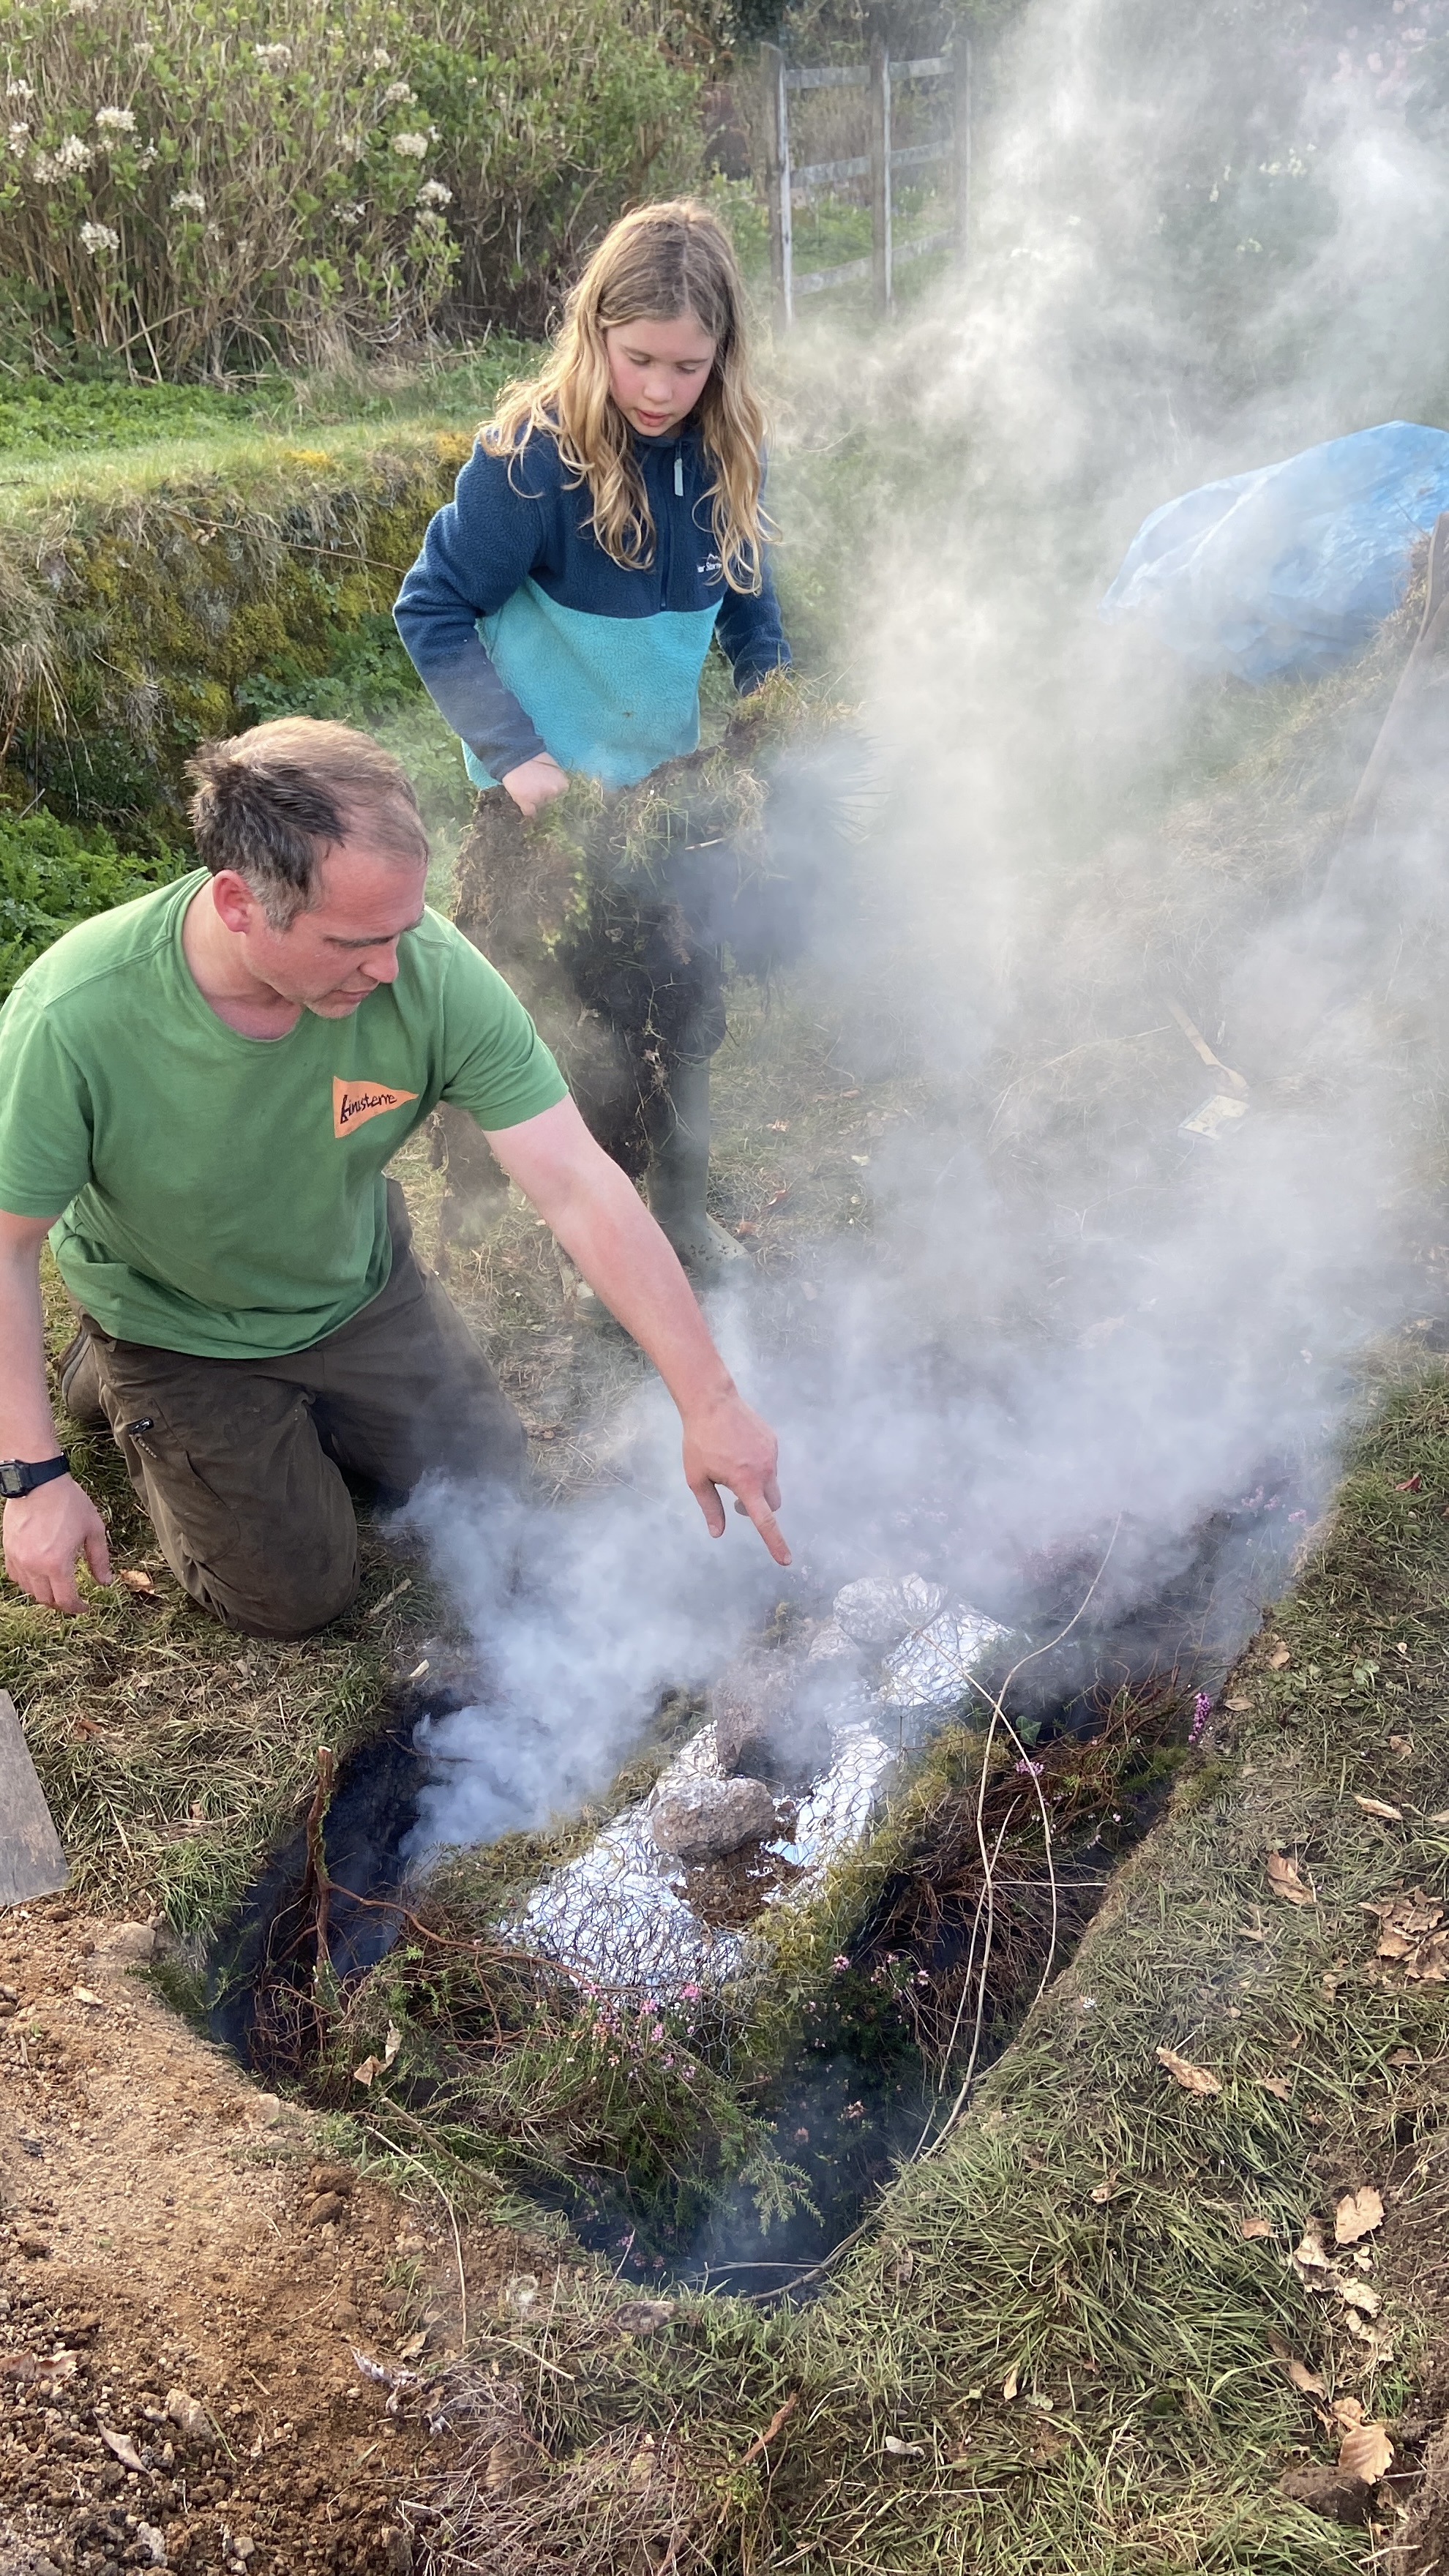
To start, the whole thing steamed and hissed and I thought the heather would light, so we worked fast. It was a joyous moment - the thought that in our own garden, underground, a deer would be cooking all day long.
But as soon as the loose soil and turfs were on top, the whole thing went silent. No smoke, no steam, and most surprisingly - no heat on the soil surface.
My family reassured me everything would be okay. And that all the heat would be trapped inside.
I wasn't so sure.
Anyway, it was 8am and I had to leave for an appointment and get on with the day.
7 - OPEN THE PIT
Throughout the day, I couldn't help going out to check the soil temperature for reassurance. I buried my hand beneath the soil surface - it wasn't even warm.
But I kept faith.
Something must be happening I thought. The extreme heat of the coals and rocks was trapped underground. It had nowhere else to go but into our wild meat, ready for our family celebration dinner at 6pm.
So we all gathered at 5.30pm for the big reveal.
I scraped back the soil, removed the turfs and pulled out the heather.
I peeled back the layers of foil...
Everything was intact and smooth and the wild garlic leaves looked like we had just picked them. It was totally uncooked!
INTERLUDE - WHAT WENT WRONG?
Have you guessed?
The deer was in the ground for long enough (8+ hours), but there just wasn't enough heat.
Primary reasons:
> not enough heat. I've since discovered the rocks need to be glowing hot. That takes a while (perhaps 4+ hours) and best achieved with smaller, split logs which increases heat release.
> not enough rocks. I failed to 'line' the walls of the fire pit with rocks. This would have radiated heat at least 2x more.
> too much insulation. I could have done without the moss layer which absorbed too much heat.
8 - DINNER TIME
"Right!" I said, "Everyone head back to the woods and get a load more wood"!
Together, we rallied to get this deer cooked. A new bonfire was lit and stoked and we threw the whole foil-wrapped deer back onto the fire.
This time, no heather and no soil. We piled up glowing embers all around the deer and kept the fire glowing and burning for another two hours. Finally, we could hear and smell venison cooking as flames licked around the foil.
The table was laid, potatoes were ready, and the deer was cooked.
We brought the whole thing inside and ripped it apart for our family feast.
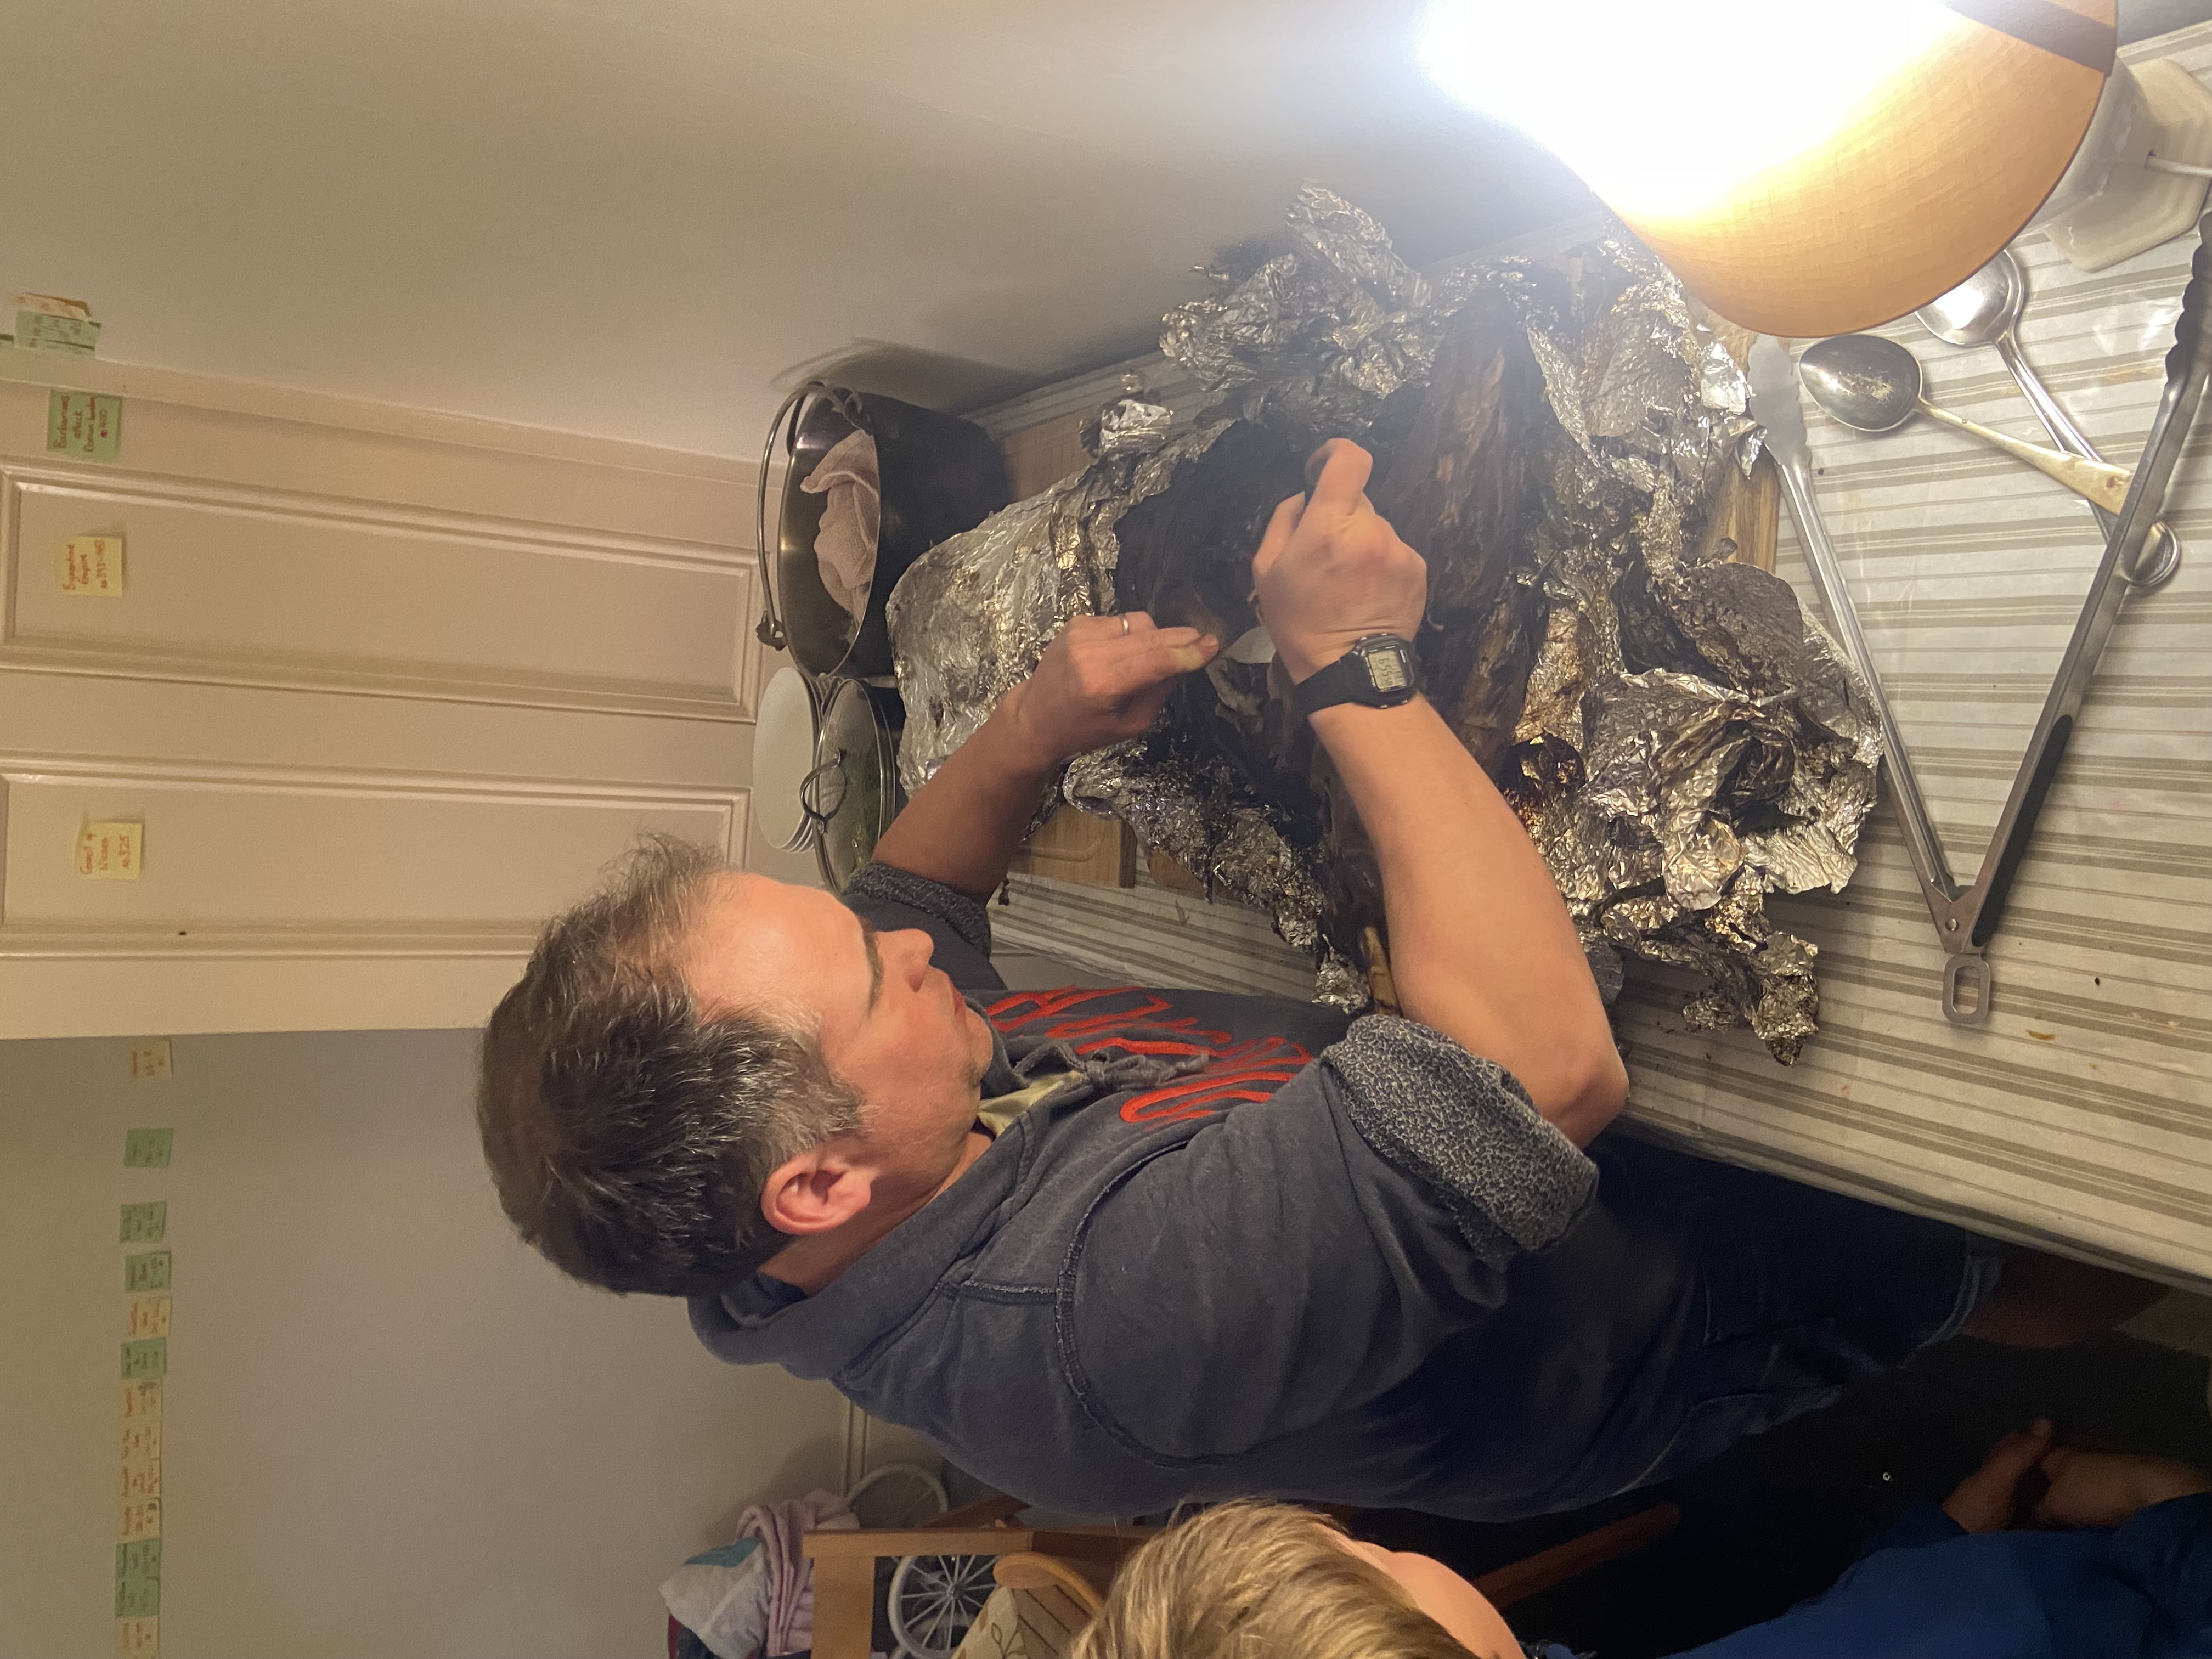
It turned out to be the longest and most complex deer-processing I've ever attempted.
But it was fun and somehow we've not been put off the thought of giving it another go next time a carcass is delivered to our door.
~
About the Creator
Tim Boxer
Tim is UK-based writer of all things family, faith and adventure.
Enjoyed the story? Support the Creator.
Subscribe for free to receive all their stories in your feed.
Comments
There are no comments for this story
Be the first to respond and start the conversation.