Step-by-Step: How to Install a Home Wi-Fi Network
How to Install a Home Wi-Fi Network
Establishing a dependable Wi-Fi network at home is essential in this day and age, when connectivity is essential. A reliable internet connection is essential for everything from work-related duties to entertainment and smart home appliances. But for some people, setting up a Wi-Fi network might be scary. Do not be alarmed! With the help of this thorough tutorial, you will be able to quickly and easily set up your home Wi-Fi network.
1. Plan Your Network Placement
Placing the network strategically is the first step in installing a Wi-Fi network. Think carefully about the best place for your router before starting the installation process. If possible, locate the Wi-Fi signal in the center of your house to make sure it can reach every area unhindered. Steer clear of positioning the router close to metallic items, thick walls, or electrical appliances as they could potentially disrupt the signal.
Think about the required coverage area. To achieve complete coverage, a larger residence could need extra devices like mesh networks or Wi-Fi extenders.
2. Gather Necessary Equipment
Before starting the installation process, gather all the required equipment. Ensure you have:
Wi-Fi router
Power cables for the router and modem
Internet modem (if separate from the router)
Ethernet cables (for initial setup and troubleshooting)
Any additional accessories or devices based on your network requirements
Refer to the manufacturer's instructions to check if any specific cables or equipment are needed for your particular router model.
3. Connect the Router
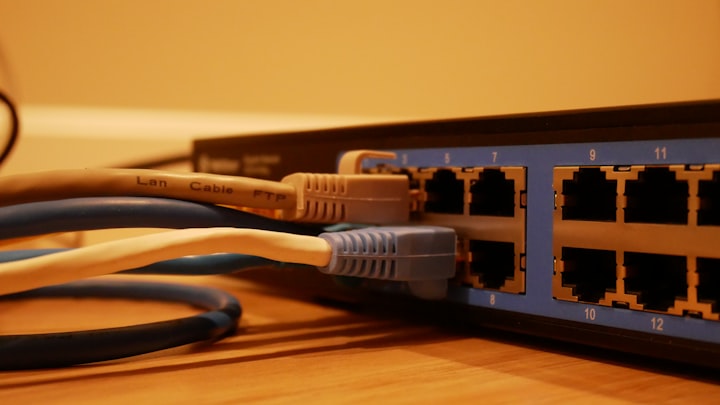
Start by using an Ethernet wire to link the router and modem. Place one end of the cable into the modem's Ethernet port and the other end into the router's WAN or Internet port. The router and your internet service provider (ISP) are linked by this connection.
4. Power Up Your Devices
Turn on the power outlets that the router and modem are connected to. It will take one or two minutes for both devices to fully charge. The majority of routers use a solid light or indicator to show when they are ready. Make sure your modem connects to your ISP steadily in the meanwhile.
5. Access the Router Settings
Determine the default Wi-Fi network name (SSID) and password using a computer or smartphone. Usually, the user handbook or a label on the router provide this information. To use a conventional web browser to access the router's settings, connect your device to this default network.
6. Configure Router Settings
After connecting, use the address bar of your browser to type the router's assigned IP address to view its settings. This address is frequently listed in the manual or on the router. After logging in, you can change the network configuration as follows:
Set up your Wi-Fi network name (SSID)
Create a strong and unique password for network security
Choose the appropriate security protocol (e.g., WPA2 or WPA3)
Configure additional settings such as guest networks, parental controls, and quality of service (QoS) if supported by your router
7. Secure Your Network
For your Wi-Fi network, coming up with a strong password is essential to preventing unwanted access. Try to create a password with a combination of numbers, symbols, and upper- and lowercase letters. To further improve network security, enable WPA2 or WPA3 encryption methods.
8. Test Your Connection
Reconnect your devices to the newly created Wi-Fi network using the modified SSID and password after making the necessary configurations. Check sure the connection reaches all of the desired locations in your house by testing the connection speed. You can evaluate the network's performance by using one of the many internet speed testing programs.
Using a Wi-Fi-enabled device, take a tour of your house to find any dead zones or spots with poor signal strength. If such regions exist, think about moving the router or spending money on mesh networks, Wi-Fi extenders, or other devices to improve coverage.
9. Troubleshooting
In the event of connectivity issues or persistent dead zones, troubleshoot the network. This could involve:
Rebooting the router and modem
Checking for firmware updates for your router and performing the updates if available
Adjusting the router's antennas or repositioning the router to improve signal strength
Using Wi-Fi analyzer apps to identify potential interference from neighboring networks
Exploring options like powerline adapters or network boosters for hard-to-reach areas
10. Regular Maintenance
Maintaining a functional Wi-Fi network involves periodic upkeep to ensure optimal performance and security:
Update the firmware on your router on a regular basis to get the newest security fixes and performance improvements.
Pay close attention to network settings and configurations, particularly following any major modifications to the design of your house or the addition of additional devices.
Utilize third-party apps or the diagnostic tools supplied by the manufacturer of your router to keep an eye on the network's functionality.
Best wishes! Through careful implementation of these detailed instructions, you have created a strong and dependable Wi-Fi network in your house. Accept the benefits of seamless connectivity and use them on all of your devices.
Setting up a home Wi-Fi network requires attention to detail and a systematic approach to ensure a stable and efficient connection. By following these detailed steps and troubleshooting tips, you'll have a reliable network catering to the diverse needs of your household.
About the Creator
Rosie charles
Rosie Charles is Community team Lead at #ISPSupplies. She writes too many technical blogs regarding network solutions.


Comments
There are no comments for this story
Be the first to respond and start the conversation.