
Facehugger DIY
Crafting Halloween on a Budget

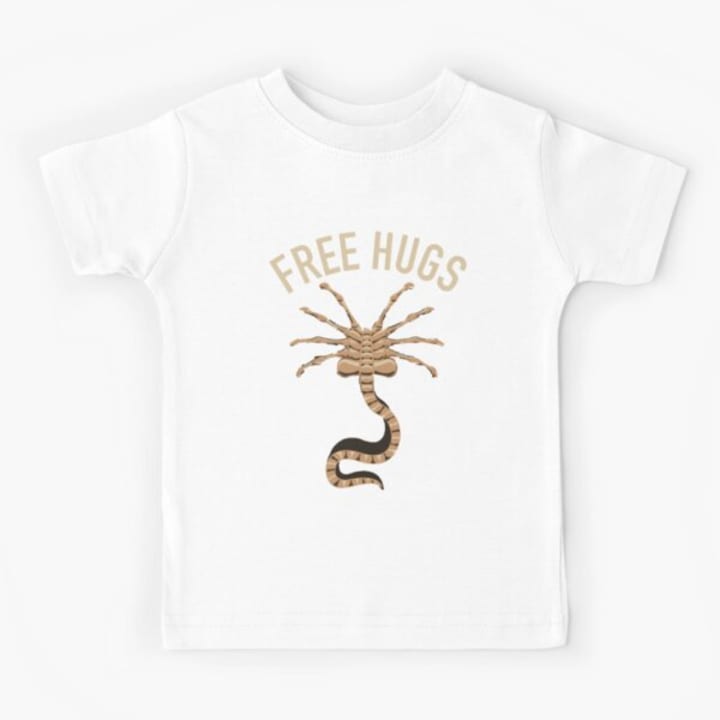
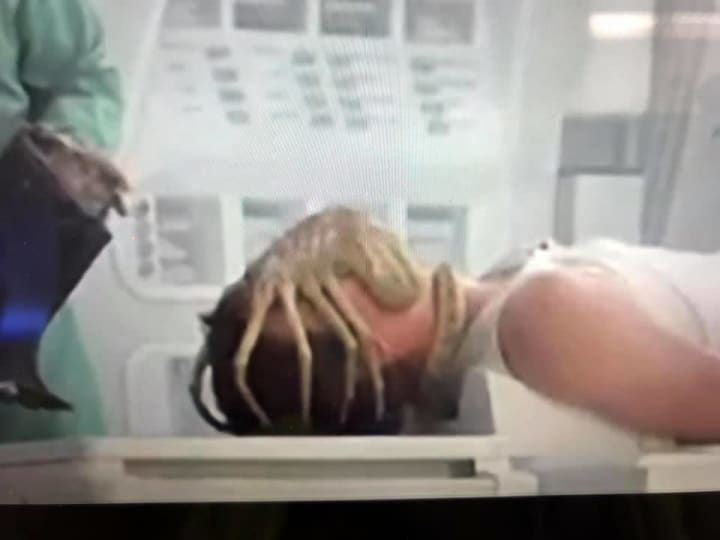
Do you ever wonder what the actual source of inspiration is, and why it holds such power when it finds us? I certainly didn’t have the time, the money, or the know-how to make an Alien Facehugger mask, yet all it took was seeing a random Facebook ad for a shirt offering free hugs and portraying the Facehugger - and inspiration took hold. I decided that I was going to become Kane, the first victim of the creepy, arthropodic parasite, for Halloween.
It was five days before my brother-in-law’s Halloween party, and I was halfway through my first semester of veterinary school. I’ll be the first to admit that there were several hours put into this creation that very well should have been spent studying, but inspiration had a death grip on my focus, and I was determined to DIY my first costume and become Kane.
I started off as if it were a tough case I was tacking in one of my patients – with research. I watched YouTube tutorials and read cosplay blogs, and finally I was able to compromise between my student-loan budget and my visions of grandeur to come up with the following materials list:
1 plastic mask
1 roll of aluminum foil
1 roll of electrical tape
1 jar of Modge Podge
1 small roll of yarn
1 bag of flour
2 tablespoons of salt
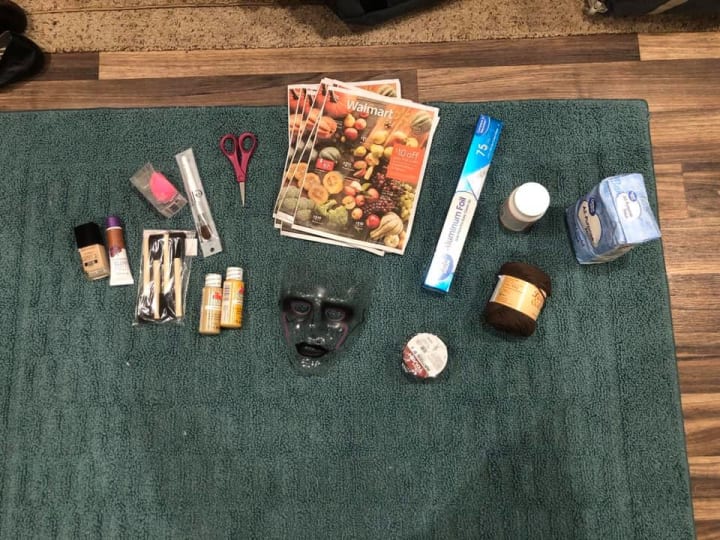
1 whole newspaper - or a bunch of the Walmart coupon books (pictured)
1 bottle of beige paint
1 dark brown liquid foundation
1 light liquid foundation
Brushes for the paint/foundation
Scissors
White tank top
Navy cargo pants
I already had some of the materials like the flour, the foil, and the light foundation, so I only ended up spending about $20 on the supplies. Then the fun started.
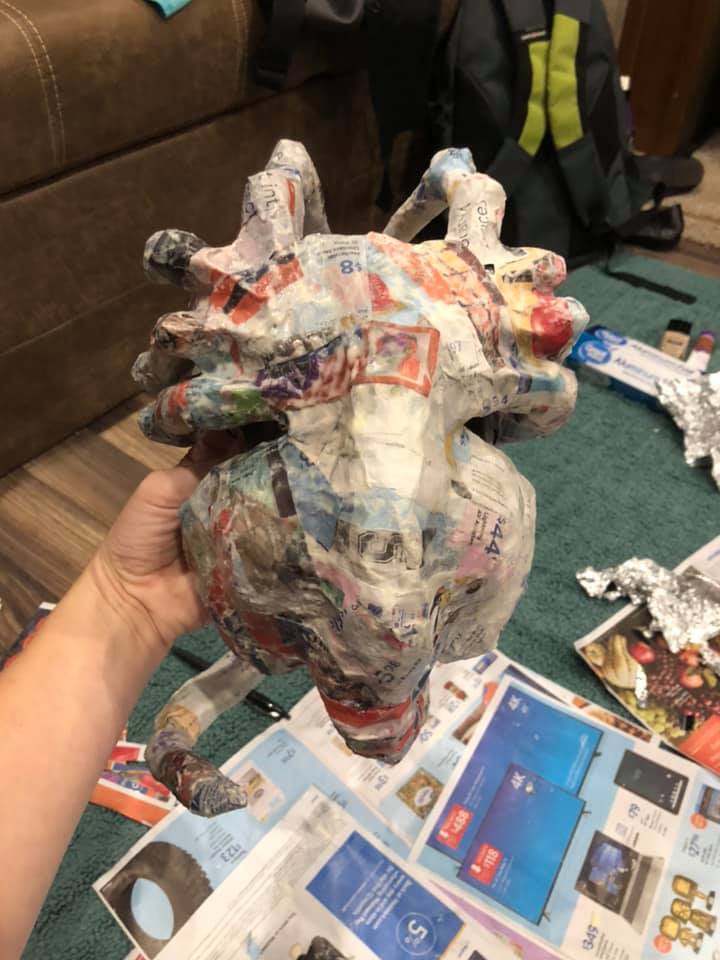
First, I shaped the aluminum foil into the rough body shape of the Facehugger, using electrical tape to attach it to the plastic mask and hold the different pieces together. This was something that I watched people do extensively on YouTube as part of my research, but had never attempted before myself.
The legs were the hardest to form – each had to be made individually and then attached to the main body, and it was harder than I expected to get them to take on the knobby shape that I wanted. I had to go back with extra bits of foil after the fact to add some definition.
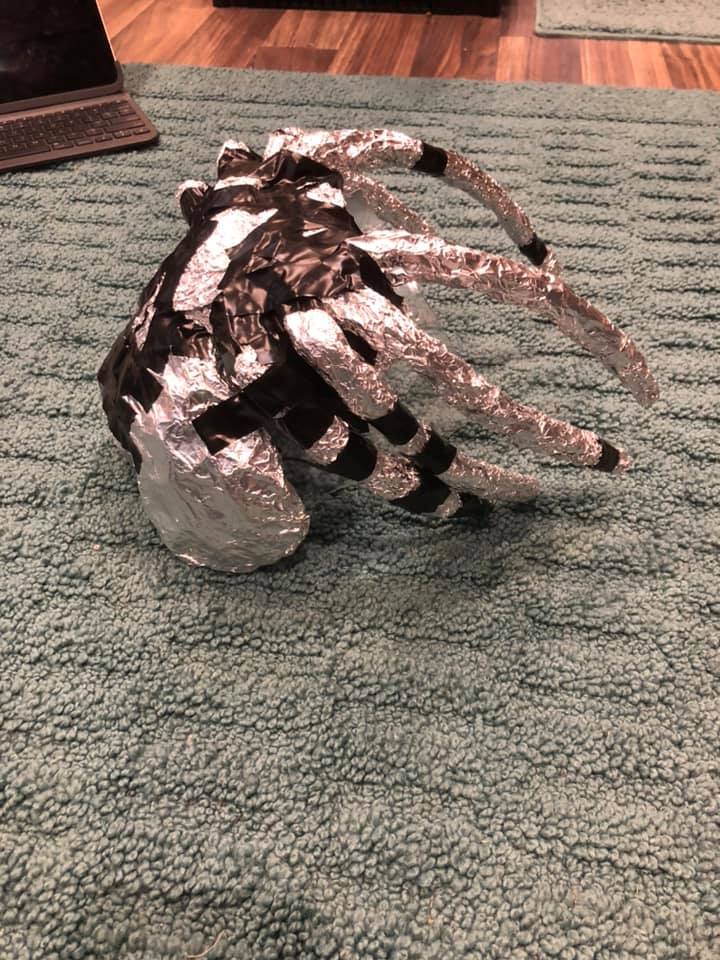
The tail was likewise a beast to craft. My biggest downfall was not reinforcing where the tail connected to the main body, as you’ll see in later photos, but the other challenge was creating the illusion of it wrapping around my neck while still being able to take the mask on and off.
Once the tail was added, it was time to whip up some paper mache – another first for me. I painstakingly cut the coupon books into thin strips and combined the flour, salt, and water in a bowl. I read online that the salt would keep the paper mache from getting moldy if it wasn’t able to dry out completely, something I definitely wanted to avoid, and I must say it worked wonderfully. I doused the whole thing in a layer of Modge Podge after, and then it was time to decorate it.
I used Modge Podge again to secure the strips of yarn to the tail and give it that final, ridged appearance. I couldn’t find a shade of cheap paint that I liked enough for the fleshy body of the Facehugger, so instead I combined two different shades and used it as a base layer over the entire creature.
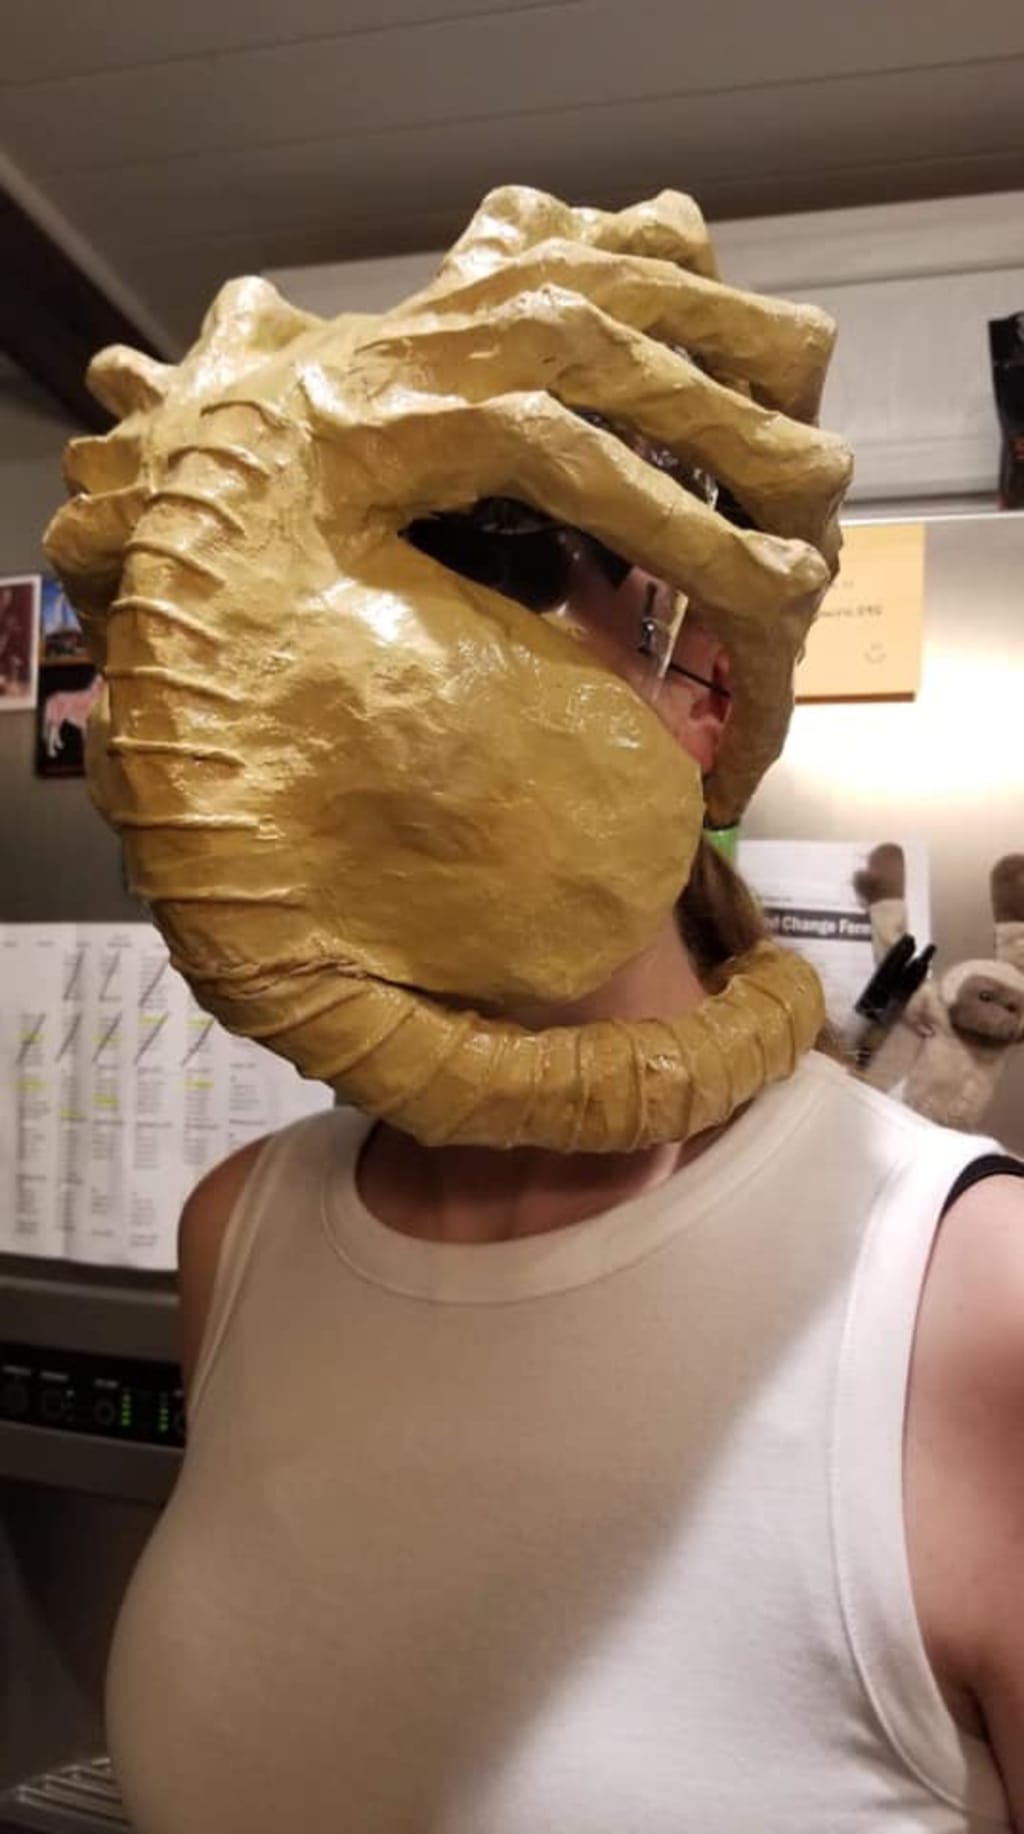
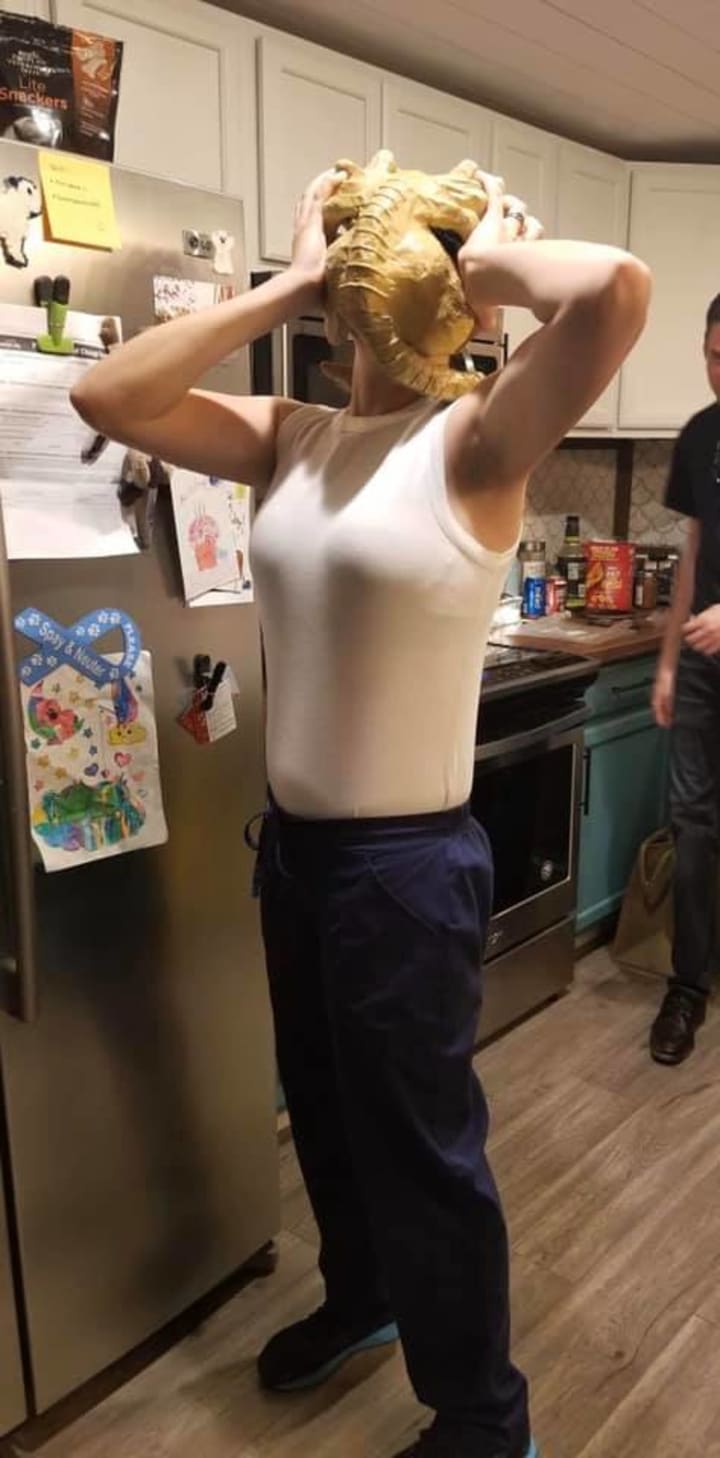
Then I went back with the two different foundations and added shadows and highlights to give the features definition – which if you count that as contouring, it became yet another first. Everything got one last coat of the high-gloss Modge Podge to give it that wet, fleshy shine, and then the Facehugger was complete.

For the rest of the costume I used the movie scenes of Kane incapacitated by the Facehugger as my guide. I had a white tank top and a pair of navy scrub bottoms that I used to mimic his space attire, and then I was done!
The whole project took about four days – mostly from waiting for the different coatings to dry - and I was absolutely thrilled with how it turned out. I did have a little bit of trouble with my depth perception while I was wearing it because I didn’t shape the eye holes quite large enough, but overall I would call my first attempt at a DIY costume a success!
About the Creator
Stephanie Nielsen
All the power held
I can create and destroy
With a simple pen
Keep reading
More stories from Stephanie Nielsen and writers in Horror and other communities.
It Can Happen to You
When most people think of Florida they think of white-sand beaches, palm trees, and the spray of salt water. When you grow up in Florida, however, you come to know the natural beauty that lies far away from the pristine beaches and bustling cities. You discover the rivers, and the springs that feed them. You discover the caves.
By Stephanie Nielsen4 years ago in Horror


Comments
There are no comments for this story
Be the first to respond and start the conversation.