
Feathered Fantasy: A DIY Birdhouse Painting Guide For Parents, Teachers and Kids
DIY Kids birdhouse paint project, sleep over, birthday, fun, learn, explore!!

Objective:
To foster creativity among kids by letting them personalize birdhouses using acrylic paint. The painted birdhouses will not only serve as an aesthetic addition to gardens or patios but also provide a home for our feathered friends.
**Materials Needed**
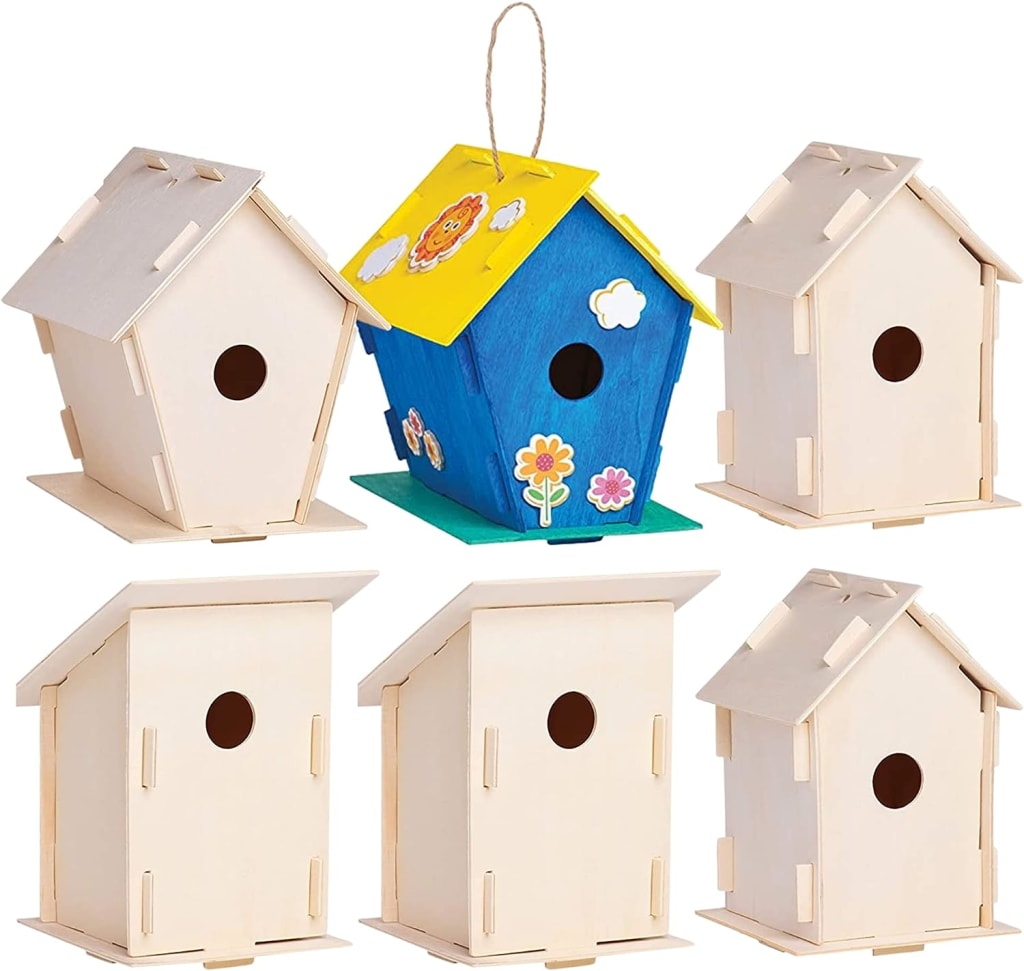
1. Pre-made wooden birdhouses (one for each child)
2. Acrylic paints in various colors
3. Paintbrushes (of different sizes)
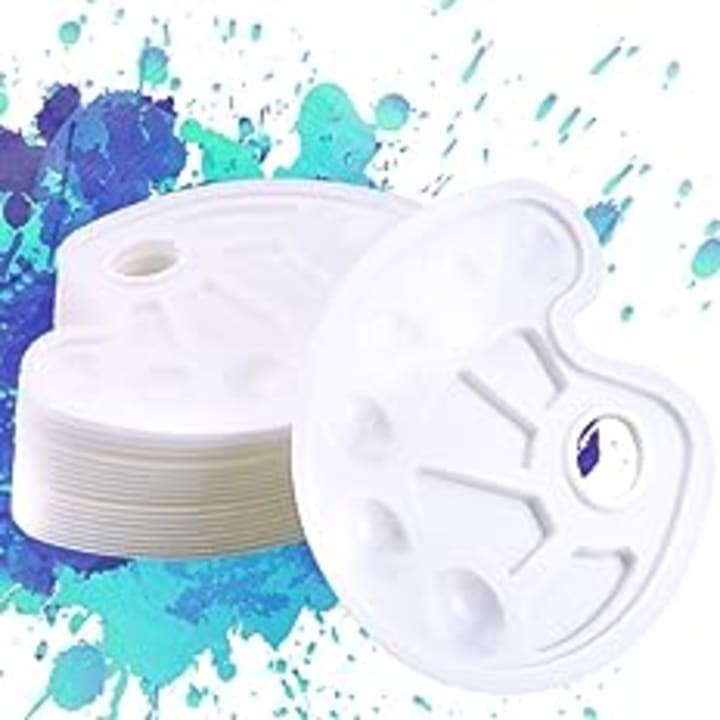
4. Paint trays or mixing plates
5. Water containers for cleaning brushes
6. Paper towels or rags for cleaning/wiping
7. Protective tablecloth or newspapers
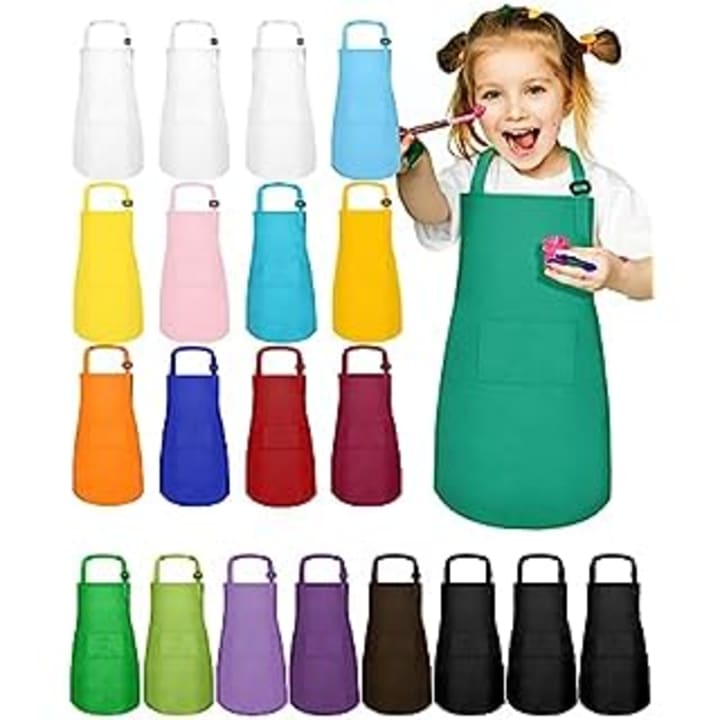
8. Protective aprons or old shirts for kids
9. Clear protective sealant spray (to protect the paint from weather conditions)
10. Optional: stickers, stencils, or other decorative items
11. Optional: hooks or strings (for hanging the birdhouses)
1. Setup:
- Spread out the protective tablecloth or newspapers on the work surface.
- Set out all materials neatly so they're easily accessible.
- Ensure each child has their own workspace.
2. Introduction & Safety Talk:
- Introduce the project and its objectives.
- Talk about the importance of birds and their role in the environment.
- Explain basic safety precautions: not eating paint, washing hands after painting, etc.
3. Choosing a Design:
- Allow kids to brainstorm ideas for their birdhouse design.
- Offer some suggestions: patterns, landscapes, abstract art, favorite animals, etc.
- Show them how to use stencils, if available.
4. Painting Session:
- Encourage kids to start by painting the larger areas first and then add details.
- Let them be creative and remind them it's okay if it's not perfect.
- Offer assistance if they want to mix colors or try different techniques.
- Ensure they wash brushes between color switches to prevent unwanted color mixing.
5. Drying Time:
- Depending on the paint thickness, let the birdhouses dry for a few hours. You might want to break for a related activity or snack during this time.

6. Protective Sealant:
- Once the birdhouses are fully dry, spray them with a clear protective sealant. Note: This step should be done by an adult or under close adult supervision in a well-ventilated area.
7. Hanging or Displaying:
- Once the sealant is dry, discuss with the kids where they'd like to place their birdhouses.
- Attach hooks or strings if they wish to hang them.
8. Conclusion:
- Congratulate the kids on their work and discuss the importance of taking care of the environment and providing safe spaces for birds.
- Encourage them to observe if any birds make a home in their birdhouses over time.
9. Cleanup:
- Ensure that all brushes are cleaned, paint is sealed, and the work area is tidied up.
Optional Follow-up Activities:
1. Bird-watching sessions to observe if birds use the birdhouses.
2. A group sharing session where kids can talk about their design choices.
3. Learning about different species of birds that might visit the birdhouses.
4. Journaling about their experience or creating a story about a bird that might live in their birdhouse.
Remember, the main objective is to have fun and foster creativity among kids, so flexibility and patience are key throughout the project!
Links to all products in this activity can be found by clicking the underlined product... Enjoy! Thanks for reading!
About the Creator
Uplifted Life Choice Media
Empowering self-improvement for depression, anxiety & addiction. Book reviews & tips to overcome challenges & build a better you. #mentalhealth #selfhelp
Keep reading
More stories from Uplifted Life Choice Media and writers in Families and other communities.
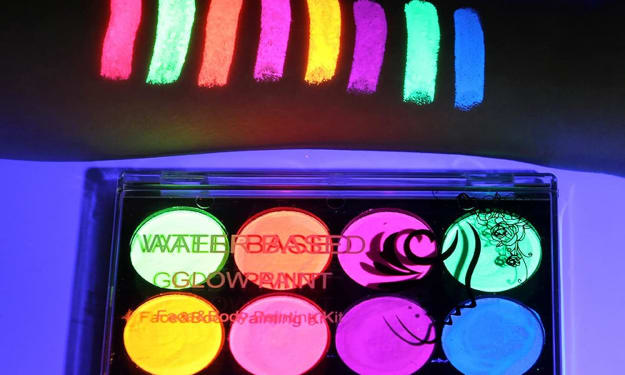
Creat Magic Fun with this DIY water-based face painting project fun for all ages
DIY Water-Based Face Paint: A Magical Art Project for Kids Are you in search of an inexpensive yet enchanting project that will captivate your children's interest? Or perhaps you're a dedicated teacher looking to inject some creativity into the classroom environment? Immerse yourself and your young ones in this delightful escapade of crafting DIY water-based face paints. The beauty of this endeavor lies not just in the final masterpiece but in the incredible process of exploration, learning, and creation.
By Uplifted Life Choice Media9 months ago in Families
The Island of Lost Things'
A lost island is a term used to describe a mysterious and often mythical island that is said to exist in a remote or unknown location. The concept of a lost island has captivated the imagination of people for centuries, and has been a popular theme in literature, folklore, and popular culture.
By Isra Saleem2 days ago in Families
What Happens If Respondent Does Not Respond Family Court
Legal battles are not easy, but the other party's unresponsiveness makes them more challenging and extensive. Getting stuck in a lawsuit because the respondent is not responding to family court can be very frustrating, and it is essential to take a significant step to conclude such situations.
By Leo Arthur4 days ago in Families


Comments
Uplifted Life Choice Media is not accepting comments at the moment
Want to show your support? Send them a one-off tip.