
DIY Kitchen Cabinet Makeover
Tips and Tricks
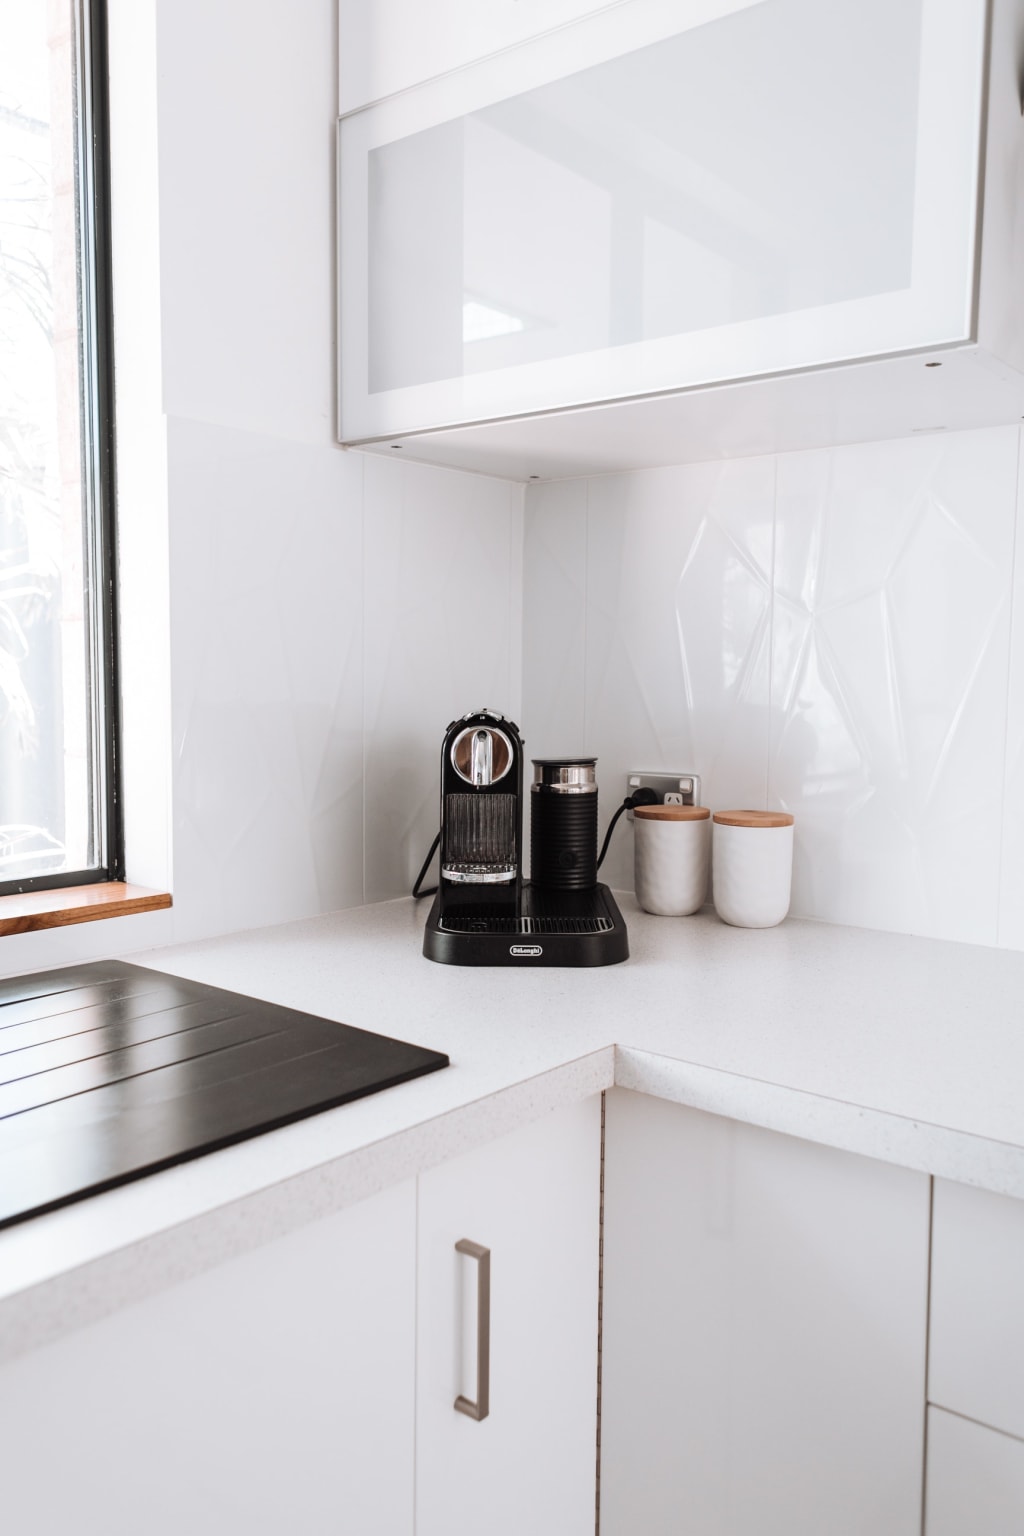
Title: DIY Kitchen Cabinet Makeover: Tips and Tricks
Introduction:
The kitchen is the heart of the home, and the cabinets play a vital role in its overall aesthetic appeal. If your kitchen cabinets are outdated or lackluster, a DIY makeover can breathe new life into your space without breaking the bank. With a little creativity and some handy tips and tricks, you can transform your kitchen cabinets and give them a fresh and stylish look. In this article, we'll explore some exciting DIY ideas and techniques to help you achieve a stunning kitchen cabinet makeover.
1. Plan and Prep:
Before diving into the makeover process, take the time to plan and prepare. Assess the condition of your cabinets and determine the changes you want to make. Consider whether you want to paint, stain, or refinish them. Create a budget and make a list of the necessary supplies. Proper planning will help you stay organized and ensure a smooth and successful project.
2. Clean and Repair:
Start by thoroughly cleaning your cabinets. Remove any grease, grime, or built-up dirt using a gentle cleaner or a mixture of vinegar and water. Inspect the cabinets for any damage or loose parts and make necessary repairs. Tighten loose screws, fix any chips or cracks, and replace broken hinges or handles. A clean and well-maintained surface will provide a solid foundation for the makeover process.
3. Choose the Right Finish:
Decide on the finish you want to achieve for your cabinets. Painting is a popular choice as it allows for endless color options and can instantly transform the look of your kitchen. Staining is another option that enhances the natural beauty of the wood grain. Consider the overall style and color scheme of your kitchen to select a finish that complements the space.
4. Remove Doors and Hardware:
To make the makeover process easier, remove the cabinet doors and hardware. Label each door and its corresponding location to ensure proper reinstallation. This step also allows you to work on the cabinets more comfortably and access hard-to-reach areas. Remove handles, knobs, and hinges, and keep them in a safe place for later.
5. Prep and Prime:
Proper preparation is key to achieving a professional-looking finish. Clean the surfaces again and sand them lightly to create a smooth and paint-ready surface. Use a primer to ensure better adhesion and a more durable finish. Choose a primer suitable for your chosen paint or stain.
6. Get Creative with Color:
Now comes the exciting part—adding color to your cabinets. Select a paint or stain color that complements your kitchen's overall style and your personal taste. Consider popular trends, such as two-tone cabinets, where the upper and lower cabinets are painted in different colors. This adds visual interest and a touch of modernity to your kitchen. Don't be afraid to get creative and experiment with different color combinations.
7. Apply Paint or Stain:
Apply the paint or stain using smooth and even strokes. Use a paintbrush or a foam roller for larger surfaces and a smaller brush for detailed areas. Allow each coat to dry completely before applying the next. Depending on the desired finish, multiple coats may be necessary. Be patient and take your time to achieve a flawless result.
8. Add New Hardware:
Replacing outdated hardware is an affordable and impactful way to enhance your cabinets' appearance. Choose handles, knobs, or pulls that complement the new look of your cabinets. Consider different finishes, such as brushed nickel, matte black, or antique brass, to add a touch of style and personality to your kitchen.
9. Finishing Touches:
Once the paint or stain has dried, it's time to reassemble the cabinets. Carefully reinstall the doors, hinges, and hardware, ensuring everything is properly aligned. Take a step back and admire your transformed kitchen cabinets. Consider adding decorative touches such as crown molding, trim, or decorative accents to further enhance the look of your cabinets and give them a custom and high-end appearance.
10. Maintain and Protect:
After putting in the effort to makeover your kitchen cabinets, it's important to maintain and protect them for long-lasting results. Use gentle cleaning products and avoid harsh abrasives that can damage the finish. Wipe spills and stains promptly to prevent them from setting in. Consider adding a clear protective topcoat to further safeguard the paint or stain.
Conclusion:
A DIY kitchen cabinet makeover is a fantastic way to revitalize your kitchen and bring a fresh look to the heart of your home. By planning, prepping, and selecting the right finish, you can transform outdated cabinets into stylish focal points. Get creative with colors, experiment with two-tone designs, and add new hardware to further elevate the overall aesthetic. Remember to take your time, follow the proper steps, and enjoy the process.
With these tips and tricks, you'll be well on your way to achieving a stunning kitchen cabinet makeover. The satisfaction of seeing your efforts come to life and the joy of enjoying a beautiful and personalized kitchen space will make it all worth it. So, roll up your sleeves, unleash your creativity, and let your DIY skills shine as you transform your kitchen cabinets into something truly extraordinary.
About the Creator
Keep reading
More stories from Eze Shedrack and writers in Families and other communities.
From Backyard to Table
Title: From Backyard to Table: Tips for Starting a Bountiful Garden for Fresh Produce Introduction There is something magical about growing your own food. Imagine stepping into your backyard and plucking juicy tomatoes, crisp lettuce, and fragrant herbs straight from the earth. Starting a backyard garden not only offers the pleasure of harvesting fresh produce but also provides a rewarding and sustainable way to connect with nature. In this article, we will share some valuable tips to help you embark on a journey to create a thriving garden that will supply your table with an abundance of homegrown goodness.
By Eze Shedrack11 months ago in Families
Family-Friendly Paradise
Welcoming a new addition to the family is a joyous occasion, and what better way to celebrate than with a memorable holiday in a picturesque destination? For parents seeking a blend of relaxation, adventure, and baby-friendly amenities, Costa Brava in Spain offers an idyllic setting. With its stunning beaches, charming towns, and diverse activities, Costa Brava caters to families with infants, providing a wealth of experiences to cherish together. In this guide, we highlight some of the best places in Costa Brava to enjoy a holiday with your little one.
By Craig Uptonabout 4 hours ago in Families
In The Blink of Her Eye
Time itself bent and morphed, allowing Shannon the precious seconds needed to see and adjust to the disaster unfolding in front of her. Each frame showed minute details she would have missed had the clock not slowed down until she heard every click of the hands as they swept toward the end of everything. If only she was being melodramatic...
By Lisa VanGalen4 days ago in Fiction


Comments
There are no comments for this story
Be the first to respond and start the conversation.