
Setting up a Raspberry Pi web server: everything you need to know.
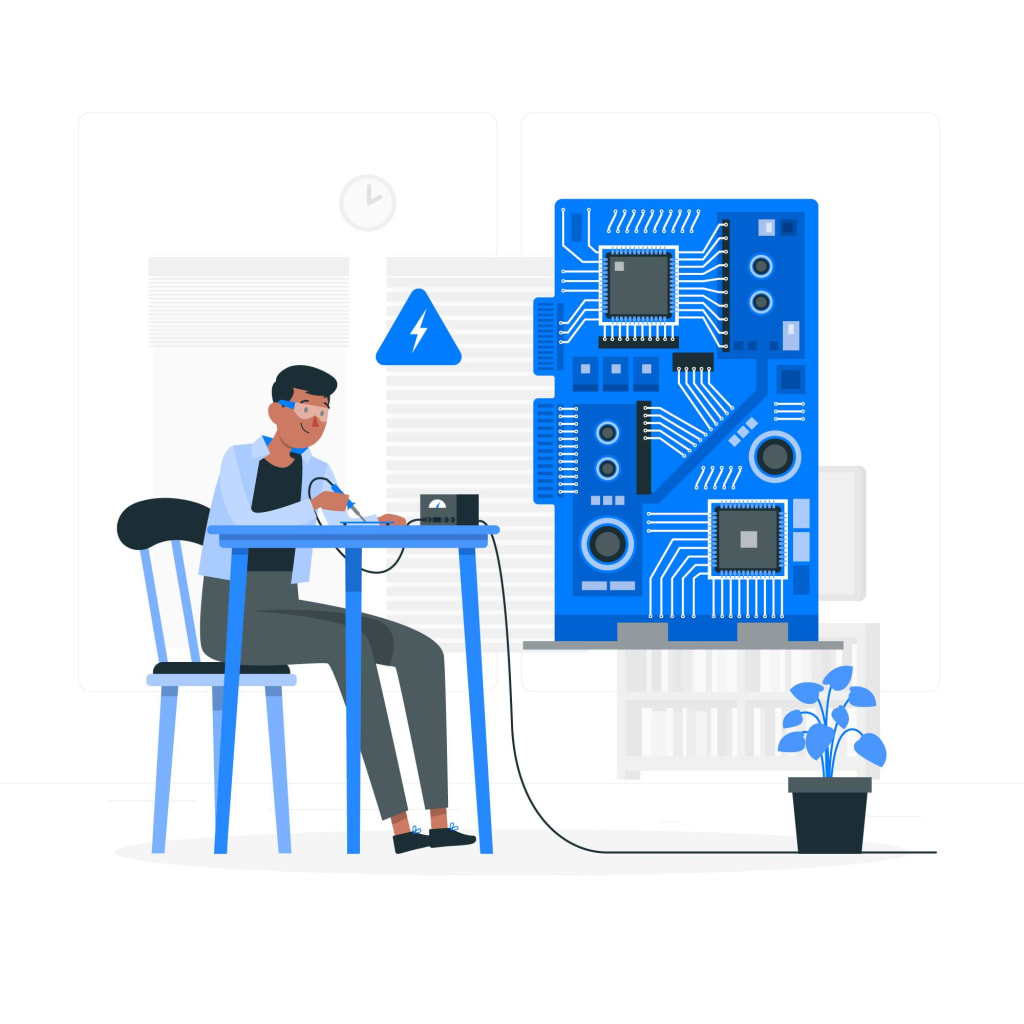
Raspberry Pi

Introduction
In this article, we will explore the process of setting up a Raspberry Pi web server from scratch. Whether you want to host your own website, experiment with web development, or create a home automation system, a Raspberry Pi can serve as a versatile and affordable solution. By following the steps outlined in this guide, you'll be able to unleash the full potential of this credit-card-sized computer.
What is a Raspberry Pi?
A Raspberry Pi is a single-board computer that is about the size of a credit card. It was developed by the Raspberry Pi Foundation with the goal of promoting computer science education and providing an affordable computing platform. Despite its small size, a Raspberry Pi is capable of performing various tasks, including serving as a web server.
Benefits of Using a Raspberry Pi as a Web Server
Affordability: Raspberry Pi boards are significantly cheaper compared to traditional servers, making them an attractive option for individuals and small businesses.
Low power consumption: Raspberry Pi boards are energy-efficient, allowing you to run a web server without consuming excessive electricity.
Compact size: The small form factor of a Raspberry Pi makes it easy to set up a web server in limited space.
Flexibility: Raspberry Pi can run a wide range of operating systems and software, enabling you to customize your web server according to your needs.
Choosing the Right Raspberry Pi Model for a Web Server
Before setting up a Raspberry Pi web server, it's important to choose the right model. Raspberry Pi offers several versions, each with its own specifications and capabilities. Consider factors such as CPU power, RAM, and connectivity options to ensure your chosen model can handle the requirements of your web server.
Required Components for Setting Up a Raspberry Pi Web Server
To get started with your Raspberry Pi web server, you'll need the following components:
- Raspberry Pi board
- MicroSD card
- Power supply
- Ethernet cable or Wi-Fi dongle
- USB keyboard and mouse
- HDMI cable or display
- Case (optional)
Installing the Operating System on Raspberry Pi
To run a web server on your Raspberry Pi, you'll need to install an operating system. The recommended choice for beginners is Raspbian, a Debian-based Linux distribution specifically designed for Raspberry Pi. Follow the official installation guide to set up Raspbian on your Raspberry Pi.
Configuring Network Settings
After installing the operating system, you need to configure the network settings on your Raspberry Pi. This involves connecting to your Wi-Fi network or setting up a wired Ethernet connection. Configure the IP address, subnet mask, gateway, and DNS settings according to your network requirements.
Securing the Web Server with SSL/TLS
To secure your web server and protect sensitive data, it's essential to enable SSL/TLS encryption. Here's how you can do it:
- Install the certbot package by running sudo apt install certbot.
- Obtain an SSL certificate from Let's Encrypt by running sudo certbot --apache -d yourdomain.com. Follow the prompts and provide the necessary information.
- Certbot will automatically configure Apache to use the SSL certificate and enable HTTPS for your website.
Configuring Domain Name and DNS Settings
If you want to use a custom domain name for your web server, you'll need to configure the DNS settings. Follow these steps:
- Purchase a domain name from a domain registrar of your choice.
- Log in to your domain registrar's website and navigate to the DNS management section.
- Create an "A" record that points to your Raspberry Pi's IP address.
- Set up any additional DNS records you require, such as a "CNAME" record for subdomains.
Setting up Virtual Hosts
Virtual hosts allow you to host multiple websites on a single Raspberry Pi. Here's how you can set up virtual hosts:
- Create a new configuration file for your website by running sudo nano /etc/apache2/sites-available/yourdomain.conf. Replace "yourdomain" with your actual domain name.
- In the configuration file, specify the necessary directives such as the document root, server name, and log file paths.
- Enable the virtual host by running sudo a2ensite yourdomain.conf.
- Restart Apache with sudo service apache2 restart.
Managing Website Files and Directories
To host your website files on the Raspberry Pi, you can use the default document root directory or create a new directory. Follow these steps:
- Move your website files to the appropriate directory. The default document root is /var/www/html.
- Ensure that the permissions and ownership of the files and directories are properly set to allow Apache to access them.
Database Setup and Management
If your website requires a database, you can set up and manage it on your Raspberry Pi. One popular choice is MySQL. Here's a brief overview of the process:
- Install MySQL by running sudo apt install mysql-server.
- Secure your MySQL installation by running sudo mysql_secure_installation and following the prompts.
- Create a new database and user for your website, and grant the necessary privileges.
Optimizing Performance and Scalability
To optimize the performance and scalability of your Raspberry Pi web server, consider implementing the following techniques:
- Enable caching mechanisms such as Varnish or Redis to improve response times.
- Use a content delivery network (CDN) to serve static files and reduce the load on your Raspberry Pi.
- Implement caching plugins or modules for popular content management systems like WordPress.
- Monitor your server's resource usage and adjust the configuration as needed.
Conclusion
Setting up a Raspberry Pi web server opens up a world of possibilities for hosting your own websites, learning web development, or building exciting projects. By following the steps outlined in this article, you have learned how to choose the right Raspberry Pi model, install the necessary components, configure the web server, secure it with SSL/TLS, and optimize its performance.
About the Creator
Rehana Atar
SEO Expert and content writer
Enjoyed the story? Support the Creator.
Subscribe for free to receive all their stories in your feed. You could also pledge your support or give them a one-off tip, letting them know you appreciate their work.
Keep reading
More stories from Rehana Atar and writers in Education and other communities.
Influencer marketing: Exploring the impact and effectiveness of influencer collaborations
In today's digital landscape, where social media has become an integral part of our daily lives, influencer marketing has emerged as a powerful strategy for brands to connect with their target audience. With the rise of social media platforms like Instagram, YouTube, and TikTok, influencers have gained significant influence over consumer purchasing decisions. This article delves into the impact and effectiveness of influencer collaborations in digital marketing campaigns, shedding light on the benefits, challenges, and best practices associated with this form of marketing.
By Rehana Atarabout a year ago in Education
Can VR Replace Traditional Concerts? Exploring the Future of Live Music
Traditional concerts hold a special place in the hearts of music lovers. The energy, the crowd, the live sound, and the overall atmosphere create an unforgettable experience. However, with the rapid advancements in technology, particularly Virtual Reality (VR), there's a growing conversation about the potential for VR to transform live music. Can VR truly replace traditional concerts, or will it serve as a complementary experience? This article delves into the pros and cons of both, exploring how VR might shape the future of live music.
By Music Industry Updates2 days ago in Education


Comments
There are no comments for this story
Be the first to respond and start the conversation.