
How to Start Woodworking: Easy Project Ideas
for Complete Beginners
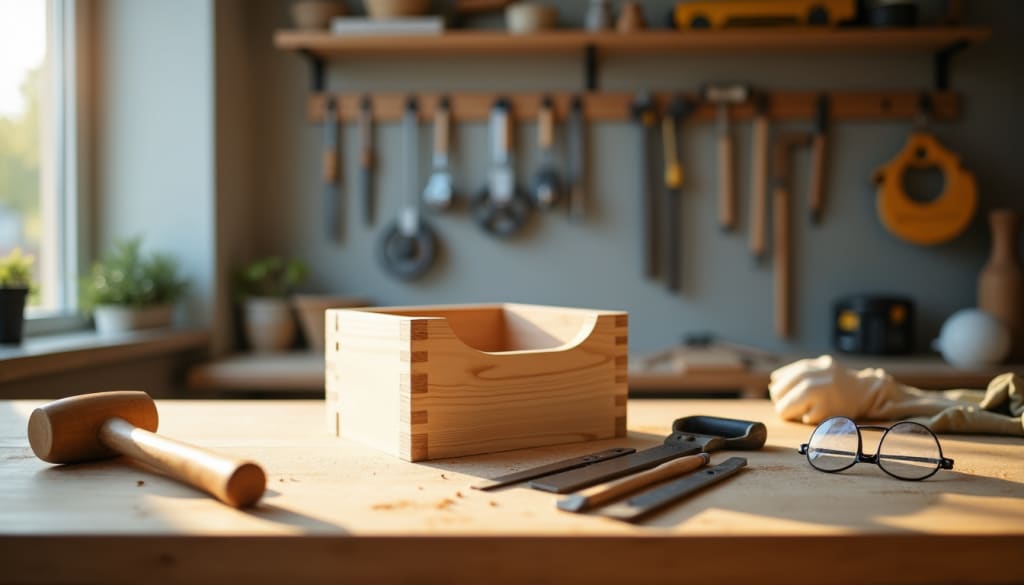
Woodworking ideas have caught people's attention so much that they've reached over 4.6 million views online. Millions of people just like you are finding the joy of creating with wood.
A simple wooden box or a basic shelf can be your first project. Starting woodworking doesn't need to feel overwhelming. Many easy projects take just a few hours to complete, while others fit perfectly into a weekend. You'll never run out of ideas with more than 2,900 beginner-friendly woodworking projects accessible to more people.
We'll guide you through everything to start your woodworking experience. This includes essential tools, workspace setup, and five simple projects you can build right away. Are you ready to create something amazing with your own hands? Let's begin!
Essential Tools for Beginner Woodworkers
Your woodworking experience starts with choosing the right tools. A set of essential hand tools will give you a solid foundation to learn simple woodworking skills.
Must-have hand tools to start with
The jack plane (Stanley #5) is the life-blood of hand tool woodworking. This versatile tool handles everything from rough stock removal to finishing work. On top of that, it helps to have three chisels (1/4", 3/8", and 1" sizes) to make precise joinery and refine shapes.
A combination square proves vital to make accurate measurements. The 12-inch version works best to mark joints and check angles. A marking gage helps create repeatable layouts, especially when you have woodworking projects for beginners.
See how to access "Earth's Largest Database of Woodworking Projects!"
Budget-friendly power tool recommendations
A cordless drill/driver combination forms the foundations of any workshop. A random orbital sander substantially cuts down surface preparation time. The DeWalt five-inch sander with hook-and-loop fasteners works great for small to medium projects.
The Bosch JS260 Top-Handle Jigsaw stands out among cutting tools. It offers tool-less blade changing and runs quietly, which makes it perfect for beginners. Its lightweight design helps you control curved cuts with precision.
Where to find affordable quality tools
You can find quality tools without spending too much money. Estate sales and flea markets are a great way to get vintage tools at low prices. Old Stanley planes cost very little and perform exceptionally well after proper tuning.
New tool buyers should think about combination kits. These packages let you use the same battery system for multiple tools, which saves money. To cite an instance, RYOBI offers complete sets with essential power tools at reasonable prices.
Note that knowing how to sharpen tools is vital to maintain them properly. A simple sharpening system will keep your edge tools working at their best. Well-maintained budget tools can produce professional results in your woodworking projects.
Setting Up Your First Workspace
Your woodworking experience starts with setting up a dedicated workspace. You don't need a big area - a single-car garage or basement corner will work just fine.
Creating a workspace in limited space
A well-laid-out workspace depends more on efficient layout than size. The secret lies in creating straight-line processes between work zones. Your workbench should be about 4 feet from stationary machines, and equipment needs at least 3 feet of space between them.
Tools mounted on mobile bases are a great way to get more from limited space. Your workshop becomes flexible - tools can be stored against walls and rolled out when needed. Wall-mounted storage solutions keep your frequently used tools available without taking up floor space.
Simple safety equipment needed
Safety equipment builds the foundation of any woodworking space. A complete setup has:
- Safety glasses with sealed protection against dust
- Hearing protection (earmuffs or earplugs)
- Dust masks or respirators rated for fine particles
- First aid kit in an easily available location
- Push sticks and paddles for power tool operation
Good lighting is vital for safety and precision. LED fixtures work better than fluorescent lights because they don't flicker, handle cold weather well, and last longer. Bright, focused lighting over workstations helps you see detailed work clearly.
See how to access "Earth's Largest Database of Woodworking Projects!"
Everything in workspace organization
Organization turns a simple workspace into an efficient workshop. Group your tools by function instead of random storage to create dedicated zones for different operations. A French cleat system on walls gives you flexible storage options and lets you quickly rearrange tool holders and cabinets as your needs change.
Think about dust collection when planning your workspace. A wall-mounted dust collector with a 20-foot flexible hose gives you mobility without losing floor space. Clean work surfaces not only make things safer but also boost productivity.
A mobile workbench slightly lower than your table saw height will improve efficiency. This setup lets the bench work as an outfeed table when needed and makes the most of limited space. Just make sure all mobile equipment has locking wheels to stay stable during use.
5 Easy Woodworking Projects for Beginners
Hands-on woodworking projects will give you confidence and skills naturally. You can start with these three beginner-friendly projects that teach you simple techniques while creating useful items for your home.
Simple wooden box project
A wooden box project will teach you simple cutting and assembly skills. You can create an elegant box with mitered corners using a single 1/2-inch by 6-inch by 4-foot board. Here's how to build it:
- Rip the board to 5-inch width for consistent dimensions
- Cut sides at 45-degree angles using a table saw sled
- Create rabbets for the bottom piece
- Assemble with wood glue and clamps
- Sand and finish based on your style
Your finished box will measure 5 inches tall and wide - perfect for storage or gifts. You can add handles or try different finishing techniques to make it unique.
Simple floating shelf guide
Building a floating shelf teaches you wall mounting and hidden support techniques. The shelf combines two main parts: a wall-mounted cleat and a hollow box that slides over it. Your 24-inch floating shelf needs:
- 1x8 board for top and bottom
- 1x2 board for spacer blocks
- 2x2 board for the cleat
- Wood screws in 1-1/2 inch and 2-1/2 inch sizes
Start by finding wall studs to mount securely. The cleat system attaches with 3.5-inch screws and washers. Slide the shelf box over this support to create a floating effect while staying strong enough for keepsakes and photos.
Picture frame construction
Picture frame making teaches precise miter cutting and joint reinforcement. You'll become skilled at making splined miter joints that create lasting corners. Here's what you need to focus on:
Make perfect 45-degree cuts with a table saw or miter gage. Corner reinforcement with splines adds strength and visual appeal. Cut the spline grooves using a slot-cutter at the router table to get perfectly flat-bottomed kerfs.
Wider frames might need deeper grooves. Use a cradle jig at the table saw and square up the groove bottom with a chisel in such cases. After gluing the splines, flush them off to get a professional finish ready for artwork.
These projects help you build toward more complex woodworking goals. Each project teaches you simple skills while creating practical items you can use daily. Your attention to detail and proper technique will build confidence to tackle bigger projects.
Working with Reclaimed Wood
Reclaimed wood is an economical way to start woodworking. Learning where to find and prepare salvaged wood will open up many creative possibilities.
Finding free or cheap wood sources
Old barns, floors, and buildings scheduled for demolition are great sources of salvaged wood. You can find free or low-cost wood materials from several reliable sources. Local contractors often have extra wood from their remodeling projects. Sometimes excavators take down barns with usable timber.
People clearing out unused wood supplies often post on Facebook Marketplace and Craigslist. Architectural salvage yards stock unique pieces that tell a story. The Habitat ReStore locations are a great place to find lumber and trim at good prices.
Preparing salvaged wood for projects
The right preparation will give salvaged wood safety and usability. The process starts with a full check for visible dirt, debris, and signs of pests or mold. A complete cleaning process has these steps:
- Dry brush with stiff bristles along the grain
- Wash gently with mild, wood-friendly detergent
- Air-dry completely in well-ventilated areas
- Remove all nails and metal pieces carefully
Wood needs proper drying after cleaning. Kiln-drying controls moisture removal well. Air-drying is a more traditional and economical approach. Sealing the wood with tung or linseed oil improves water resistance and keeps its looks.
See how to access "Earth's Largest Database of Woodworking Projects!"
Pallet wood project ideas
Pallet wood gives you chances to try easy woodworking projects. A simple entryway console table can brighten your home's entrance and save space. Making a modern coat rack works great as a first project.
Wall-mounted shoe racks help keep entryways tidy. Pallet wood picture frames add a rustic touch to photo displays. You can make both traditional frames and larger statement pieces.
The kitchen looks better with multi-purpose shelving units that show off rustic character. Coffee tables with built-in storage drawers mix style with function. These projects show how reclaimed wood turns into beautiful, useful furniture.
Check your materials carefully before starting any pallet wood project. Stay away from pallets marked with MB (Methyl Bromide) or SF (Sulfuryl Fluoride) - these chemicals can be dangerous. Pick pallets that look dry and clean. Pallets from food storage might have stains that won't come out.
Basic Woodworking Techniques
Becoming skilled at basic woodworking techniques are the foundations of successful project completion. These core skills help you tackle easy woodworking projects with confidence and precision.
Measuring and marking basics
You need proper technique to make precise measurements. A rigid metal rule gives better accuracy than a tape measure for measurements under 12 inches. Your eye should be directly above the measurement point to avoid parallax errors.
V-shaped marks work better than single lines for marking cuts because the point shows the exact measurement location. A mechanical pencil with 0.5mm lead creates sharper lines than traditional pencils and leads to more accurate cuts.
Simple wood joints for beginners
Learning basic joints opens up many woodworking ideas for beginners. The butt joint is your entry point to joinery, and you can reinforce it with glue and screws for added strength. Pocket-hole joints give you a straightforward yet reliable connection that works great in cabinetmaking.
Rabbet joints boost strength with more gluing surface, making them perfect for cabinet backs and drawer bottoms. Dado joints work best in shelf construction and drawer bottoms by creating secure connections that resist movement.
Sanding and finishing fundamentals
A quality finish starts with good surface preparation. The sanding process follows a progression of grits:
- Start with 150-grit for original smoothing
- Progress to 180-grit for hardwoods
- Finish with 220-grit for final smoothing
Random-orbit sanders excel at quick stock removal before hand sanding. Even pressure prevents uneven surfaces, and sanding with the grain direction reduces visible scratches.
See how to access "Earth's Largest Database of Woodworking Projects!"
Different projects need different finishes. Staining brings out wood's natural beauty before adding a protective clear coat. Oil finishes like linseed or tung oil are simple to apply and penetrate the wood for lasting protection.
Standoffs let you work on all sides without waiting for one side to dry. You can make these by driving drywall screws through small wooden blocks. This approach helps you complete projects efficiently while maintaining professional results.
Note that you should vacuum or blow off the piece between sanding grits. Wiping the surface with mineral spirits under strong light shows any remaining imperfections. Your woodworking projects will show professional-quality results if you pay attention to these fundamentals.
Common Beginner Mistakes to Avoid
Your success in woodworking really depends on avoiding mistakes that can ruin projects or create safety risks. A good understanding of these pitfalls will save you money and keep you safe in the workshop.
Tool safety mistakes
Workshop injuries happen most often because people rush through their projects. This eagerness often results in poor tool handling and accidents. Using dull blades is also risky because you'll need more force, which can cause dangerous kickback.
- Here are vital safety points you need to remember:
- Never change blades with tools still plugged in
- Keep your hands away from blade paths and use push sticks
- Don't wear loose clothing or jewelry near rotating equipment
- Stay at a safe distance from cutting zones
- Always unplug tools before maintenance
Tool maintenance is a vital part of safety. Dull blades get hot fast and tend to burn wood, which makes accidents more likely. You can prevent many safety issues by keeping blades sharp and tools well-calibrated.
Material selection errors
The materials you pick will affect your project's success by a lot. New woodworkers often miss checking wood moisture content, and their projects end up warping. Wood needs time to adapt or it might expand or contract, which pulls joints apart and cracks surfaces.
Cherry and some other woods can end up with blotchy finishes if you use oil without proper prep. This happens because wood absorbs oil differently in various spots, leaving an uneven look. You can avoid disappointment by testing finishes on scrap pieces first.
There's another reason projects fail - using non-staining wood filler or not cleaning excess glue well. These mistakes stop stain from soaking in evenly and leave ugly patches. Good surface prep and the right filler choice will give you consistent finishing results.
Project planning pitfalls
Accurate measurements are vital to project success. Tiny 1/32-inch mistakes can add up and cause big problems during assembly. Not accounting for material thickness is another issue that leads to poorly fitting joints and drawers.
Bad inventory management wastes money. Buying supplies you don't need eats through budgets fast, especially with non-returnable items. A detailed material list before you start helps dodge these expensive mistakes.
Your workshop's environment needs attention too. Changes in temperature and humidity will affect your wood. You can prevent warping and project failures by keeping workshop conditions stable.
Working with helpers takes careful planning. Expert help speeds up work, but picking inexperienced workers often backfires. Take time to check potential helpers' skills to get quality results.
The tools you pick can make or break your project. It's tempting to improvise, but wrong tools give poor results. Renting specialized equipment can be budget-friendly for one-time needs.
Joints need a perfect fit. Joints that are too tight or loose will weaken your project. Test fits during assembly let you make adjustments before final glue-up.
Poor storage and handling can damage materials before you finish. Whatever the wood costs, handle it with care to avoid dents and scratches that could ruin finished pieces. Good storage solutions protect your materials throughout the project.
See how to access "Earth's Largest Database of Woodworking Projects!"
Conclusion
Woodworking lets you create beautiful, functional pieces with your own hands. The path to success starts with the right tools, a proper workspace, and simple techniques learned through beginner projects.
Your safety matters most when working with wood. Sharp tools, proper safety gear, and avoiding common mistakes will prevent accidents and make your projects more enjoyable.
My years of experience show that simple projects like boxes and shelves help build confidence. Using reclaimed wood is a budget-friendly way to practice and create one-of-a-kind pieces.
Woodworking takes patience and attention to detail. Each project teaches you something new, and mistakes help you improve. These fundamentals and safety practices will help you craft beautiful wooden pieces that last for generations.
About the Creator
juliano lucas da silva
Read the best articles on earth
Enjoyed the story? Support the Creator.
Subscribe for free to receive all their stories in your feed.
Comments
There are no comments for this story
Be the first to respond and start the conversation.