
How to Paint a House Exterior?
How to Paint a House Exterior - Ultimate Guide

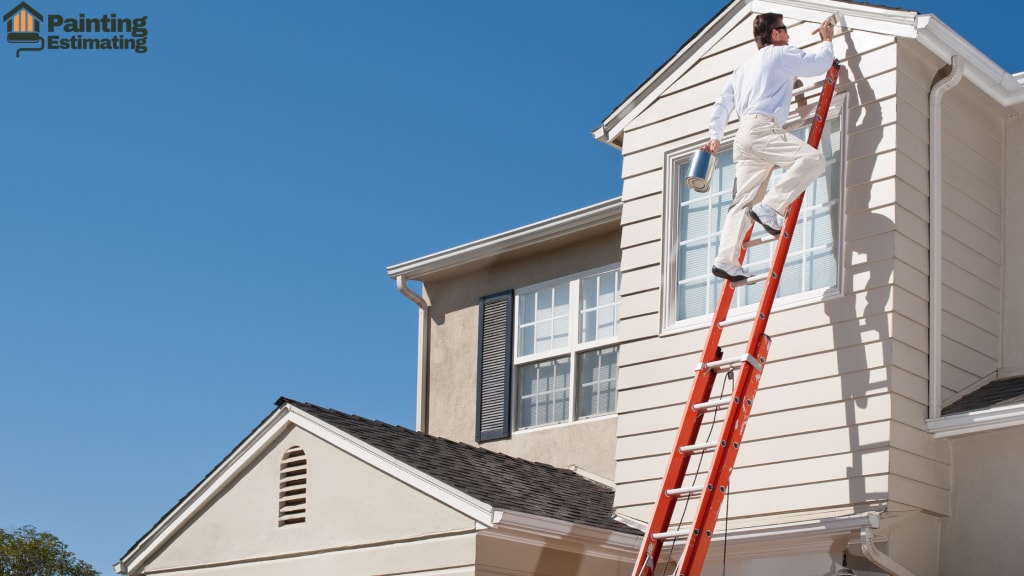
There is no better way to enhance the look of your home than painting its exterior. Not only does a fresh coat of paint enhance curb appeal, but it also protects your home from the elements, extending the lifespan of your siding, trim, and other exposed areas. Whether you are looking to give your home a new look or get it ready for sale, exterior painting can make all the difference.
To ensure that the results are accurate and efficient many homeowners and contractors rely on Painting Estimating Services, which help determine the exact amount of paint material and labor required for a flawless finish. Painting a home exterior is a valuable investment which not only enhances your house but also maintains it for long. Let's dive into the steps involved in the painting process.
Preparation phase:
Before you can start painting, preparation is of the essence towards achieving a long-lasting finish without bumps. In this phase are cleaning, repairing, and priming the surfaces of your house. Let us break down to steps:
1. Inspect the exterior:
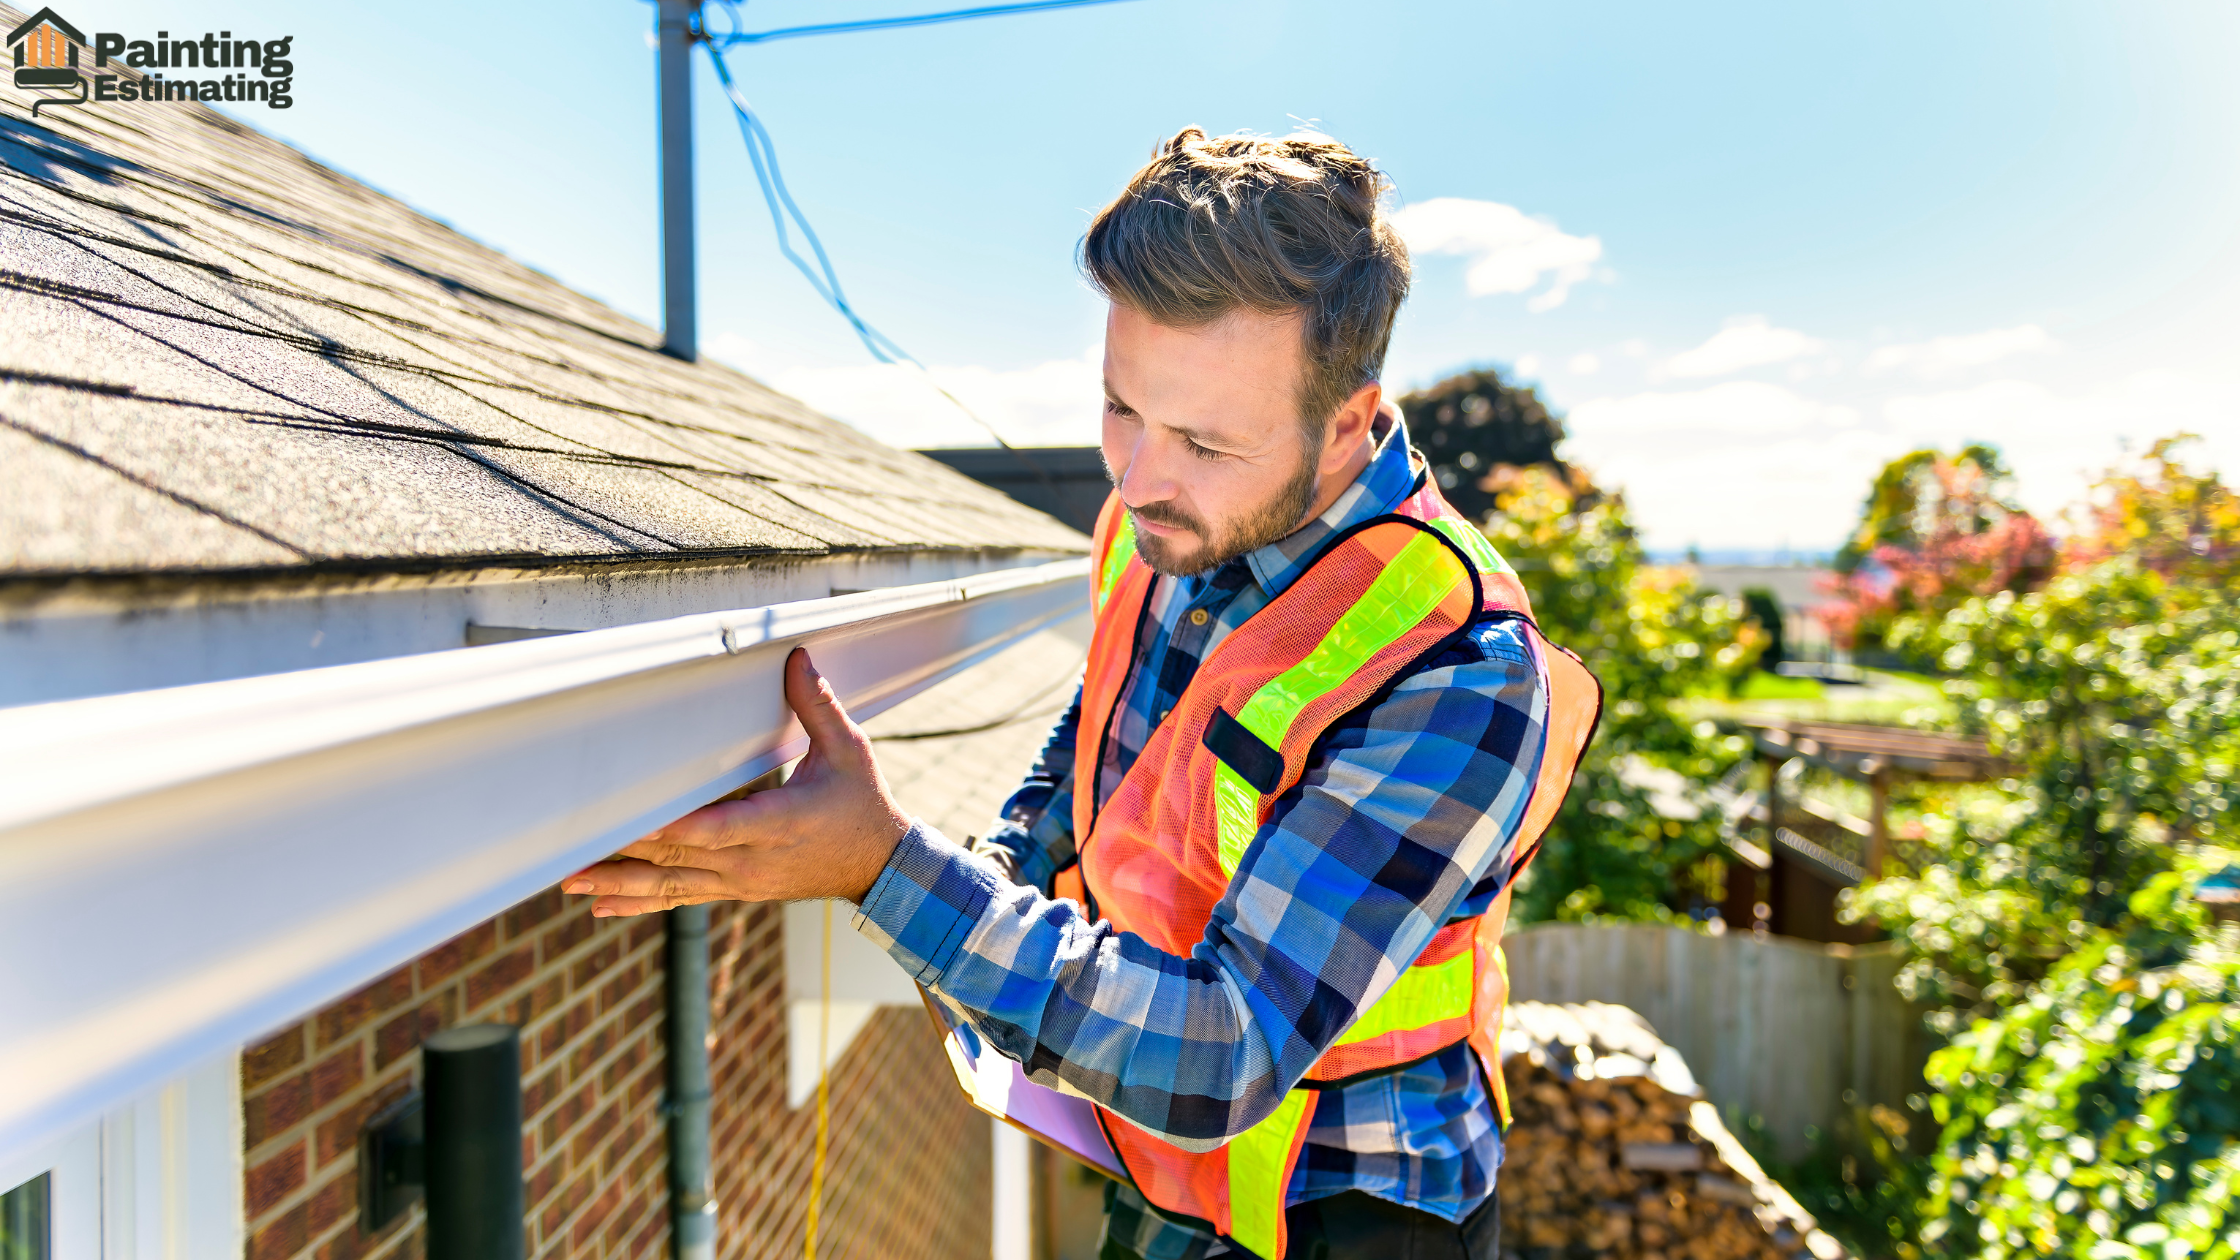
Before grabbing your paintbrush, it's essential to thoroughly inspect the exterior of your home. Check for any signs of damage, such as cracks, rot, or mould. Assess the condition of the existing paint, looking for peeling or blistering. Damaged areas must be repaired before painting to ensure the paint adheres properly and lasts longer. A detailed inspection helps identify problem areas that need attention.
2. Surface Cleaning:
First, you clean the surface of your home, before you start picking up the brush. For the exterior walls of your house, pressure washing is the most effective cleaning agent. It can clear dirt, dust, grime, and flakes of old, peeling paint. If you do not own a pressure washer, you may rent one at a local home improvement store.
3. Repair and Patching:
Look for damages to the exterior surfaces of your house, such as cracks, holes, or rotten wood. If you happen to find some, then they should be fixed before you paint. Applying caulks or wood fillers makes the surface flat. Replacing broken siding or shingles ensures that the paint will stick well. These steps also prevent moisture from accessing your house, therefore, moisture seepage will not cause damaging effects on your house.
4. Sanding and Scraping:
Once the surface is prepared and all peeled paint has been filled with patch, then you need to sand and scrape off the old peeling paint. Old, cracked paint prevents new paint from sticking on top, and then uneven coating of this paint. Use a paint scraper or an electric sander to remove loose paint. This will ensure that the new coat goes on evenly, which gives a professional finish.
5. Remove Loose Paint:
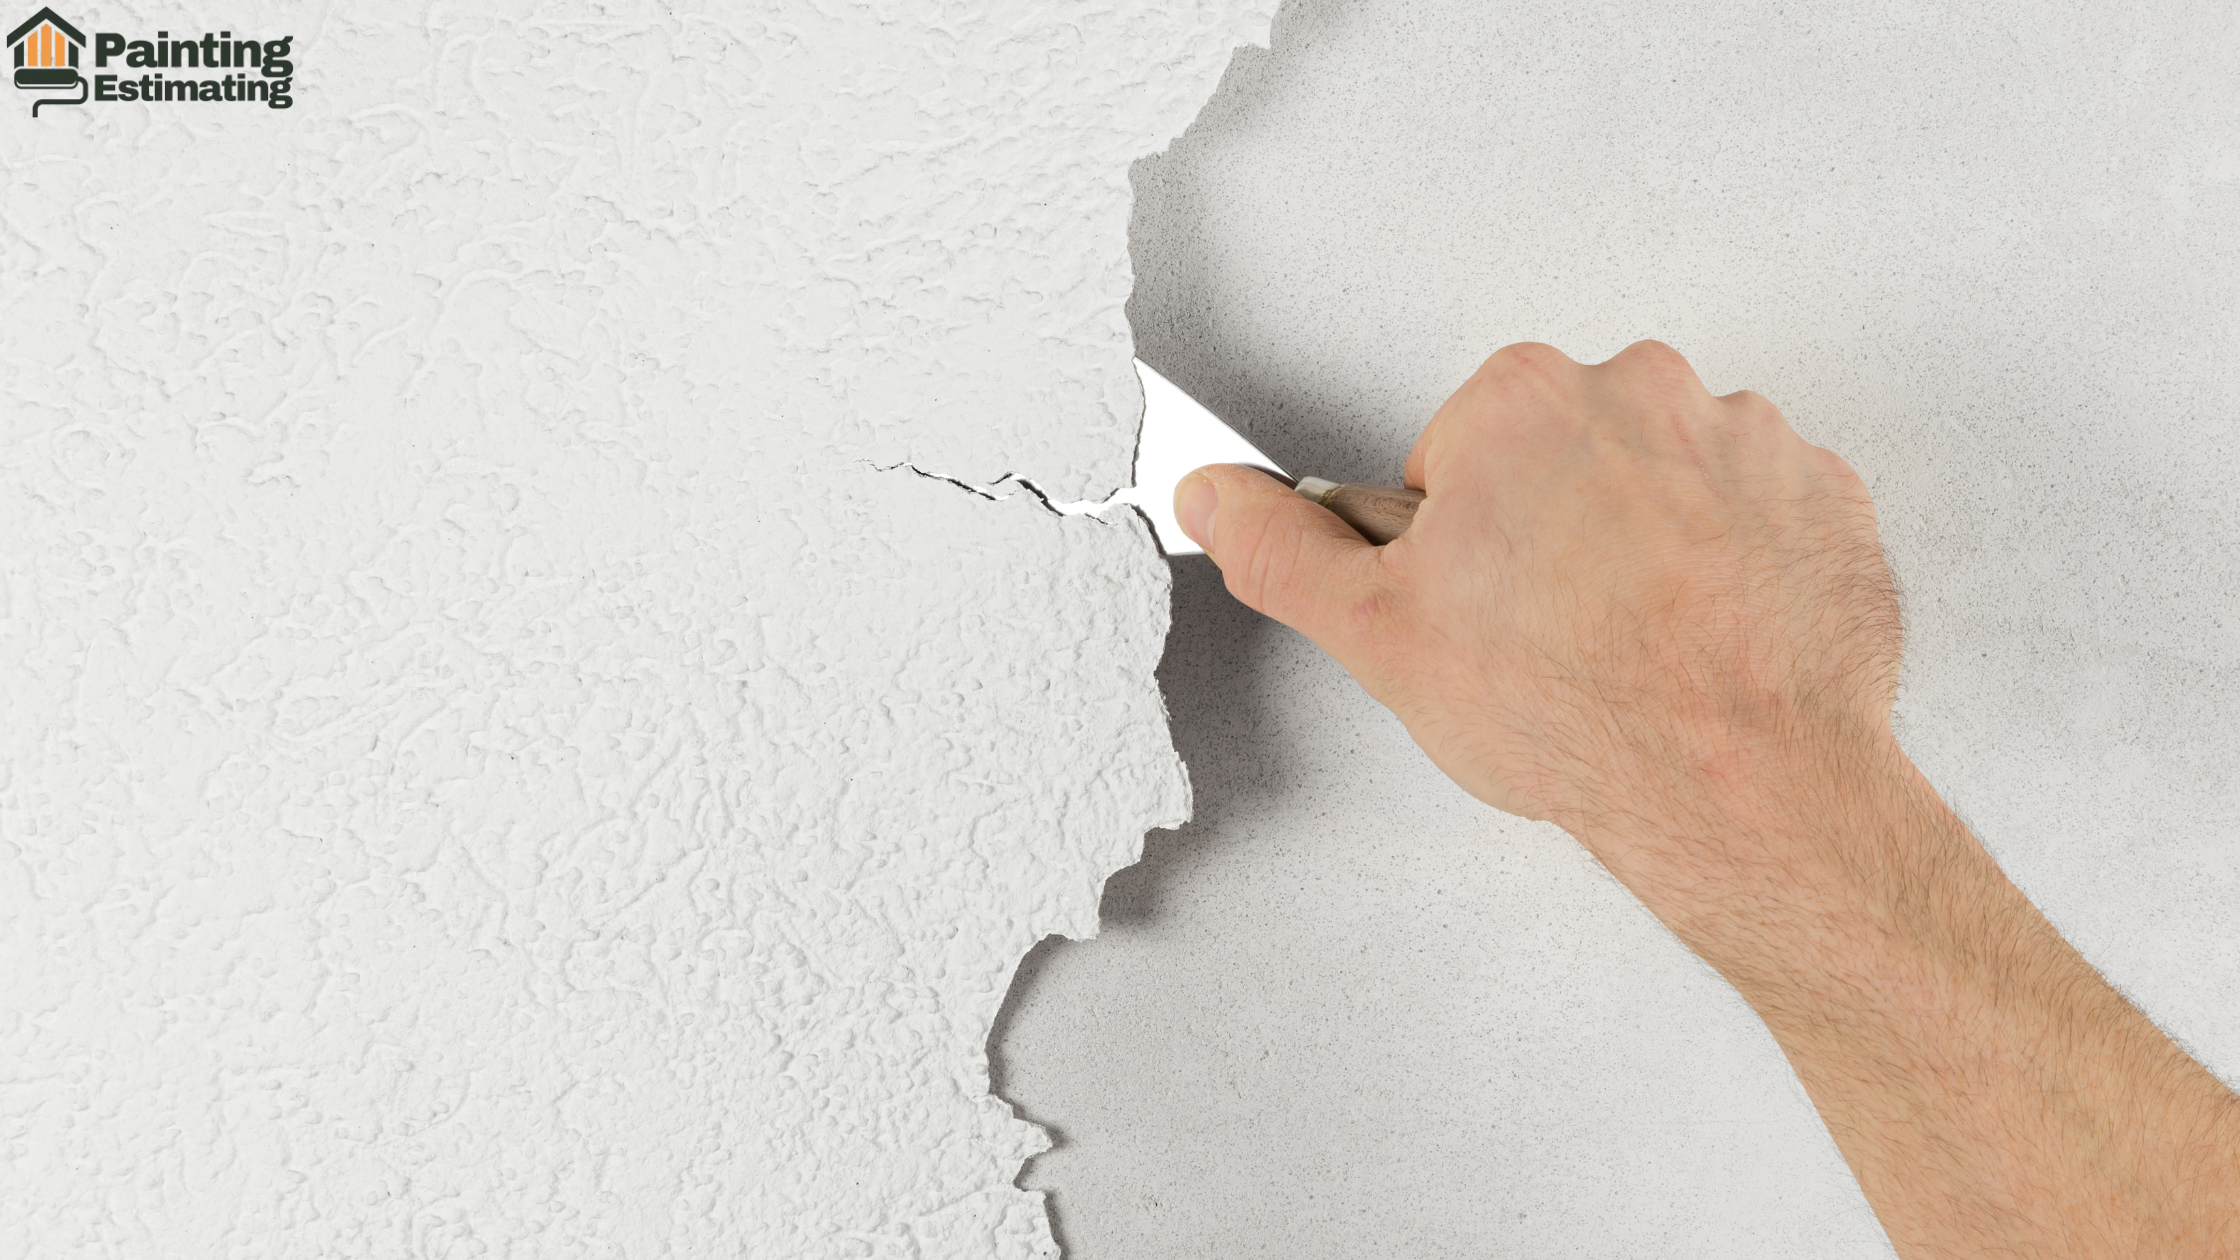
Old paint which is peeling or flaking must be removed before applying new paint. Use a paint scraper or wire brush to scrape off any loose paint from the surface. Beingthorough-loose paint on the surface would compromise the quality of the new coat. Ideal results require a smooth stable surface to work on.
6. Caulk gaps and seams:
Apply high-quality, paintable exterior caulk to all gaps, seams, and joints. This means filling in the areas around windows and doors with caulk as well as caulking the trim. Caulking fills in gaps and crevices that hold water back from coming in behind or next to sidings and rotting out the structure of the house it protects. A good caulk job gives the paint a clean, richer appearance once applied.
7. Protect Surrounding Areas:
Ensure your surroundings are ready before the process of painting commences. Dropping plants and walkways by using sheets made of plastic s cover the fittings before painting happens on them, leaving some fixtures in their spots such as piers and panes. With painter's tape cover your unwanted pieces with paint during masking.
8. Use Primers in Preparation Before Painting:
You will need a good primer that is compatible with your topcoat paint. Primer helps seal the surface of bare wood, which prevents uneven absorption of the paint. It also helps cover imperfections and gives better coverage with fewer coats of paint. If you have done
Large amounts of repairs and applying primer over those spots that help it mesh with the adjacent surface give the finish a smooth appearance.
9. Select the Paint and Equipment:
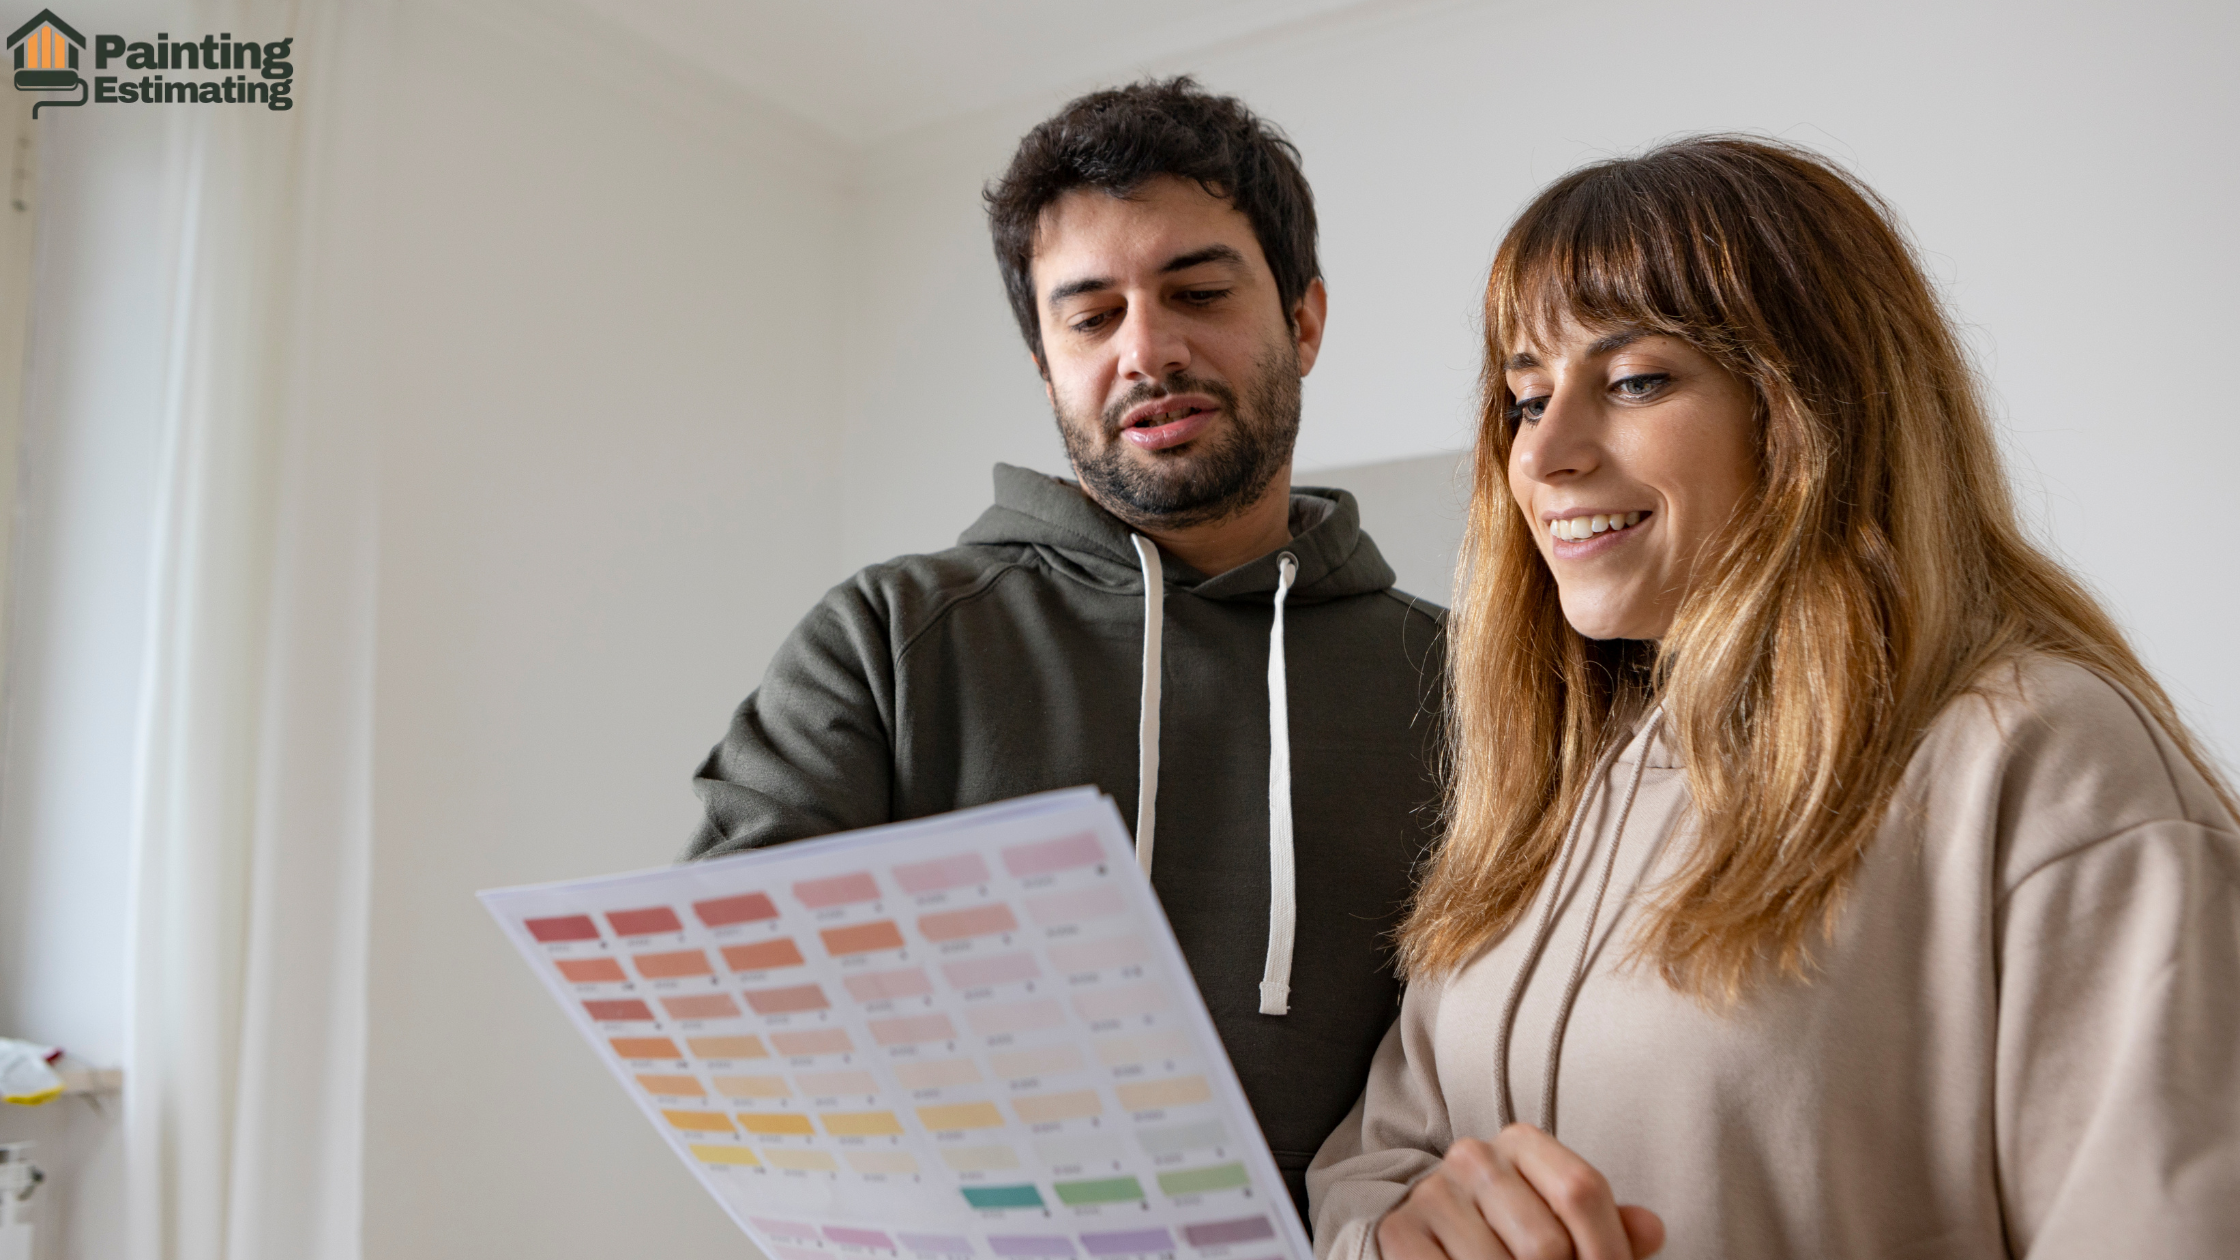
Selecting the right paint and equipment does make all the difference in your final result. You want durable paint that is going to last the weather. The first thing in deciding on exterior paint can withstand nature. Latex-based paints happen to be most common for all home exteriors since they remain the most robust with easy cleaning and fast evaporation. Oil-based paints render a harder coat but dry far slower and also have to be cleaned off by solvents.
Ensure the paint you choose is of high quality and is outdoor-friendly. Several brands, including Sherwin-Williams, Behr, and Benjamin Moore, offer paints that last for years without breaking down in the sun and weather.
10. Choosing Suitable Tools
The tools for painting also have a say in making the job smooth and professional. Here are some of the tools you will need to possess:
- Paint Brushes: Angled brushes are used to cut in around edges, trim, and corners. A good quality 2.5-inch brush will help you create sharp, clean lines.
- Rollers: A high-density roller is great for larger surfaces like walls. Use a 3/8-inch nap roller for smooth surfaces and a 1-inch nap roller for textured surfaces.
- Spray Paint Gun: For speed, the covering is a paint sprayer, which would be used on large areas; this helps in a very smooth, uniform coat without any brush strokes.
- Painter's Tape & Drop Cloths: Painting along windows and trim with crisp lines is made possible using painter's tape. Drop cloths are what protect the ground landscaping and other surfaces when painting occurs.
11. Weather Preparation:
The outer walls of a house are best painted under good weather or conditions. Painting under the right climatic conditions enables your paint to go on smoothly and adhere well to the substrate.
12. Temperature and Humidity:
The ideal temperature to paint is between 50°F and 85°F (10°C and 29°C). Extreme heat or cold results in paint drying too fast with streaks, bubbles, or cracks. High humidity also causes paint to dry unevenly, so paint during dry weather rather than wet or rainy weather.
13. Avoid the Sun:
It's quite tempting to paint in direct sunshine, but such direct sunrays dry out paint much too fast and will lead to unevenness. So it is always good to plan to paint at a shadowy spot or time, especially in the early morning or later in the evening.
Painting: The Final Step in Achieving a Perfect Finish
Now that the surface is prepared and primed, it's time to paint. Probably the most fulfilling part of the process, this does need to be done in a particular order to not create a streaky, uneven finish.
Application of Paint:
Start from the top of the house and work down. In this way, you will not accidentally drip paint onto surfaces that are already painted. You use brushes in small areas, such as edges, trim, and corners. Large surfaces work faster and better with rollers or sprayers as they provide a smooth cover.
Apply as thin, even layers of paint so there is little chance of drips and uneven texture. It is better to apply many thin coats rather than one thick coat since it will stick better and produce a smoother finish.
Allow for Drying Time:
Let the paint dry through after every coat applied before another coat. The time duration as provided by the manufacturer, for letting dry between coats, is to be used. Normally, two coats are recommended for effective coverage and durability.
Touchup and Cleaning:
Once the last coat is dry, inspect it closely for tiny marks or imperfections that would have been caught if they had been noticed sooner. Paint to make the spot perfect where necessary. Once the paint is completed, carefully remove all protective coverings and tape and any drop cloths. Clean brushes and rollers right away so paint does not set into them over time and ensure tools will remain useful for future use.
Maintenance for Long-Term Effects:
Their appearance should be regularly inspected to identify any wear, fade, and damages that can affect the newly painted exterior façade's beauty and protection. Minor issues addressed will prevent the onset of serious ones. Annual light washes on the outsides clean off dirt, dust, and mildew which give the paint its old, washed-out appearance. After the above maintenance, the exterior paint job will remain in excellent condition for several years to come; hence the home will have not only a fresh look but structural integrity too.
Conclusion:
This way, you can be sure that this exterior painting job will make your house not only look good at the curb but also protect it well from the elements. The project, whether you are doing it yourself or paying for professional workers, will give you a great appearance and a longer-lasting finish.
About the Creator
Painting Estimating
We specialize in providing precise and professional painting estimate services across the USA. We offer services to the homeowners, contractors, and builders with project delivery time of 8-24 hours for all types of painting projects.
Enjoyed the story? Support the Creator.
Subscribe for free to receive all their stories in your feed.
Comments