
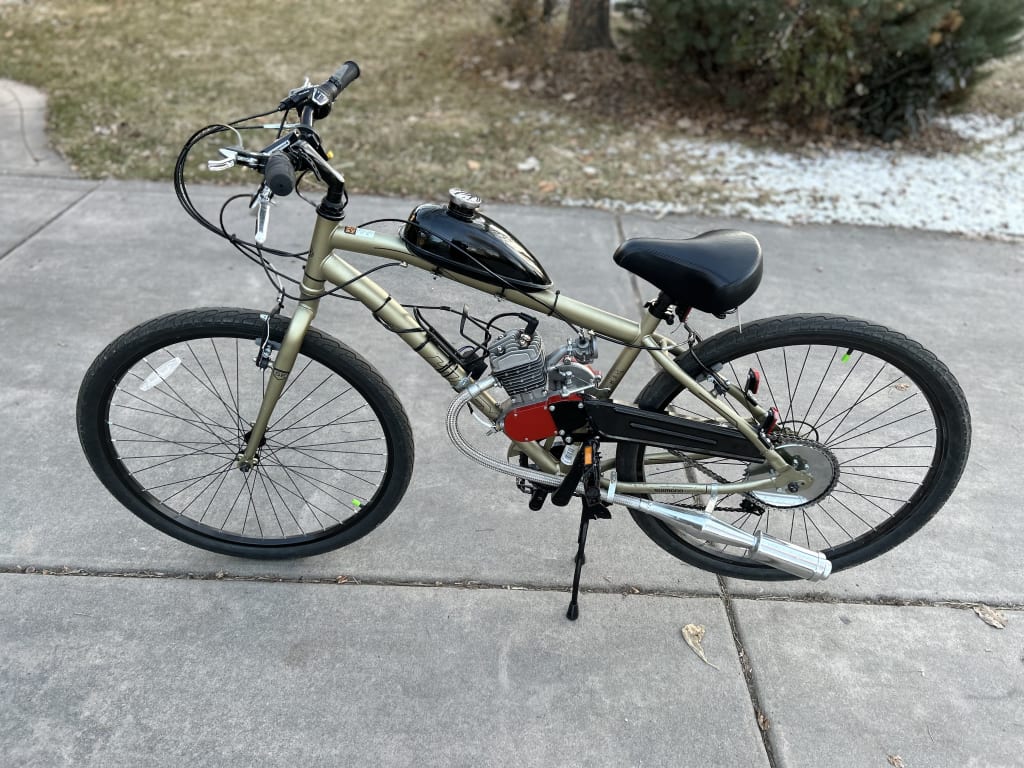
Chapter One
Ordering parts and info
Ordering parts is one of the most important parts of creating a gas bike.
In this part you will get the bike, and then get the motor and upgrades to put on the bike!
Bike Choice
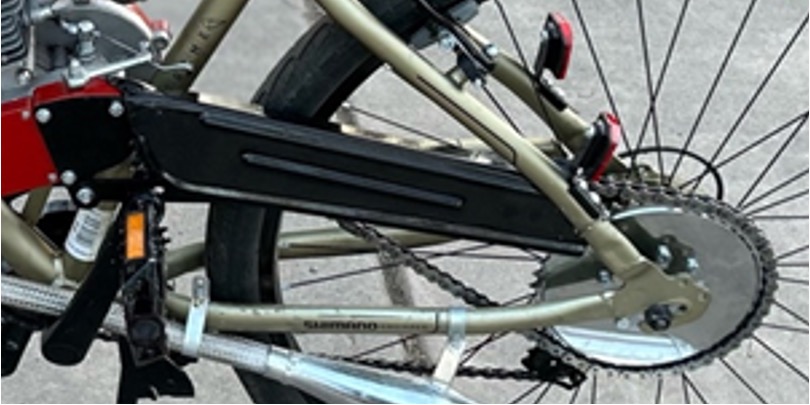
The first choice is getting a bike. My favorite place to get a bike is from Walmart because their bikes are cheap, very compatible, and you can find a lot of coupons for bikes. When picking out a bike, find one that has small diameter tubes for ease of putting on the motor, a large frame, and wide and parallel rear bottom forks like this.
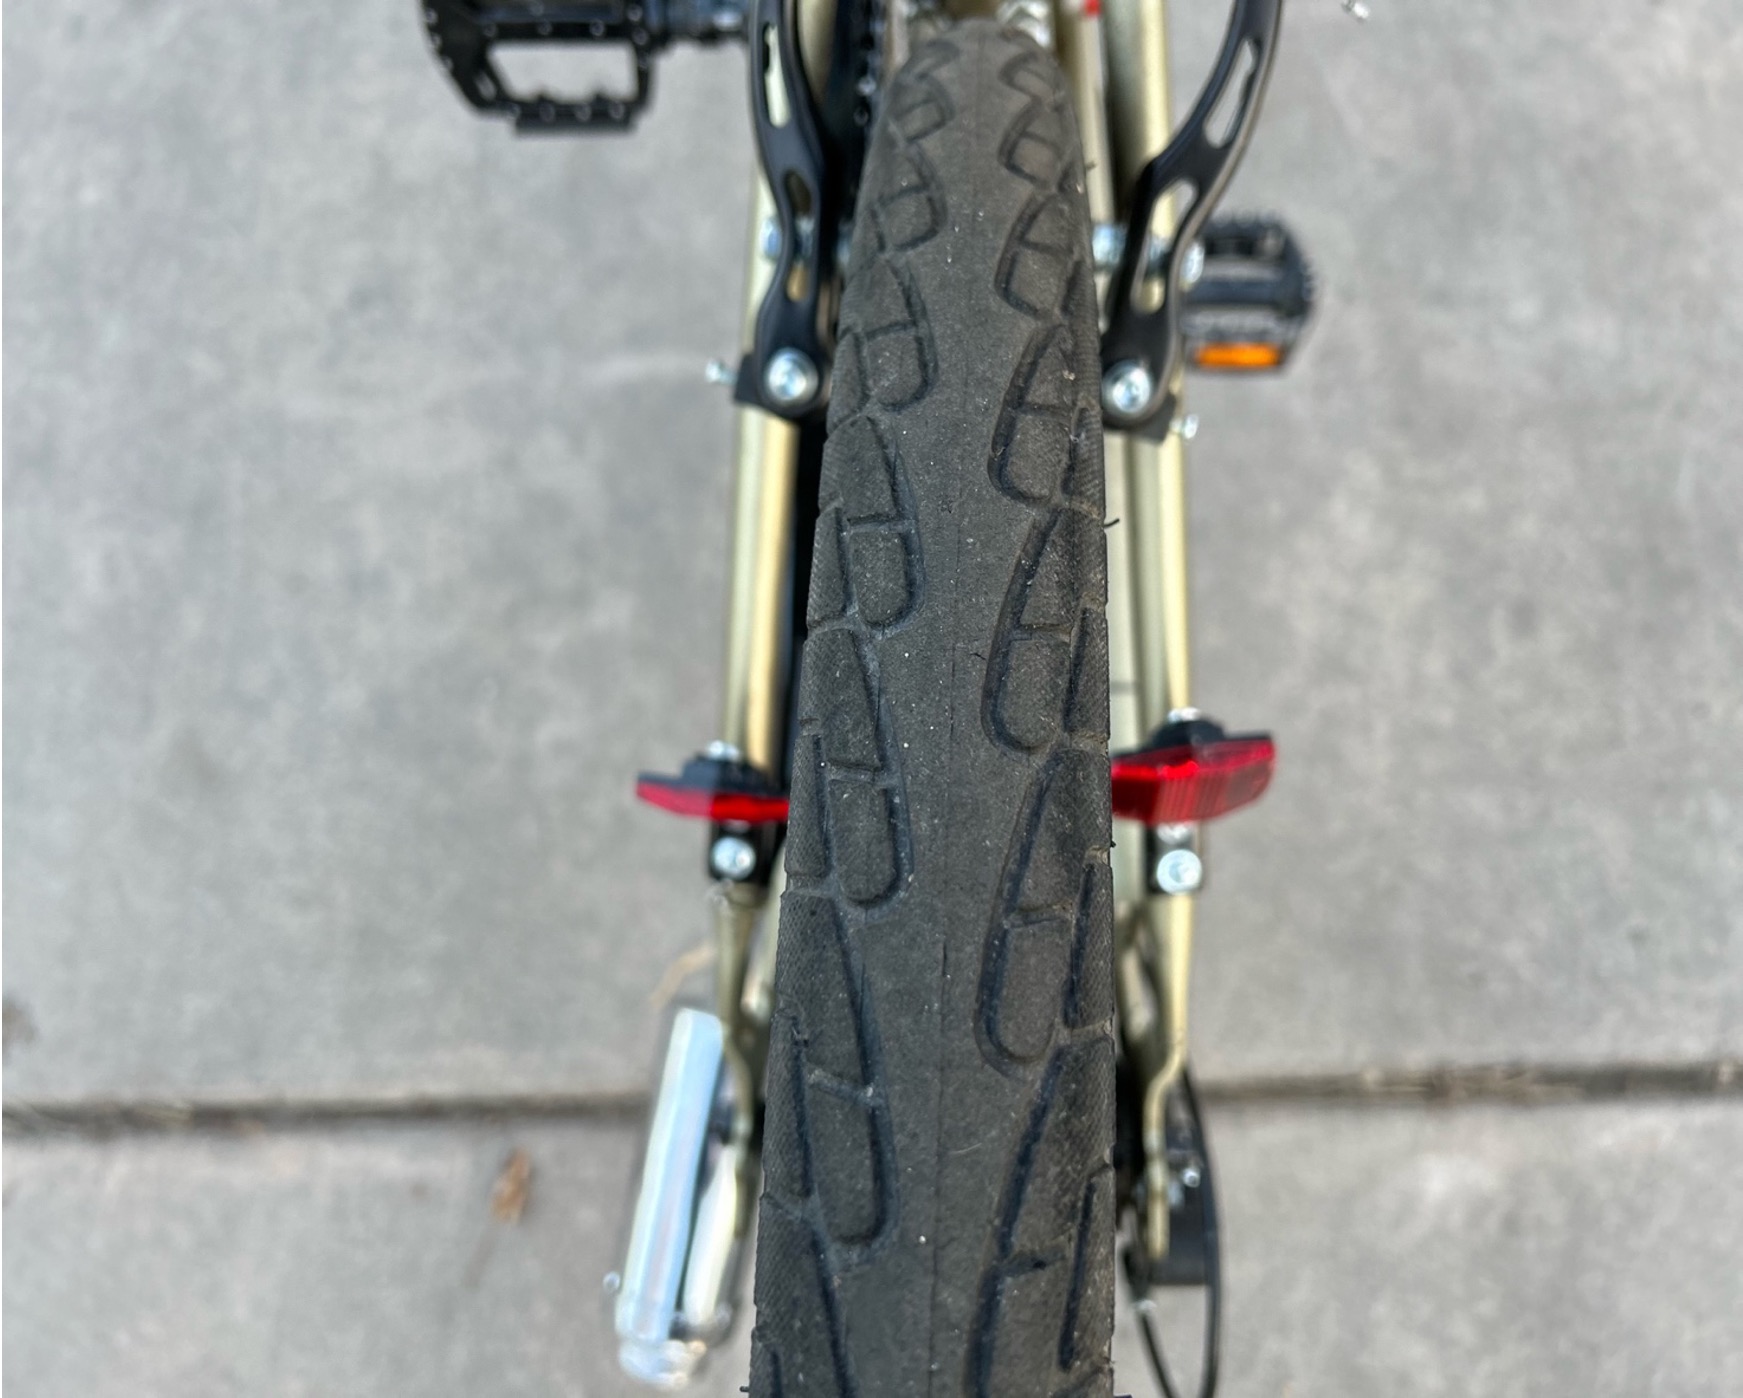
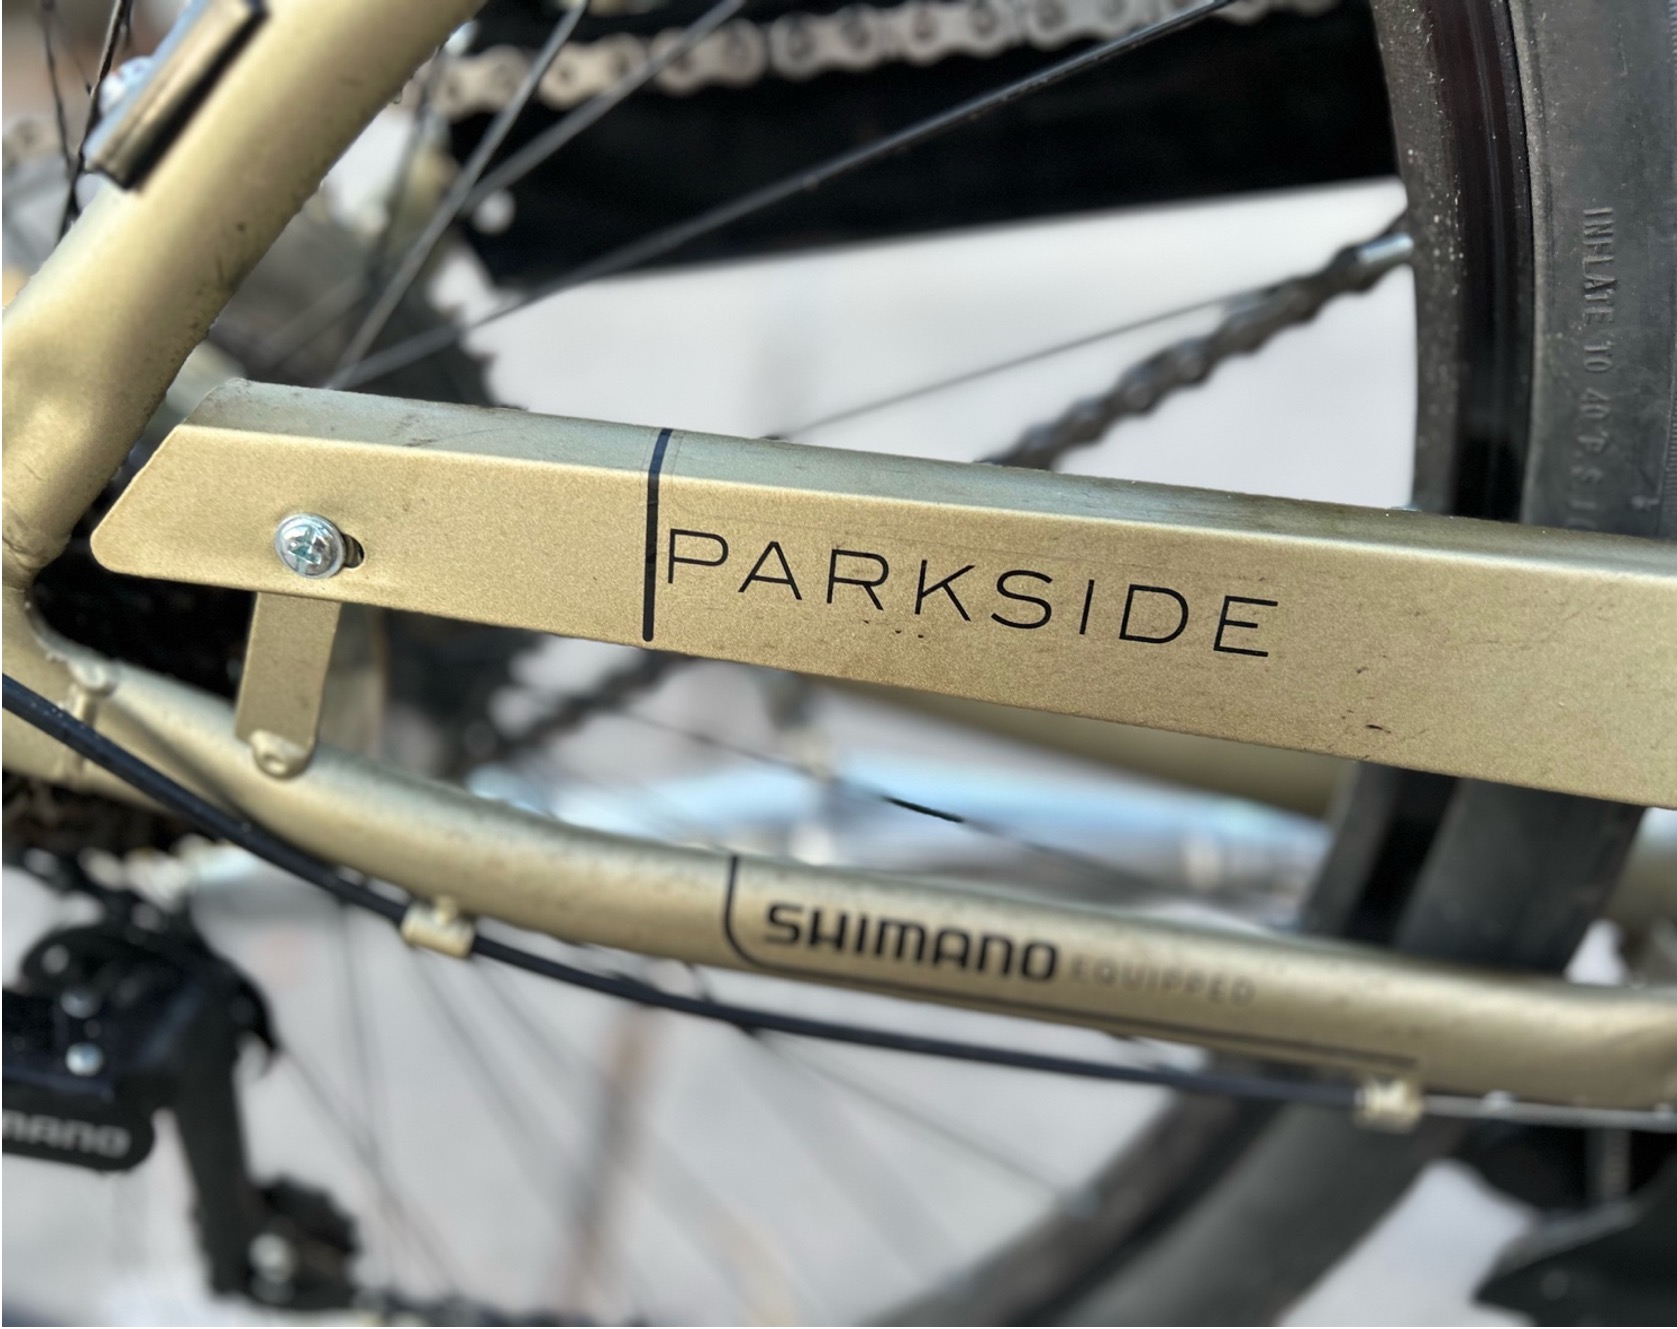
After picking your bike the first upgrades, you should do are:
1. Get the green slime stuff for your tires so they don’t pop tire slime
2. Then (Optional) get new tires that have tread because it helps with grip in sand, grass, and anything besides pavement.
Motor choice
The best way you can get the parts is from Amazon. I have easy links for the products. Amazon has fast & free delivery, and their products are affordable.
The motors are the most crucial part to pick, so think carefully on this next part.
1. Amazon Chinese motor: affordable ($100), decent speed (17.5-20mph), normal reliability, easy to assemble, small, doesn’t produce to much heat for your legs, mostly compatible, doesn’t come with upgrades. (My go to motor) 50cc gas motor, 80cc gas motor .
2. BikeBerry motor: less affordable ($250), fast (25-27.5mph), good reliability, easy to assemble, comes with some upgrades already, doesn’t produce much heat for your legs, and mostly compatible. 80cc gas motor.
The second option comes with upgrades and is ~26mph+ out of the box but is $250.
Info:
Both options are 26mph+ and have the same cooling and specs if you spend $150 on upgrades. They have similar specks for same price but the first one doesn’t come with upgrades.
The first option is better for someone with less money and wants to get custom upgrades. 50cc bikes are more affordable, and compatible with bikes but less powerful.
Upgrades
In this part you are going to pick the parts that go with the motor.
The best upgrades for performance, reliability, endurance, and value are:
Exhaust
• Flexible, quiet, cool, and sounds good exhaust 1.2x horsepower ($45-55) most are $50
• Loud, extreme performance, and looks cool exhaust 1.5x horsepower ($30-50) most are $43.5
Spark/start
• Performance spark plug 1.25x rpm and reliability ($5-10) most are $7.5
• Performance cdi 2x easier to start ($15-20) most are $17.5
Gas/fuel
• Performance HP carb 1.25 horsepower ($20-27.5) most are most are $20.
• Large gas tank 2x size 1 gallon = 100 miles ($35-55). Most are $37.5.
• Oil 1.1x performance 1.5x reliability and endurance (0.5x smell; no smoke oil) ($4-5) most are $5.
Endurance
• Performance air intake manifold 2x endurance/cooling maybe won’t fit ($30-50) most are $35.
Random parts possibly needed
• Offset intake 1.5x compatibility ($7-15) most are $8.
• Electric tape 1.5x looks/style/neatness ($2-5) most are $3.
Gears
• Small sprocket 1.25x speed ($15-20) most are $15 but the good ones are more expensive.
• Jack shaft 2x speed 2x torque. It transforms your peddling gears into motor gears so it’s easier to set up the chain. You can have any size rear wheel. If you have rear forks that don’t give enough space for the chain and sprocket the bike still works; it transfers the power to the other side. You can have multiple gears. ($60-150) most are $70.
• Chain tensioner (only if you don’t have a jack shaft) 1.5x ease of putting on the chain tensioner ($15-20) most are $15
Chapter Two: The Assembly
After you pick out what motor and parts you want, click on the correspond links with them, and it will send you to an Amazon page with the best version of that product. Then add each of the products you want to you cart and order them.
After your packages arrive you can finally do the fun/tedious part.
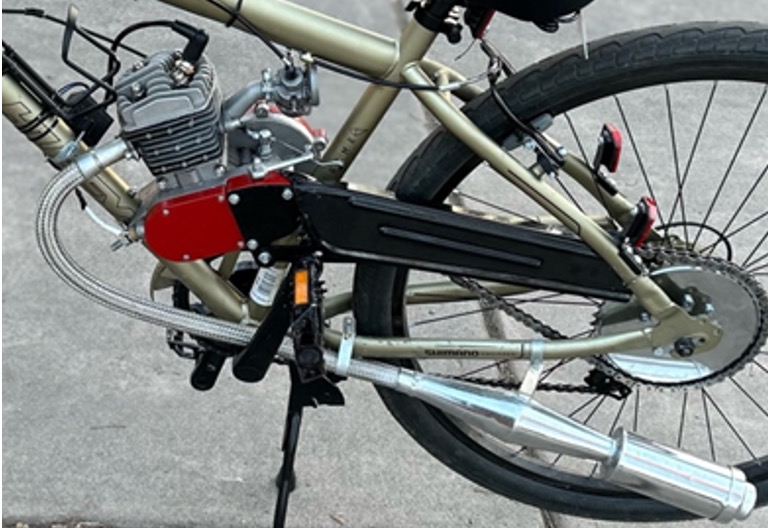
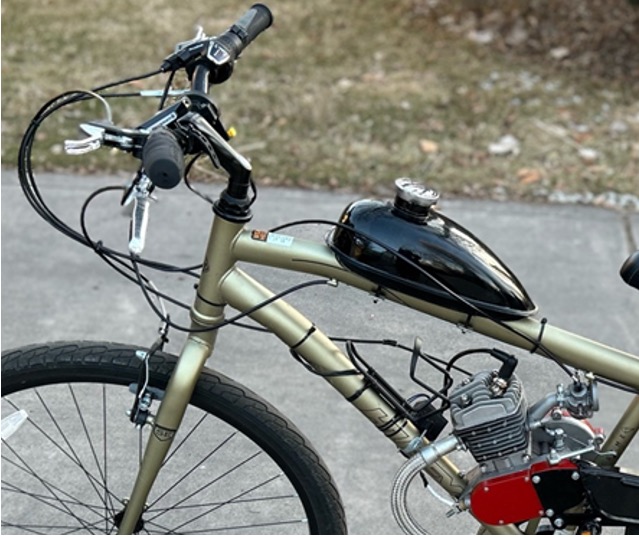
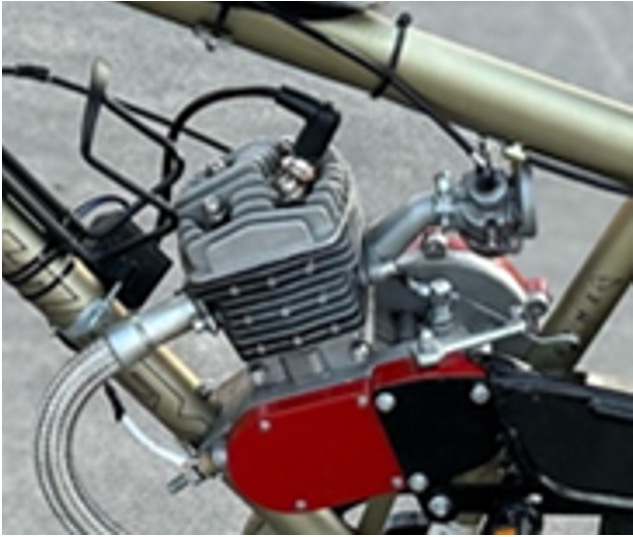
Bike photos
Chapter Three
Running and Tips
This is by far the most fun part.
Go get one gallon of fuel and mix one bottle of oil in or 40/1-50/1 oil to gas ratio. Then pour the gas into the tank and close the choke. Pull in the clutch and pedal fast. Drop the clutch. If you hear popping wait until the popping is quick, and then pull in the clutch. Rev the throttle slowly to half throttle. Let go of the throttle and open the choke halfway. Wait five seconds and open it all the way, while keeping the throttle at ¼ . Then wait one minute for it to heat up. Once heated up, let go of the throttle, and adjust the carb’s fuel screw until the bike is barely running. Add a half a turn in the direction that makes it idle easier. If it isn’t running, check if every bolt is tight and if the cdi cables are connected correctly.
If you’re not riding your bike turn off the fuel valve. If you can’t or won’t ride your bike for a week or longer then close your fuel valve and empty the carb of fuel.
***
About the Creator
Enjoyed the story? Support the Creator.
Subscribe for free to receive all their stories in your feed.
Comments
There are no comments for this story
Be the first to respond and start the conversation.