
Essential Steps for Bird Spike Installation
Bird Spikes
Introduction:
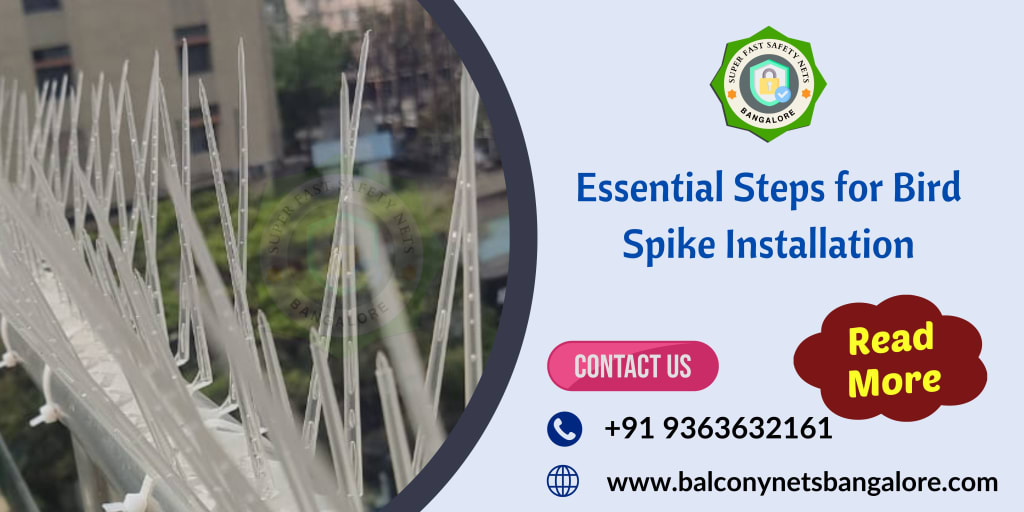
Bird spikes are an effective and humane solution for deterring birds from landing or roosting on buildings, ledges, and other structures. Installing bird spikes requires careful planning and execution to ensure optimal effectiveness. In this article, we'll outline the essential steps for bird spike installation to help you successfully implement this bird control solution.
Step 1: Assess the Area:
Before embarking on the installation process, conducting a comprehensive assessment of the designated area is paramount to ensure the successful deployment of bird spikes. This initial step involves meticulous observation and analysis of the surroundings to gain insight into the behavior and movement patterns of avian species in the vicinity. Take note of the types of birds frequenting the area, their activity patterns throughout the day, and the specific locations where they tend to congregate or roost.
Identifying prevalent bird activity patterns provides invaluable insight into the areas that require immediate attention and intervention. For instance, if certain sections of the building facade or ledges consistently attract birds, these areas should be prioritized for spike installation. Additionally, observe the behavior of birds in relation to environmental factors such as weather conditions and proximity to food sources, as this can influence their roosting preferences and migration patterns.
Roosting sites are key focal points for bird spike placement, as these areas serve as primary landing and resting spots for birds. Common roosting sites may include window sills, rooftop edges, building ledges, and balcony railings. By identifying and marking these locations, you can strategically position the bird spikes to create an effective barrier that prevents birds from landing or perching.
Pinpointing potential entry points is another critical aspect of the assessment process. These entry points serve as access routes for birds to enter and inhabit indoor spaces, posing a risk of property damage and health hazards. Inspect areas such as vents, chimneys, gaps in building structures, and open windows or doors to identify potential entry points that require protection with bird spikes.
Once you have gathered comprehensive data from your assessment, analyze the information to determine the most strategic locations for placing the bird spikes. Consider factors such as the frequency and intensity of bird activity, the proximity to sensitive areas or structures, and the overall layout of the property. By leveraging this information, you can optimize the placement of bird spikes to effectively deter birds and minimize the risk of property damage and nuisance.
Step 2: Gather the Necessary Tools and Materials:
Ensure you have all the tools and materials required for the installation, including bird spikes, adhesive or screws, a tape measure, a hacksaw or wire cutters (if spikes need to be trimmed), and safety equipment such as gloves and safety goggles.
Step 3: Prepare the Surface:
Clean the surface where the bird spikes will be installed to remove any dirt, debris, or bird droppings. Ensure the surface is dry and free from moisture, as this will help the adhesive bond effectively.
Step 4: Measure and Mark Placement:
Using a tape measure, carefully measure and mark the placement of the bird spikes according to your assessment. Ensure the spikes are spaced evenly and cover the entire area where birds are likely to land or roost.
Step 5: Install the Bird Spikes:
Apply the adhesive to the base of each bird spike or use screws to secure them to the surface. Press the spikes firmly into place, ensuring they are securely attached. If necessary, use a hacksaw or wire cutters to trim the spikes to fit the desired length.
Step 6: Conduct a Final Inspection:
Once all the bird spikes are installed, conduct a final inspection to ensure they are correctly positioned and securely attached. Make any necessary adjustments or repairs as needed.
Step 7: Monitor and Maintain:
Regularly monitor the effectiveness of the bird spikes and perform routine maintenance to ensure they remain intact and functional. Clean the spikes periodically to remove debris and prevent buildup.
Conclusion:
By following these essential steps for bird spike installation, you can effectively deter birds from landing or roosting on your property and mitigate potential damage and nuisance caused by bird activity. Invest in bird spikes today to enjoy a bird-free environment without harming the birds themselves.
About the Creator
Balcony Nets Bangalore
Super Fast Safety Nets excels in providing premium safety nets crafted from top-notch materials, ensuring unparalleled durability and reliability to safeguard your surroundings effectively.
Enjoyed the story? Support the Creator.
Subscribe for free to receive all their stories in your feed.
Comments
There are no comments for this story
Be the first to respond and start the conversation.