

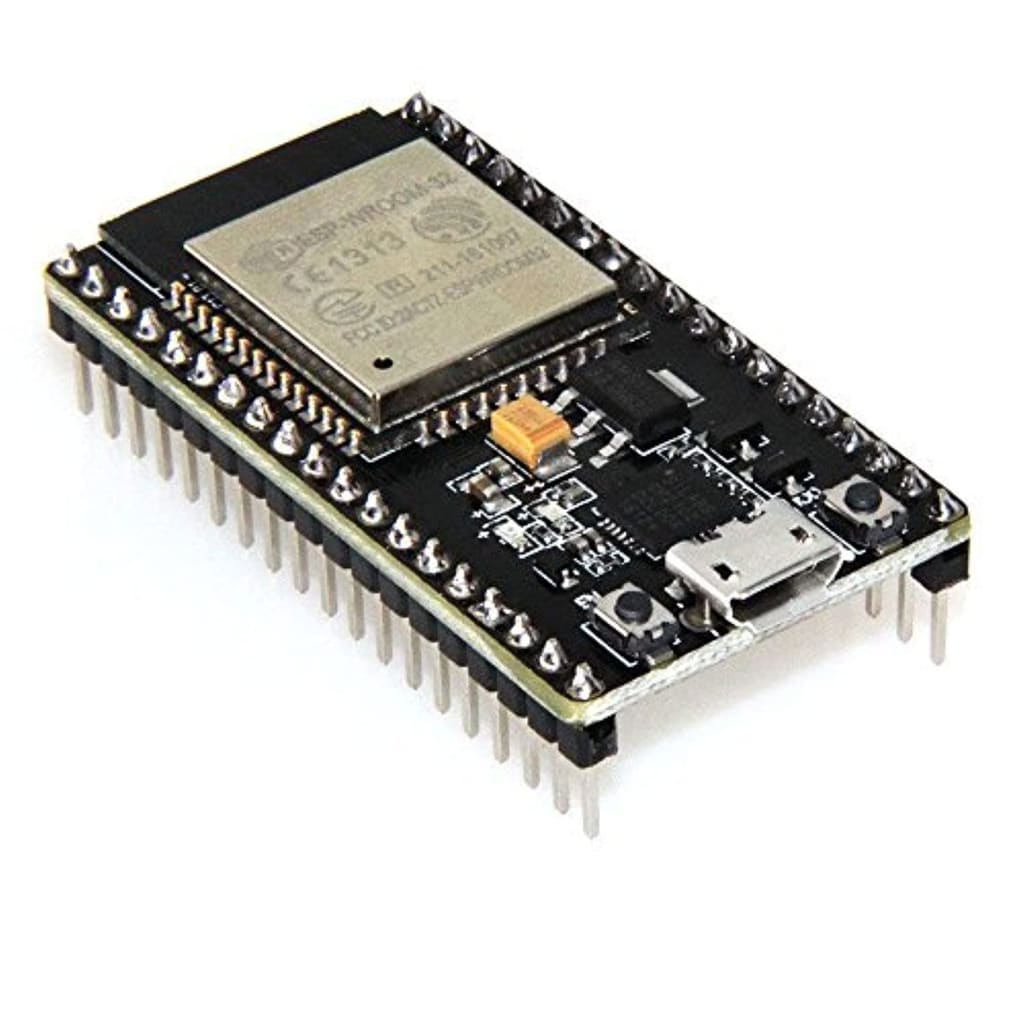
The ESP32 module is a powerful microcontroller module that offers a wide range of functionalities and features. Here are some things you can do with an ESP32 module:
Internet of Things (IoT) Projects: The ESP32 module comes with built-in Wi-Fi and Bluetooth capabilities, making it an excellent choice for IoT projects. You can connect it to various sensors and devices to collect data and control them remotely.
Home Automation: With the ESP32, you can create a home automation system to control lights, appliances, and other devices in your home. You can build a custom control interface or integrate it with existing home automation platforms.
(you can purchase the esp32 modul)
https://s.click.aliexpress.com/e/_DejnF0l
Robotics: The ESP32 module can be used to build robotic projects. You can use it as the brain of your robot, controlling its movements, capturing sensor data, and implementing autonomous behaviors.
Wearable Devices: Due to its small size and low power consumption, the ESP32 is suitable for creating wearable devices such as fitness trackers, smartwatches, and health monitoring devices.
Wireless Communication: The ESP32's Bluetooth and Wi-Fi capabilities make it ideal for building wireless communication systems. You can create wireless sensor networks, remote monitoring systems, or even build your own custom communication protocols.
Data Logging and Monitoring: The ESP32 can be used to collect data from various sensors and log it to an SD card or transmit it to a remote server for analysis. This makes it useful for environmental monitoring, weather stations, and other data logging applications.
Audio and Music Projects: The ESP32 includes a digital-to-analog converter (DAC) and an integrated amplifier. You can use it to play audio files, create internet radio players, or build your own music streaming devices.
Prototyping and Development: The ESP32 is a versatile platform for prototyping and developing new ideas. It has a rich set of GPIO pins and can interface with various external components and sensors, allowing you to quickly build and test your projects.
These are just a few examples of what you can do with an ESP32 module. Its flexibility and wide range of capabilities make it a popular choice for hobbyists, makers, and professionals working on embedded systems and IoT projects.
Project: Weather Station with ESP32
Components:
ESP32 module
BME280 sensor (for temperature, humidity, and pressure)
OLED display
Breadboard and jumper wires
Description:
In this project, we will build a weather station using the ESP32 module that measures temperature, humidity, and pressure using the BME280 sensor. The data will be displayed on an OLED display.
Instructions:
Connect the BME280 sensor to the ESP32 module using jumper wires. Make sure to connect the VCC pin to 3.3V, GND pin to GND, SDA pin to a suitable GPIO pin (e.g., GPIO21), and SCL pin to another GPIO pin (e.g., GPIO22).
Connect the OLED display to the ESP32 module using jumper wires. Connect the VCC pin to 3.3V, GND pin to GND, SDA pin to GPIO4, and SCL pin to GPIO5.
Install the necessary libraries for the BME280 sensor and OLED display in the Arduino IDE.
Open the Arduino IDE, create a new sketch, and copy the following code into the sketch:
cpp
Copy code
#include <Wire.h>
#include <Adafruit_Sensor.h>
#include <Adafruit_BME280.h>
#include <Adafruit_SSD1306.h>
#define SCREEN_WIDTH 128
#define SCREEN_HEIGHT 64
Adafruit_BME280 bme;
Adafruit_SSD1306 display(SCREEN_WIDTH, SCREEN_HEIGHT, &Wire, -1);
void setup() {
Serial.begin(115200);
Wire.begin();
if (!bme.begin(0x76)) {
Serial.println("Could not find a valid BME280 sensor, check wiring!");
while (1);
}
if (!display.begin(SSD1306_SWITCHCAPVCC, 0x3C)) {
Serial.println(F("SSD1306 allocation failed"));
for (;;);
}
display.clearDisplay();
display.setTextColor(SSD1306_WHITE);
display.setTextSize(1);
display.setCursor(0, 0);
display.println("Weather Station");
display.display();
delay(2000);
display.clearDisplay();
}
void loop() {
display.clearDisplay();
float temperature = bme.readTemperature();
float humidity = bme.readHumidity();
float pressure = bme.readPressure() / 100.0F;
display.setTextSize(1);
display.setTextColor(SSD1306_WHITE);
display.setCursor(0, 0);
display.print("Temperature: ");
display.println(temperature, 1);
display.print("Humidity: ");
display.println(humidity, 1);
display.print("Pressure: ");
display.println(pressure, 1);
display.display();
delay(5000);
}
Upload the code to the ESP32 module.
Open the serial monitor to view the temperature, humidity, and pressure readings.
The OLED display will show the current temperature, humidity, and pressure values. These values will update every 5 seconds.
By following these steps, you can create a weather station using an ESP32 module, BME280 sensor, and an OLED display. This project can be expanded further by adding features such as data logging, connecting to an online weather API for real-time data, or integrating with home automation systems to control HVAC systems based on weather conditions.
About the Creator
Fatih Gökırmak
Hello folk!
I'm currently studying and learning all about the electronic and electric.
Also I am in the sector right now So all those digital factory technologies all over me.
I wanna write and share with you guys!
Enjoyed the story? Support the Creator.
Subscribe for free to receive all their stories in your feed.
Comments
There are no comments for this story
Be the first to respond and start the conversation.