
Drywall Repair for Water Damage
The Essential Tips You Need
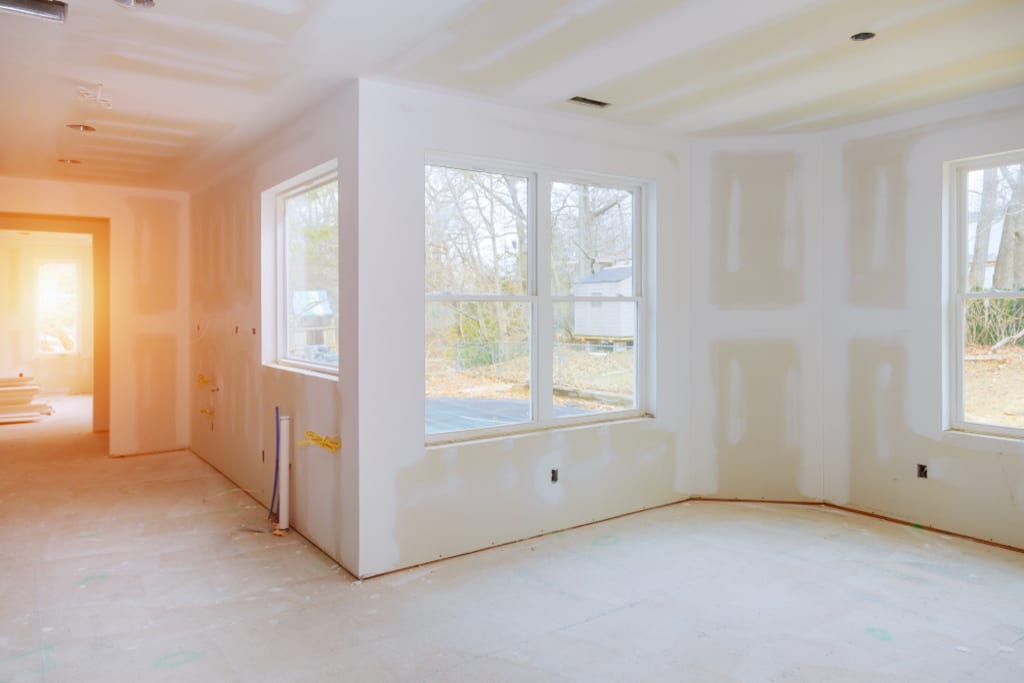
Water damage is one of the most common problems faced by homeowners. It can damage walls, ceilings, floors, and other parts of your property. One of the most visible effects of water damage is on drywall. If you notice any water damage on your drywall, it is essential to act quickly and repair the damage before it spreads. In this blog post, we will provide you with some essential tips for drywall repair for water damage.
Water damage to drywall can manifest in various ways, including discoloration, swelling, or the development of mold and mildew. If left untreated, these signs can lead to more extensive damage and potential health risks. Over time, damp drywall can lose its structural integrity, becoming soft and crumbly, making the affected area more susceptible to further deterioration. Moreover, if the moisture source isn't addressed, mold can proliferate, posing respiratory hazards to the inhabitants of the house. Therefore, it's not just about the aesthetics; addressing and repairing water-damaged drywall is crucial for maintaining the safety and health of your living environment.
Five Key Steps When You Have Water Damage
1 - Identify the source of the water damage
The first step in repairing drywall damaged by water is to determine the source of the water. Is it a leaking roof, burst pipe, or plumbing problem? Identifying the root cause of the water damage is essential because it helps you to take the necessary steps to fix the problem and prevent further damage to your drywall.
2 - Assess the extent of the damage
After identifying the source of the water damage, the next step is to assess the extent of the damage. How much of the drywall has been affected? Is it a small area or a large section of the wall? Understanding the extent of the damage will help you to determine the best course of action to take to repair the damage.
3 - Remove the damaged area of the drywall
Once you have assessed the extent of the damage, the next step is to remove the damaged area of the drywall. You may need to use a saw or drywall knife to cut the affected area out and create a clean square or rectangular edge. This will make it easier to replace the removed part with new drywall.
4 - Replace the removed section of the drywall
Now that you have removed the damaged section of the drywall, it's time to replace it with a new piece of drywall. Cut the new drywall to fit the hole, and attach it to the studs with screws or adhesive. Apply joint compound to the seams and let it dry, before sanding and repeating the process as needed. When the joint is smooth, it's time to paint the area to match the rest of the wall.
5 - Take precautions to prevent future water damage
Finally, it's important to take precautions to prevent future water damage from occurring. This includes fixing any leaking roofs, pipes, or plumbing issues, installing waterproofing materials, and ensuring that there is proper ventilation in moisture-prone areas like basements, bathrooms, and kitchens.
Get Your Drywall in Top Condition For the Future!
Water damage can be a challenging problem to deal with, especially when it affects drywall. However, with the right information and tools, you can repair water damage on your drywall and prevent further problems. Remember to identify the source of the water damage, assess the extent of the damage, remove the damaged area of the drywall, replace it with a new piece, and take the necessary precautions to prevent future water damage. By following these essential tips, you can ensure that your drywall remains in good condition and your home stays healthy and secure.
About the Creator
Enjoyed the story? Support the Creator.
Subscribe for free to receive all their stories in your feed. You could also pledge your support or give them a one-off tip, letting them know you appreciate their work.
Keep reading
More stories from Samuel Garza and writers in Education and other communities.
The Future of Home Building: When Will Homes Stop Being Made of Wood?
The Future of Home Building: When Will Homes Stop Being Made of Wood? Wood has been the go-to building material for homes for centuries, but with the technological advancements in construction materials and growing environmental concerns, it begs the question: when will homes stop being made of wood? In this blog post, we will explore the possibilities and future of home building, and whether wood or other materials will dominate the market.
By Samuel Garzaabout a year ago in Education
How To Create An E-Learning Math App Like Creta Class?
Understanding the E-Learning Landscape E-learning has revolutionized education. With the rise of digital platforms, learning has become more accessible. One standout is Creta Class, a leading math app. It blends engaging content with interactive features. If you're looking to create a similar app, here's how.
By Idea Usher6 days ago in Education
Elevate Your Home Recordings: Avoid These 8 Common Mistakes
Home recording is a game-changer for musicians, podcasters, and content creators. It offers unparalleled convenience and the ability to produce high-quality audio without the need for expensive studio time. However, achieving professional-grade recordings from the comfort of your home isn't without its challenges. To help you on your journey, we’ve compiled a list of eight common mistakes to avoid when recording at home.
By Music Industry Updates4 days ago in Education
What I Would Do if I Joined Vocal Today
I'd do things a bit different if I joined Vocal today instead of February 2021. For one thing; the platform itself has changed quite a lot. Acting on input from its writer/creators many enhancements to the reporting, pay structure, engagement, and even ownership possibilities are now in place. (Yes- I am aware that not every change has been greeted with approval. This is not that: I am focusing on what I would do differently today.)
By Judey Kalchik 6 days ago in Writers


Comments (1)
Very interesting! Fantastic ♥️