
Creating a custom PC.
step by step guide to built a pc.
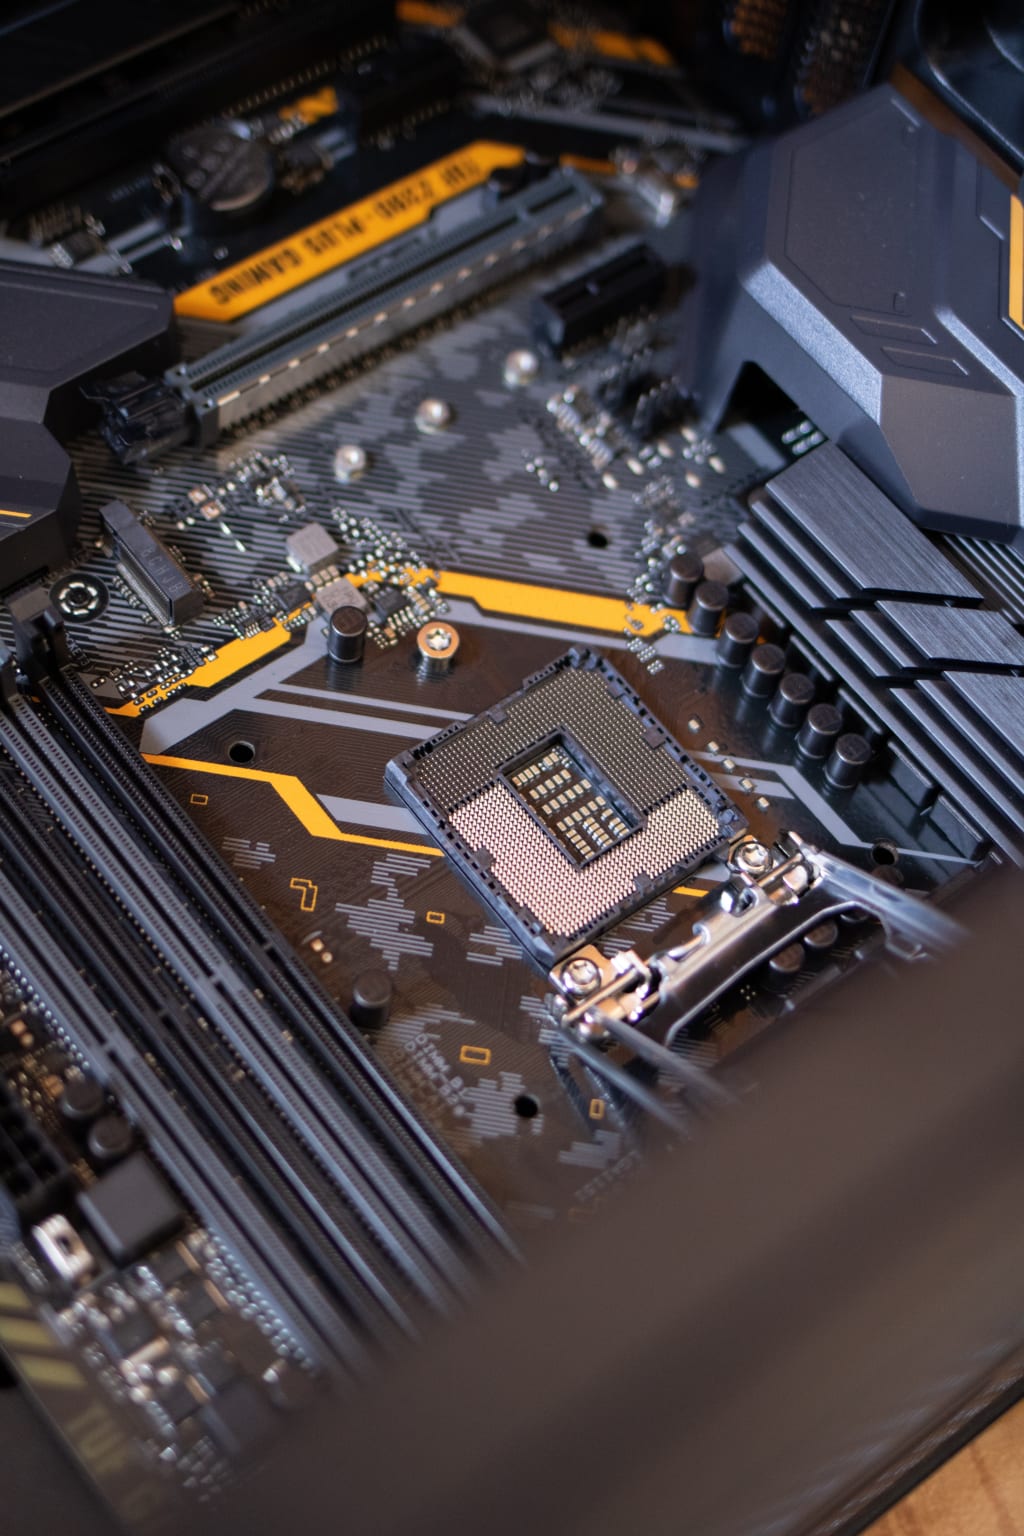
Building a custom PC from scratch can be an intimidating task for beginners, but it can be a rewarding experience. In this guide, we will walk you through the process of building a custom PC step by step.
Before we get started, it's important to note that building a PC requires some technical know-how, patience, and attention to detail. It's also important to ensure that you have all the necessary components before starting the build process.
Here are the steps to follow to build your custom PC from scratch:
Step 1: Choose the Right Components
The first step in building a custom PC is to choose the right components. These include the CPU, motherboard, RAM, storage, power supply, case, and peripherals such as the monitor, keyboard, and mouse.
When choosing these components, it's important to ensure that they are compatible with each other. You can use online tools such as PCPartPicker to check for compatibility between components.
Step 2: Prepare Your Workspace
Once you have all the necessary components, it's time to prepare your workspace. Ensure that you have a clean, well-lit, and well-ventilated area to work in. You'll also need a screwdriver, zip ties, and thermal paste.
Step 3: Install the CPU
The first component to install is the CPU. First, locate the CPU socket on the motherboard and open the latch. Then, align the CPU with the socket and gently place it in. Close the latch and apply a small amount of thermal paste on top of the CPU.
Step 4: Install the CPU Cooler
Next, install the CPU cooler. This can be an air cooler or a liquid cooler, depending on your preference. Align the cooler with the CPU and secure it in place using the screws provided.
Step 5: Install the RAM
Install the RAM sticks into the appropriate slots on the motherboard. Ensure that the notches on the RAM stick line up with the notches on the motherboard. Push the RAM down until it clicks into place.
Step 6: Install Storage
Install your storage devices, such as SSDs or hard drives, into the appropriate bays in your PC case. Use screws to secure them in place.
Step 7: Install the Motherboard
Place the motherboard into the PC case and align it with the standoffs. Screw the motherboard into place using the screws provided.
Step 8: Connect the Cables
Connect the cables from the power supply to the motherboard, storage devices, and other components. Ensure that all the cables are connected securely.
Step 9: Install the Graphics Card
Install the graphics card into the appropriate PCIe slot on the motherboard. Secure it in place using the screw provided.
Step 10: Install the Power Supply
Install the power supply into the appropriate slot in the PC case. Connect the necessary cables to the motherboard and other components.
Step 11: Test Your PC
Once you have completed the build, it's time to test your PC. Connect a monitor, keyboard, and mouse to your PC and turn it on. If everything is working correctly, you should see the BIOS screen and be able to boot into your operating system.
In conclusion, building a custom PC can be a challenging but rewarding experience. With the right components, tools, and a bit of patience, you can build a custom PC that meets your needs and preferences.
About the Creator
Enjoyed the story? Support the Creator.
Subscribe for free to receive all their stories in your feed.
Comments
There are no comments for this story
Be the first to respond and start the conversation.