
Can you Paint Pressure Treated Wood?
Paint Pressure Treated Wood

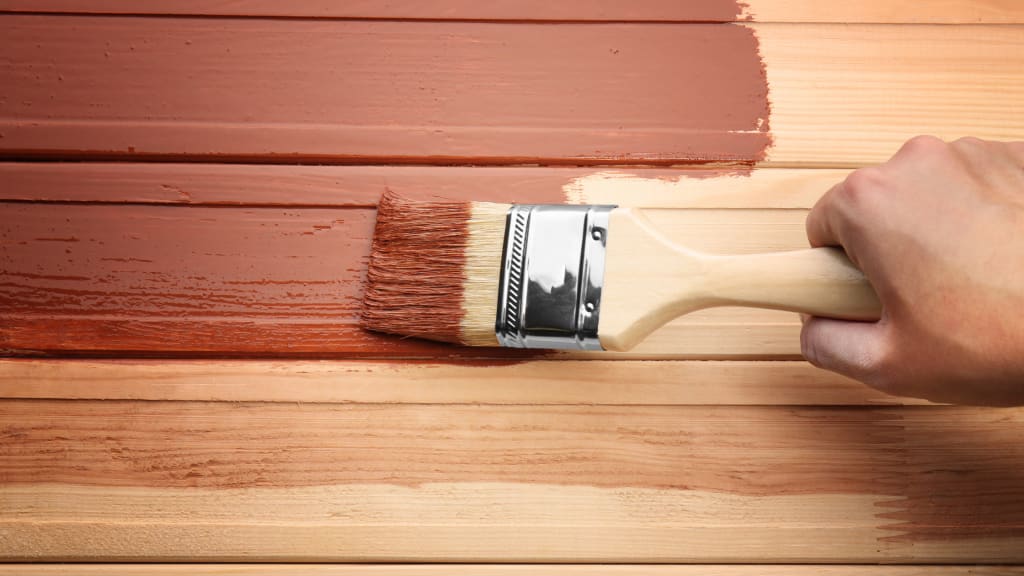
If you've ever found yourself gazing wistfully at the weathered surface of your deck or outdoor furniture, wondering if a new coat of paint could breathe life back into it, you're not alone.
Yes, you can paint pressure-treated wood. However, the solution is more than simply picking up a brush and starting to paint; it involves timing, technique, and the appropriate supplies. You can use lumber takeoff services to know the exact amount of wood you have to paint and the quantities of materials required to complete the work successfully. Here we have covered everything you need to know about transforming that pressure-treated wood into an enduring masterpiece.
Why Paint a Pressure Treated Wood?
The question arises: why is there a need to paint pressure-treated wood? As the pressure-treated wood undergoes the chemical treatment process to enhance its durability, sturdiness, as well as protection.
Its greenish hue is a result of the chemical treatment that was applied to keep the wood from rotting. That is used at various places in the form of fences, decks, and patios. That might not appeal to everyone, in order to make it appear the way you can paint it as per your aspirations.
The paint works as a protective layer that not only helps to increase the life span of the pressure-treated wood but also enhances the overall appearance.
Instantly beginning to paint the wood could frequently lead to a more serious error. In this article, we are going to cover the important six steps that need to be taken before painting a pressure-treated wood.
Which is the Best Time to Paint Pressure Treated Wood?
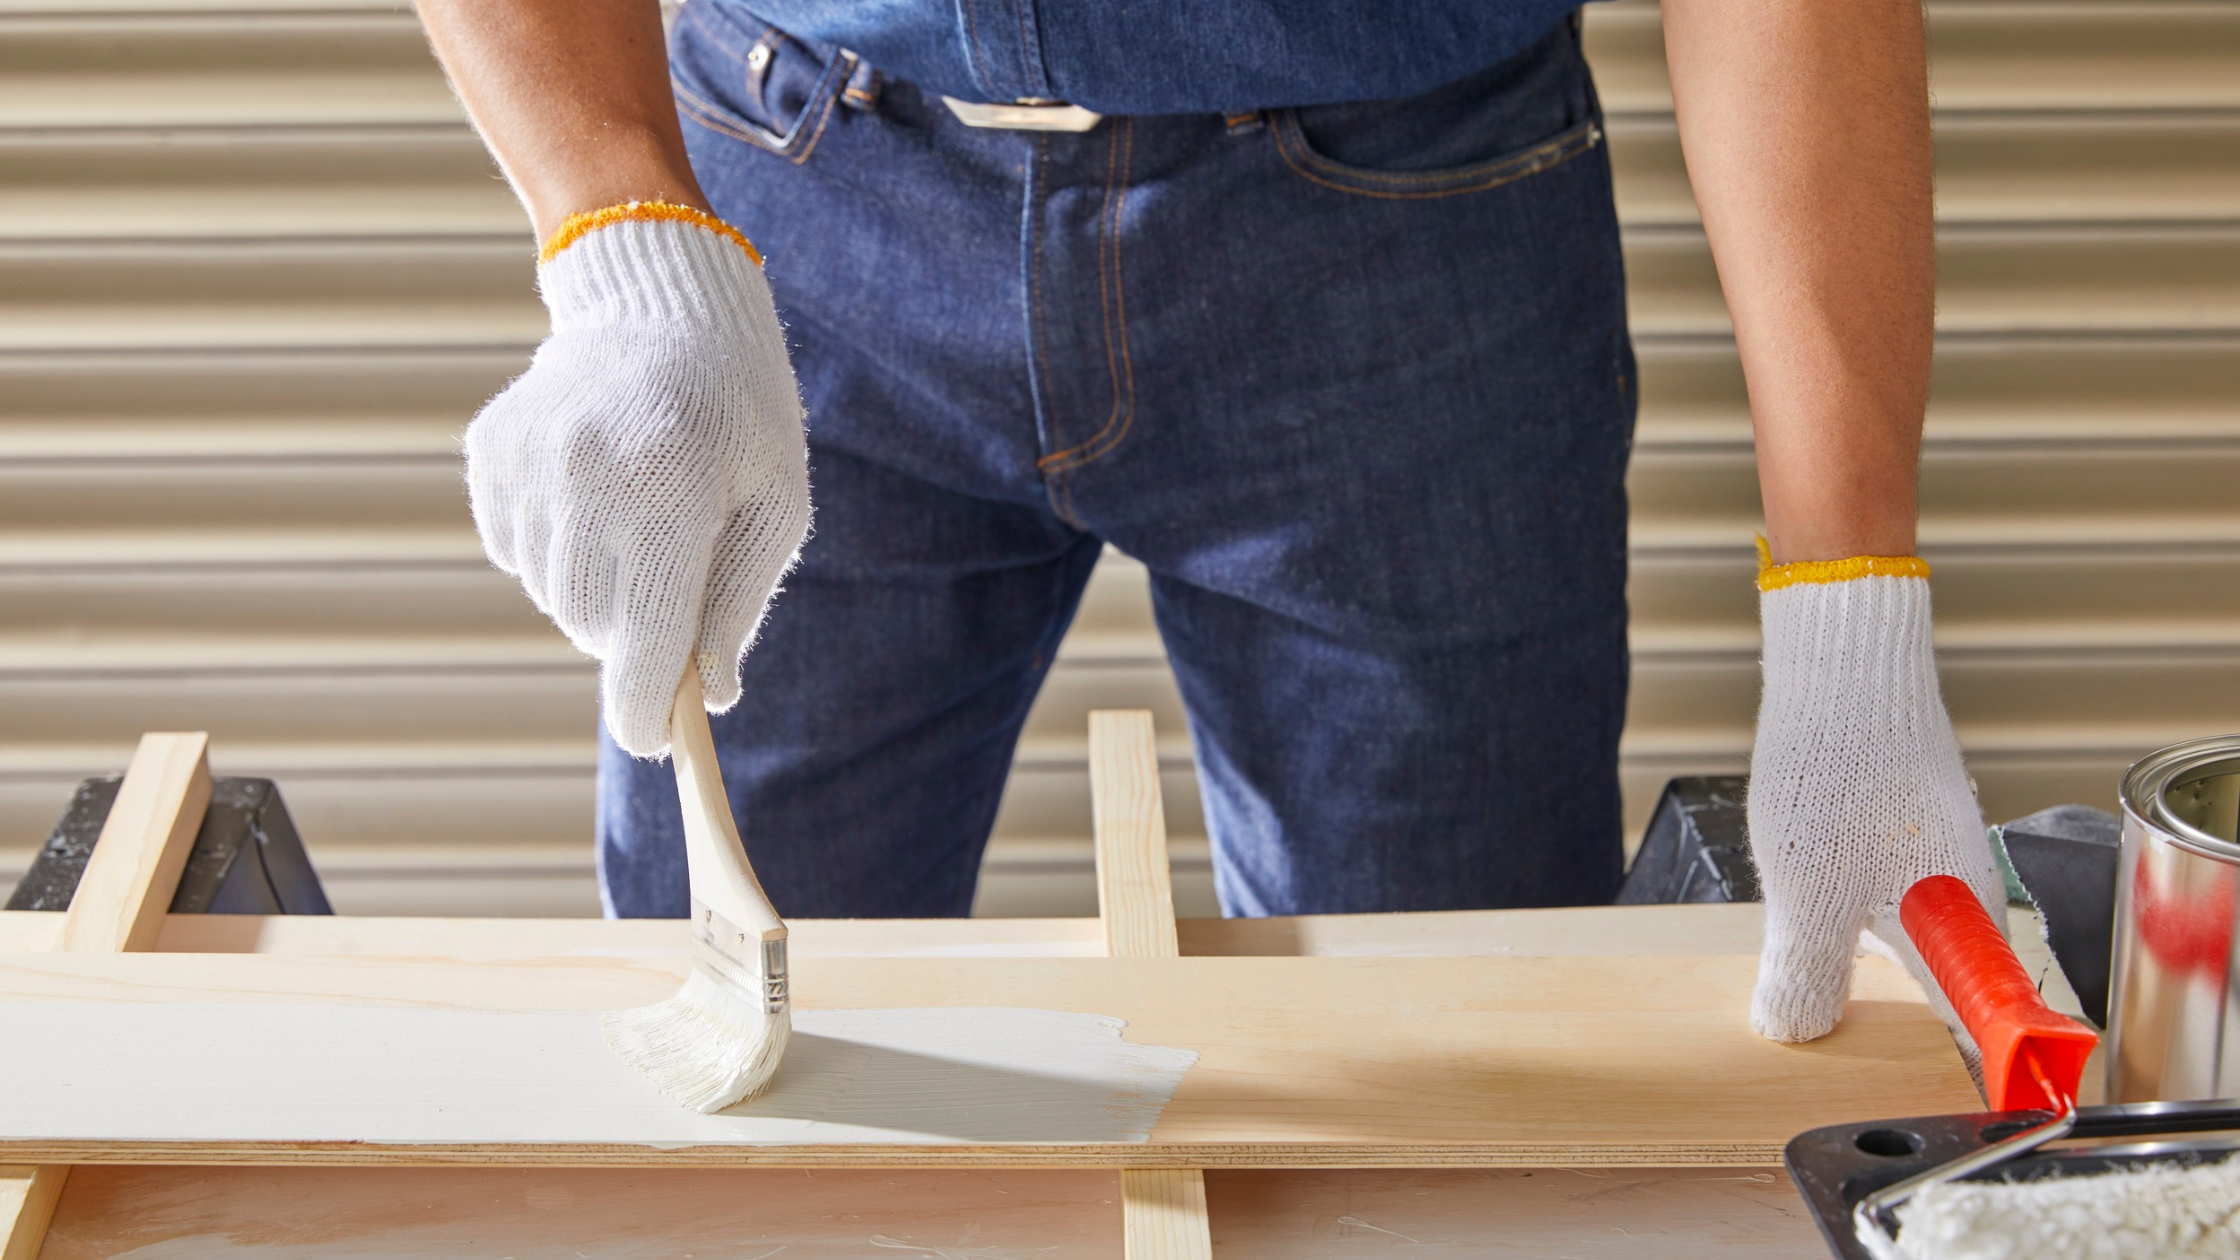
Generally, wait until the pressure-treated wood is totally dry and has adapted to its environment just like a normal wood will so that the paint and primer will effectively apply to the surface.
Pressure-treated wood is holding high moisture content due to the treatment process a little bit early in painting, which will avoid proper adherence. Here's how to tell just when to get the perfect timing:
1. Understand the Drying Process
The wood will be treated with preservatives and water, so the parts are heavy and wet. Depending on the type of wood, climatic conditions, and whether it is treated outdoors or indoors, drying generally takes about 3 to 6 months.
2. How to Test If Your Wood Is Ready
To determine if your wood is ready to paint:
Water Droplet Test: Pour a few drops of water onto the wood's surface. If it forms beads, the wood is not yet ready. If it is absorbed, it's dry enough to paint.
Moisture Meter: A moisture meter gives accurate readings. The optimal moisture content for painting should be less than 15%.
3. Seasonal Considerations
Do Not Paint in Rainy or Humid Weather: Heavy moisture in the surrounding air will hamper drying and adherence.
Preferably Warm: Temperatures should be between 50°F and 85°F (10°C to 29°C).
4. Why Patience Pays Off
Painting pressure-treated wood too soon into the drying process almost surely leads to peeling and cracking and very uneven coverage that shortens environmental longevity. It allows those preservatives to settle and stabilize the wood, which is then said to provide a smoother finish and better durability.
How to Paint Pressure-Treated Wood?- Step-by-Step Guide
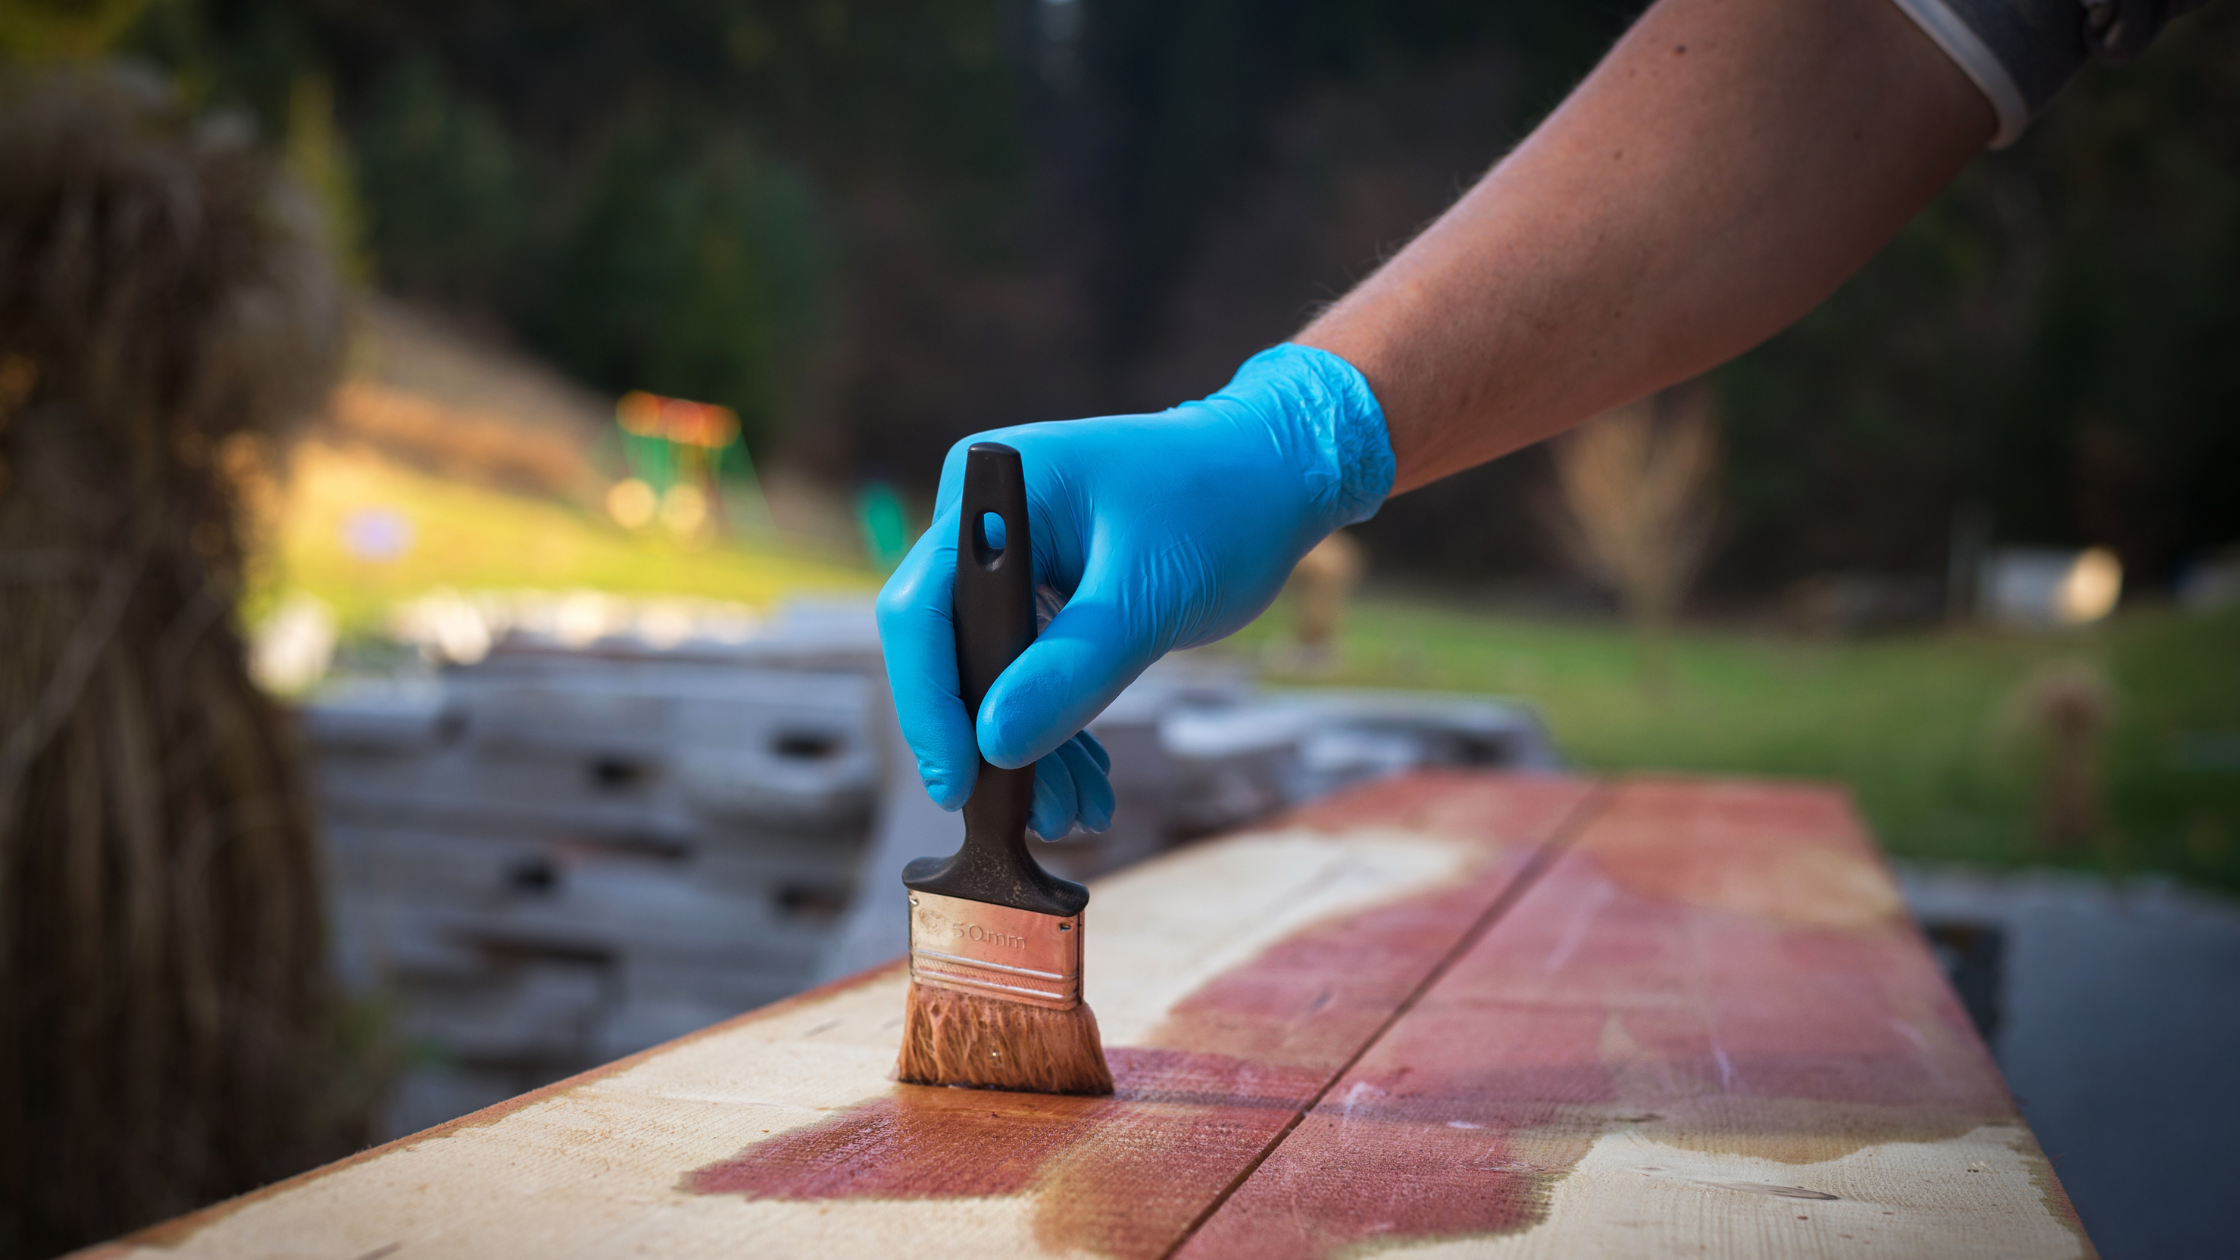
Pressure-treated wood will follow immediately the above preparation and methods. It is actually possible to paint on this surface and get results that feel and look professional. Adhere to these guidelines, to prevent the process's common mistakes.
Step 1: Collect Materials and Tools
Tools: Paint brushes, rollers, or a sprayer.
Cleaning Supplies: Cleaner, water, scrub brush, or pressure washer.
Paint Products:
Exterior-grade acrylic latex paint.
Oil-based or bonding primer.
Wood sealer for optional extra protection.
Step 2: Clean the Wood
Silt, grime, and residue are examples of contamination that hinder paint adherence.
Prepare a solution of mild cleaner and scrub with a scrub brush that's stiff.
Use a bleach solution or wood cleaner to clean the limbs.
Rinse with a hose or pressure washer, and allow the wood to dry completely.
Step 3: Prepare the Surface
Sanding achieves two goals: it smoothens rough spots and helps obtain better adherence of the primer.
Use 80-grit sandpaper to smooth out splinters and rough areas.
Special attention should be paid to knots or areas with visible chemical residue.
Wipe down the surface with a damp cloth to remove dust.
Step 4: Primer Application.
The use of primer is very essential for pressure-treated wood. It forms a bond between the wood and the paint, creating a layer in between.
Choose either the oil-based primer or bonding primer specialized for outdoor use.
Apply a thin even coat using a brush or roller.
Allow primer to dry completely (generally takes 24 hours).
Step 5: Paint the Wood
For the last finish use the best quality outside acrylic latex paint, high in moisture and UV damage resistance. Thin even coats should be applied using a brush, or roller spray.
Suffice to dry each layer thoroughly (usually 4-6) hours before applying the next. Make sure to apply at least two to achieve maximum coverage durability.
Step 6: Seal the Paint
Though not always required, wood sealer provides extra protection.
When the last coat of paint is completely dry, then apply the sealer.
You can even apply a clear, UV-resistant sealer if your wood is prone to the weather.
What are the Benefits of Painting Pressure Treated Wood?
Preservation
There are a number of advantages of painting pressure-treated wood that include both improved durability and. It protects against severe weather conditions with reduced chances of cracking, warping, or rotting. Although formerly embedded, moisture and rot damage by sealing the surface.
Maintainance
The paint layer protects them from further deterioration, and so there are few repairs. Maintaining them from time to time and cleaning them when seen dirty keeps them protected. It will help to minimize the damage and also reduce the need to repair.
Appearance
Evaluate aesthetic appearance according to the preferences. Gives a smooth finish and a beautiful look.
Furthermore, it opens up the doors to personalization since pressure-treated wood can be painted in a wide range of colors. Thus, you could use this paint as a complementary versatility for your outdoor or indoor decor. Pressure-treated wood maintains its shape and appearance for many years because it provides such a high level of protection.
Strengthens wood with a protective coating
Hides inclement weather, which sheds off splitting and warping. Painting closes off the wood and does not allow moisture to enter the internal structure; hence, it would prolong the period of time before any significant deterioration. Enhances its life span by layering it.
Which is Better for Pressure-Treated Wood: Paint or Stain?
Finishing wood in two ways is known as the most popular forms of finish- stain, and paint, each of which has its advantages. So, here goes a brief description of them both for helping one to decide upon the better option for a particular project:
Stain
Stains are in the nature-enhancing beauty-aesthetic consummate grains and textures. Wonderful for those seeking a rustic, organic finish.
Stains move deep into the wood, and safeguard against moisture and UV rays without altering the original look.
No peeling or cracking phenomenon seeps in with time. Touch-ups are very simple indeed. Stain is most favorable for outdoor decking, fencing, and furniture where nature speaks for itself.
Paint
Most of the bright deep colors completely covered the surfaces of wood. It creates a hard surface that would layer between the wood and outside elements.
Again, maintenance is even more and it lifts and chips. On top of that, there are endless options in the color palette and in the overall appearance of wood change.
If a uniform sleek finish on the wood is the goal, or if really tough shell finish is needed on exterior surfaces, this is the way to go.
Which One Should You Choose?
Staining would probably be right for you if you plan to have a lower-maintenance, natural appearance for wood.
Painting, on the other hand, is probably best for you if you want more color variety in your choices and a thicker, firmer layer against damage.
In the end, your answer would come down to the look you want, and the effort you're willing to put into maintaining it. A stain or paint can both glorify your woodwork, but which you choose must depend on your preferences.
FAQs: Frequently Asked Questions
1. What Kind of Paint Should I Use for Painting Pressure-treated Wood?
Use exterior-grade acrylic latex paint as it will give maximum water and durability resistance. Use it with oil-based or bonding primer for better results.
2. Should I Need to Prime Pressure-treated Wood Before Painting?
Yes, priming is something that one needs to do, as proper adherence of paint cannot be achieved without priming. Use an oil-based or bonding priming material for outdoor surfaces.
3. Can Pressure-treated Wood be Stained Instead of Painting?
Yes, staining is a wonderful alternative to painting. Semi-transparent stains allow the natural visibility of grain, and solid stains completely cover.
4. What Happens if I Paint Pressure-treated Wood too Early?
Paint is too soon, moisture will be trapped in the wood and will cause it to chip, bubble, and crack later.
5. How Long Would Paint Last on Pressure-treated Wood?
With adequate preparation and maintenance, paint lasts three to five years. The duration will be lengthened with cleaning and regular touch-ups.
6. Is Painting Pressure-treated Wood Better than Staining?
Depends on what you want. Paint has a solid color and is less scruffy with UV protection, while stain has a natural look and is easy to maintain.
About the Creator
Enjoyed the story? Support the Creator.
Subscribe for free to receive all their stories in your feed.
Comments