
A Human-Centric Guide to Creating Art with Midjourney
Tips and Tricks for Professional-Grade AI Imaging
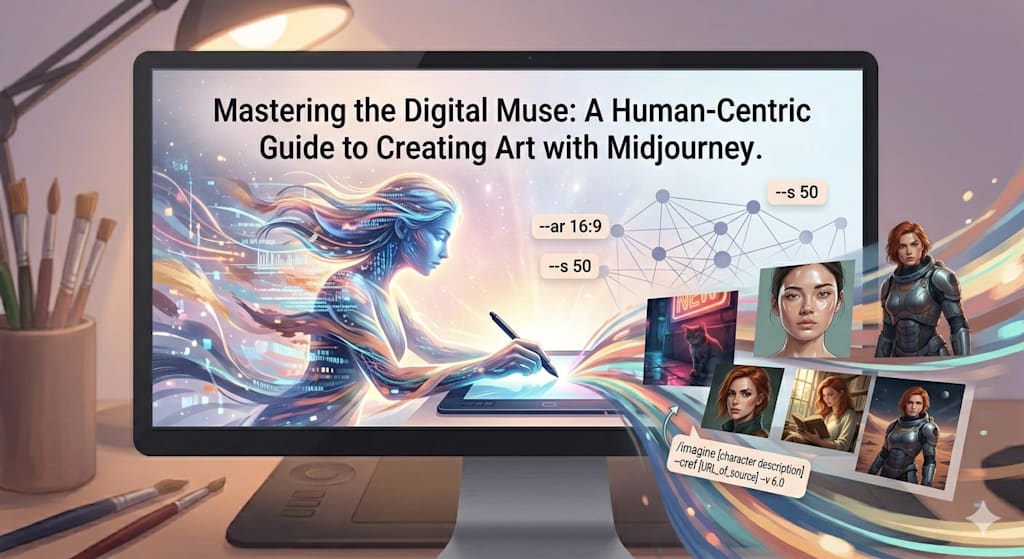
Mastering the Digital Muse: A Human-Centric Guide to Creating Art with Midjourney
Have you ever stared at a blinking cursor, trying to describe a dream that feels just out of reach? We’ve all been there. When I first started using Midjourney, I treated it like a vending machine—I’d throw in a few keywords and hope for a miracle. More often than not, I got back something that looked like a plastic, "uncanny valley" nightmare. But after months of trial and error, I realized that AI isn’t a vending machine; it’s a highly talented but literal-minded apprentice.
To get professional results, you don’t need to be a coder. You need to be a director.
1. The Art of the "Human" Prompt
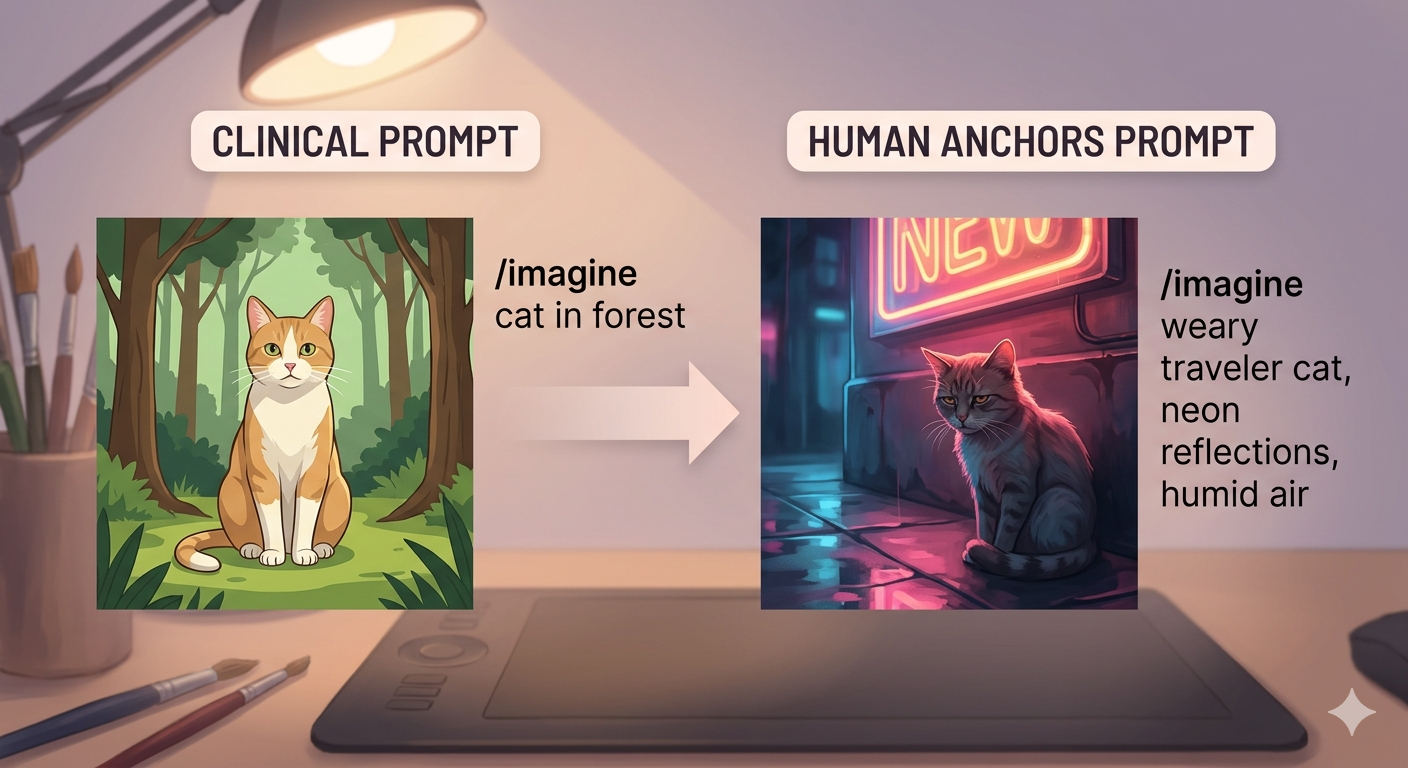
The biggest mistake beginners make is being too clinical. If you ask for "a cat in a forest," the AI gives you a generic stock photo. To bypass that "AI look," you need to inject sensory details that only a human would notice.
Instead of generic nouns, use emotional anchors. Try describing the atmosphere: "A weary traveler resting under a neon sign, the humid air reflecting a spectrum of pink and blue on the wet pavement." Notice how we described the feeling of the air? That’s what tells the AI to create depth rather than just a flat image.
2. Breaking the "Plastic" Barrier
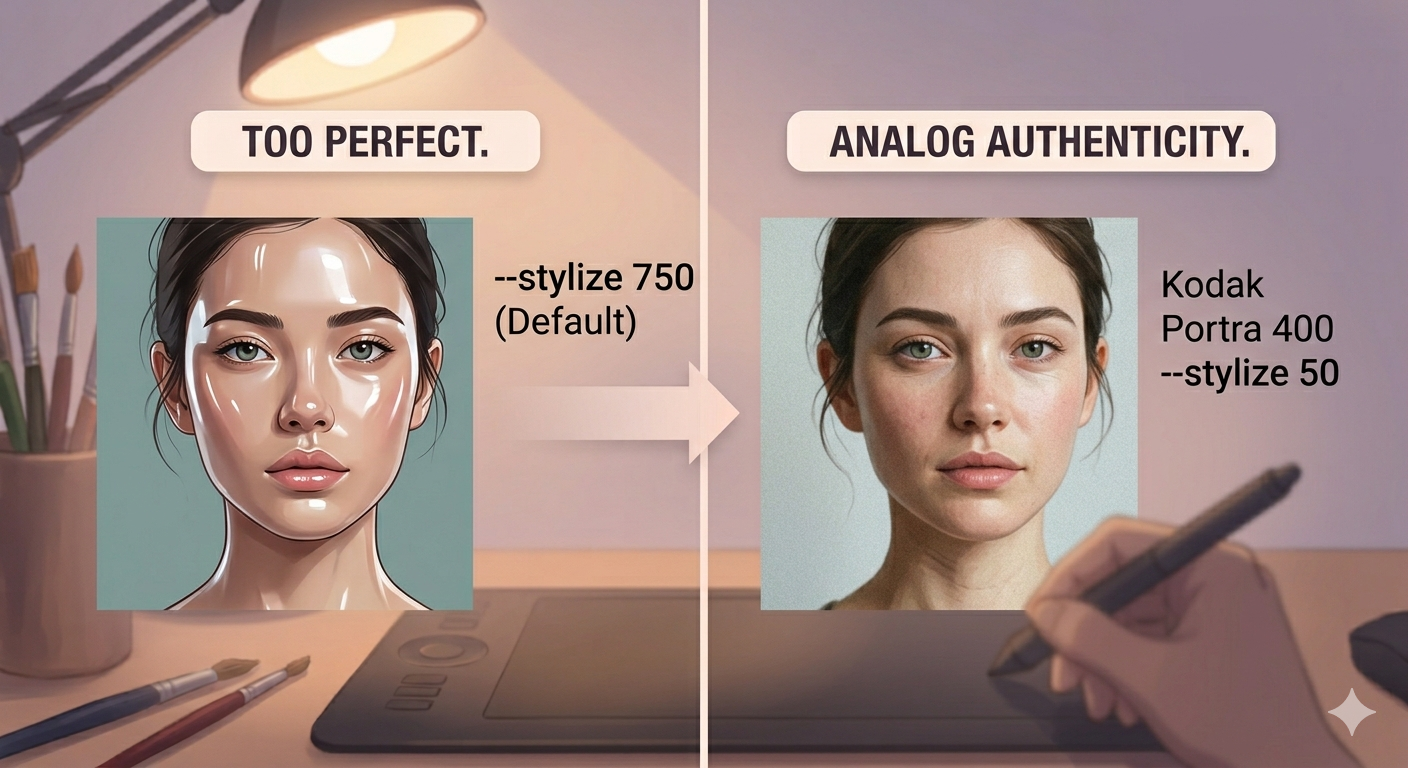
One reason AI art gets flagged as "fake" is that it’s often too perfect. Real life is messy. To achieve a cinematic, authentic look, I always add specific "analog" keywords to my workflow:
Kodak Portra 400 or Fuji Pro 400H: These tell the AI to mimic real film grain and skin tones.
Candid street photography: This forces the AI to move away from stiff, centered compositions.
Intentional imperfections: Words like "slight motion blur" or "natural skin texture" prevent the skin from looking like smoothed-over plastic.
Pro Tip: Use the --stylize parameter wisely. While --s 750 makes things look "pretty," dropping it to --s 50 often results in a more grounded, realistic photograph that looks like it was shot on a DSLR rather than generated by a GPU.
3. Consistency is the Holy Grail
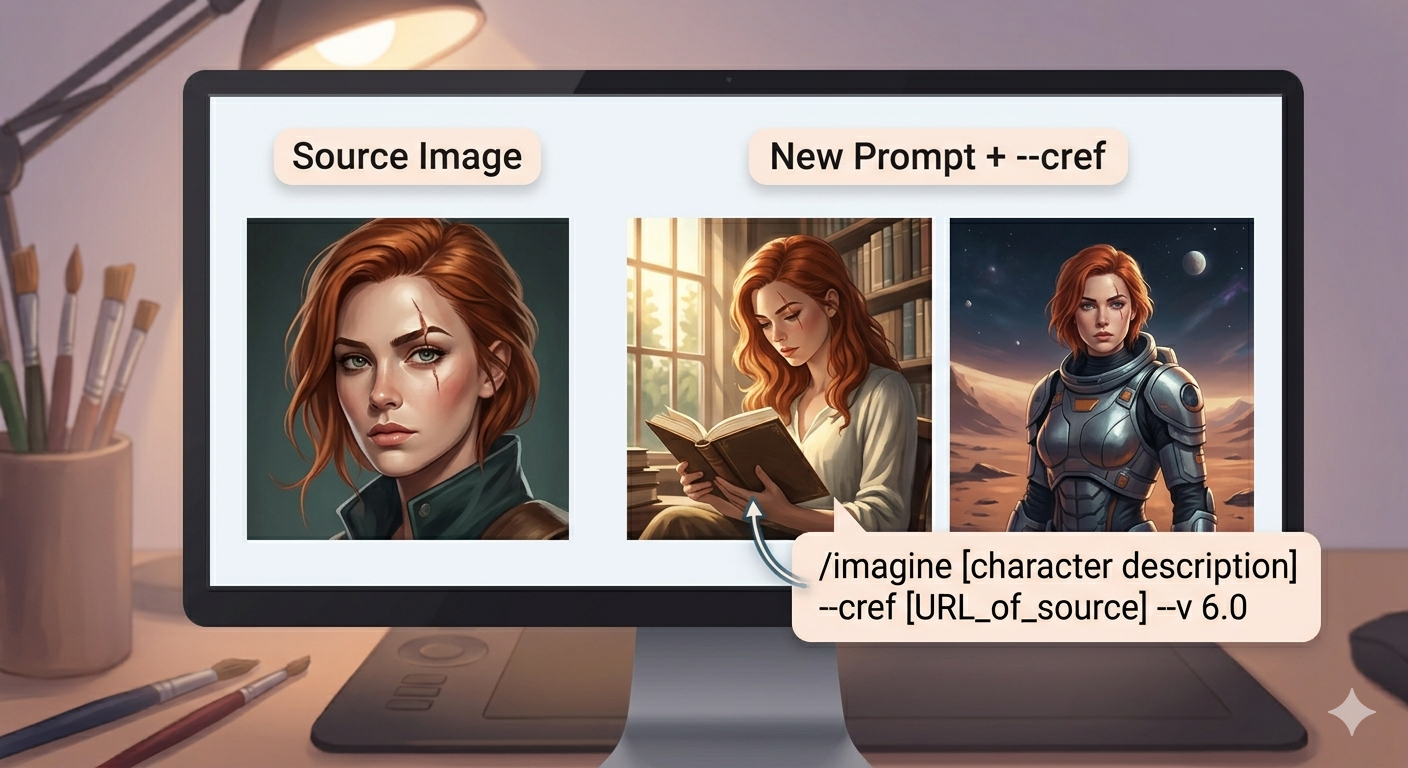
The most frustrating part of AI art used to be consistency. You’d create a character you loved, but you could never find them again. This is where the --cref (Character Reference) tool changed everything for me.
By using a URL of your previous creation after the --cref tag, you can maintain the same face across different scenes. This turns AI from a toy into a storytelling tool. You’re no longer just "generating images"; you’re building a universe with a consistent cast.
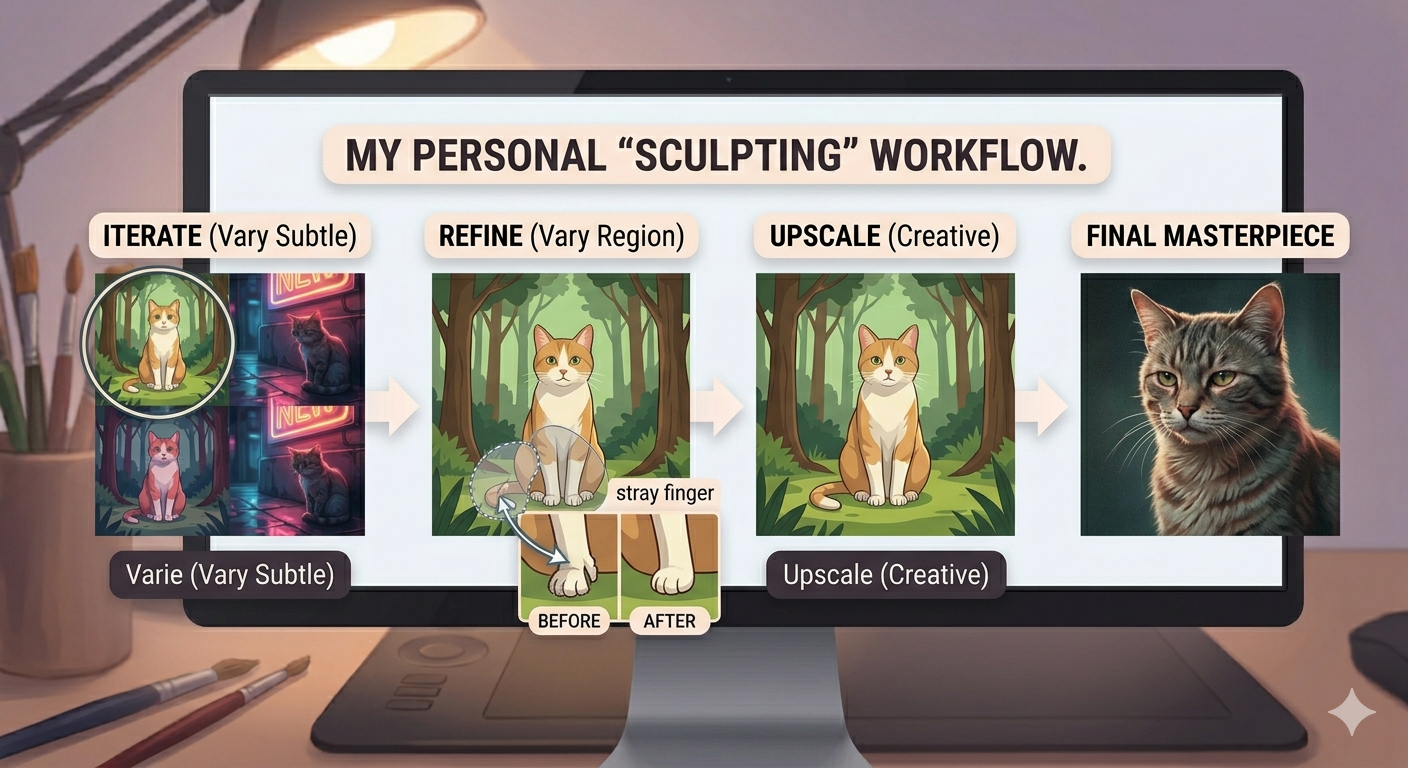
4. My Personal Workflow: The "Sculpting" Method
I never settle for the first four images. I treat the initial grid as a "sketch."
Iterate: I pick the one with the best composition and hit Vary (Subtle).
Refine: I use the "Vary Region" (In-painting) tool to fix small errors, like a stray finger or a weird background element.
Upscale: Only when the soul of the image is right do I use the "Creative Upscaler" to add that final layer of crisp detail.
Final Thoughts: The Soul in the Machine
At the end of the day, AI software is just a brush. A brush doesn’t know how to paint a masterpiece on its own; it needs the steady hand and the vision of the artist. Don't be afraid to experiment, and more importantly, don't be afraid to fail. Some of my best work came from "mistakes" where the AI misinterpreted my words and showed me a perspective I hadn't considered.
AI might generate the pixels, but you provide the soul.
About the Creator
Enjoyed the story? Support the Creator.
Subscribe for free to receive all their stories in your feed.
Comments
There are no comments for this story
Be the first to respond and start the conversation.