
How should I measure for a custom hair system if my head shape is irregular? A Beginner's Guide to Tape Templates
Measuring Irregular Head Shapes for Hair Systems: 2026 Guide

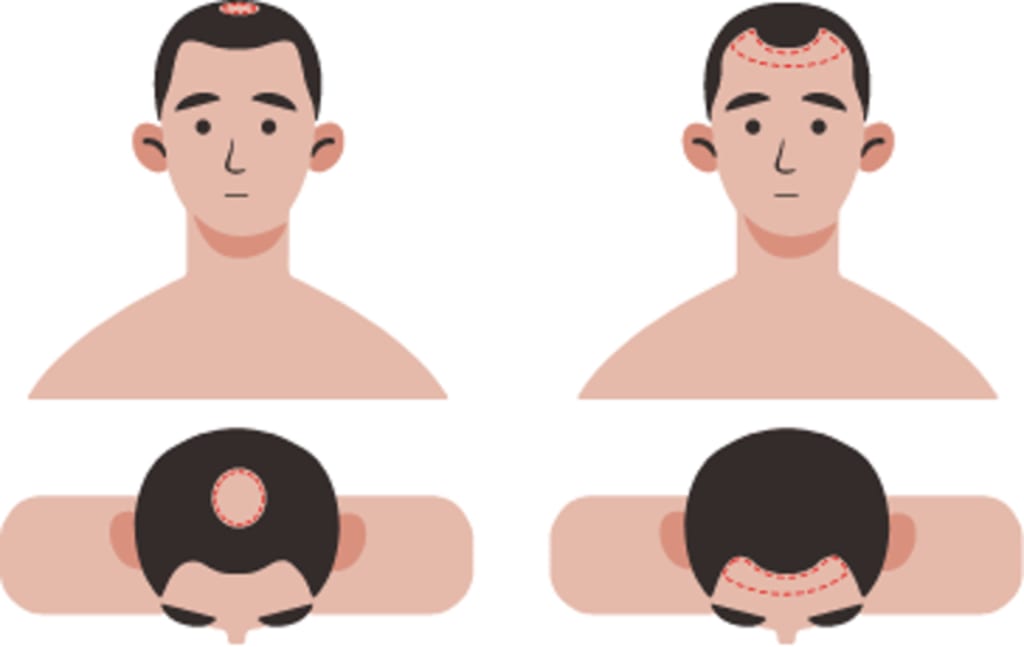
How should I measure for a custom hair system if my head shape is irregular? A Beginner's Guide to Tape Templates
A Hair System Template helps a custom hair system match an uneven scalp instead of forcing a standard shape. If you're worried about gaps or lifting, that's completely fair.
Here's how to build a firm tape mold that tracks your exact contours. Lordhair can then use those details to give you a much more secure and predictable fit.
Key Takeaways: Measuring Irregular Scalp Contours
A rigid tape template accurately captures scalp contours that standard measurements miss.
Accurate crown markings preserve your natural hair direction in the finished system.
Rigid packaging preserves your mold shape during shipping for a predictable custom fit.
Why 2D Tape Measurements Fail for Irregular Scalp Shapes
A measuring tape can give you Front to Back, Temple to Temple, and Circumference numbers, but those figures don't show the full shape of your scalp. If you have a ridge, dip, bump, or one side that sits higher, you're not just overthinking it.
A custom hair system needs to follow your scalp in three dimensions. Linear measurements help define size, but they can't show exactly where the base needs to curve, flatten, or sit deeper for a tight fit.
Front to Back and Temple to Temple Miss Local Contours
Front to Back and Temple to Temple measurements only record the distance between two points. They don't capture how much your scalp actually rises or drops in between.
Two guys can have the exact same measurements but need completely different base shapes. One scalp might curve evenly, while another has a flatter crown or a raised area near the temple. A base built just on distance alone might bridge right over that spot, leaving an awkward gap underneath.
Circumference Cannot Map Base Depth
Circumference just measures the path around your head. It doesn't tell you the depth of the bald area or the actual contour beneath the hair system. It can't show if the attachment surface changes shape from one edge to the next.
Lordhair uses your custom template details to account for these physical quirks instead of treating your scalp like a flat outline. Once your actual head shape is captured, the materials used for a physical mold make a lot more sense.
The 3D Tape Template Method: A Step-by-Step Guide
A 3D Hair System Template records the curves a simple measuring tape just can't show. We're talking about raised areas, shallow dips, and uneven sides. Worrying about this isn't an overreaction when you want your first custom hair system to sit securely.
The Tape Template Method creates a rigid copy of your hair-loss area. It gives Lordhair a real physical reference so they can shape the base perfectly around your own scalp.
Wrapping and Layering for Shell-Like Rigidity
Start with clean, dry hair and your scalp washed. Place some plastic wrap smoothly right over the top of your head, covering the entire area where the hair system will sit. Keep it snug enough to follow your scalp. But don't pull it so tightly that it shifts or flattens your natural contours. Simple.
Next, cover the plastic wrap with transparent tape. Lay each strip across the scalp and overlap the previous one. Make sure to change direction as you work. Run strips from front to back, then go across from temple to temple. This cross-layering is important. It helps the Tape Template Method form a firm shell instead of a flimsy sheet.
Press the tape gently into any dips, around raised spots, and right along uneven areas. The finished Hair System Template should completely hold its shape after you take it off without folding inward. Lordhair can use that rigid contour to actually understand how the base needs to curve on your scalp.
Once the shell is firm, mark the exact spot where your remaining hair ends and the new system begins. That's it.
Marking the Front Hairline and Base Boundaries
Mark the front hairline right where you want the hair system to start, not where you think a hairline "should" sit. A lower line might look a bit too thick for your age or remaining bio hair. A slightly higher line usually creates a much more natural result. Use a permanent marker so the ink actually stays visible on the clear tape.
Draw the front hairline in a soft, slightly uneven shape instead of a perfectly straight line. Real hairlines naturally have small changes in depth from one side to the other. Just keep the line consistent with the position you'd feel comfortable looking at every morning.
Trace your full Hair Loss Area around the sides and back. Follow the point where your existing hair gets too thin to blend with a system. This outline tells Lordhair the exact Base Size and where the edge needs to sit. Check the perimeter in a mirror before peeling off the template, especially around uneven temples or a sloped crown.
Indicating Hair Direction and Crown Origin
Mark the crown right on the top of the template. This is the spot where your hair naturally turns and spreads outward. If your crown sits off-center, place the mark exactly there. Nudging it to the middle can make the finished style look obvious, even if the base fits perfectly.
Draw arrows from the crown toward the front, sides, and back to map out your natural Growth Pattern. Keep the arrows simple and clear. They tell Lordhair exactly how the hair needs to be directed when they make your system.
Jot down any preferred Hair Density notes right beside areas that need a lighter or fuller look, like a softer front or more coverage near the crown. A completed template doesn't promise total perfection. But it replaces random guesswork with a clear map of your scalp and styling pattern.
Raised areas, dips, and other unique features might still need specific notes so the final base follows them closely.
How to Adjust Your Template for Specific Scalp Irregularities
A template might look perfect from above, but it can still lift if it misses a bump or a shallow dip. You're right to care about this, especially since you want a custom hair system to feel totally secure every single day.
Your scalp's curve dictates exactly how the base sits on your head. A detailed template gives Lordhair a clear map of those contours. This way, the final shape naturally hugs your scalp instead of fighting against it.
Dips, Flat Spots, and Prominent Parietal Ridges
The parietal ridge is just the raised area along the upper sides of your head. If you run tape straight across it, the template might bridge over the bump instead of laying flat against it. Later on, that gap turns into an air pocket under the hair system. The result? An edge that's way too easy to feel or see.
Gently press the taped shell right into the curves on both sides of the ridge. Don't stretch the tape super tight from the top of your head down to your temples. Instead, add short, overlapping strips of tape around the raised part. This makes sure the shell grabs the real curve instead of flattening it out.
Flat spots near the back need just as much attention. Follow the shape down to the nape of your neck, especially if the back of your head doesn't round out perfectly. Even a small flat spot can cause a normal-looking base edge to lift the second you turn your head.
Grab a marker and circle any deep dips, ridges, or tricky spots. Write quick notes like "raised left side" or "flat back" right on the tape. These little clues help Lordhair look at your mold as a real 3D shape, not just a flat outline.
Asymmetrical Balding Patterns and Sloping Foreheads
Your front hairline doesn't have to be perfectly even to look good. In fact, trying to force matching temple corners usually makes the base look fake. This is especially true if one side has more hair loss or your forehead slopes lower on the left or right.
Draw the front hairline where it naturally fits your face and your remaining bio hair, and then trace each temple one by one. Check the line in the mirror from straight on, not just looking down from above. Going with a slightly deeper recession on one side might actually be the smartest move if it blends better with the hair you still have.
Keep the base outline inside the zone where your remaining hair can easily blend with the system. If you have stronger hair on one side, that edge might sit farther back than the other. That isn't a mistake. It's just a custom fit that keeps you from putting a visible edge right over your thicker hair.
Jot down notes for hair density if the front or temples need a softer look. For instance, ask for a lighter front on the side that's more recessed instead of getting the exact same thickness everywhere. Once your template is clearly contoured and marked up, it's ready to be labeled and used as a physical mold to build your final piece.
Preparing, Labeling, and Shipping Your Mold to Lordhair
Once you've shaped and marked the tape template, you need to protect those details before it leaves your hands. A Custom Hair System, toupee, or hairpiece only follows the actual physical mold and notes Lordhair gets. So, clear labeling matters just as much as the Base Size itself.
Keep the template clean, flat, and easy to read. The goal isn't a pretty package. It's making sure the mold arrives in the exact same shape you just approved.
Start by gently removing any loose hair or dirt without rubbing off your markings. Make sure the front, back, left side, and right side are clearly marked. Then, double-check that your notes about dips, ridges, or uneven spots are actually readable.
Send along the ID info Lordhair asks for with the mold, but don't write it directly over your contour notes. Instead, just use a separate piece of paper to write down the Base Size and any instructions they absolutely can't miss.
Lay the template flat inside a clean bag, then back it up with some stiff cardboard so it won't fold or get crushed in the mail. Grab a rigid mailer that holds the cardboard securely. And remember to check Lordhair's current shipping instructions right before you seal it up.
Realistic Fit Expectations for Custom Hair Systems
When you get a Custom Hair System built from your mold, it should match your actual head shape way better than a standard base. If your scalp is a bit irregular, this means the base can actually handle the dips, raised spots, and uneven curves shown on your mold.
But keep in mind, "custom" doesn't automatically mean every edge feels flawless right out of the box. Things like where you apply your adhesive, the haircut you get, and your everyday wear will all change how the system settles.
What a Good Custom Fit Should Feel Like
The base needs to sit flat against your skin. You shouldn't have to deal with weird lifting, bunching, or tight pressure on raised areas. Plus, it needs to line up nicely with the front hairline and coverage zones you originally approved. That's the goal.
Lordhair builds your unit using your physical mold and written notes instead of just guessing with a generic head shape. Those clear markings give the team a solid idea of exactly where the base belongs. So, you end up with a much more predictable fit, day in and day out.
Frequently Asked Questions About Measuring Irregular Head Shapes
Can I use an old hair system as a template for a new one?
No. It may be stretched or distorted. Use it only as a rough size reference; make a rigid tape template for your actual scalp contours.
What materials are required to create a hair system mould?
Plastic wrap, clear packing tape, a permanent marker, and scissors. Build enough tape layers for a shell that holds its shape.
How do you measure the circumference of your head for a hair system?
Run a flexible tape around the intended system perimeter. Useful for size, not fit: circumference cannot capture dips, bumps, or uneven sides.
About the Creator
Leo
Passionate men's hairstylist with a keen eye for detail and a knack for creating on-trend looks. Dedicated to delivering hair restoration education that enhances individual style.
Enjoyed the story? Support the Creator.
Subscribe for free to receive all their stories in your feed.
Comments
There are no comments for this story
Be the first to respond and start the conversation.