
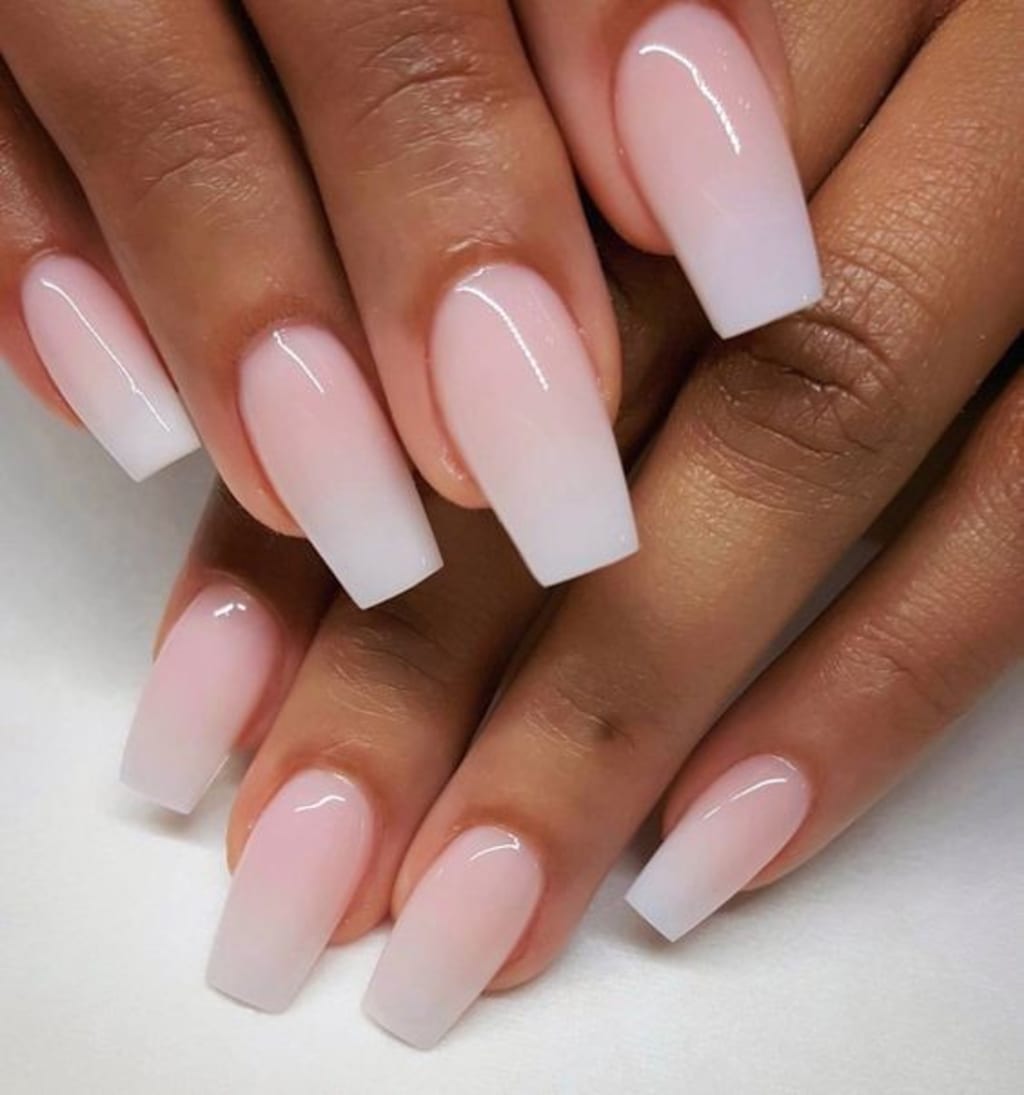
Whether you don’t have time to head into the salon or you’re simply looking for ways to cut back on your beauty spending, learning how to do your own acrylic nails at home is a skill worth pursuing. Fortunately, it’s one that’s not too terribly difficult to pick up. Plus, you might even find that spreading acrylic from cuticle to tip is one of the most soothing ASMR experiences yet.
Just keep in mind that acrylic nails—both those done in a salon or created at home—come with their pros and cons. On one hand, they’re sturdy and long-lasting, creating the unique opportunity to score stellar nail length if your natural nails are hard to grow out. On the other hand, they can be damaging to your nails if you don’t look for the right formulas, remove them improperly, or fail to give your nails a break from acrylics every now and then.
Since doing your acrylic nails is most definitely a process, we’re here to walk you through it. Ahead you’ll find step-by-step instructions for doing your own acrylic nails at home. Most importantly, don’t rush. Taking your time with this technique is the difference between an unsightly nail mishap and a salon-quality mani. Ahead, find a step-by-step guide for how to do acrylic nails at home.
If you’ve never done your own acrylic nails before, your best bet is to start with an all-inclusive kit (like the Mia Secret Professional Acrylic Nail Kit, $118), as it will contain everything you need to get the job done—including detailed instructions. The big thing to remember when shopping for acrylic kits is that you don’t want tips made with MMA (methyl methacrylate), as it’s tough, inflexible, and may cause an adverse reaction, which can mean bad news for your nail beds.1 Instead, look for EMA (ethyl methacrylate), which is considered to be a safer alternative.
Once you become more attuned to the process, however, you may find that buying supplies individually suits you better, as it makes it easier to find acrylic tips that perfectly complement your natural nail shape. Plus, if you stock up on full-size products (as opposed to the minis that usually come in kits), you’ll be fully prepared to touch up your acrylics at the two-week mark instead of having to head to the store to do so.
Thoroughly Prep Your Nails
Remove Any Old Polish: Just as you would with any manicure, you must start by prepping your nails. First, remove any old nail polish. If you have gels, take the time to really soak them off so as to not cause unnecessary damage to your nail before applying acrylics (learn more on removing gel nail polish at home).
Push Your Cuticles Back (But Don't Cut Them): Next, gently push your cuticles back. (It's advised not to soak them before doing so, because once the nails dry, they will contract, which will cause the acrylic to pop off.) Once your nail polish is fully removed and your cuticles are pushed back, trim your nails to just beyond the smile line (aka the end of your nail). You want your nails to be short since your acrylic tips will be attached to them and if you try to attach to long nails, your natural nail could snap off, causing your acrylic to as well.
Buff Your Nails: After clipping, file your nails so that they’re even and don’t have any snags. From there, buff each nail so that your acrylic tips will have something to grip on to.
Size & Apply Your Acrylic Nails Using Acrylic Nail Glue
Depending on the kit you get, you’ll have a variety of different acrylic tip sizes, widths, and lengths to choose from—just as you would with press-on nails. Because of this, you need to go through the sizes to find the ones that best fit your tips. If there are no perfect fits, use your nail file to gently file them to the correct width.
According to nail expert Evelyn Lim, tips used for acrylic application have an indent on the inside of the tip—which is approximately 2-3 mm at most— and the free edge of your natural nail should fit right underneath. "It is best to trim the natural nail short prior to application," she advises. Once you’ve selected your acrylic tips, apply them one at a time with a dot of acrylic nail glue. You want the bottom edge of the acrylic tip to be centered about one-third of the way down your nail so that it will remain sturdy as your nails begin to grow out. Apply pressure to the nail for five to 10 seconds to ensure that it’s secure and move on to the next tip until all 10 are complete.
Shape Your Newly-Adhered Acrylic Tips
After securing all of your acrylic tips in place, use nail clippers and a file to shape them accordingly. (Check out our nail shape guide if you need inspo.) If you find that there’s a noticeable line where the tip is applied, you can buff it down to create a more even surface.
Apply a Dehydrating Nail Primer
Now that your tips are applied and shaped to your liking, make sure you have all of your acrylic kit materials in front of you. Whether you’re using a kit or individual supplies, you’ll need to pour your liquid acrylic into the acrylic dish. Just keep in mind that acrylic has pretty strong fumes, so be sure to open a window while you’re performing this DIY process.
Once your materials are organized, it’s time to bring your acrylic manicure to life. Start by dehydrating your natural nails (to get rid of any moisture that could prevent the acrylic mixture from sticking) and priming your full nails, painting from just beyond the cuticle all the way to the tip of your acrylics (the Modelones Nail Prep Dehydrator & Nail Primer, $13, set will make it easy). This will help your acrylic mixture better adhere to your nails and tips.
Coat Your Nails With the Acrylic Mixture
Dip your acrylic brush into your bowl of monomer, tap some on the side so as to not over-saturate your brush, and dip into your clear powder. This process will create the perfect bead of acrylic—as opposed to a drippy or dry one—which you can then apply to the nail. Start just above your cuticle, and extend the mixture all the way to the end of your acrylic tip. When applying, be sure to smooth out to the edges of your nails and wipe your brush off on a paper towel between each stroke so as to avoid clumps.
Some manicurists recommend splitting the nail up into three sections, using a small bead of acrylic for the free edge, one for the apex of the nail (aka where the tip meets the natural nail), and one for the cuticle to the natural nail.
Repeat this process on each nail to create a smooth base. Follow up with the same process using the acrylic powder color of your choice. If you want the look of a shiny topcoat, finish with a thin encapsulation layer of acrylic mixture. Keyword: Thin. You don’t want to add loads of bulk to your nail.
Let Your Acrylic Dry
Keep in mind that acrylic is temperature-sensitive. The warmer your room is, the faster your acrylic will set. That said, as you begin learning how to DIY your nails, it’s best to opt for a cooler space so you can perfect the acrylic before it dries. It should take around 10 minutes. The best way to tell if your acrylics are dry is to gently tap them. If they create a clicking sound, you’re good to go.
Finish Off With Some Final Shaping
Now that your acrylic is applied and dried, it’s time to touch up the edges. Since you already cut your preferred shape, simply file along the edges and tip for a picture-perfect DIY acrylic nail look. Remember, under no circumstances whatsoever should you pull your acrylic nails off. Instead, use an e-file to remove the top layer of shine and topcoat. Next, wrap an acetone-soaked cotton pad over and around each nail and wrap it with foil. Let them soak for 10 to 15 minutes, remove the foil and cotton, and use a cuticle pusher to gently remove the loosened acrylic.
About the Creator
A Reign of Grace: The Story of Queen Elizabeth II
In the annals of history, few figures command the same reverence and respect as Queen Elizabeth II. Her reign, spanning over seven decades, is a testament to duty, resilience, and unwavering dedication to the service of her nation. From her ascension to the throne amidst the tumult of post-war Britain to her enduring legacy as the longest-reigning monarch in British history, Queen Elizabeth's life is a tapestry woven with the threads of tradition, change, and grace.
By WILLIAM DIAGO RODRIGUESabout 7 hours ago in Blush
Diabolical Dealing
Charlene Lind found herself at the home of her therapist, Dr. Alexandra Vech, who she had been seeing for a week. What was supposed to be a session ended up becoming a desperate plea of help from Charlene as she was suddenly losing consciousness. She was cognizant enough to know that she had only a minute left until she would be out like a light.
By Clyde E. Dawkins8 days ago in Fiction


Comments
Annee is not accepting comments at the moment
Want to show your support? Send them a one-off tip.