
The Only Acrylic Pouring Recipe You Need
Perfect Flow, No Silicone, Beginner-Friendly

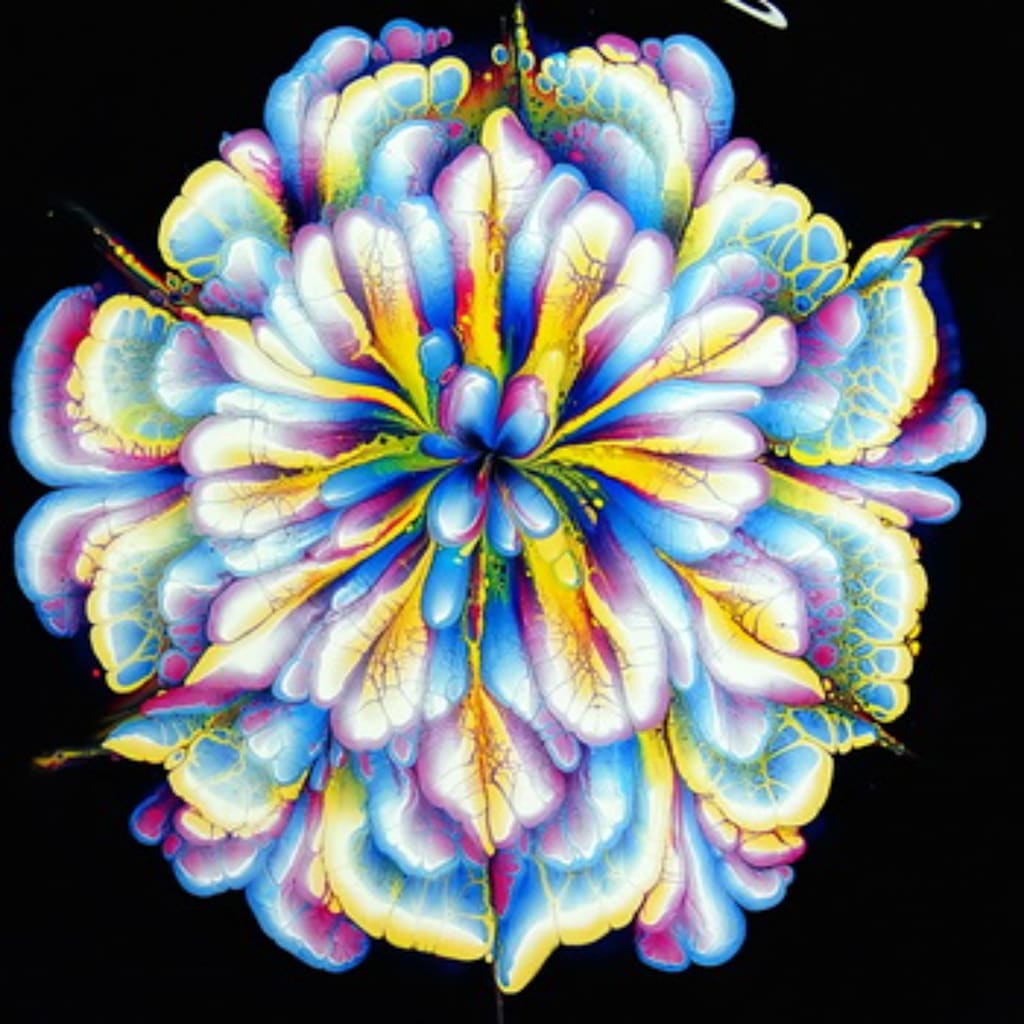
The Only Acrylic Pouring Recipe You Need
If you’ve ever tried fluid art and ended up with muddy colors, cracks, or paint that just won’t move the way you want, you are definitely not alone. One of the biggest frustrations for beginners is mastering the fluid consistency and knowing the right pouring medium ratio. Too thick, and nothing flows across the canvas. Too thin, and your beautiful colors turn into a muddy mess.
After years of experimenting and navigating many failed pours, I discovered a simple, reliable method that works every time. Today, I am sharing my exact recipe—the fluid base I use for almost all my artwork. It requires no silicone or complicated additives, just a smooth, controlled, and beautiful flow.
My Go-To Fluid Art Recipe
This reliable base serves as the foundation for nearly every piece I create. To get started, you will need acrylic paint (I often use Pebeo, Liquitex, or Arteza), a quality pouring medium, and a small amount of water. When it comes to choosing a pouring medium, you don’t need to buy the most expensive option. For beginners, Elmer's Glue-All mixed with a little water works surprisingly well as a budget-friendly alternative. If you are looking for professional grade results, I highly recommend Floetrol or Liquitex Pouring Medium. They keep the pigments separated and prevent the colors from losing their vibrance once dried.
The Ideal Ratio:
1 part acrylic paint
2 parts pouring medium
A few drops of water (only if needed)
Your main goal is to achieve a consistency similar to warm honey or liquid cream. If the mixture is too thick, the paint simply won't move. If it is too thin, the colors will lose their structure and bleed into each other. Getting this balance right is the true foundation of successful fluid art.
How to Get the Perfect Paint Consistency
In this art form, consistency is everything. You can easily test your mixture with a simple stick test: lift your mixing tool and let the paint flow back into the cup. It should create a smooth, continuous stream rather than blobs or separated drops. If the mound of paint disappears into the surface within one to two seconds, you have reached the perfect balance. If it disappears too fast, it is too thin; if it stays raised for too long, it is too thick. This small adjustment can completely transform your final results.
Why I Choose to Avoid Silicone
While many artists use silicone oil to artificially create cells, I personally prefer to leave it out of my process. Avoiding silicone results in cleaner, more vibrant colors and leaves no oily residue on the canvas surface, making the varnishing process much easier later on. Most importantly, it gives me more control over the final composition. Instead of relying on chemical reactions, I prefer to let natural movement and flow create the beauty.
Step-by-Step Guide to Your First Pour
Prepare your workspace: Place your canvas on a perfectly level surface and protect the surrounding area from spills.
Mix your colors: Mix each shade separately, ensuring that all individual cups have achieved the exact same thickness.
Choose a technique: For your first attempts, simple is always better. You can start with a dirty pour, a flip cup, or a simple free pour.
Let gravity work: Tilt the canvas slowly and let the paint move naturally. Do not rush this step, as the slow flow is what builds the final composition. If you choose the flip cup technique, you will layer your mixed paints into one single cup, place the canvas face down on top of it, and flip them over together. For a dirty pour, you simply pour the layered paints directly onto the canvas in a moving motion. Both techniques are incredibly fun and yield completely unique patterns every single time.
Troubleshooting Common Mistakes
If your paint doesn't move, it is too thick. If it mixes into mud, it is too thin. When you notice cracks appearing during the drying phase, it usually means you added too much water. The solution is always the same: adjust your mixing ratios, not your actual tilting technique.
Even with a reliable recipe, small mistakes can impact your art. Pushing too much water into the mix weakens the paint film, leading to cracks. Furthermore, if your colors have different consistencies, they won't interact properly on the canvas. Overworking the paint by tilting too much will also result in muddy compositions. The best advice here is to do less and let the paint settle naturally.
What Happens While the Artwork Dries
Many beginners assume the creative process ends as soon as the paint covers the canvas, but the drying phase is just as critical. While drying, the colors will continue to shift slightly, patterns might expand or soften, and the edges can alter. Always leave your artwork in a level, dust-free space for at least 24 hours. Having patience during this final step makes a massive difference in the final look. Once your painting is completely dry after a few days, I highly recommend applying a coat of glossy varnish. Since we avoided silicone in our recipe, the varnish will adhere beautifully without any dimples or separation. A good gloss varnish will protect your fluid art from UV rays and bring back that gorgeous, wet look the paint had when you first poured it.
Why Simplicity Works Best
It is tempting to try five or six colors and advanced techniques right away. However, the best results often come from simplicity: fewer colors, consistent mixtures, and gentle movement. When you reduce complexity, you gain more control, and your art naturally becomes more elegant.
Fluid art doesn’t have to be complicated. Once you learn how your medium should flow, everything becomes easier and much more enjoyable. Just mix, pour, and let the paint do the work.
About the Creator
Fiona Art
Contemporary fluid artist from Slovenia. I explore pouring techniques to embrace natural, unpredictable beauty and unleash imagination through color. Specializing in fluid art and the beauty of natural flow.
Enjoyed the story? Support the Creator.
Subscribe for free to receive all their stories in your feed.
Comments
There are no comments for this story
Be the first to respond and start the conversation.