
How to Move Photos from Mac to iPhone?
Move Photos from Mac to iPhone

The reality of our device-rich world is that we will, at times, have a smartphone or tab that does not have the same operating system as the computer or laptop. To make things worse, you may have pictures on your Mac that you want to move to your iPhone. Read on and check out the best ways to transfer photos from your Mac device to iPhone.
Using iCloud Photo Library
Follow the stepwise instructions given below:
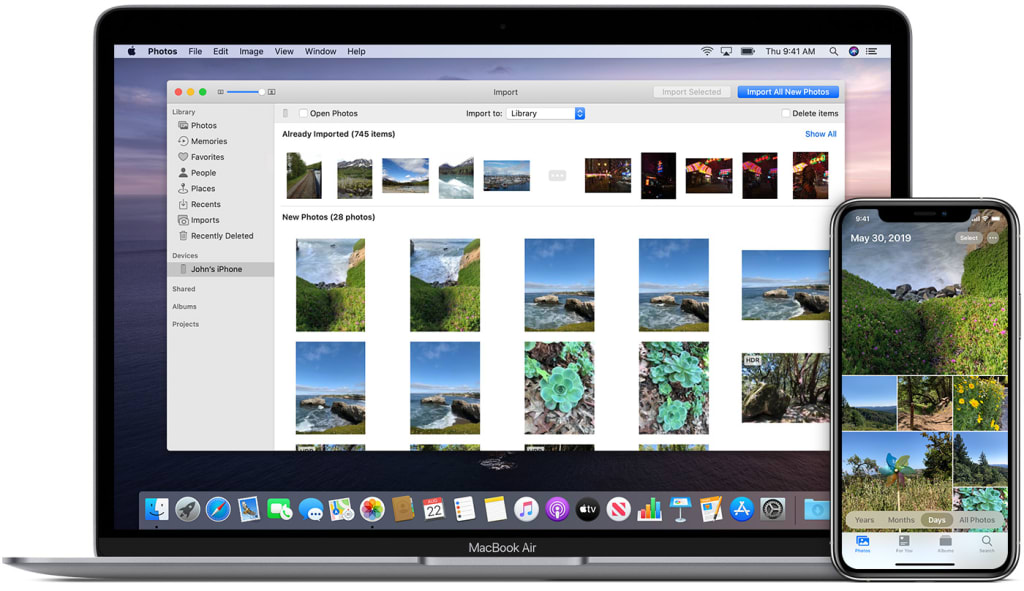
Launch the application of Photos on your Mac.
Then choose the Photos option in the upper left and pick the Preferences option.
You should choose the iCloud section.
Don’t forget to mark the box of iCloud Photos.
Uploading the Photos from iCloud.com
Follow the stepwise instructions given below:
You have to ensure that you have enabled iCloud Photos on the iOS devices.
Then go to ‘iCloud.com’ and log in using your Apple ID.
You should choose the button for Photos.
Once everything gets loaded, select the button of Upload.
After that, click on the images option.
Choose your preferred hard drive.
Using AirDrop to Move Images from MacBook to iPhone
You can use AirDrop to move images from your MacBook to iPhone by following these steps provided below:
Invoke the Finder on the Mac.
Then launch a fresh Finder tab or screen so that you can see two Finder locations simultaneously.
You should find and choose the videos and photos you would like to move to the iPad or iPhone.
Once you reach the Finder tab or screen, select the ‘AirDrop’ option.
Go to the iPad or iPhone, ensure that it’s awake and unlocked.
Don’t forget to enable the ‘AirDrop receiving’ option on iPad or iPhone and tweak it to Everyone.
Click on Accept, if prompted.
Use Finder or iTunes
Here are the steps you can follow:
Connect the iPad or iPhone to the Mac.
Open the Finder, in case it does not launch automatically.
You should choose your iPhone or iPad.
Choose the Photos section.
Thereafter, mark the Sync Photos box.
You have to choose the source of the pictures that you would like to sync.
Select either of the following options: Sync Selected Folders or Sync All Folders.
Pick the Folder you would like to sync from the ‘chosen source.’
Later, tick the ‘Include videos’ box, in case you want.
Now, tap on the Sync button.
The reality of our device-rich world is that we will, at times, have a smartphone or tab that does not have the same operating system as the computer or laptop. To make things worse, you may have pictures on your Mac that you want to move to your iPhone. Read on and check out the best ways to transfer photos from your Mac device to iPhone.
Using iCloud Photo Library
Follow the stepwise instructions given below:
Launch the application of Photos on your Mac.
Then choose the Photos option in the upper left and pick the Preferences option.
You should choose the iCloud section.
Don’t forget to mark the box of iCloud Photos.
Uploading the Photos from iCloud.com
Follow the stepwise instructions given below:
You have to ensure that you have enabled iCloud Photos on the iOS devices.
Then go to ‘iCloud.com’ and log in using your Apple ID.
You should choose the button for Photos.
Once everything gets loaded, select the button of Upload.
After that, click on the images option.
Choose your preferred hard drive.
Using AirDrop to Move Images from MacBook to iPhone
You can use AirDrop to move images from your MacBook to iPhone by following these steps provided below:
Invoke the Finder on the Mac.
Then launch a fresh Finder tab or screen so that you can see two Finder locations simultaneously.
You should find and choose the videos and photos you would like to move to the iPad or iPhone.
Once you reach the Finder tab or screen, select the ‘AirDrop’ option.
Go to the iPad or iPhone, ensure that it’s awake and unlocked.
Don’t forget to enable the ‘AirDrop receiving’ option on iPad or iPhone and tweak it to Everyone.
Click on Accept, if prompted.
Use Finder or iTunes
Here are the steps you can follow:
Connect the iPad or iPhone to the Mac.
Open the Finder, in case it does not launch automatically.
You should choose your iPhone or iPad.
Choose the Photos section.
Thereafter, mark the Sync Photos box.
You have to choose the source of the pictures that you would like to sync.
Select either of the following options: Sync Selected Folders or Sync All Folders.
Pick the Folder you would like to sync from the ‘chosen source.’
Later, tick the ‘Include videos’ box, in case you want.
Now, tap on the Sync button.
About the Creator
Jack thomson
Greetings, I’m Jack. I’m a writer living in usa. I am a fan of technology, innovation, and writing. I’m also interested in web development and gaming.
shootk.com , candlek.com , howdus.com , mereread.com , mereblogger.com .
Keep reading
More stories from Jack thomson and writers in 01 and other communities.
Some Best Drone Apps for Android
You can fly your drone through the native app provided by your drone manufacturer, but there are a few other apps also out there that you can use to control your drone and for various other purposes. Here are some best drone apps available for Android.
By Jack thomson4 years ago in 01
Pop Goes the Fashion: The Dramatic Influence of Pop Culture on Style
The Perfect Blend of Drama and Humor Picture this: you're scrolling through Instagram and come across a photo of your favorite celebrity wearing a bold, quirky outfit that screams individuality. Suddenly, you find yourself itching to replicate that look, to capture that same essence of coolness. This, my friends, is the magic of pop culture's influence on fashion.
By Aymeric Delaplacea day ago in 01


Comments
There are no comments for this story
Be the first to respond and start the conversation.