
How to setup tp-link wifi extender
TP-Link Range Extender Not Working? Here’s How to Set It Up Correctly
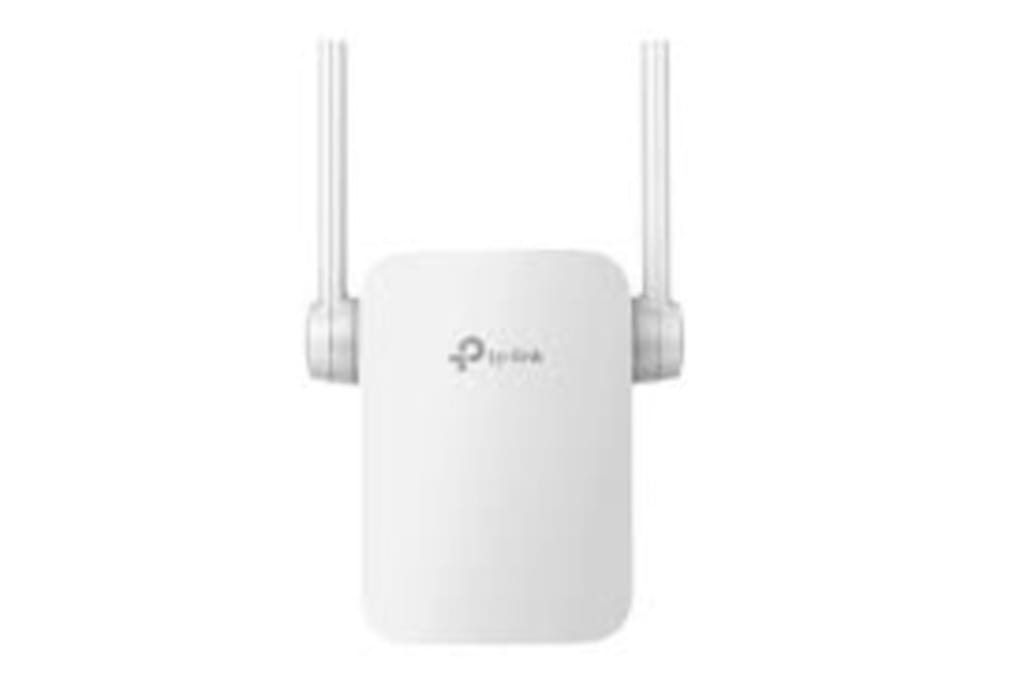
A spotty internet connection is one of the most frustrating tech issues, especially in large homes or offices. If you're trying to extend your WiFi range, a TP-Link range extender is a popular solution. But what happens when your TP-Link range extender is not working as expected? Don’t worry—you’re not alone. In this blog, we’ll guide you step-by-step on how to setup TP-Link WiFi extender properly, plus share troubleshooting tips, FAQs, and comparisons with Netgear extenders.
Why Use a WiFi Extender?
Before diving into setup steps, let’s quickly understand what a WiFi extender does. A WiFi extender, also known as a WiFi repeater or booster, takes your existing wireless signal and rebroadcasts it, effectively pushing the WiFi signal further into areas that your router alone can’t cover.
If you find yourself searching "how to extend WiFi range" frequently, a TP-Link or Netgear WiFi extender could be the fix you need.
Common Reasons Why TP-Link Range Extender Isn’t Working
If your TP-Link extender isn’t working, it could be due to:
- Incorrect setup process
- Weak signal from the main router
- Outdated firmware
- WiFi interference from thick walls or electronic devices
- Not connected to the correct WiFi network
Let’s now walk through how to fix it and set up your extender correctly.
How to Setup TP-Link WiFi Extender (Step-by-Step Guide)
Setting up your TP-Link extender is easier than you think. Here’s how to do it:
1. Plug in the Extender
Place your TP-Link extender halfway between your router and the area with a weak signal. Plug it into a power outlet.
2. Connect to the Extender
On your computer or phone, connect to the extender’s default WiFi network (usually named something like TP-LINK_Extender_XXXX).
3. Access the Admin Page
Open a browser and go to http://tplinkrepeater.net or http://192.168.0.254. Log in with the default username and password (usually both are “admin”).
4. Scan and Select Your WiFi Network
Once logged in, the setup wizard will scan for nearby networks. Select your main WiFi network and enter its password to allow the extender to connect.
5. Set the Extended Network Name
You can either use the same name as your main network or give it a new name like “HomeWiFi_EXT”.
6. Reboot and Reconnect
Once settings are saved, the extender will reboot. After that, reconnect your devices to the new extended network.
✅ That’s how to setup TP-Link WiFi extender successfully!
How to Fix Common TP-Link Extender Issues
If your TP-Link extender is still not working:
- Move it closer to the router during setup to ensure a stronger connection.
- Reset the extender by holding the reset button for 10 seconds, then set it up again.
- Update firmware from the TP-Link website to fix bugs.
- Avoid interference from microwave ovens, cordless phones, or thick walls.
Netgear vs TP-Link: A Quick Comparison
You might also be wondering how to connect Netgear WiFi extender or whether it’s better than TP-Link. Here’s a quick look:How to Connect Netgear WiFi Extender
How to Connect Netgear WiFi Extender
If you’ve switched from TP-Link to Netgear, here’s how to connect a Netgear WiFi extender:
1. Plug in and Wait for the Power LED
Place it in a central location between your router and the dead zone.
2. Connect to Netgear Extender
Join the default network (e.g., NETGEAR_EXT) from your device.
3. Visit the Setup Page
Go to http://www.mywifiext.net and follow the instructions.
4. Choose Your WiFi and Enter Password
- Select your existing WiFi, enter the password, and complete the wizard.
- That’s how to setup a Netgear WiFi extender the right way.
How to Connect Netgear WiFi Extender to New Router
If you’ve got a new router, follow these steps:
- Reset the extender to factory settings.
- Connect to the extender’s default network.
- Visit http://mywifiext.net and run the setup wizard again.
- Choose your new router’s WiFi network, enter the password, and save the settings.
This ensures a smooth switch to your new network.
FAQs
1. Why can’t I connect to tplinkrepeater.net?
Make sure you're connected to the TP-Link extender's WiFi. If you still can’t access it, try the IP address: 192.168.0.254.
2. How do I reset my TP-Link extender?
Use a paperclip to press and hold the reset button (usually on the side or bottom) for about 10 seconds until all LEDs flash.
3. Can I use multiple extenders in one home?
Yes, but make sure they don’t overlap too much, or they might interfere with each other.
4. Is it better to use the same SSID for the extender?
Using the same SSID can make switching seamless, but it might be hard to troubleshoot issues. Naming it slightly different (like _EXT) is often more helpful.
5. How often should I update extender firmware?
Check every few months or when you experience connectivity issues.
Conclusion
Whether you’re using a TP-Link or Netgear extender, setting it up correctly makes all the difference. Hopefully, this guide helped you troubleshoot your TP-Link range extender and taught you how to setup TP-Link WiFi extender step-by-step. If you’ve recently switched devices or changed routers, you also now know how to connect Netgear WiFi extender to new router with ease.
If your WiFi is still unreliable even after trying all this, it might be time to consider upgrading your router or switching to a mesh WiFi system for full-home coverage.
About the Creator
Enjoyed the story? Support the Creator.
Subscribe for free to receive all their stories in your feed.
Comments
There are no comments for this story
Be the first to respond and start the conversation.