
How to setup tp link wifi extender
How to Connect and Configure a TP-Link WiFi Extender Easily
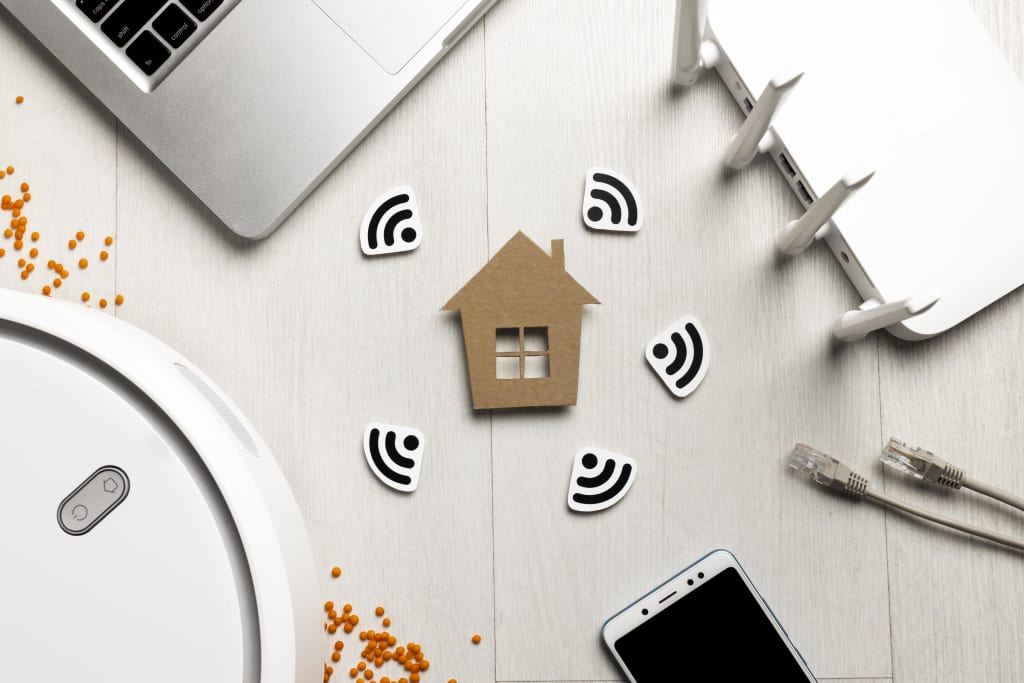
Are you struggling with a weak WiFi signal in certain areas of your home or office? A WiFi extender is a quick and easy solution to eliminate dead zones and improve coverage. In this guide, we’ll walk you through how to connect and configure a TP-Link WiFi extender step-by-step. Whether you’re a tech novice or a seasoned user, this tutorial will help you get better, faster internet in no time.
We’ll also answer some frequently asked questions, cover setup for other popular brands like Netgear, and help you understand the best ways on how to extend WiFi range effectively.
Why Use a WiFi Extender?
WiFi extenders (also called repeaters or boosters) are devices that receive your router’s wireless signal and rebroadcast it, effectively doubling the coverage area. If you have areas in your home where the signal is weak or non-existent, a WiFi extender can be a game-changer.
How to Setup TP-Link WiFi Extender – Step-by-Step
TP-Link makes some of the most user-friendly WiFi extenders on the market. Here’s how to set one up:
1. Plug in the Extender
- Plug the TP-Link extender into a power outlet near your router.
- Wait for the Power LED to turn solid.
2. Connect to the Extender
- On your computer or smartphone, go to WiFi settings and connect to the TP-Link extender network. It will be something like “TP-LINK_Extender_XXXX.”
3. Access the Web Management Page
- Open a browser and go to http://tplinkrepeater.net or http://192.168.0.254.
- Log in using the default credentials (usually both username and password are “admin”).
4. Scan and Connect to Your Main WiFi
- The extender will scan for available WiFi networks.
- Select your main router’s network and enter the password.
5. Set Extended Network Settings
- You can keep the same SSID as your router or create a new one for the extended network.
- Click Next and Finish to save the settings.
6. Relocate the Extender
- Once setup is complete and signal strength is verified, unplug the extender and move it to a location halfway between your router and the WiFi dead zone.
- Make sure the extender still gets a strong signal from the router.
That’s it! You’ve now successfully extended your WiFi range using a TP-Link extender.
How to Extend WiFi Range More Effectively
To get the most out of your extender, follow these tips:
- Avoid corners and furniture: Place your extender in open, elevated spots.
- Keep away from appliances: Microwaves, cordless phones, and baby monitors can interfere with signals.
- Use dual-band extenders: They offer better speed and stability.
- Regular firmware updates: Keep your device updated for best performance.
How to Connect Netgear WiFi Extender
If you're using a Netgear extender instead of TP-Link, here’s a quick guide on how to connect a Netgear WiFi extender:
1. Plug in the Extender
- Power up the Netgear extender near your router.
2. Connect via WPS (Optional)
- Press the WPS button on your router and then on the extender within 2 minutes.
- Wait for the LED to turn solid green.
3. Web Browser Setup
- If WPS isn’t an option, connect to the extender’s default WiFi.
- Open a browser and go to http://mywifiext.net.
- Follow on-screen instructions to connect to your main network.
4. Relocate the Extender
- Move it to an optimal location, and you’re good to go!
If you’ve upgraded or changed your router, here’s how to connect your Netgear WiFi extender to a new router:
How to Connect Netgear WiFi Extender to New Router
- Reset the extender (hold the reset button for 10 seconds).
- Follow the setup steps again to connect to the new router’s SSID.
Troubleshooting Tips
Here are some common issues and how to fix them:
- Can’t connect to setup page: Make sure you're connected to the extender's network.
- Wrong password error: Double-check for typos and capitalization.
- No internet after setup: Ensure the extender is within range of the router.
FAQ – Frequently Asked Questions
Q1. How to setup a TP-Link WiFi extender without a computer?
You can use a smartphone or tablet. Just connect to the extender’s WiFi, open a browser, and go to http://tplinkrepeater.net for setup.
Q2. Can I use more than one extender in my house?
Yes, but make sure they don’t overlap too closely. Each extender should be within range of the main router, not just another extender.
Q3. What’s the difference between a WiFi extender and mesh system?
An extender repeats your router’s signal, while a mesh system uses multiple nodes to create a seamless network. Mesh systems are generally more advanced and expensive.
Q4. How to check if the extender is working?
Connect a device to the extender’s network and test internet speed. You can also check LED indicators for connection status.
Q5. Do I need to set up the extender again if I move it?
Not usually. If it’s still within range of your router, it should work automatically. If moved too far, you might need to reposition it or reset it.
Conclusion
Setting up a TP-Link WiFi extender is a fast and easy way to improve your wireless coverage and eliminate frustrating dead zones. Whether you're using TP-Link or wondering how to connect a Netgear WiFi extender, the process is very similar and beginner-friendly.
Remember, WiFi extenders work best when placed strategically and configured correctly. Follow this guide and enjoy strong, reliable internet wherever you are in your home or office.
About the Creator
Enjoyed the story? Support the Creator.
Subscribe for free to receive all their stories in your feed.
Comments
There are no comments for this story
Be the first to respond and start the conversation.