
How to connect netgear wifi extender to new router
How to Easily Link Your Netgear Extender to a New Router
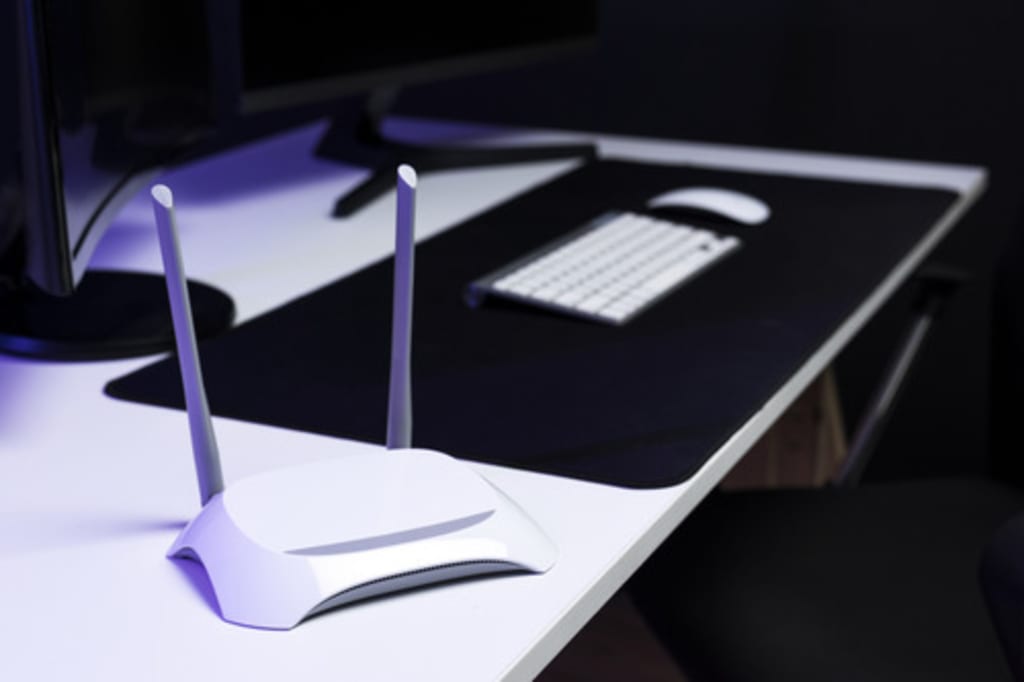
If you've recently upgraded your router or are simply reorganizing your home network, you might be wondering how to connect a Netgear WiFi extender to a new router. Whether you're working from home, streaming content, or gaming online, a strong and stable WiFi connection is essential. That’s where WiFi extenders come in, especially reliable ones like those from Netgear or TP-Link.
In this blog, we'll walk you through how to connect Netgear WiFi extender to new router, troubleshoot common issues, and explore related setup tips for other popular extenders like TP-Link. So if you're curious about how to extend WiFi range throughout your home or office, read on!
Why Use a WiFi Extender?
WiFi extenders are designed to extend the WiFi range of your existing router. If your home has WiFi dead zones in rooms far from the main router, a Netgear extender can help bridge the gap by repeating the router’s signal and pushing it further. This is especially useful in larger homes or buildings with thick walls.
How to Connect Netgear WiFi Extender to New Router (Step-by-Step)
If you're switching to a new router, you’ll need to reconfigure your Netgear extender to connect to it. Here's how to do that easily.
Step 1: Plug in Your Extender
- Place your Netgear extender midway between your router and the area where you need a stronger signal.
- Plug it into a power outlet and wait for the Power LED to turn solid green.
Step 2: Connect to the Extender Network
- On your phone, tablet, or laptop, go to WiFi settings.
- Connect to the Netgear extender’s default SSID (e.g., Netgear_EXT).
Step 3: Launch the Setup Page
- Open a browser and type http://www.mywifiext.net in the address bar.
- This takes you to the Netgear Genie setup wizard.
Step 4: Select Your New Router’s Network
- The extender will scan for nearby networks.
- Choose your new router’s SSID from the list.
- Enter the WiFi password for your new router.
Step 5: Set Your Extended Network Name
- You’ll be asked to name your extended network (SSID).
- It can be the same as your main network, or you can add “_EXT” to differentiate.
Step 6: Finalize and Connect
- Click “Next” and wait for the extender to connect to your new router.
- Once connected, reconnect your devices to the extended network.
That’s it! You've successfully learned how to connect Netgear WiFi extender to a new router.
How to Setup a Netgear WiFi Extender (First-Time Setup)
If it’s your first time setting up an extender, here’s a quick guide on how to setup a Netgear WiFi extender:
- Plug it in and wait for the Power LED.
- Use a device to connect to its default SSID.
- Go to www.mywifiext.net.
- Follow the on-screen instructions to connect to your main router.
- Save settings and reconnect your devices.
Tip: Make sure the extender is within range of your router but not too close. The sweet spot is usually halfway between the router and the area with weak signal.
How to Setup TP-Link WiFi Extender (Bonus Section)
If you're not using Netgear and need help with another brand, here's a quick look at how to setup TP-Link WiFi extender:
- Plug in your TP-Link extender.
- Connect to its SSID (e.g., TP-Link_Extender).
- Open a browser and go to http://tplinkrepeater.net.
- Choose your router's WiFi network and enter its password.
- Rename the extended network (or keep it the same).
- Click Finish and test the connection.
TP-Link also offers a mobile app (Tether) to make setup even easier.
Troubleshooting Tips
If your Netgear extender isn’t connecting to your new router, try these:
- Reset your extender by holding the Reset button for 10 seconds.
- Make sure you’re connecting to the correct SSID.
- Ensure the extender firmware is updated (can be done via the Genie setup).
- Check if MAC address filtering is enabled on the router and add the extender’s MAC if needed.
Frequently Asked Questions (FAQ)
Q1: How to extend WiFi range with a Netgear extender?
You can extend WiFi range by placing the extender midway between your router and the WiFi dead zone, then configuring it to repeat your router’s signal using the steps above.
Q2: Can I use my old Netgear extender with a new router?
Yes! Just reset the extender and follow the instructions for how to connect Netgear WiFi extender to new router. It’s perfectly compatible with any brand of router as long as the signal is within reach.
Q3: Do I need to use the same SSID for the extended network?
You can use the same SSID for seamless roaming or a different one to manually control which devices connect to the extender.
Q4: Can I set up a Netgear extender without using a browser?
Some newer models support the Nighthawk app which allows setup via smartphone.
Q5: What’s the difference between a Netgear extender and a TP-Link extender?
Both brands offer high-quality extenders. Netgear is known for its user-friendly Genie interface, while TP-Link often includes app-based setup and budget-friendly options.
Conclusion
Knowing how to connect a Netgear WiFi extender to a new router is essential if you’ve upgraded your network or moved to a new location. The process is straightforward and can make a significant difference in your internet experience. From smoother streaming to stronger signals in hard-to-reach rooms, a properly set-up extender keeps you connected wherever you are.
Whether you're figuring out how to setup a Netgear WiFi extender, exploring options for how to setup TP-Link WiFi extender, or just looking to extend WiFi range, these steps will help you stay online without the hassle.
Ready to boost your WiFi? Grab that extender and get started!
About the Creator
Enjoyed the story? Support the Creator.
Subscribe for free to receive all their stories in your feed.
Comments
There are no comments for this story
Be the first to respond and start the conversation.