
How to connect netgear wifi extender
How to Extend Your WiFi Range with a Netgear WiFi Extender
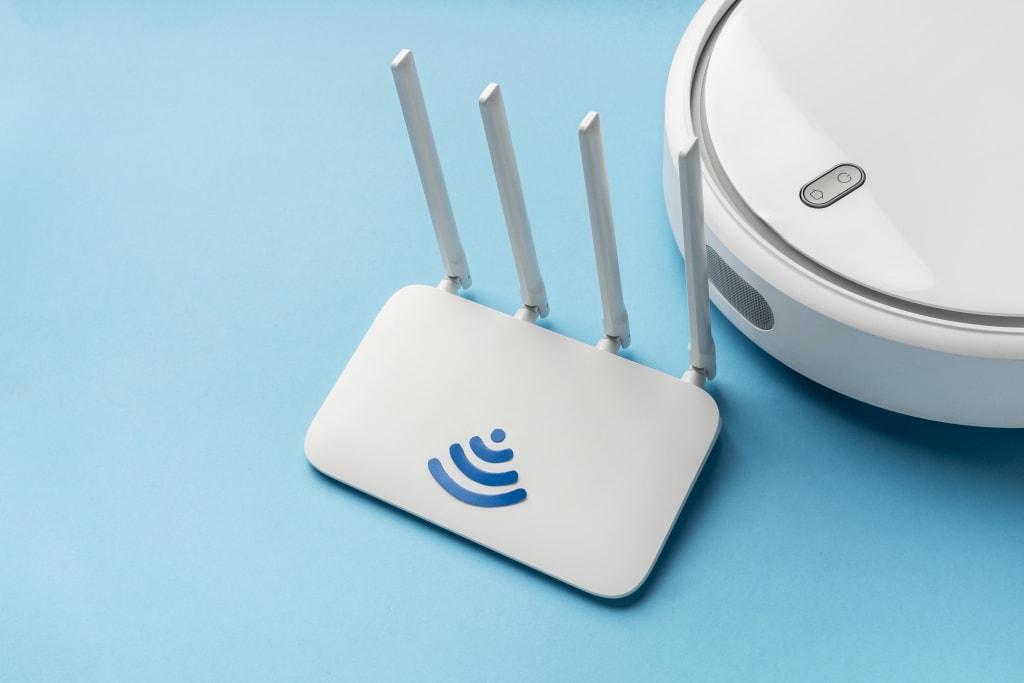
Struggling with dead zones in your home or office? WiFi dead zones can be incredibly frustrating, especially when you’re trying to stream, work, or game. One of the most effective solutions to improve your WiFi coverage is using a WiFi range extender. In this blog, we’ll guide you on how to extend WiFi range using a Netgear WiFi extender, explain how to connect a Netgear WiFi extender to your router, and even touch on how to set up a TP-Link WiFi extender for comparison.
Why Do You Need a WiFi Extender?
Before diving into setup steps, let’s quickly understand the purpose of a WiFi extender.
A WiFi extender, also known as a repeater or booster, works by receiving your existing WiFi signal, amplifying it, and then transmitting the boosted signal to areas where coverage is weak. It’s especially helpful in:
- Multi-story homes
- Buildings with thick walls
- Large apartments
- Areas far from your main router
Among popular brands, Netgear and TP-Link offer reliable extenders with simple setups.
How to Extend WiFi Range Using a Netgear WiFi Extender
If you’re wondering how to extend WiFi range, Netgear makes it fairly easy. Here’s a step-by-step guide to setting up your Netgear extender:
Step 1: Plug in the Extender
- Plug your Netgear extender into a power outlet in the same room as your router.
- Wait for the Power LED to turn solid green.
Step 2: Connect to the Extender
- On your phone or laptop, go to your WiFi settings and connect to the extender’s default network (e.g., NETGEAR_EXT).
- Open a browser and go to http://mywifiext.net or 192.168.1.250.
Step 3: Set Up Using the Netgear Genie
- The setup page should open automatically. If not, enter the URL mentioned above.
- Choose the WiFi Range Extender option.
- It will scan for available WiFi networks. Select your main WiFi network.
- Enter your WiFi password and follow the prompts.
Step 4: Place the Extender
- Once connected, unplug the extender and move it to a location midway between your router and the WiFi dead zone.
- Make sure it’s within range of your router’s signal for optimal performance.
Step 5: Reconnect Your Devices
- Connect your devices to the extended network (usually your original network name with a _EXT suffix).
- Test internet speed in your previous dead zones — you should now have a much stronger connection!
How to Connect a Netgear WiFi Extender to New Router
If you’ve upgraded your router and need to reconnect your extender, here’s how to connect Netgear WiFi extender to new router:
- Reset the Extender: Hold down the reset button (usually a tiny hole) with a paperclip for 5-10 seconds.
- Follow the Setup Process Again: Revisit http://mywifiext.net and follow the original setup steps.
- Choose the New Network: During setup, your new router’s SSID will appear. Select it and enter the password.
That’s it! Your extender will now amplify the new router’s signal.
How to Setup TP-Link WiFi Extender (Bonus)
TP-Link also offers quality extenders. Here’s a quick overview of how to setup TP-Link WiFi extender:
- Plug it in and power on.
- Connect to the TP-Link extender’s default SSID (e.g., TP-LINK_Extender_XXXX).
- Open a browser and go to http://tplinkrepeater.net.
- Follow the Quick Setup guide.
- Select your main WiFi network, enter the password, and choose to extend it.
- Place the extender midway between the router and the dead zone.
Most TP-Link models also support WPS setup for quicker pairing with your router.Tips for Best Results
- Keep it central: Place the extender in a location with at least 50% signal strength from the router.
- Avoid walls: Thick walls and metal surfaces can reduce signal strength.
- Use the same SSID: Some models allow you to use the same WiFi name and password as your main router — this creates a seamless experience when moving around.
- Update firmware: Regular updates can fix bugs and improve performance.
FAQ
Q1: Can I use more than one WiFi extender in my home?
Yes, but they should not be placed in a daisy chain (i.e., one extender connected to another). Always connect them directly to the main router for best performance.
Q2: What’s the range of a Netgear WiFi extender?
It varies by model, but most offer 1000-2500 sq. ft. of additional coverage. Check your specific model for details.
Q3: Does the extender slow down the internet?
Yes, extenders may reduce bandwidth by up to 50% because they split traffic between the router and devices. Dual-band extenders or mesh systems can reduce this effect.
Q4: What’s the difference between an extender and a mesh system?
An extender boosts existing WiFi, while a mesh system replaces your current setup with multiple nodes for seamless coverage. Mesh is better for larger homes.
Q5: Can I use the Netgear extender with a TP-Link router?
Absolutely! Extenders are brand-agnostic and will work with any WiFi router, as long as the basic setup is done correctly.
Conclusion
Knowing how to extend WiFi range using tools like the Netgear WiFi extender can drastically improve your internet experience. Whether you work from home, stream movies, or have smart home devices in every room, eliminating WiFi dead zones makes a huge difference. Now that you know how to connect Netgear WiFi extender, you can enjoy fast, reliable internet throughout your entire space.
And if you're using a different brand, the same principles apply — just follow the respective setup process like the one outlined for how to setup TP-Link WiFi extender.
Still having trouble? Feel free to drop your questions in the comments, or contact your device’s support team. Happy surfing!
About the Creator
Enjoyed the story? Support the Creator.
Subscribe for free to receive all their stories in your feed.
Comments
There are no comments for this story
Be the first to respond and start the conversation.