
DIY Car Cleaning: A Comprehensive Guide to a Showroom Shine
Save money by diy ing

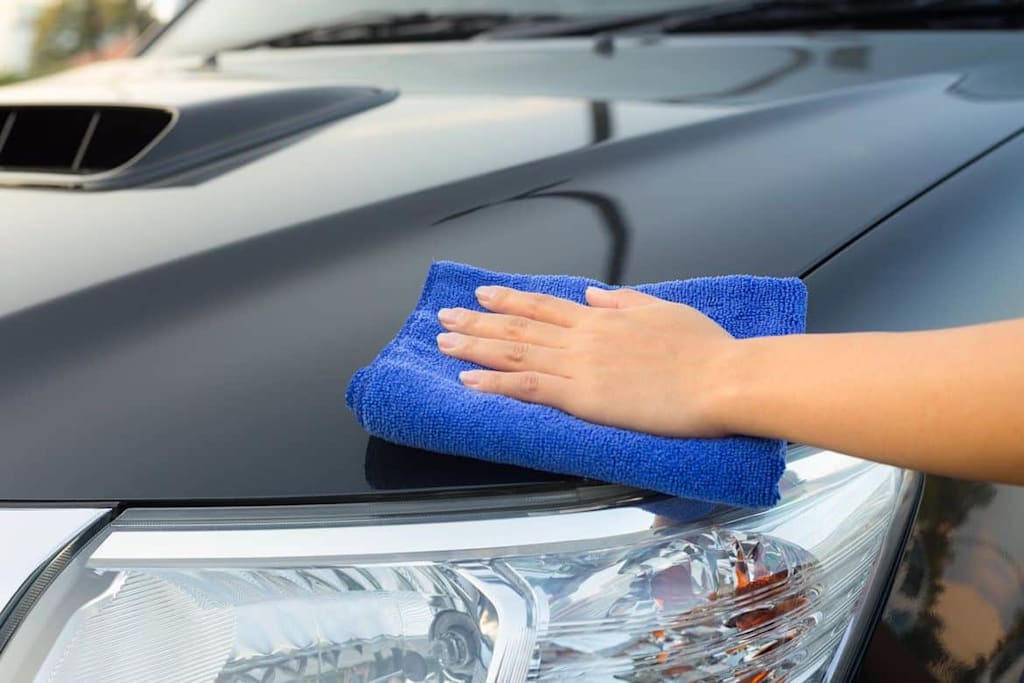
There is a certain satisfaction that comes from cleaning your own car. It is not merely about removing dirt; it is about the ritual of caring for something you own, the quiet focus of working panel by panel, and the pride of stepping back to admire a job done well. With the right techniques and affordable supplies, anyone can achieve professional-level results at home.
This guide will walk you through the essential steps of DIY car cleaning, from the initial rinse to the final protective sealant. Whether you are a first-time car owner or a seasoned enthusiast, these methods will help you maintain a shiny, protected finish without breaking the bank.
The Philosophy: Why DIY Matters
Professional detailing services can be expensive, and automated car washes while convenient often use harsh brushes and recycled water that can leave micro-scratches on your paint. DIY car cleaning puts you in control. You choose the products, you control the pressure, and you ensure that every surface is treated with care. Moreover, the cost of quality supplies from retailers like MR.DIY is surprisingly affordable, making regular cleaning an accessible habit rather than a luxury .
Exterior Cleaning: A Step-by-Step Process
Step 1: Pre-Wash and Rinse
Before you touch the paint with any sponge or mitt, you must remove loose dirt and debris. Begin by thoroughly rinsing the entire car with a garden hose. Pay special attention to wheel wells, lower door panels, and the front grille, where dirt accumulates. The goal of the pre-wash is to eliminate as much abrasive material as possible before you begin the contact wash .
Step 2: The Two-Bucket Method
This is the golden rule of DIY car washing. Fill one bucket with clean, soapy water using a dedicated car shampoo (dish soap is too harsh and will strip protective waxes). Fill a second bucket with plain water for rinsing. The process is simple: dip your microfiber mitt into the soapy water, wash a section of the car, then rinse the mitt in the clean water bucket before re-soaping. This prevents the dirt you just removed from being reintroduced to your paint, dramatically reducing the risk of swirl marks and scratches .
Step 3: Wheels First
Wheels and tires are typically the dirtiest parts of a car, collecting brake dust, road grime, and tar. Use a dedicated wheel cleaner and a separate set of brushes or an old mitt to clean them. Never use the same mitt on your paint that you used on your wheels; brake dust particles can be sharp and will scratch your clear coat .
Step 4: Washing in Sections
Work from the top of the car downward. The roof and upper panels are generally less dirty than the lower sections, so starting at the top prevents you from dragging heavy grime across cleaner areas. Use gentle, straight-line motions rather than circular ones to minimize the appearance of scratches if any occur. Rinse each section thoroughly before the soap has a chance to dry on the paint .
Step 5: Drying
Air drying leaves water spots, which are mineral deposits that can etch into the clear coat. Instead, use a large, clean microfiber drying towel to blot and dry the surface. Open doors and the trunk to wipe down jambs and edges where water tends to collect .
Step 6: Protection
After the car is dry, apply a ceramic sealant or spray wax. These products create a sacrificial layer over your clear coat, protecting against UV rays, bird droppings, and minor contaminants. They also make future washes easier because dirt has a harder time bonding to the sealed surface .
Interior Cleaning: Restoring the Cabin
Step 1: Remove Debris and Vacuum
Start by removing all floor mats and shaking them out. Use a vacuum with attachments to clean carpets, seats, and the trunk. Pay attention to crevices around the seat rails, between seat cushions, and underneath pedals. For hard-to-reach areas, a soft brush attachment can help dislodge embedded dirt .
Step 2: Clean Surfaces
Mix an all-purpose cleaner (APC) or a homemade interior cleaner combine 2 cups warm water, 1 tablespoon white vinegar, and 1 teaspoon mild dish soap in a spray bottle . Spray the solution onto a microfiber cloth, not directly onto surfaces, to prevent moisture from seeping into sensitive electronics. Wipe down the dashboard, centre console, door panels, and steering wheel.
DIY Leather Conditioner
If your car has leather seats, you can make a natural conditioner by mixing 1/2 cup olive oil with 1/4 cup white vinegar . Apply sparingly to a soft cloth and work into the leather, then buff off excess. This will keep the material supple and prevent cracking.
Step 3: Glass and Mirrors
For streak-free windows and mirrors, use a dedicated glass cleaner or mix a solution of 2 tablespoons white vinegar with water and a splash of isopropyl alcohol in a spray bottle . Use a clean microfiber cloth designated only for glass to avoid transferring wax or polish residue.
Step 4: Stain Removal
For stubborn stains on fabric upholstery or carpets, use a dedicated multi-purpose foam cleaner. Alternatively, make a paste of baking soda and water, apply it to the stain, let it dry, and then vacuum it up . Always test any cleaning solution on a hidden area first to ensure it does not discolour the fabric .
Protecting Your Paint from Environmental Hazards
Even with regular washing, certain contaminants require immediate attention. Bird droppings and tree sap are highly acidic and can etch into your clear coat within hours. Keep a quick detailer spray and a microfiber towel in your glove compartment so you can remove these hazards as soon as you spot them. Never wipe them off dry; always use lubricant to avoid scratching the paint .
The MR.DIY Advantage
Quality cleaning supplies need not be expensive. Retailers like MR.DIY offer a wide range of car cleaning essentials, including car shampoo, microfiber mitts, wheel cleaners, APC, and glass cleaners, all at affordable prices . Their product lineup allows DIY enthusiasts to maintain a professional-grade kit without overspending. From sponges to ceramic sealants, the necessary tools are accessible to anyone willing to invest a few hours in their vehicle's upkeep .
DIY car cleaning is a rewarding practice that saves money, extends the life of your vehicle's finish, and provides a sense of accomplishment. By following the two-bucket wash method, using appropriate products for interior surfaces, and promptly addressing contaminants, you can keep your car looking showroom-new for years. The supplies are affordable, the techniques are straightforward, and the results are visible with every gleaming panel.
Your car works hard for you. Returning that effort with proper care is the least you can do. And the shine? That is just the bonus.
About the Creator
Mark Lim
Hi I am mark an automotive student and a car, tech and food enthusiast ! Im gonna try and post daily & hope you enjoy what I write and do share my page with people you know. I would gladly appreciate it! Cheers
Enjoyed the story? Support the Creator.
Subscribe for free to receive all their stories in your feed.
Comments
There are no comments for this story
Be the first to respond and start the conversation.