
Raising Ducks - How To Incubate Duck Eggs
Pets

Duck egg incubator preparation:
The incubator should be prepared 24 hours before you are ready. The incubator has to be hygienic and spotless. Incubators should never be used if they haven't been disinfected. Incubators made of styrofoam are particularly prone to the growth of mold and fungus. Because incubators are kept in warm, humid environments where mold and fungus grow well, cleanliness is crucial and cannot be emphasized enough. Eggs can breathe in and out because to their porous nature. Due of the high humidity and heat in the incubator, bacteria flourish there. The eggs will also get infected if the incubator is polluted. The bacteria will settle within the egg and consume vital vitamins and minerals required for the development of the ducklings. The infection is terrible; among other negative effects, it might rapidly turn poisonous or render your duck eggs infertile.
putting the duck eggs in a state for incubation
Place the duck eggs into the incubator once they are at room temperature. This entails taking them out of the fridge and letting them sit at room temperature for at least 8 hours. Time to look over the duck eggs. Look for cracks in your eggs and discard them along with those that are unusually big. You DO NOT want an egg to pop in the incubator, I assure you. It smells bad, is disgusting, and will ruin your other eggs. Unusual egg size might indicate numerous yolks, which would prevent hatching. If you haven't previously, clean the eggs of any dirt or excrement. Egg shells function like a womb, allowing oxygen within and harmful gases to exit. The small openings that enable the duck egg to breathe will get blocked if there is mud, dung, or any other contamination on the shell. Make the water warm if you must use it since heat expands while cold does not. Cold water will decrease the egg's contents and draw in the harmful things while warm water will force the germs out of the holes.
Put the incubator with the duck eggs inside.
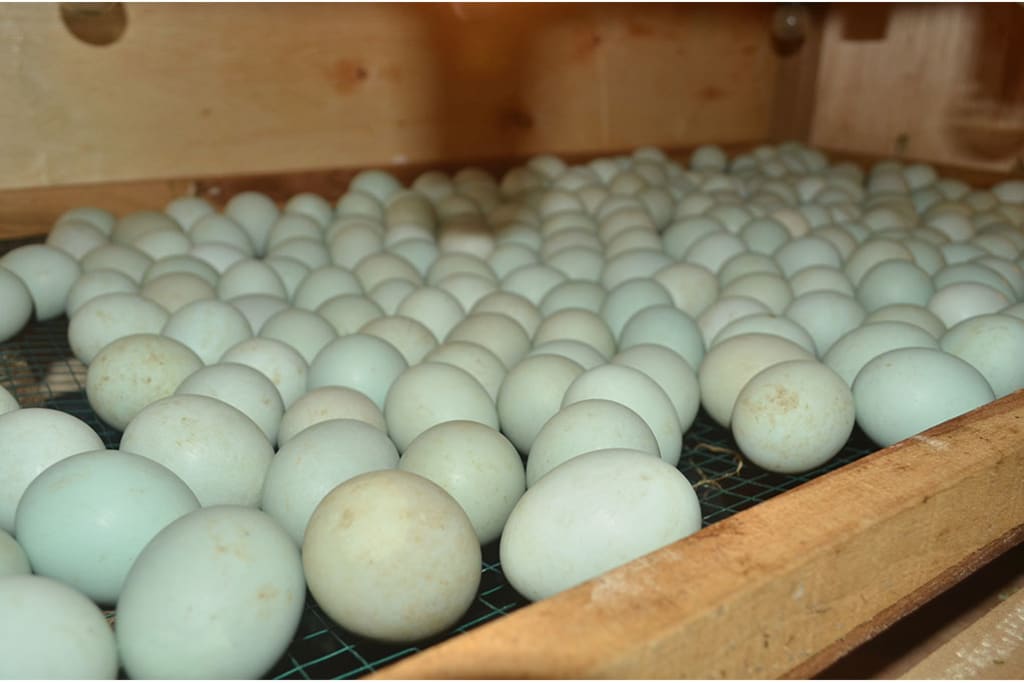
Lay the duck egg in the incubator tray with the tiny end down. It's crucial to arrange the eggs big end up. The egg has an air cell, and by keeping it on the larger side of the egg, less liquid evaporates, resulting in a better hatchability rate. After putting the duck eggs in the incubator and adjusting the humidity and temperature to the right levels, verify that everything is working as it should on the first day and then occasionally over the next few days and the remainder of the incubation process. Even little errors have a big impact on hatchability; too much heat or not enough moisture results in fewer ducklings. Different breeds need different temperatures and humidity levels, but normally 99.5 degrees Fahrenheit and 55 percent relative humidity are a good place to start.
Remove the incubator's bad eggs.
The candle-testing and removal of any bad duck eggs will take place on day seven. Eggs with "dead germ" or those that are infertile should be discarded. The first indication of a bad egg is clear or hazy eggs. The embryo should start to take on traits of a chick on day 7. It's crucial to recognize faulty eggs because you don't want a cracked or bursting egg to mess with the incubator and the healthy eggs. At day 14, check the eggs once again to ensure that you have all good eggs. You should be aware of the ideal ducks for egg production.
Move your duck eggs to the hatcher on day 25.
Hatchers are identical to incubators, with the exception that the eggs are no longer being flipped and there is space for the egg duckling to hatch. In contrast, the incubator heats the eggs, making it impossible for the infant to hatch. Set the temperature of the hatchers to 98.5 degrees Fahrenheit and the humidity level to 94 percent. Little ducklings will start hatching out of their eggs during the following two to five days. It's natural to want to assist them in breaking free once you see the egg, but resist the urge to do so. The poor duckling bleeds to death as a result of "helping" it along, among other terrible outcomes. Your baby will typically hatch completely in around 24 hours. Therefore, unless you really must, avoid assisting it.
Using a brooder
Move your duck eggs to the brooding box after they have finished incubating and hatching. The brooding box has to be tidy and heated. It won't need food or water until 24 hours after the egg has hatched. The duck requires time to acclimate since it is still taking nutrients from the egg.
About the Creator
Rahau Mihai
Hi! Come to my profile and you will see really useful things or something to relax you !
Keep reading
More stories from Rahau Mihai and writers in Petlife and other communities.
How to Manage Your Cattle This Monsoon in 5 Easy Ways
It's time to get ready to plunge into the water, get your hands muddy in the mud pool, and row your own small paper boats across the nearby streams of water. We're all prepared to enjoy one of the most wonderful seasons as the monsoon approaches. However, while some locations are celebrating, the remainder are experiencing a downpour. When monsoon season arrives, the environment is vulnerable to disasters like floods, which severely harm people, plants, and animals. The animals, particularly the cattle that travel and live in open fields, must also take preventative precautions and additional care during the rainy season, just like we do for ourselves. This exposes them to deadly infections. As the temperature drops, farmers start to consider how the next weather changes may impact the health, production, and efficiency of their cattle. The dairy producers start making plans and gathering the supplies they'll need to look for and safeguard their animals. Animals need to be closely watched at this time because they have to keep their bodies warm enough to withstand the cold weather. Since the temperature drops significantly below the lowest temperature limit as a result of the heavy rainfall, animals get stressed.
By Rahau Mihai2 years ago in Petlife
Unleashing the Extraordinary:
In the journey of pet ownership, there's a magical transformation that occurs when you embark on the path of training your beloved furry companion. Beyond the basic commands of sit, stay, and fetch lies a world of endless possibilities where you and your pet can unlock the extraordinary potential within each other. Training isn't just about teaching your pet to follow orders; it's about forging a deeper connection, fostering mutual understanding, and embarking on a shared adventure of growth and companionship.
By Paul Johnson4 days ago in Petlife
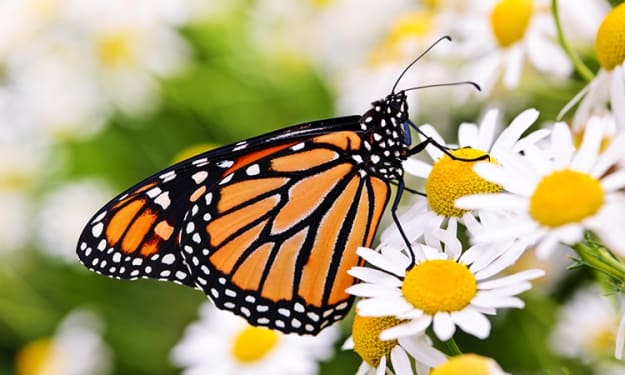
Monarch Butterflies: Tiny Travelers with Big Journeys
In the complex embroidery of nature, not many animals enamor the creative mind very like the monarch butterfly. With their sensitive wings embellished in lively tones of orange and dark, these charming bugs are symbols of excellence as well as images of flexibility and versatility.
By Dibio Augustine5 days ago in Petlife


Comments
There are no comments for this story
Be the first to respond and start the conversation.