
DIY Enthusiast Needs
Ultimate Guide to Building a Wooden Shed

Introduction
Building a wooden shed is a rewarding project that enhances your outdoor space and provides valuable storage. This manual offers a comprehensive guide on constructing a wooden shed, covering essential tips, materials, and tools needed for a successful build.
1. Planning and Design
1.1 Determine the Shed Size
Small Shed: 6x8 feet
Medium Shed: 10x12 feet
Large Shed: 12x16 feet
1.2 Obtain Permits
Check local building codes and zoning regulations.
Obtain necessary permits before starting construction.
1.3 Create a Blueprint
Design Software: SketchUp, AutoCAD
Manual Drawing: Use graph paper to sketch the floor plan, elevation, and side views.
2. Materials Required
2.1 Wood Types
Pressure-Treated Lumber: For the foundation and base frame.
Pine or Cedar: For the walls and roof due to durability and ease of handling.
OSB (Oriented Strand Board) or Plywood: For flooring and wall sheathing.
2.2 Additional Materials
Concrete Blocks or Gravel: For the foundation.
Roofing Felt: To waterproof the roof.
Asphalt Shingles: For the roof covering.
Exterior Paint or Stain: For weather protection.
Screws and Nails: Use galvanized screws and nails to prevent rust.
3. Essential Equipment
3.1 Measuring and Layout Tools
Tape Measure: For accurate measurements.
Level: To ensure all components are aligned correctly.
Square: To check angles and corners.
3.2 Cutting Tools
Circular Saw: For cutting lumber and plywood.
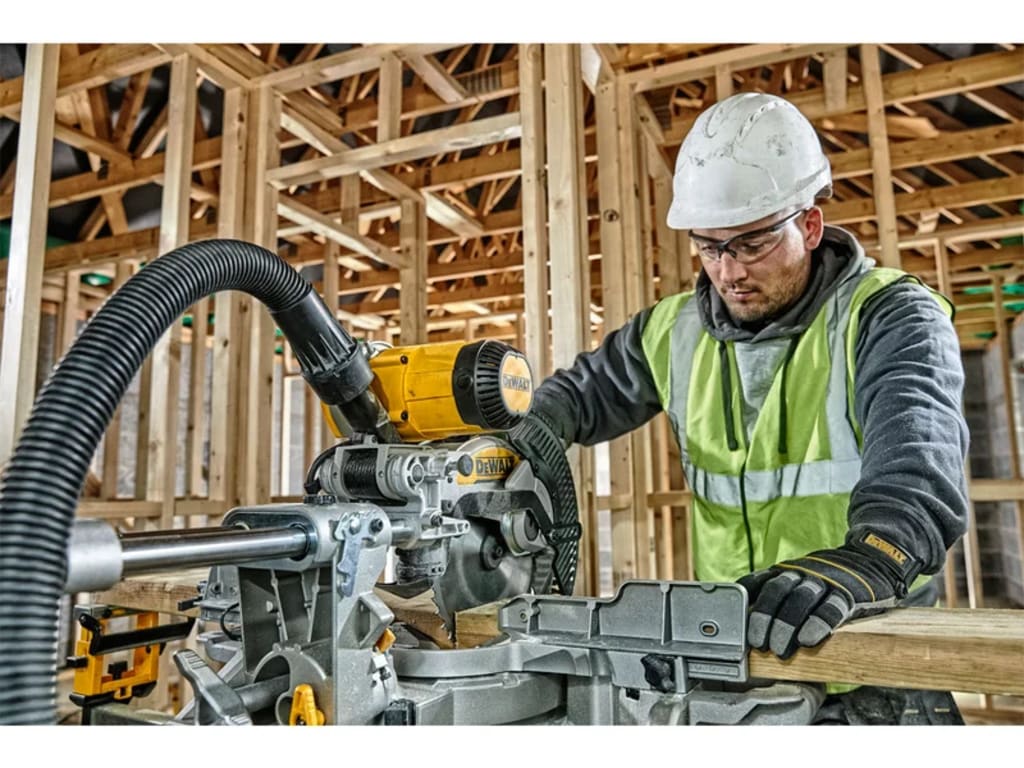
Miter Saw: For precise angled cuts.
Handsaw: For small or intricate cuts.
3.3 Power Tools
Drill/Driver: For creating pilot holes and driving screws.
Jigsaw: For cutting curves or irregular shapes.
Sander: For smoothing wood surfaces.
3.4 Safety Gear
Safety Glasses: To protect eyes from debris.
Hearing Protection: To reduce noise exposure.
Work Gloves: For hand protection.
Dust Mask: To avoid inhaling sawdust.
4. Step-by-Step Construction
4.1 Foundation
Prepare the Site: Clear the area and level the ground.
Lay Concrete Blocks or Gravel: Create a stable base for the shed to rest on.
4.2 Building the Base Frame
Cut Lumber: Use pressure-treated lumber to build the base frame.
Assemble the Frame: Secure with screws or nails, ensuring it is square and level.
4.3 Constructing the Walls
Cut Wall Studs: Use pine or cedar for wall studs.
Assemble Wall Frames: Attach the studs to top and bottom plates.
Install Wall Sheathing: Apply OSB or plywood to the wall frames.
4.4 Installing the Roof
Build Roof Trusses: Cut and assemble trusses for the roof frame.
Attach Roof Sheathing: Use plywood or OSB for the roof deck.
Apply Roofing Felt and Shingles: Ensure a watertight seal.
4.5 Finishing Touches
Paint or Stain the Exterior: Apply a weather-resistant finish.
Install Doors and Windows: Ensure proper sealing to prevent drafts.
Add Shelving or Storage: Customize the interior as needed.
5. Power Tools for Efficient Building
5.1 Circular Saw
Use: For cutting large pieces of lumber and plywood.
Features: Adjustable blade depth, high power output.
5.2 Miter Saw
Use: For making precise crosscuts and miter cuts.
Features: Laser guide for accuracy, adjustable angles.
5.3 Drill/Driver
Use: For drilling holes and driving screws.
Features: Variable speed settings, multiple drill bits.
5.4 Jigsaw
Use: For cutting curves and intricate patterns.
Features: Variable speed control, orbital action.
5.5 Sander
Use: For smoothing wood surfaces.
Features: Variable speed, dust collection system.
6. Maintenance Tips
Inspect Regularly: Check for signs of wear or damage.
Repaint or Reseal: Apply protective coatings as needed.
Keep Clean: Remove debris and dirt to maintain appearance and functionality.
Conclusion
Building a wooden shed is a manageable DIY project with the right preparation and tools. By following this comprehensive guide, you'll ensure a successful construction and a durable, functional shed that meets your needs.
About the Creator
Enjoyed the story? Support the Creator.
Subscribe for free to receive all their stories in your feed.
Comments
There are no comments for this story
Be the first to respond and start the conversation.