
Restless Hands' Project - 6
Repairing and Painting My Deck

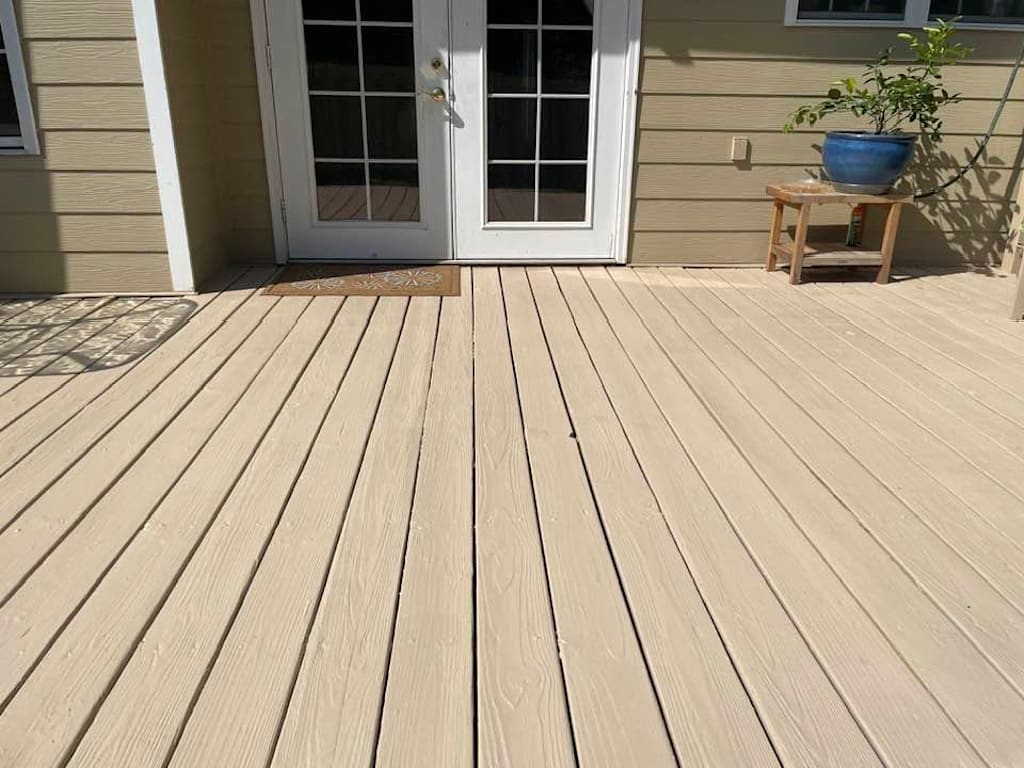
It all started with my neighbor who came to my back yard to look at the brush I wanted to give him, and pointed out that my deck was getting out of shape.
"The boards are getting moldy and cracked," he said, "you'd better repaint before you have to replace the entire deck."
The last time I painted my deck was during the pandemic, and then I had tenants who didn't really care about about anything in the house, so the deck went neglected. It was time for me to take care of it.
I did a lot of research on the paint options and settled on Liquid Rubber. Two weeks before I was scheduled to leave for my job in Pennsylvania, I had the Liquid Rubber paint, primer, and caulk delivered. It was not cheap - a total of almost $800 - but they promised that if done right the deck would not need another repainting for at least 10 years.
So I started working on the deck right away. It was supposed to be a weekend project...
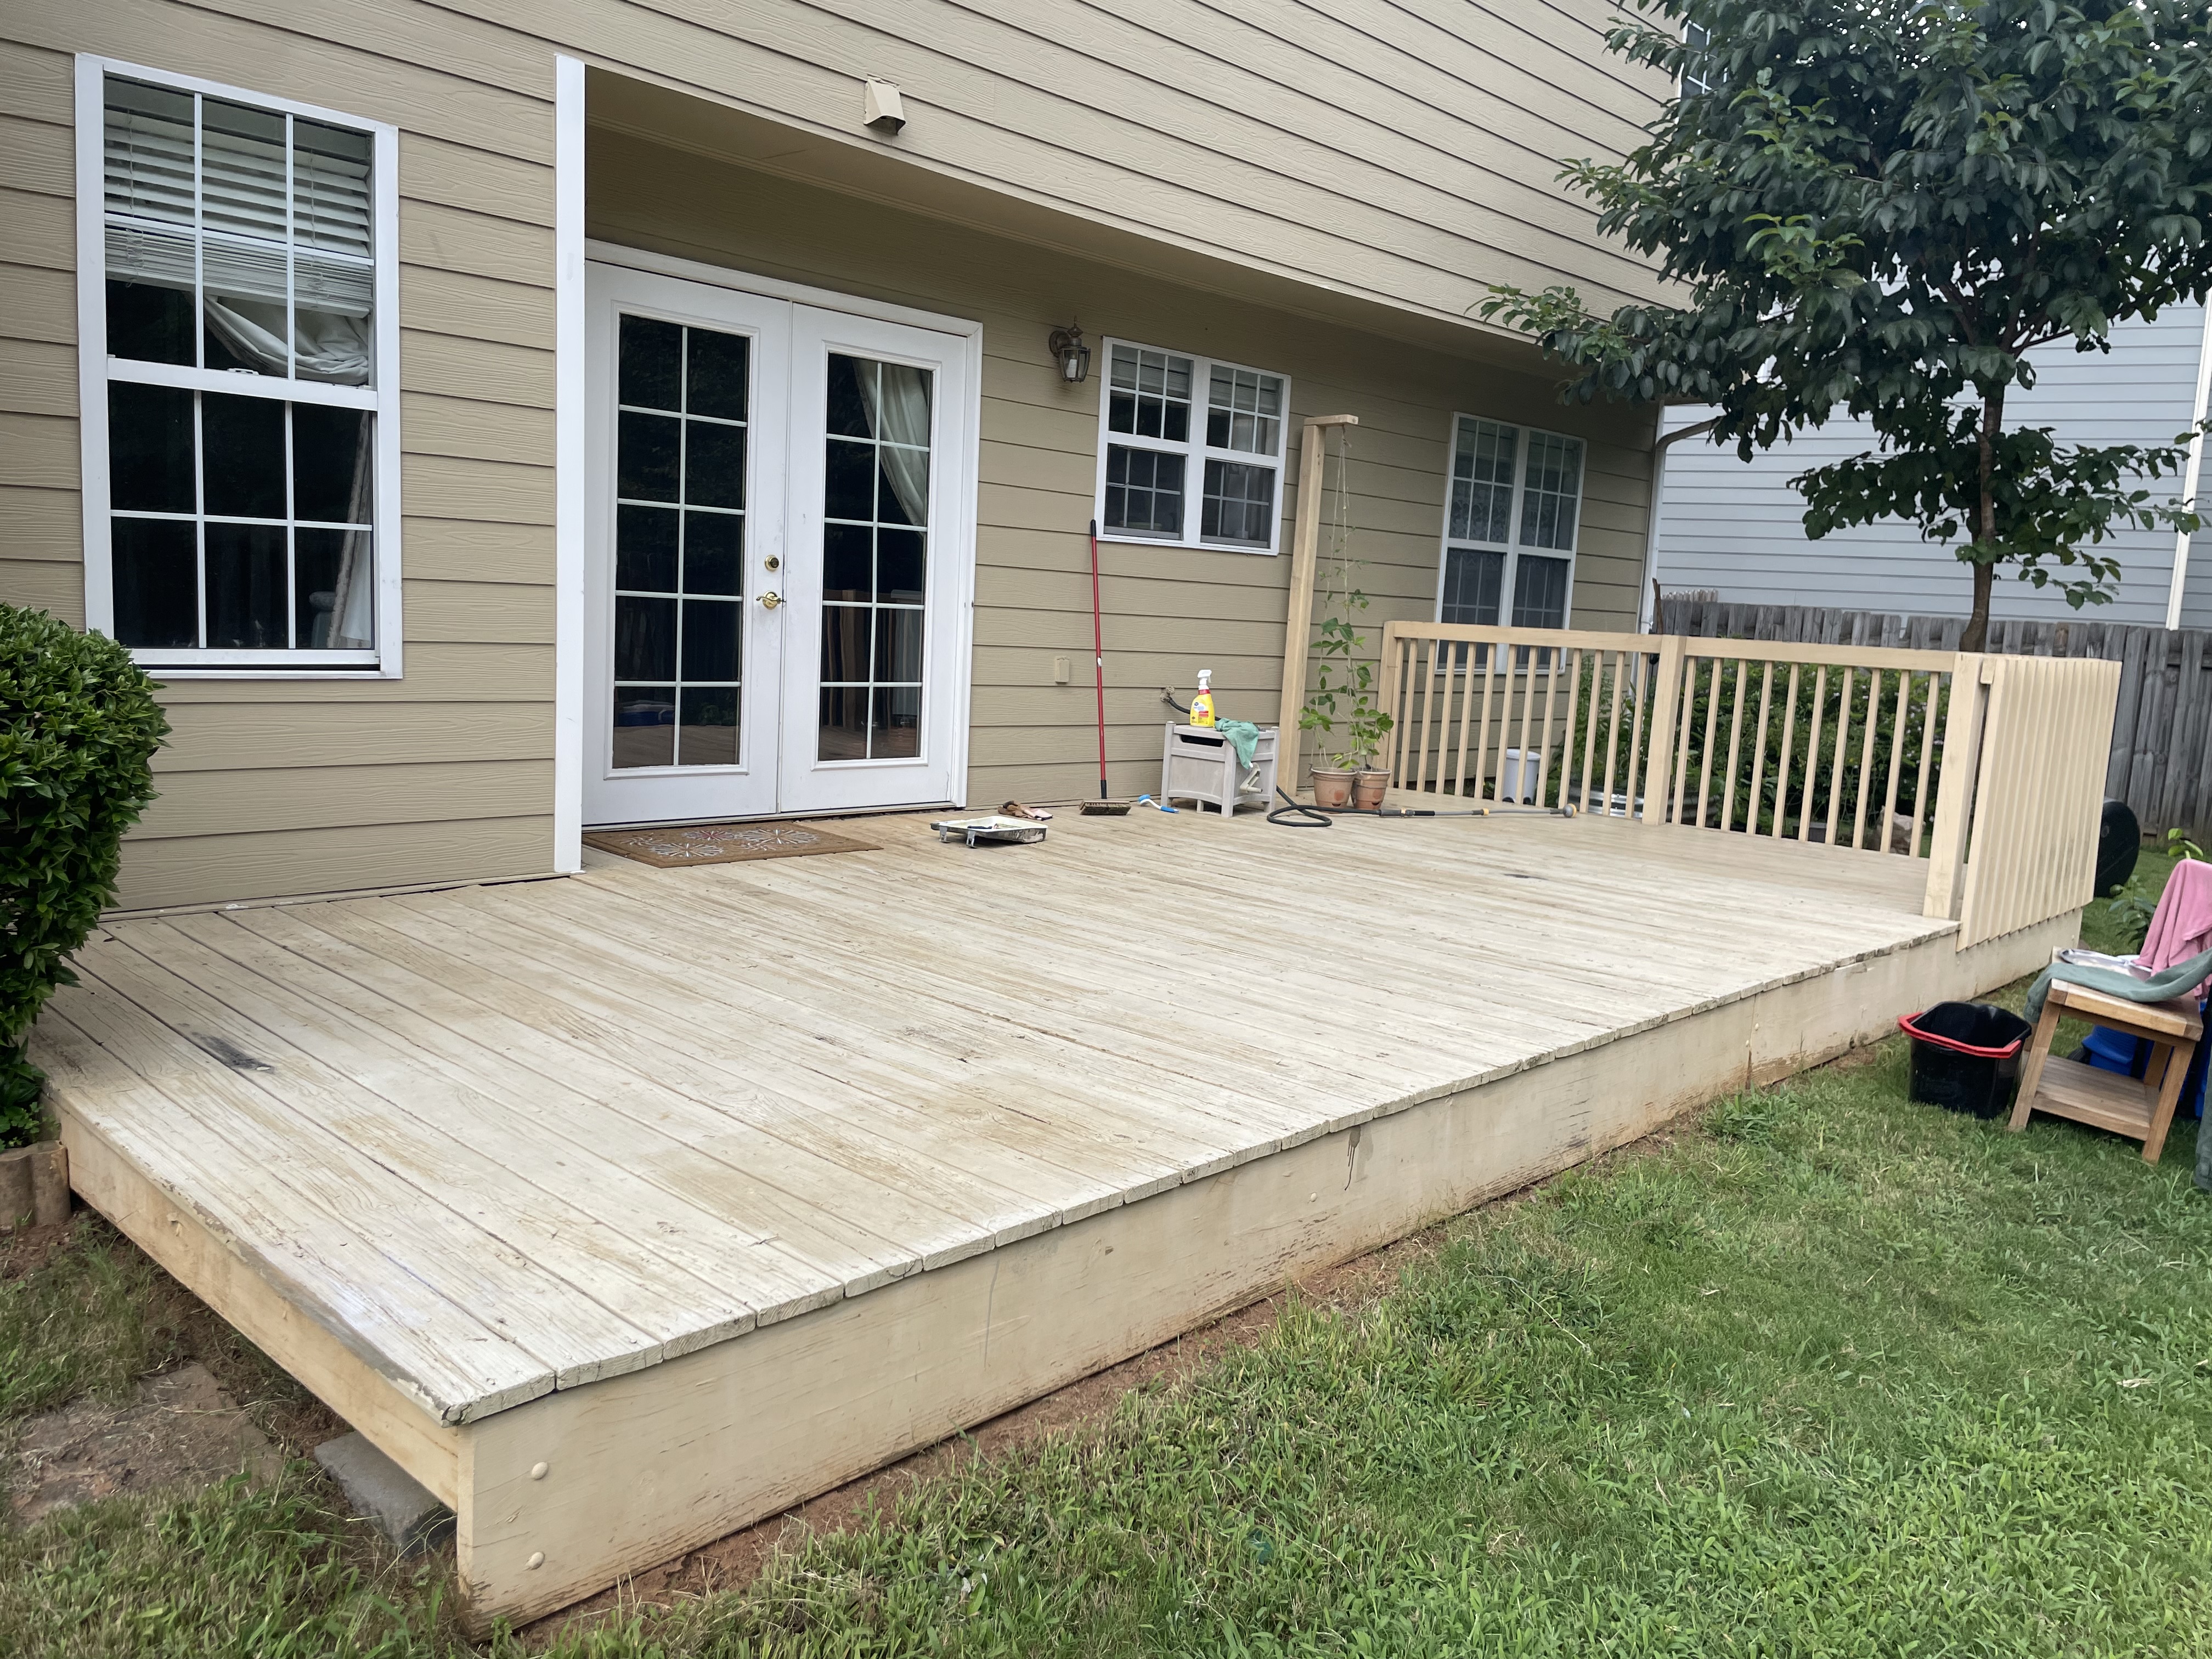
First, I pressure-washed the entire deck with multipurpose cleaner to prepare it for painting. This is how it looked before pressure washing on August 2:
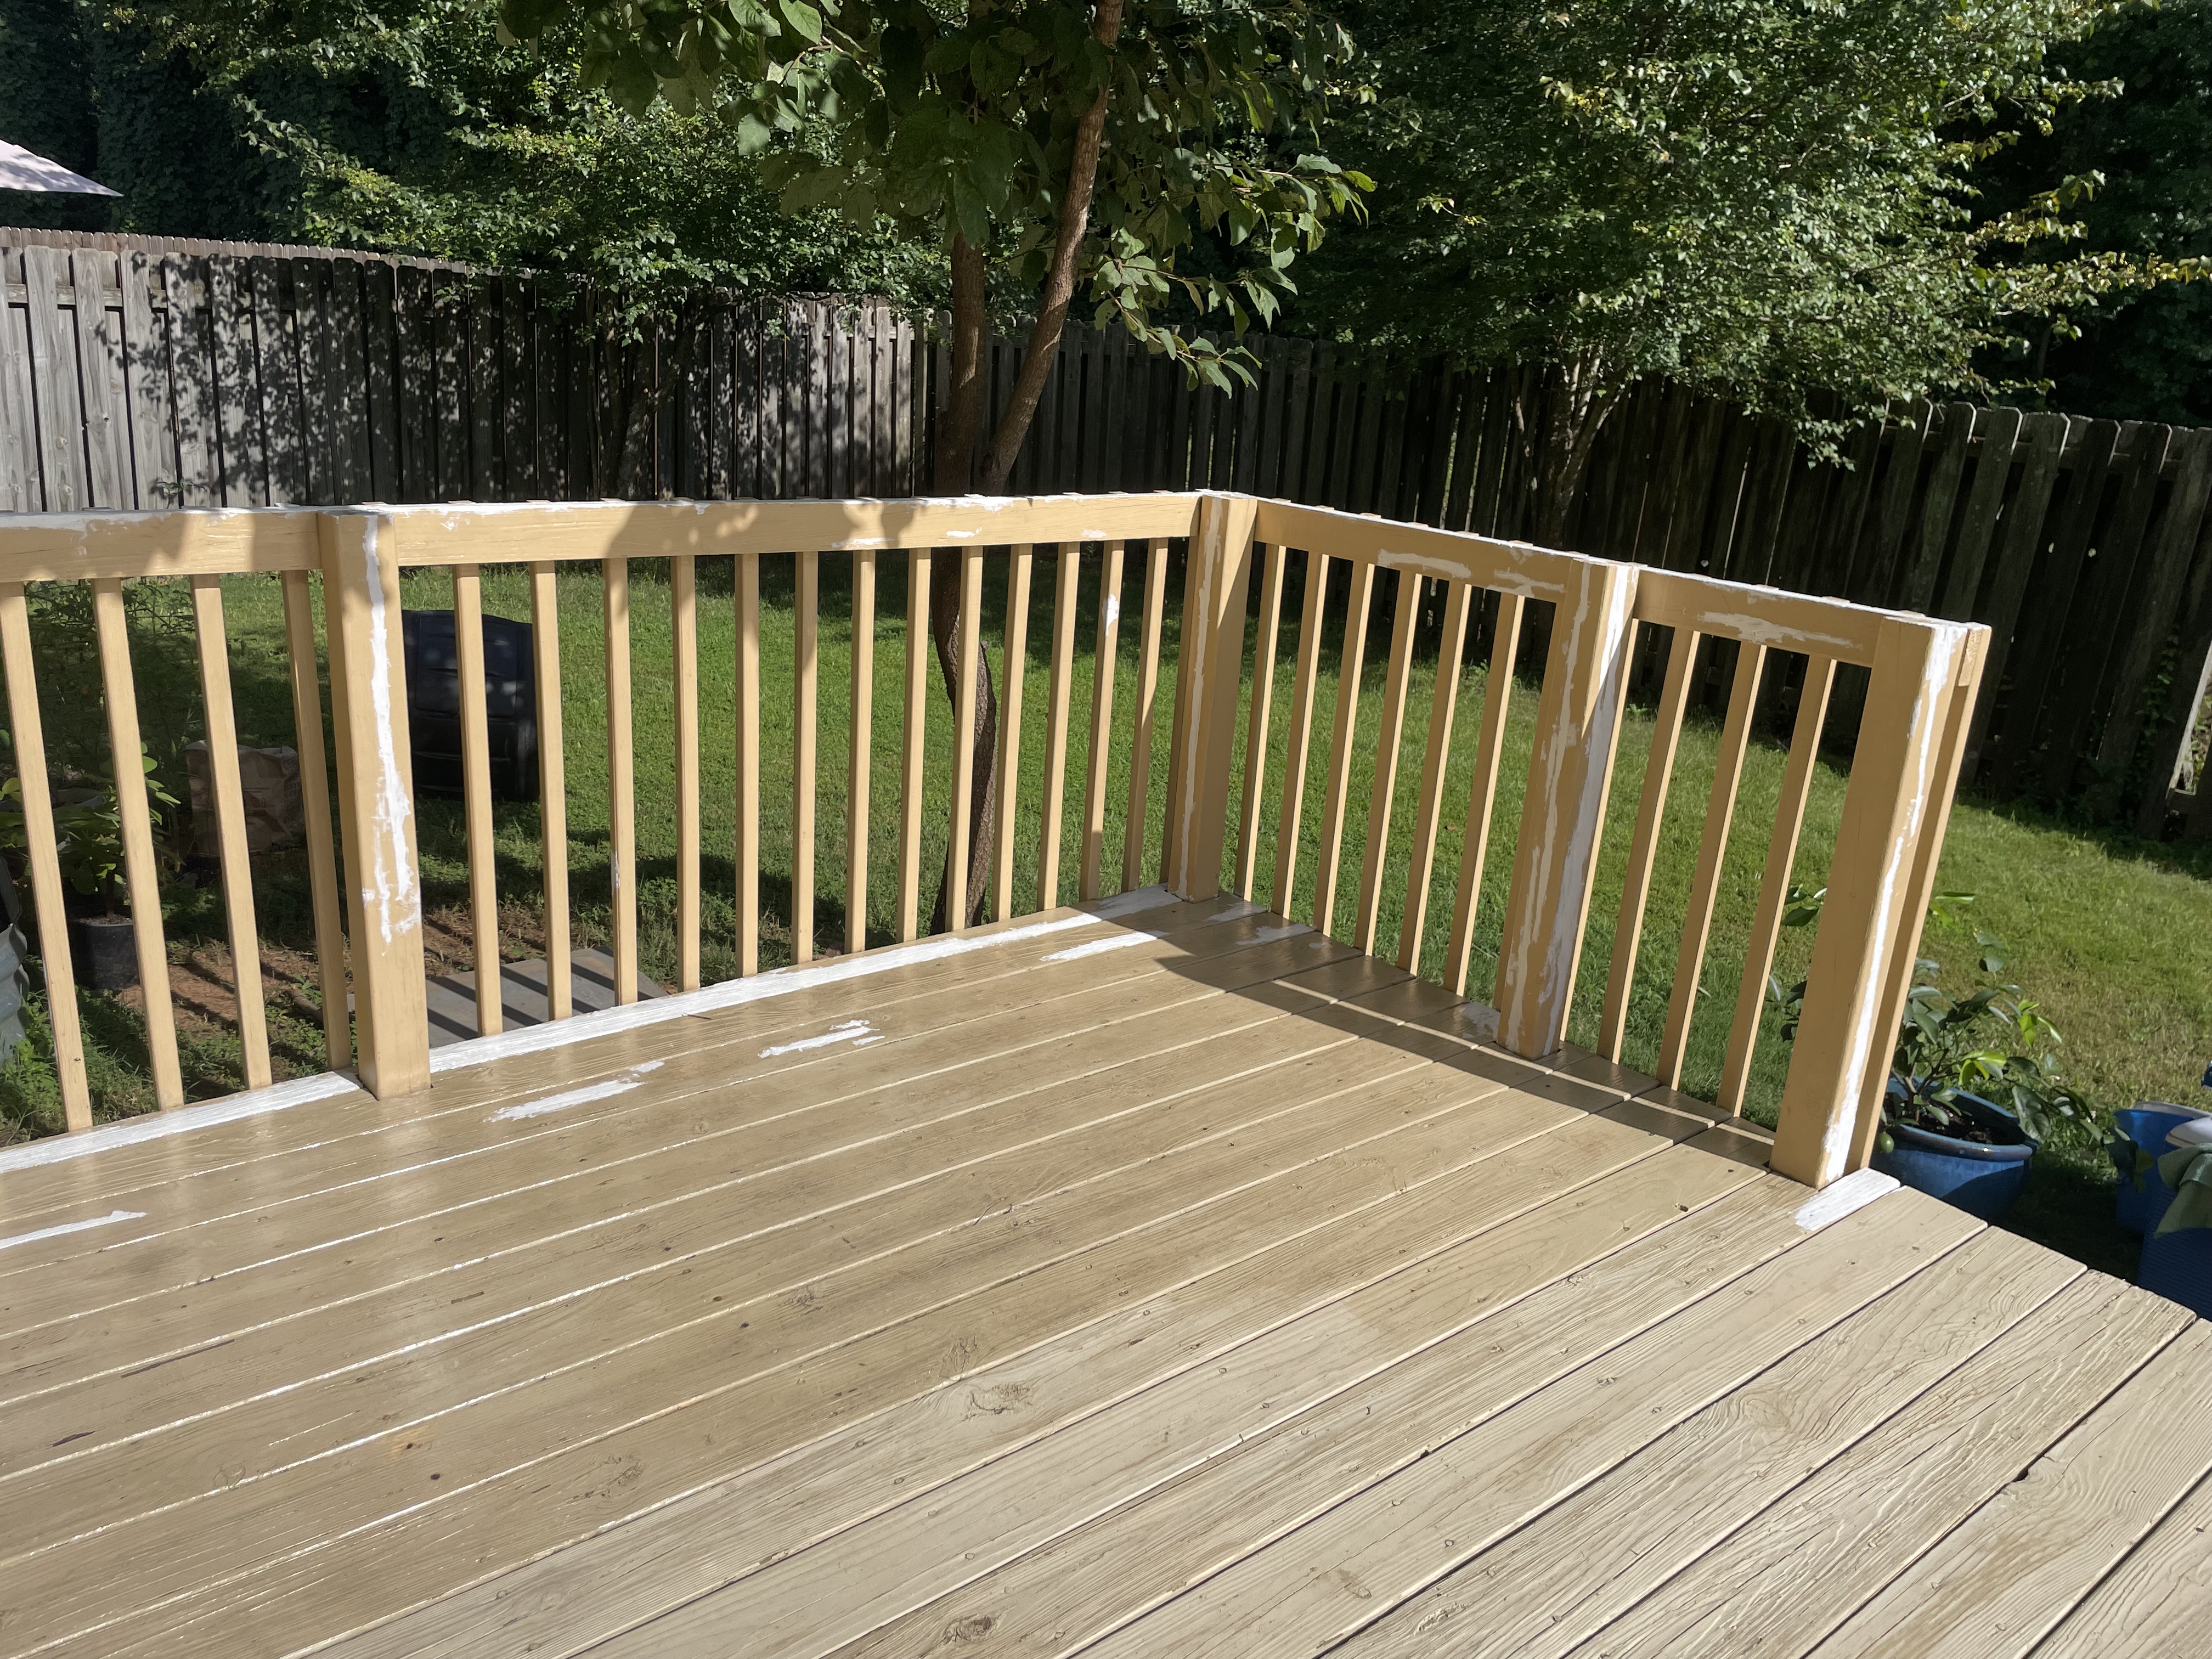
After the deck dried, I started with the most tedious and difficult part: I caulked and primed the railings and several boards near the rails. It took a couple of days as most of the rail posts developed deep cracks (white streaks in the picture) and the caulk was not easy to handle due to its thickness:
The instructions said the caulk would require at least 24 hours to dry, so I had to leave it at that. I also had to stop and go all the time because it was raining on and off, taking more time for the caulk to dry. Once it was completely dry, I primed it and painted the railed off part with the first coat of paint.
The railing looked good, but a little streaky from the brush strokes so I knew I'd have to give it a second coat. I did it the next day. Then I continued to caulk the major cracks and moldy places on the rest of the deck.
Soon, I realized that I didn't have enough Liquid Rubber caulk and used another brand in addition, which was not white but transparent. And on two particularly bad boards in the center of the deck I used Sylica sealant, which was a big mistake that would bite me in the backside later. But this is how the deck looked after I completed two coats of paint on the rails and the entire deck caulking on August 7:
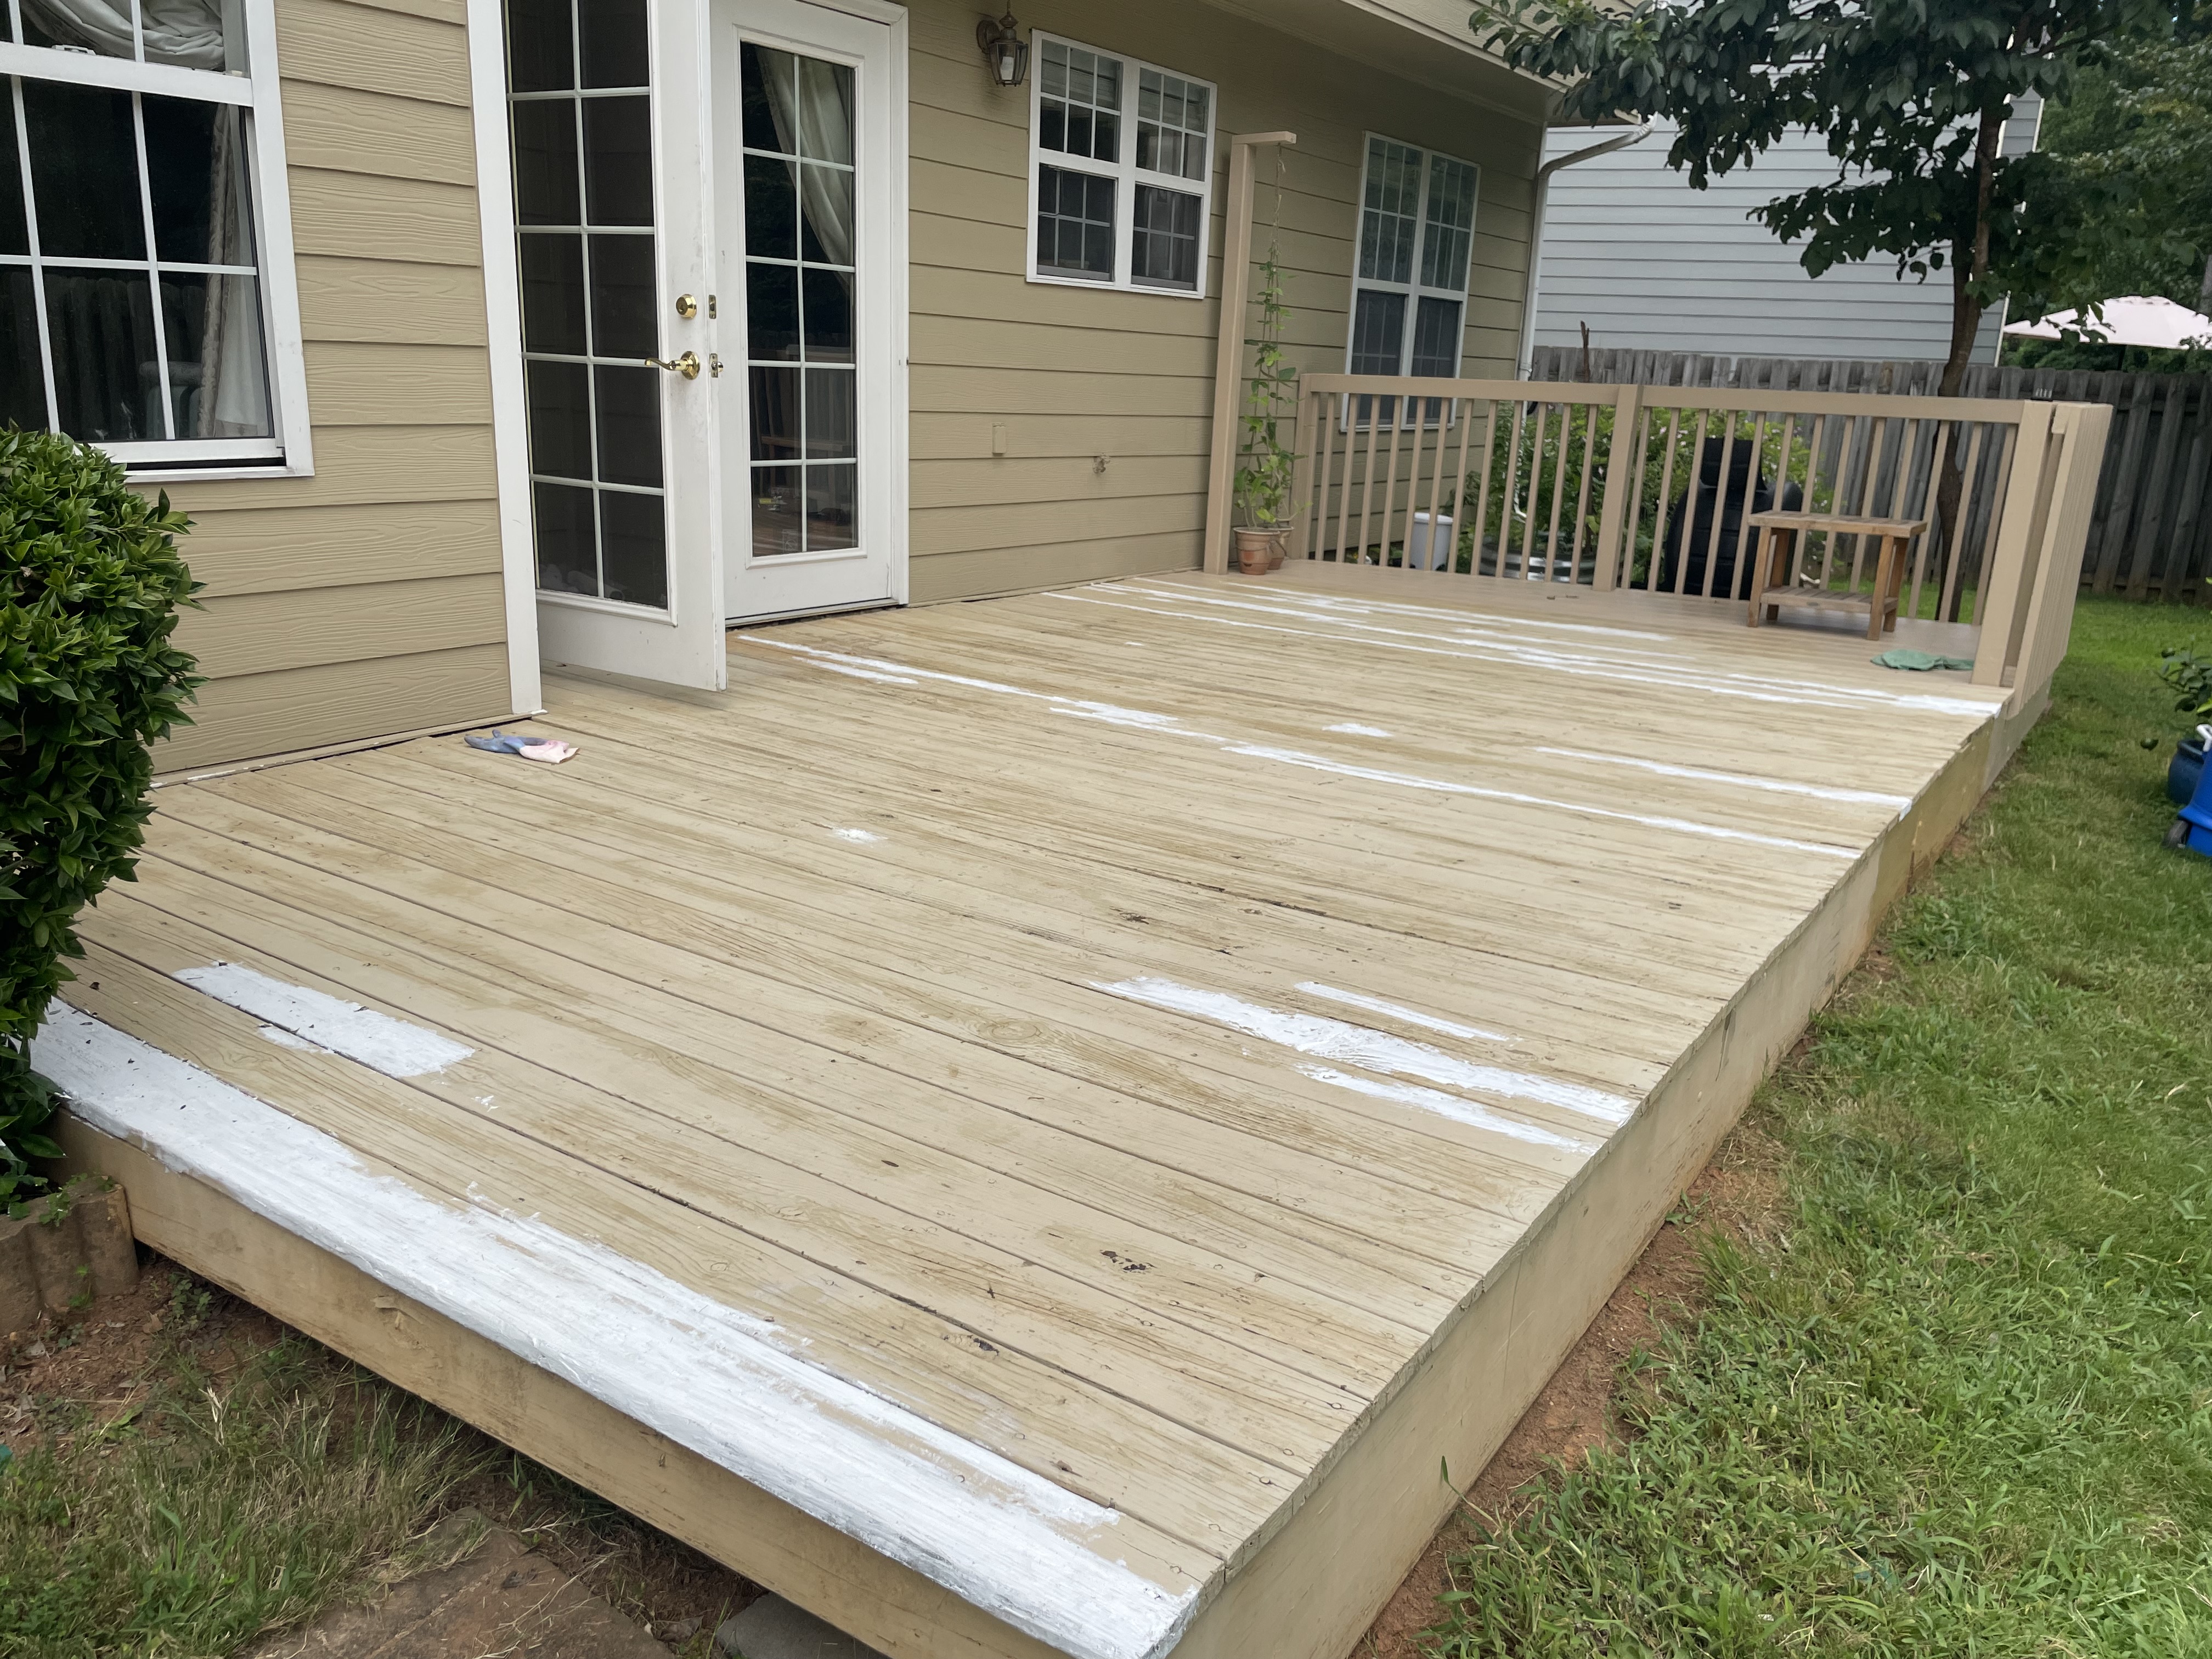
You probably won't see a difference right away in the paint because I selected the Liquid Rubber paint in natural beige, which is very close to my old paint color, on purpose. But if you zoom in on the railing, you will be able to see the difference.
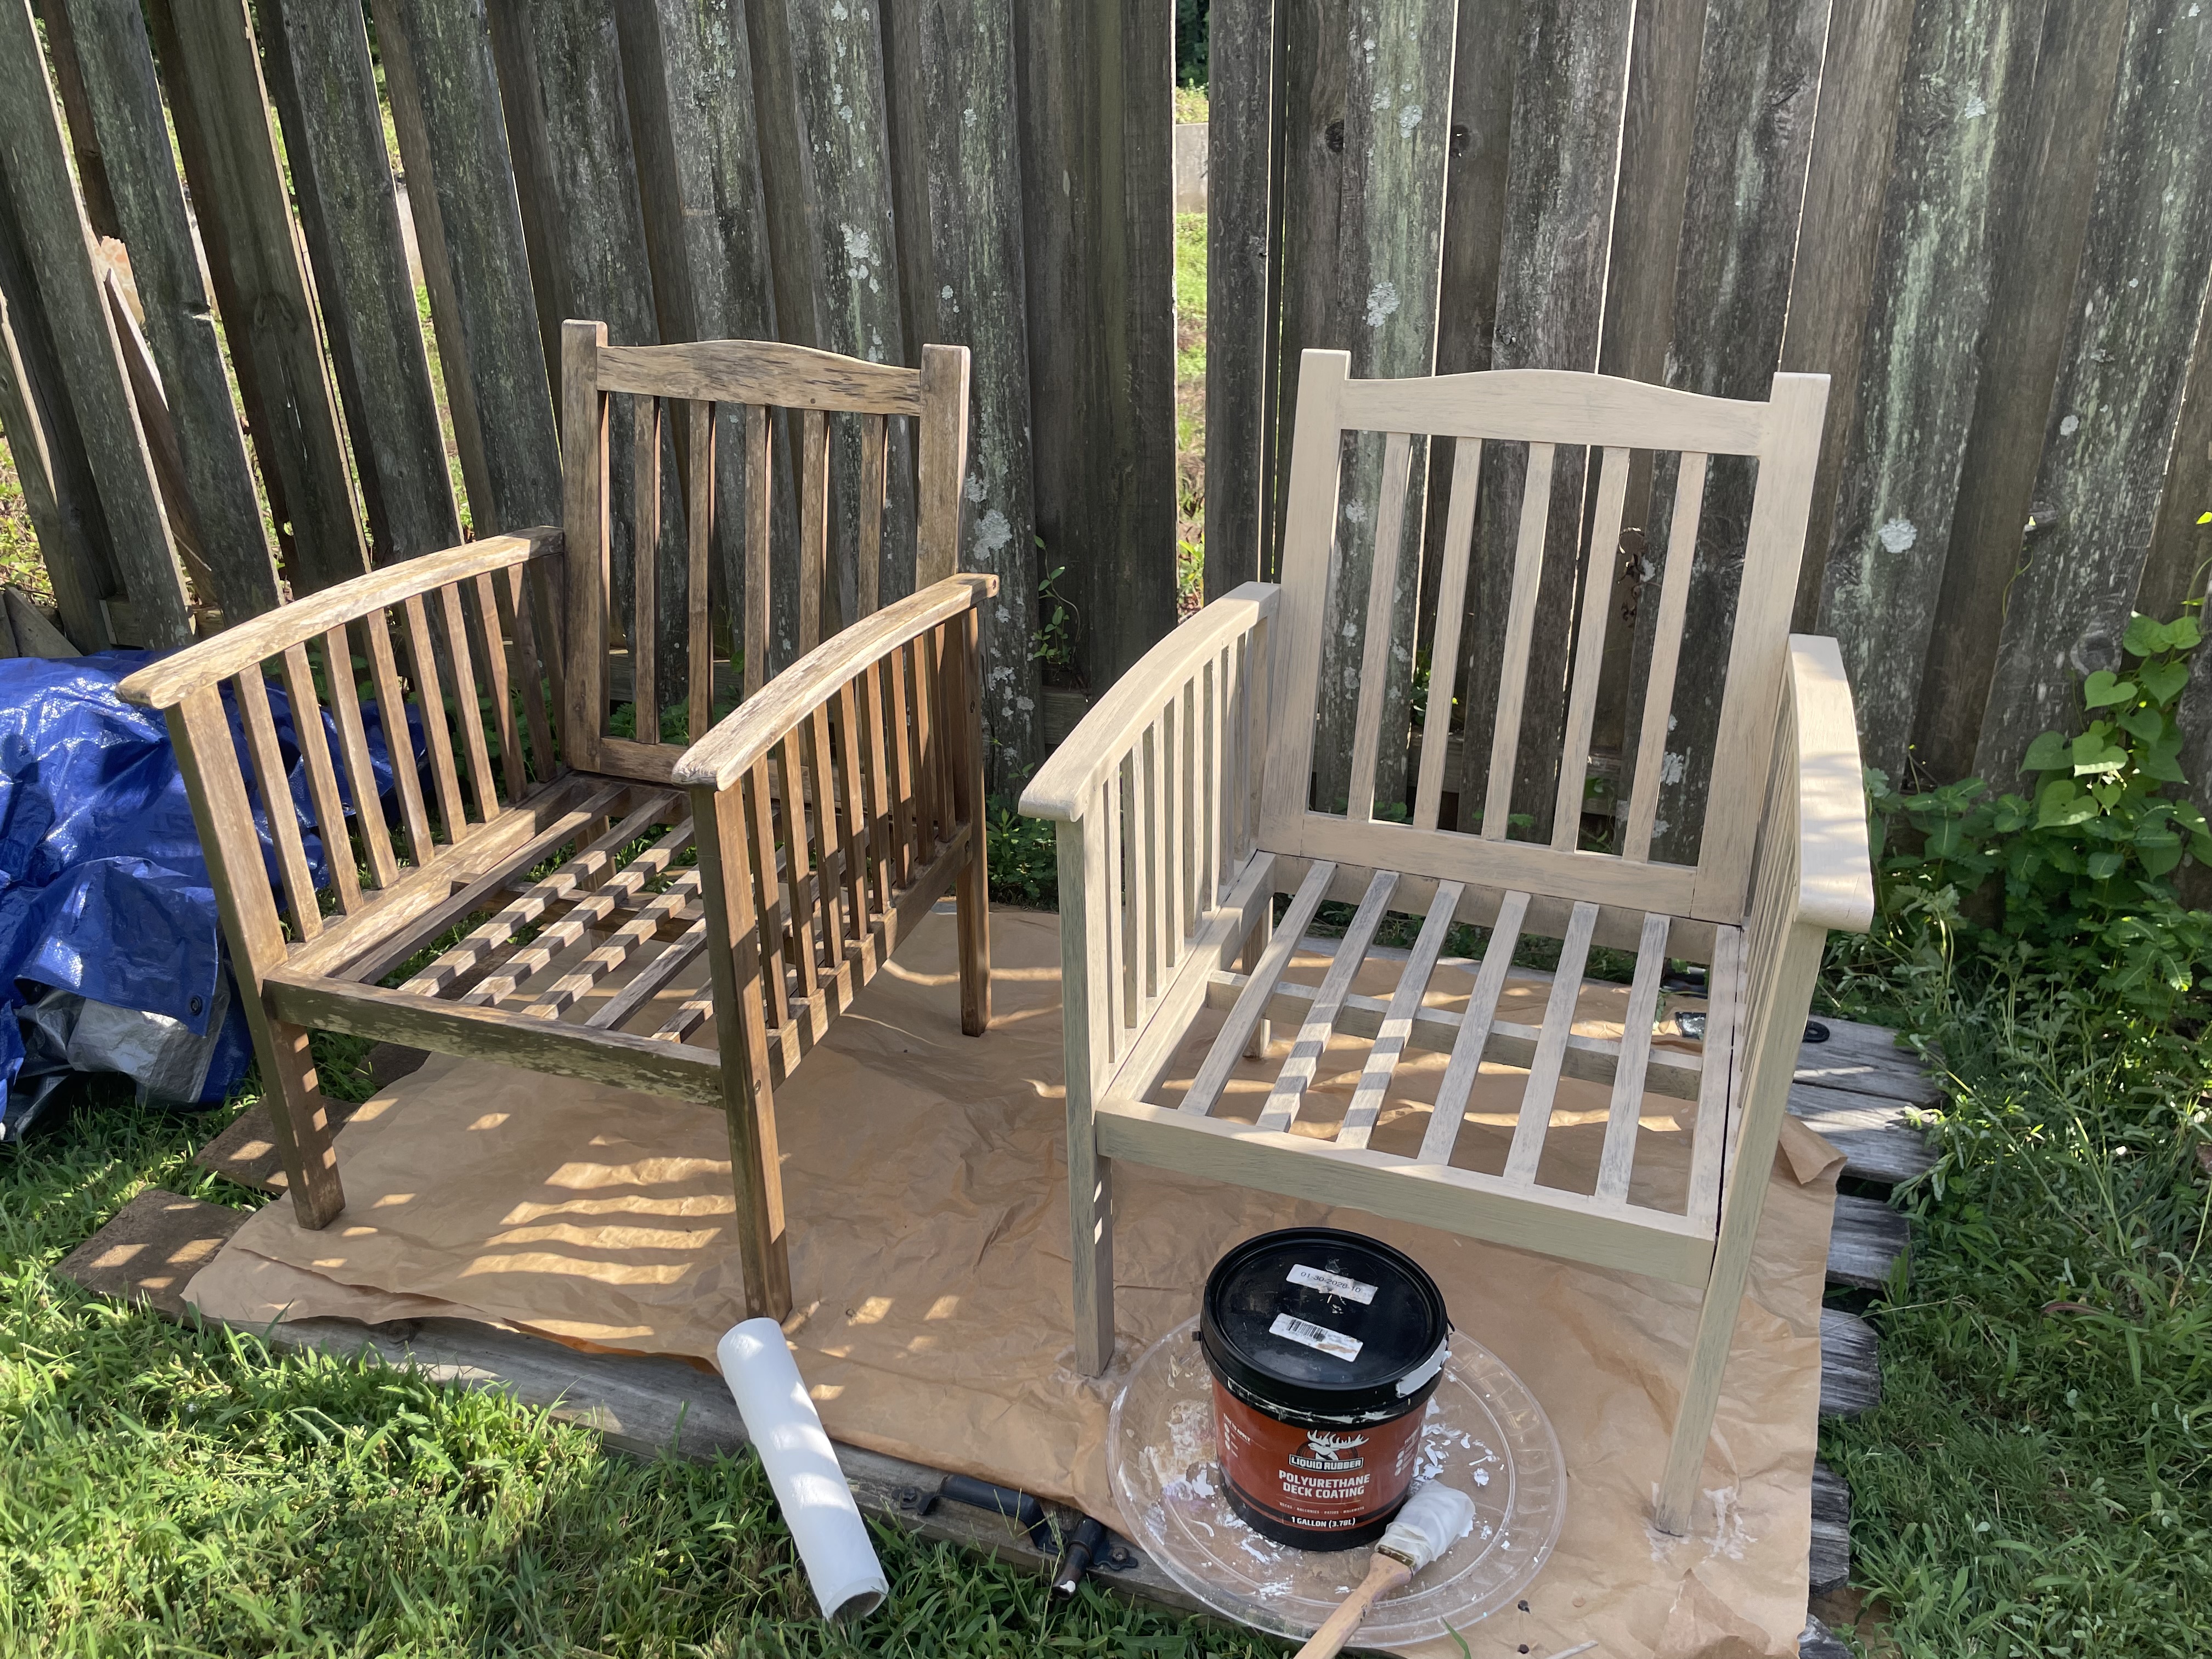
While I was waiting for the caulk to dry, I took on a side project - priming and painting a pair of outdoor chairs I picked up at the dumpster the year before. They were made of good, solid wood, so I just couldn't let them go to the landfill. I cleaned them up, tightened loose bolts, and this is how they looked after priming (the left one) and first coat of paint (the right one). You probably guessed that I used the same Liquid Rubber paint, to match the deck.
The weather during that week was crazy: it would rain in the morning and get really hot in the afternoon, making it impossible to work outside. Or vice versa - hot in the morning, raining in the afternoon. I had to watch the weather and try and catch the dry windows to continue with the project.
After the caulk was finally dry, I primed it. The primer was quick to dry so I started painting the deck almost right away. It was easier to paint the open deck because I used the roller, not the brushes like on the rails. Just as I finished the first coat at around 8 pm on Aug.9, it started raining. I thought the first rain would be a good test for the paint, and this is what I woke up to the next morning:
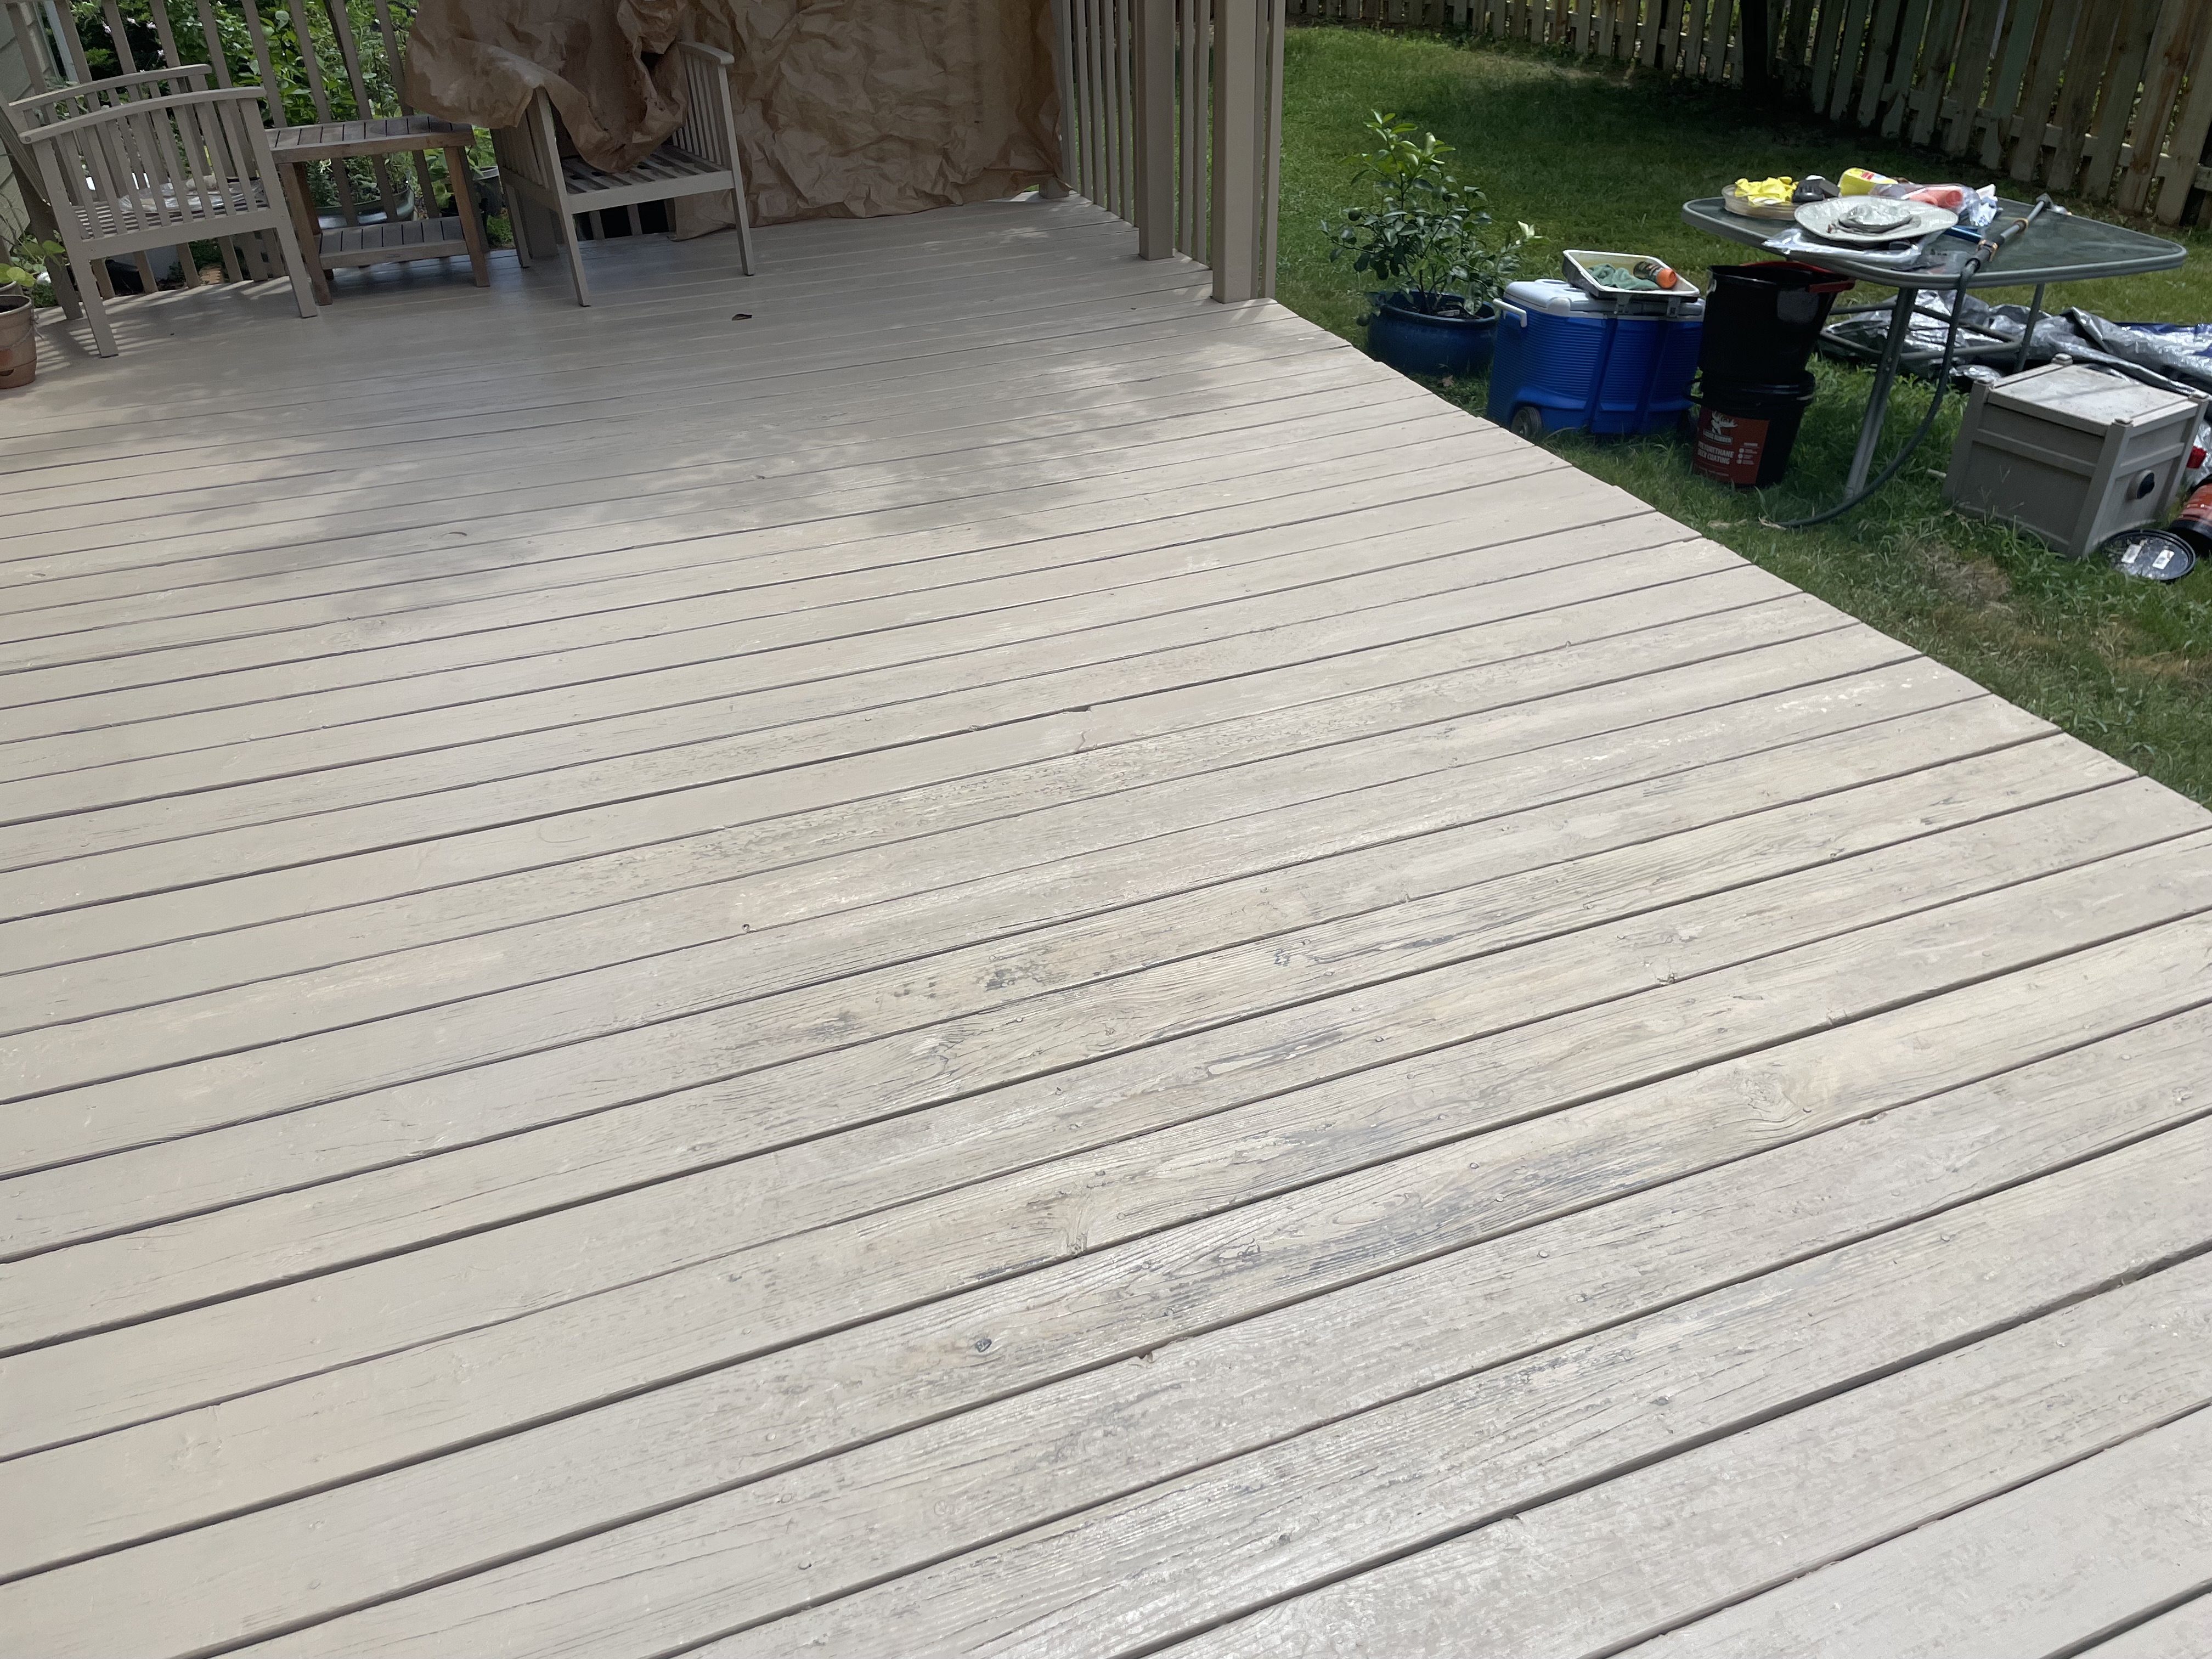
You can see the blue spots and streaks from the water damage. So I had to wipe that off, let the boards dry, and repaint the affected part of the deck. That was not the only setback, though.
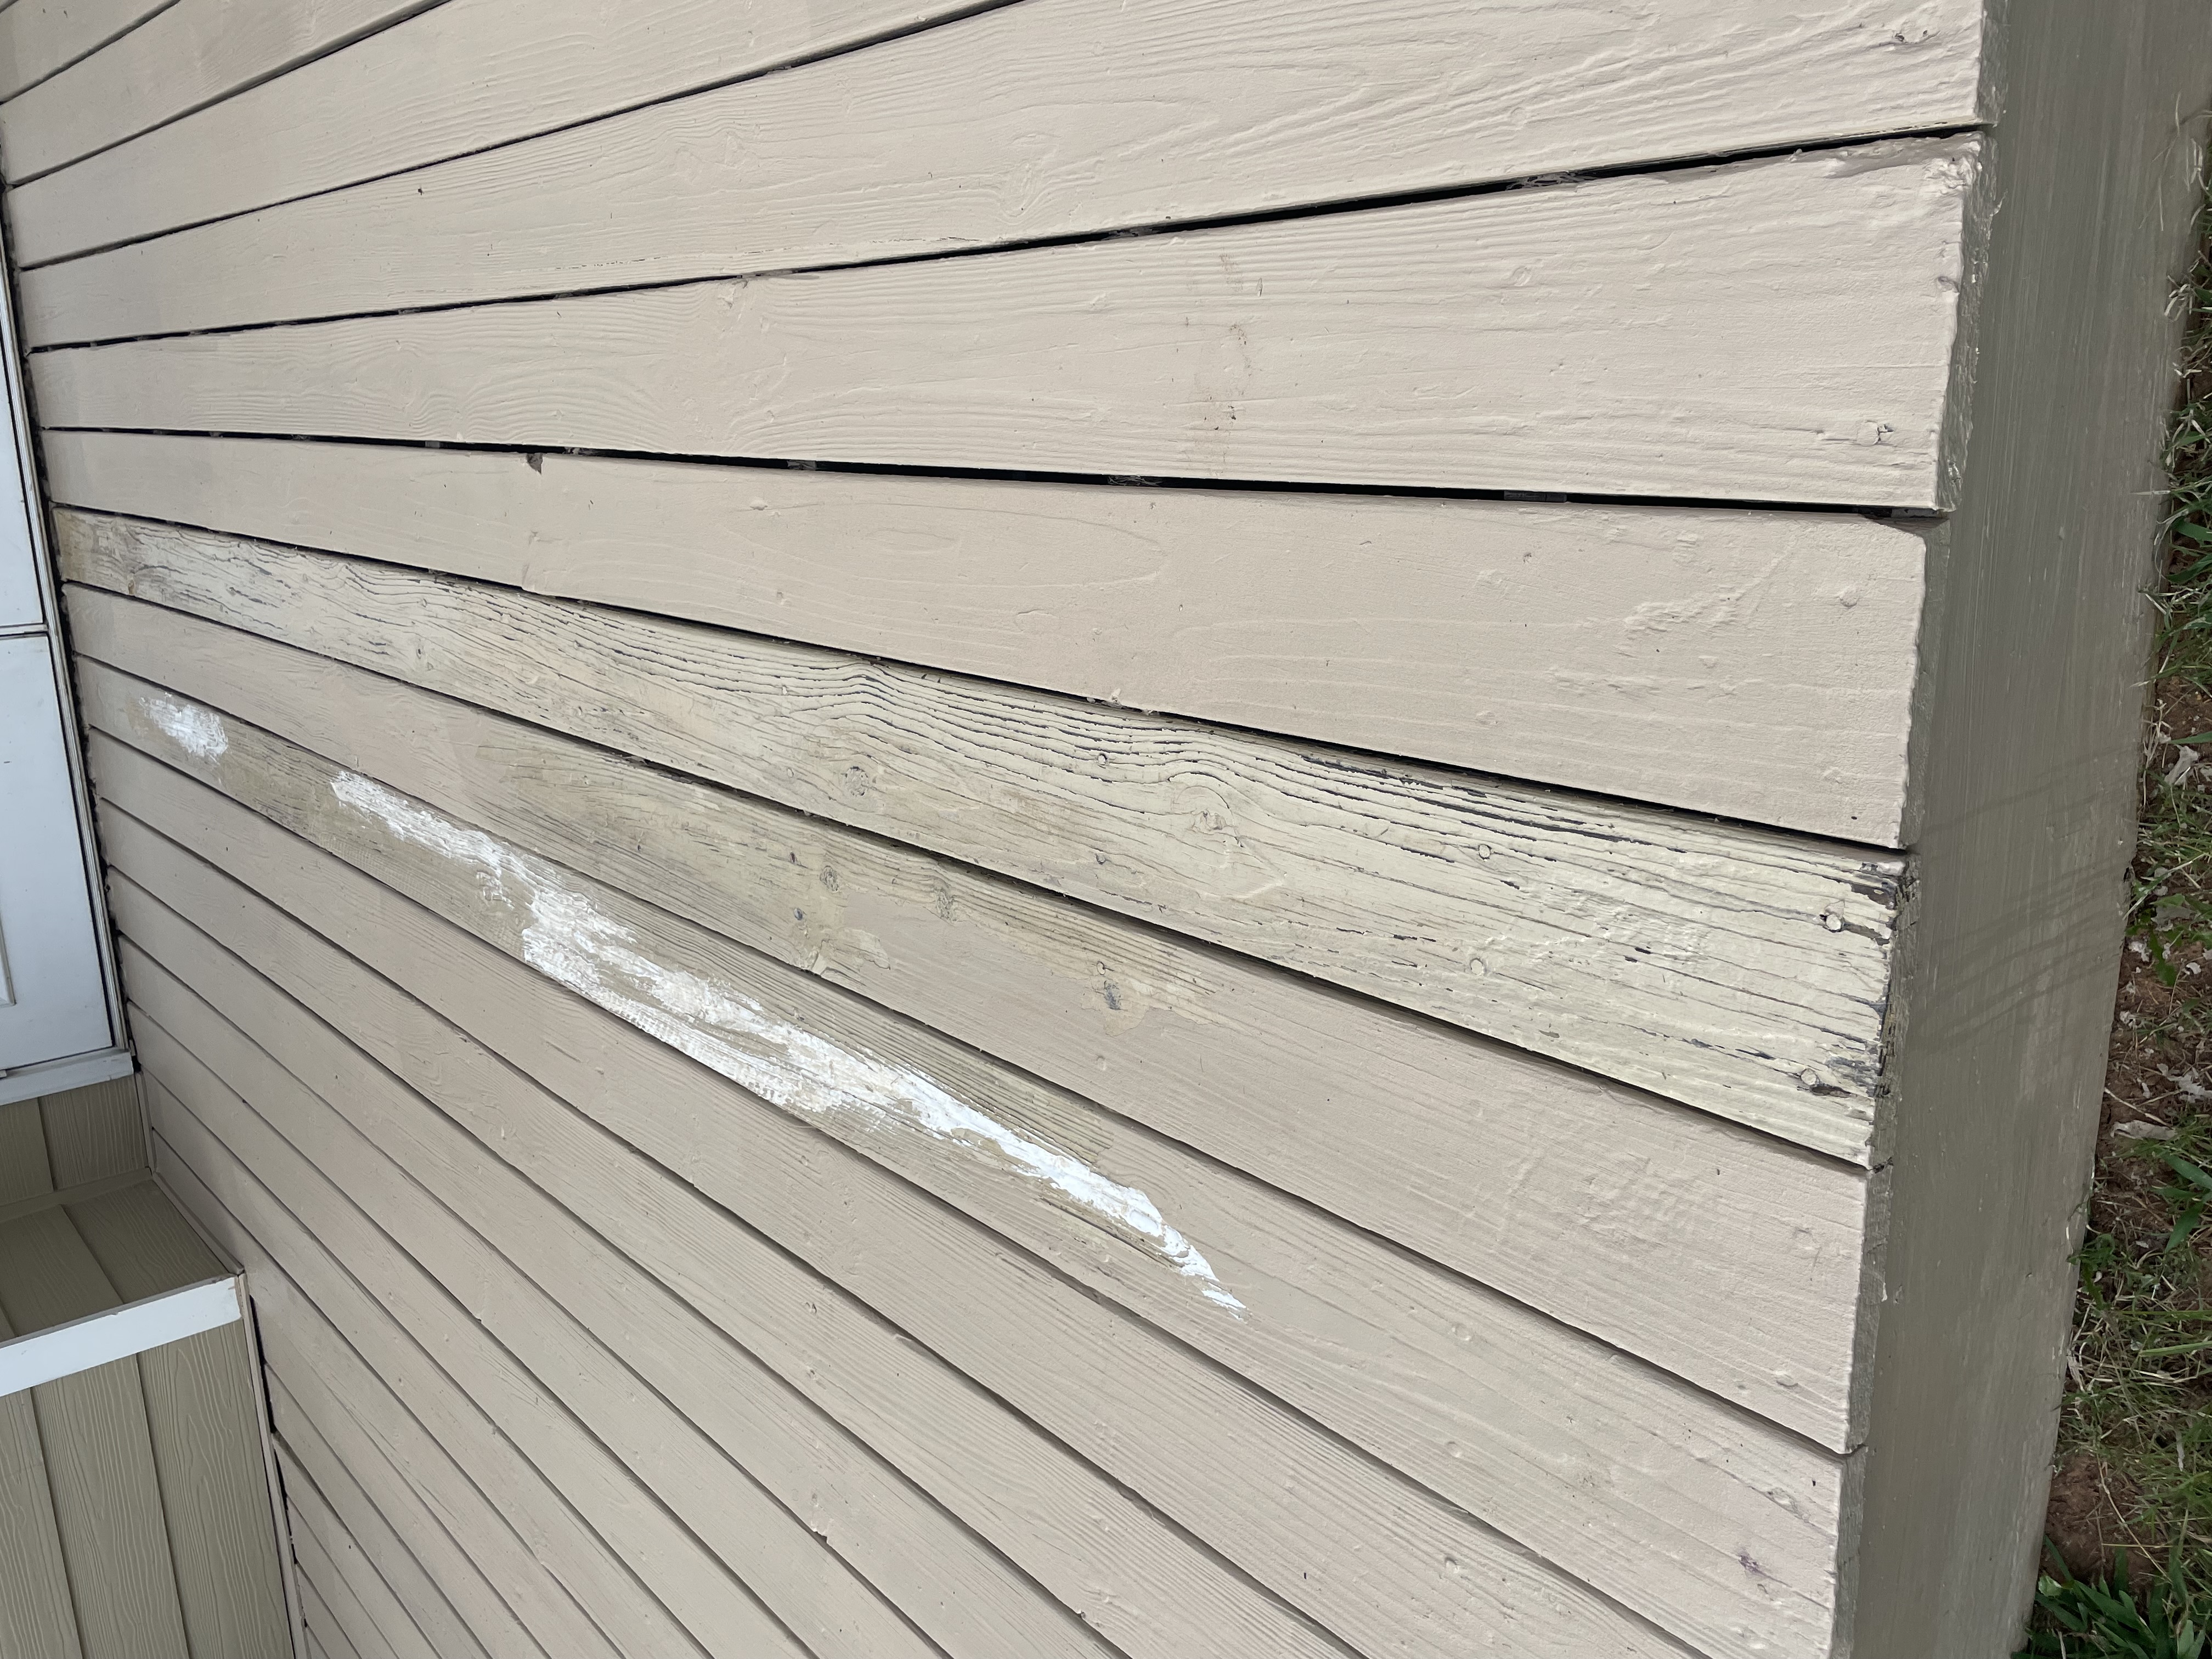
The next morning I noticed that the paint was coming off on my most troubled boards that I treated with Sylica. It was peeling off in whole chunks, like a human skin after a bad sunburn. I had to remove the paint from the boards entirely and strip them with rubbing alcohol to remove the Sylica (alcohol speeds up the process of moisture removal). This is how they looked while they were drying:
And the next day, the Atlanta heat came back in full force and I was able to repaint the troubled boards and give the entire deck the second and third coating of paint. The trick with the second and third coating was to do it in different directions, alternate with and against the grain. Apparently, the paint would stick better if coated that way.
I finally finished the entire job on Saturday, Aug.15, just one day before I was to leave. It took almost two weeks to complete, due to weather and other mishaps. But in between working on the deck I also repaired the fence, which I wrote about here.
The deck's paint now looks strong and durable, like concrete, but only time will tell if it will really last for 10 years.
About the Creator
Lana V Lynx
Avid reader and occasional writer of satire and short fiction. For my own sanity and security, I write under a pen name. My books: Moscow Calling - 2017 and President & Psychiatrist
@lanalynx.bsky.social
Enjoyed the story? Support the Creator.
Subscribe for free to receive all their stories in your feed. You could also become a paid subscriber, letting them know you appreciate their work.
Comments
There are no comments for this story
Be the first to respond and start the conversation.