


It’s okay to love jewelry and handcrafted jewelry is always special. Earrings are noticed and admired by everyone. Then, why not make a pair of beautiful earrings yourself, that will catch everyone’s eye? Making handmade jewelry is a hobby that helps you express your creativity. You can make jewelry items that match your clothing style, items made especially for certain events, or you can offer them as gifts to your friends and family. All you will need is some simple tools, findings, and beads. You can find all these items in specialized stores or order them online. Learning how to use them is not difficult and once you master the basic jewelry-making techniques, you will be able to create very nice items, that you will always love wearing. You can also turn your hobby into a business and sell the handmade jewelry you have created in a store or online, in your own online shop. Handmade jewelry is very popular among buyers and it is appreciated especially for its uniqueness and for the fact that it expresses the personality of the artist. Wearing it always makes a person feel special.
In this article, I’ll explain how you can make a pair of wedding earrings, using white pearls. You can create a pair of earrings that will remind you of that magical day forever.

List of Supplies:
Tools:
Chain nose pliers
Cutting pliers
Round nose pliers
Findings:
2 Fish hook ear wires
2 Headpins
2 Eye pins
Beads:
2 small white round pearls
2 large white round pearls
2 teardrop-shaped white pearls

Thread on the teardrop pearl onto the headpin.
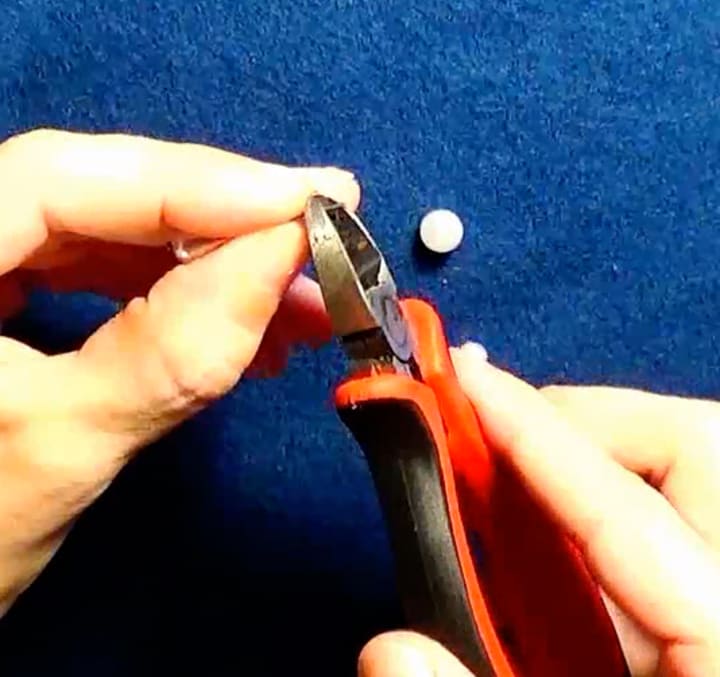
To make a nice-sized loop, you will need to use about 1 cm of the wire of your headpin. If you have any more than this leftover after threading your bead on, trim off the excess wire using the cutting pliers, so that you can make the loop.
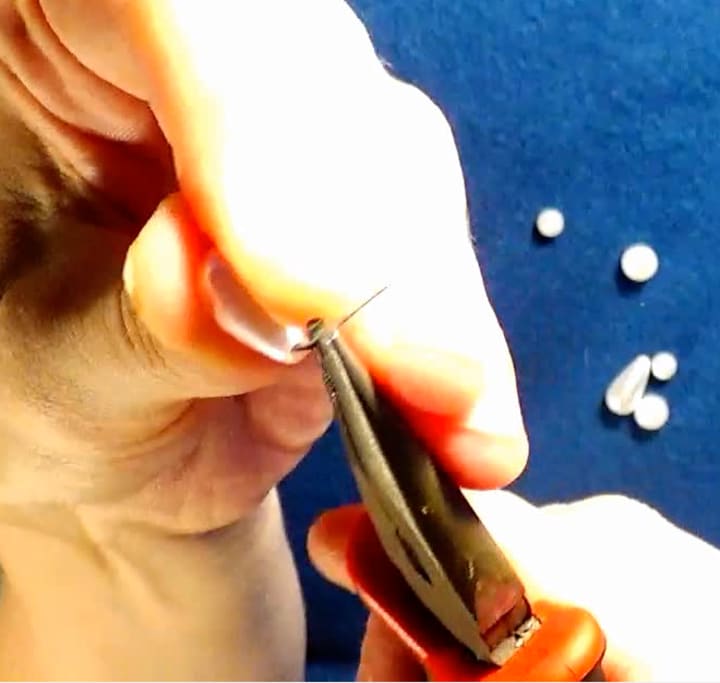
Using the chain nose pliers, bend the end of the pin to 90 degrees, as shown in the image.

Place the round nose pliers around the tip of the headpin. Press it tightly and roll it inwards towards your beads. Roll the loop into place so that the wire follows the natural curve of the pliers. Do not pull it or let go halfway through, since this can result in the loop being misshapen. Do not close the loop entirely, so that you can later connect it to the eye pin which has the round pearls.

Thread on the round pearls onto the eye pin and bend the end of the pin to 90 degrees, using the chain nose pliers.

To make a nice-sized loop, trim off the excess wire using the cutting pliers so that you can make the loop. Place the round nose pliers around the tip of the head pin and roll it inwards to form the loop. Again leave the loop open, so that you can attach the fish hook ear wire.

Attach the open loop of the headpin to the eye pin.

Using the round nose pliers, close the headpin loop. When you’ve finished, your loop should rest against the last bead you threaded on.
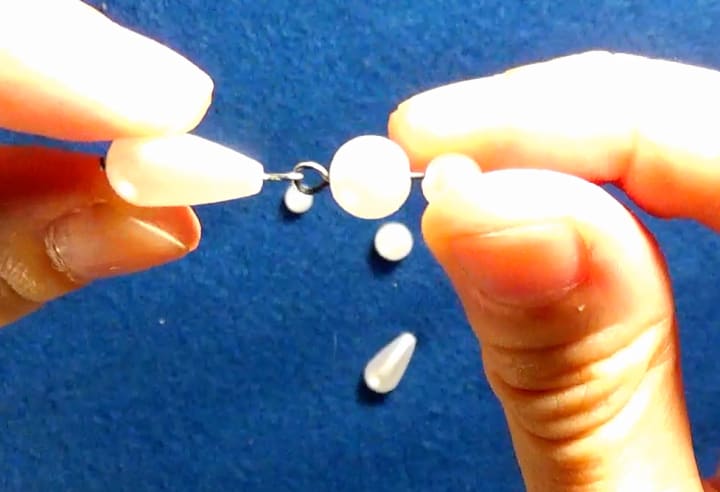
Now the two pins are attached.

Attach the fish hook ear wire to the open eye pin loop.
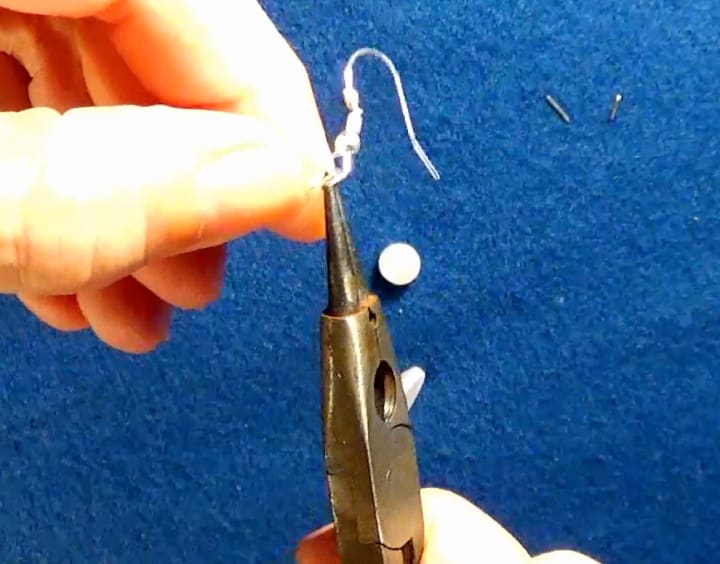
Use the round nose pliers to close the eye pin loop.

Once the fish hook ear wire is attached, the first earring is ready. Now follow the same steps for the second earring.

Time to show off your super cute white pearl wedding earrings!
About the Creator
My Ideal Weight with Alpilean Supplements A Transformative Journey
For 6 months, I utilised the Alpilean Supplements, Healthy Weight Loss product, and it truly changed my life. For someone who has battled for years to control their weight, discovering a way to reduce weight while simultaneously improving general health was like finding the promised land. My energy, happiness, and—most importantly—my body composition all significantly improved as soon as I started using Alpilean in my daily routine. Here's why, if you're wanting to start your own journey towards a healthy living, I wholeheartedly endorse Alpilean.
By Peter Jhon4 days ago in Lifehack


Comments
There are no comments for this story
Be the first to respond and start the conversation.