

There are two types of pond or pool: formal and informal. The formal ones are usually square edged and can be either raised above the ground level or flush with the ground and are most often built in block, concrete, and rendered to finish.
The informal ones are a hole dug in the ground in any shape you fancy with a liner filled with water. Sometimes clay instead of a liner is used around the inside of the pool then filled with water.
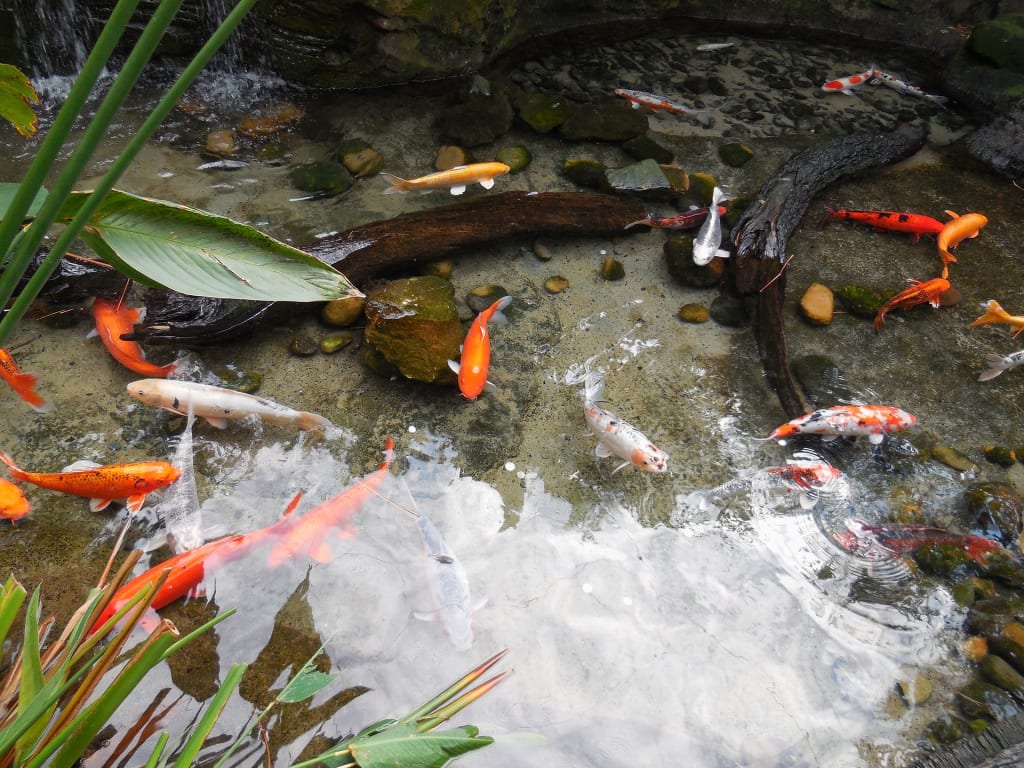
Stones or slabs can then be put around the edges to hide the liner, or if clay has been used, then grass or plants can be left to grow right up to the water's edge.
After the hole has been dug and before the liner is put in, all sharp objects need to be removed so the liner does not get punctured. A coating of sand will help with this by being spread over the whole of the pond before the liner goes in by up to an inch thick and slightly moist to help it stay in place as the liner is fitted.
The first thing before starting a formal pond is to determine the best place for it to go. Close to the house or building, perhaps around the patio area, means you can sit and see the pond and watch the fish while having meals or coffee at any time. It is important to keep the pond away from trees as the leaves are hard to remove and will just stagnate in the bottom of the pond. The pond can be made any size, and for Koi, the fish would have to be fairly large to give them room to swim around.
Most formal ponds are raised about 15 to 18 inches above the ground which saves a lot of digging out and disposal. Having a raised pond means you can sit around the edge.
You should be able to build a ten foot pond on your own, but anything bigger than this would need more than one person to build.
Ponds in cold countries need to be three feet deep to allow the fish to survive when the water freezes.
First thing is to mark out the edges of the pond with pegs and string, then dig down to solid ground. Once you have your base to work from you can fill in up to six inches on the bottom with rubble broken up small, less than fist sized chunks. Then sharp, rough sand or dust packed down. You can use a compactor machine for this, or a ram-rod for small ponds.
Next comes the concrete. It needs to be a good mix, measured out correctly, and not too wet or dry. Lay this mix over the compacted sand about four inches thick. (Rebar should be added to the bottom of large ponds to help strengthen them and stop them from cracking.)
Level it off and tamp down with a straight board, this may take two people holding each end and working in unison. Leave to dry for at least three days, and cover from the hot sun to stop it from drying out too fast. When it's dry, the walls of the pond can be built on the concrete slab in block or brick. Block is faster and cheaper. On very large ponds, a concrete foundation will have to be built for the brick or blocks which are laid before the concrete.
Fifteen inches for the walls above ground level is a good height for people to sit around the edges to watch the fish.
When done, leave to dry for three days. Then render all of it in and out in waterproof cement. After that has gone off, then rake the surface with a builder's comb to put a key into it for the next coat.
The next day you can put the second coat of render on. This coat can be finished off and made smooth. The inside will be under water and so does not have to be perfect, but the outside will be seen, so get this as smooth as you can.
Leave to dry and cure properly for about ten days. Then fill it with water and leave for a day to flush out any toxins from the cement.
Cement takes a long time to cure fully and will release toxins into the water during this time. One way to overcome this is to paint the inside of the pond with a waterproof pond paint and let dry as per the manufacturing instructions. Then wash out with water and fill to the desired lever, then leave for a few days for the chemicals in the water to evaporate.
If desired, a small shelf can be built into the pond as you are building it for shallow pot plants to be placed around the edges. Basketed lilies can go into the deeper water. Oxygen plants can be spread around. Pond snails and bottom feeders can be put in to keep the pond clear. Then the fish can be introduced. It is always best to use a ph kit to ensure the water is good enough for the fish to swim in.
It takes a while for the pond to become properly established and balanced, and will take a little bit of maintenance until it does.
The top of the pond can be left in render, or decorated with coping slabs of your choice.
Fish in the Garden

About the Creator
Dean Moriarty
writer, artist, musician and photographer
Keep reading
More stories from Dean Moriarty and writers in Lifehack and other communities.
Intermittent Fasting for Rapid Weigh loss
Start writing...Intermittent Fasting is extremely popular worldwide. It turns out to be an effective way to lose weight. With intermittent fasting you alternate short periods of eating with periods of fasting to effectively lose weight.
By Elhassan Errezzaki4 days ago in Lifehack
Your Money-Making Journey Can Be Affected by Your Body Odour!
Introduction The world of money is not a lonely one. Serious money involves business and social interactions. These interactions help to forge networks and networks are essential leverages for creating wealth. One of the things that can deprive you of peace of mind and limit your opportunities for personal development is having bad body odour. If your body emits an unpleasant odour, people will try to avoid being close to you, and for those close to you who cannot avoid you all the time, they will be living in very difficult circumstances.
By Juma Killaghaiabout 18 hours ago in Lifehack


Comments
There are no comments for this story
Be the first to respond and start the conversation.