
Installing Golf Nets: A Comprehensive Guide for Creating a Safe Practice Environment
Installing golf nets is an effective way to create a safe and convenient practice environment, whether in your backyard, at a driving range, or even indoors.

Installing golf nets is an effective way to create a safe and convenient practice environment, whether in your backyard, at a driving range, or even indoors. By containing golf balls within a designated area, these nets help protect people, property, and surrounding areas from potential damage. In this comprehensive guide, we will walk you through the step-by-step process of installing golf nets, ensuring a successful and secure setup for your practice sessions.
Step 1: Assessing the Practice Space:
Before diving into the installation process, it's essential to assess your practice space and identify the optimal location for your golf net. Consider the following factors:
1. Available Space: Determine the area where you plan to install the golf net. Measure the width, height, and depth to ensure the net fits properly within the designated space.
2. Surrounding Obstacles: Identify any potential obstacles, such as trees, fences, or structures, that may interfere with the net installation or pose risks during practice. Clear these obstacles or adjust the net positioning accordingly.
Step 2: Choosing the Right Golf Net:
Selecting the appropriate golf net is crucial for a successful installation. Consider the following aspects:
1. Size and Dimensions: Determine the dimensions of the net based on your available space and practice requirements. Ensure the net is wide and tall enough to contain golf balls effectively and provide ample hitting area coverage.
2. Netting Material: Choose a high-quality netting material, such as nylon or polyester, that can withstand the impact of golf balls and resist wear and tear. Consider UV-resistant netting to maintain its durability over time.
3. Accessories: Determine if you require any additional accessories, such as poles, stakes, or connectors, to secure the net and ensure stability during practice.
Step 3: Preparing the Installation Area:
Preparing the installation area sets the foundation for a secure and long-lasting golf net setup:
1. Clear Debris: Remove any debris, rocks, or vegetation that may obstruct the installation area or affect the netting's functionality.
2. Level the Ground: Ensure the ground is level and even, providing a stable surface for the net installation. Make any necessary adjustments, such as filling holes or smoothing uneven surfaces.
Step 4: Installing the Golf Net:
Follow these steps to install the golf net securely:
1. Assemble the Poles: If your golf net requires poles or support structures, assemble them according to the manufacturer's instructions. Ensure the poles are sturdy and properly aligned.
2. Attach the Netting: Begin attaching the netting to the poles or support structures. Follow the specific guidelines provided by the manufacturer, ensuring the netting is evenly distributed and taut.
3. Secure the Net: Use stakes or anchors to secure the netting to the ground. This prevents the net from shifting or becoming unstable during practice.
Step 5: Testing and Adjustments:
Once the net is installed, it's essential to test its effectiveness and make any necessary adjustments:
1. Hit Test: Practice hitting golf balls into the net to ensure it adequately contains them. Observe the net's performance and assess if any modifications are required.
2. Check Stability: Examine the stability of the net, ensuring it remains securely in place during practice. Reinforce the installation if any signs of instability are detected.
Step 6: Regular Maintenance:
To ensure the longevity and effectiveness of your golf net, regular maintenance is essential:
1. Inspections: Conduct periodic inspections of the netting, poles, and anchors to identify any signs of wear, damage, or loose connections. Repair or replace any compromised components promptly.
2. Cleaning: Clean the netting regularly to remove dirt, dust, or debris that may accumulate over time. Use gentle cleaning solutions and avoid abrasive materials that could damage the netting.
About the Creator
Solargolfnet
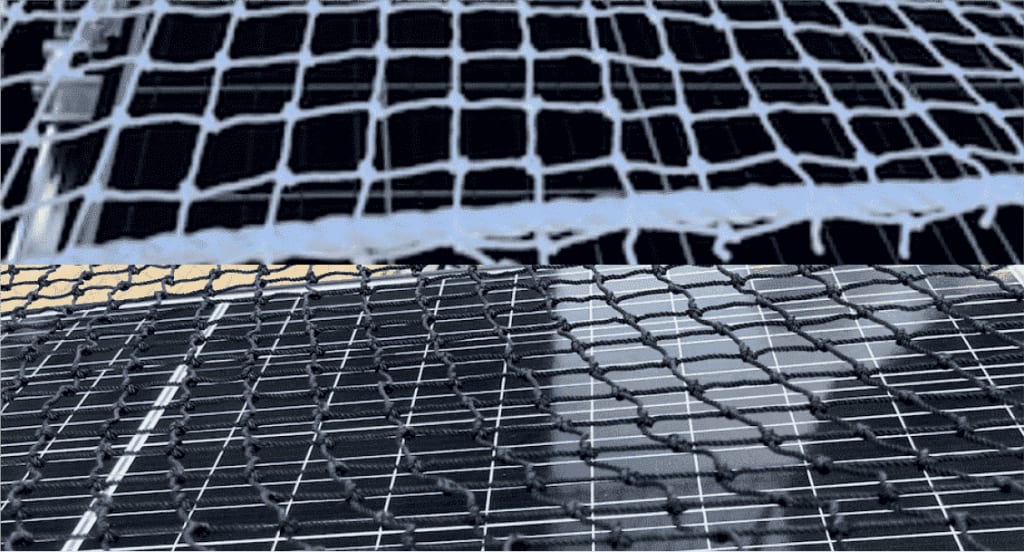
Create a safe and secure golfing environment with a high-quality golf barrier net. Explore our range of barrier nets designed to repel golf balls and protect the underlying equipment from damage.
Keep reading
More stories from Solargolfnet and writers in Lifehack and other communities.
Choose Solar Golf Net Protect Service: Elevating Safety, Sustainability, and Performance
When it comes to protecting your investment in solar panels for golf courses, choosing the service of Solar Golf Net Protect is a game-changing decision. Solar Golf Net Protect offers a comprehensive and innovative approach to safeguarding solar panels, ensuring that your golf course can enjoy uninterrupted clean energy while enhancing safety, sustainability, and performance. Let's explore the compelling reasons why you should choose Solar Golf Net Protect to secure your solar investment.
By Solargolfnet9 months ago in Lifehack
From Darkness to Light
Depression is like a big, heavy cloud that hangs over everything. It makes you feel sad and tired all the time, and it's hard to see any light at the end of the tunnel. I know because I've been there. But I also know that it's possible to beat depression and find happiness again. Let me tell you about my journey.
By Rafayet Rabbi 3 days ago in Lifehack


Comments
There are no comments for this story
Be the first to respond and start the conversation.