
How to Make a Table Napkin
This article will talk about how to make 3 different types of table napkins which can accompany your freshly made tablecloth.


(Please ignore the bad lighting/editing or white cut-offs done on the images in this article, as the images were taken from a very old and classical book from my library)
(Links to certain terms and methods are highlighted in a different colour. Click the link and it will take you the article accordingly)
Napkins
Napkins are the most frequently used table lined, and should therefore be made from durable and easy-to-clean fabric.
Although there are no hard-and-fast rules, you should try to match the size of the napkin with its intended use. A small napkin is adequate for informal occasions and light meals, while a larger napkin is more suitable for dinner parties and formal events.
There are plenty of robust, colourful fabrics to choose from, and you can make napkins to either match or contrast with your other table linen. Napkins can also be edged with decorative trimmings such as binding or scallops.
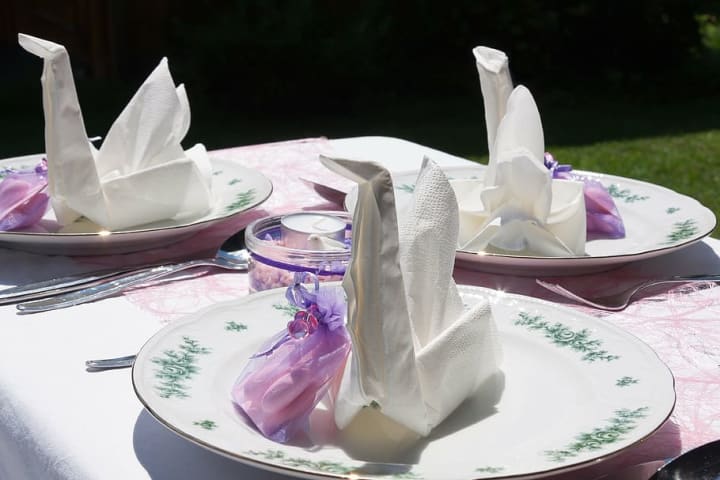
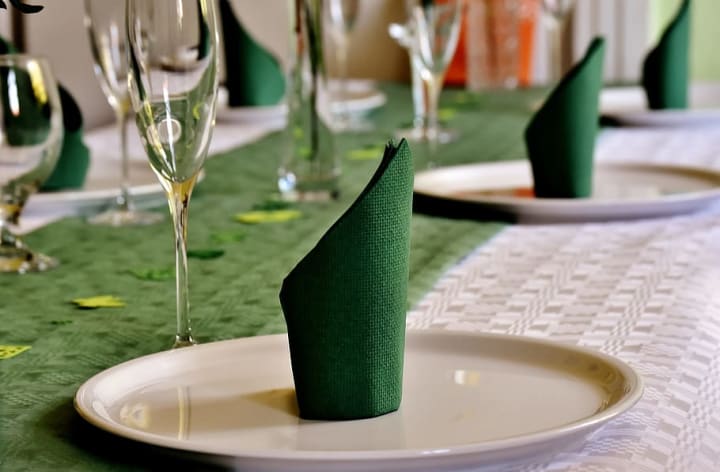
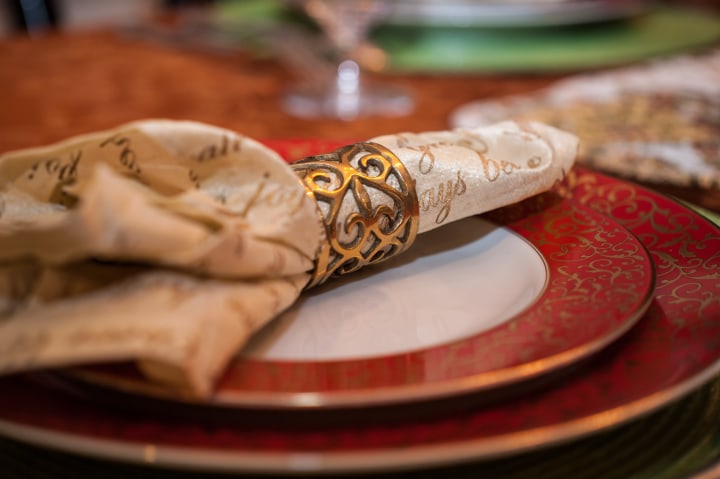
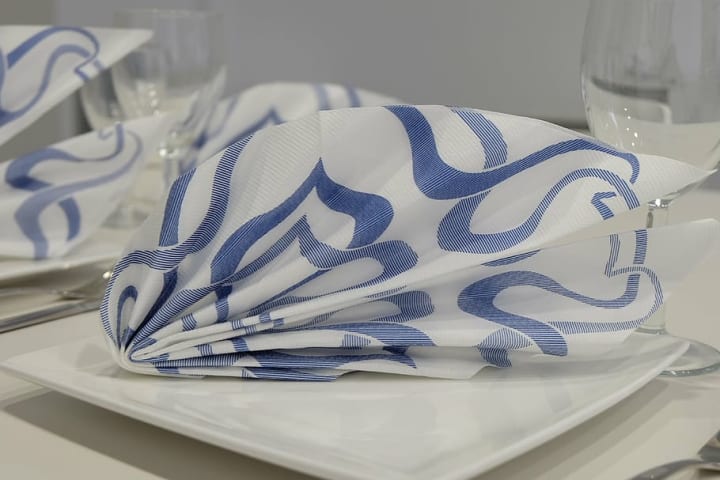
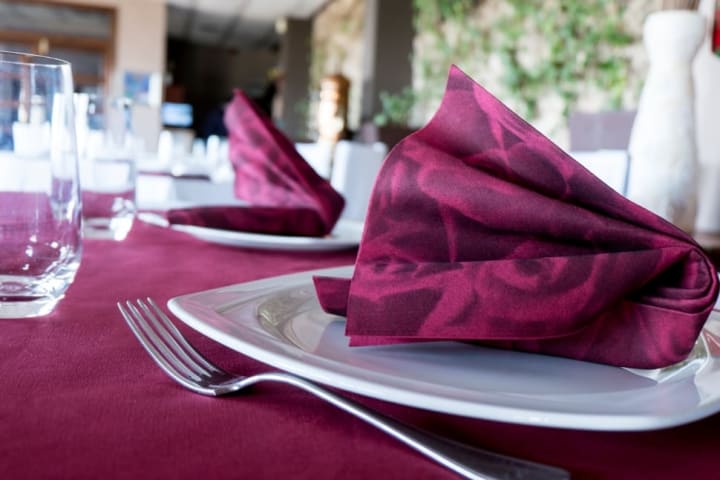
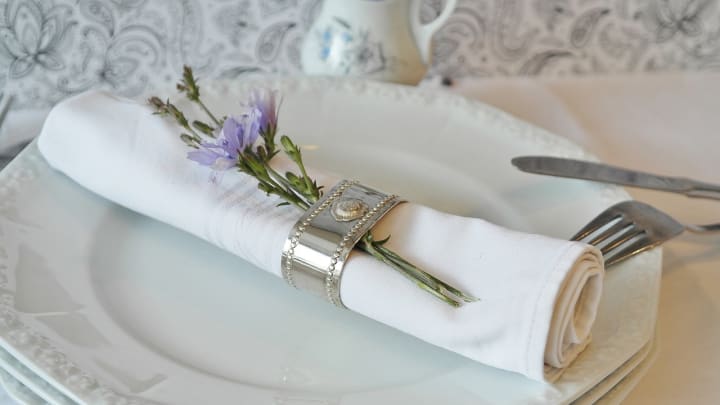
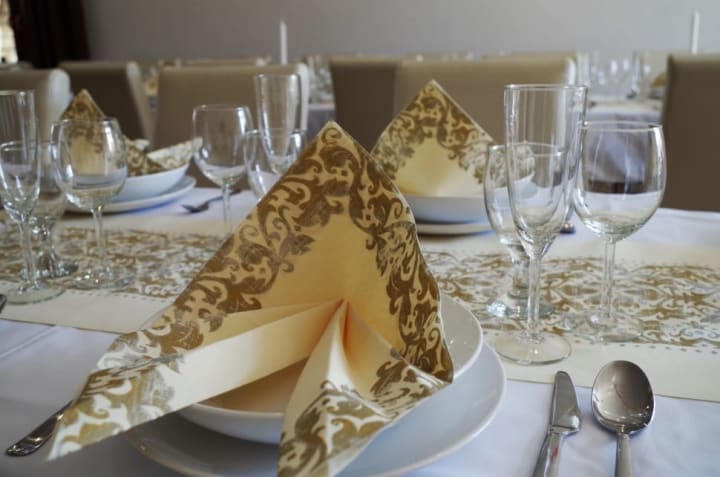
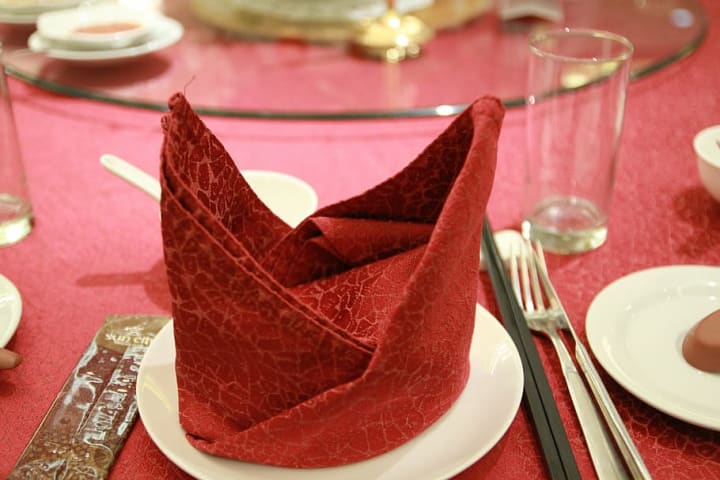
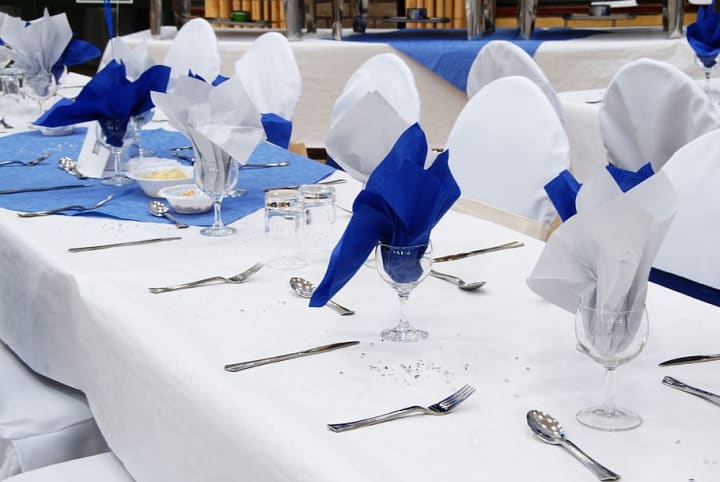
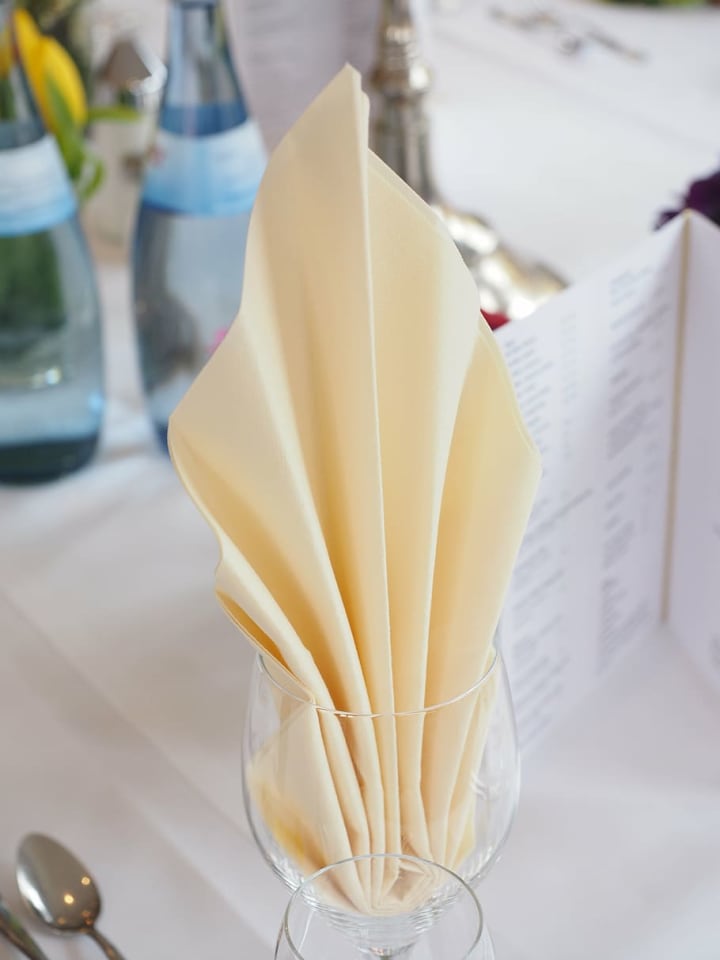
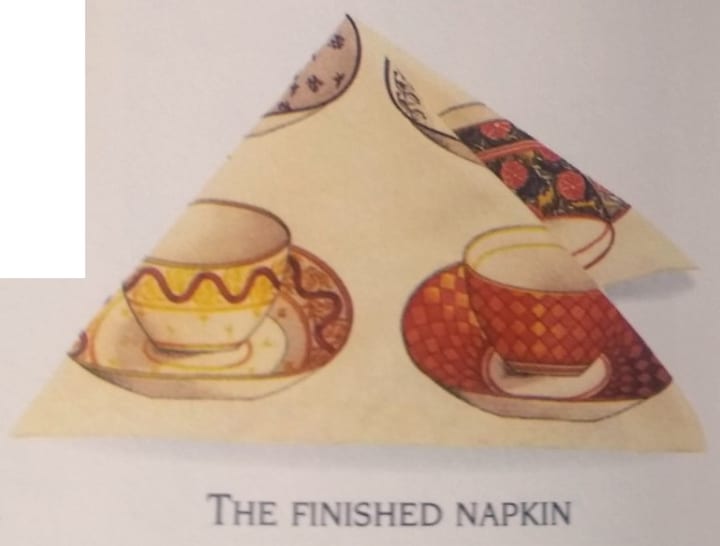
Below are images of many different types of table napkins:

Plain Napkins
When choosing fabric for small napkins, consider using offcuts from other soft furnishings. Napkins can be made to any size, but should be no smaller than 30 cm (12 in) square.
When cutting out, make sure to match the grain of the fabric and the corners perfectly square. To make up this simple napkin, use suitable fabric and the basic sewing kit.
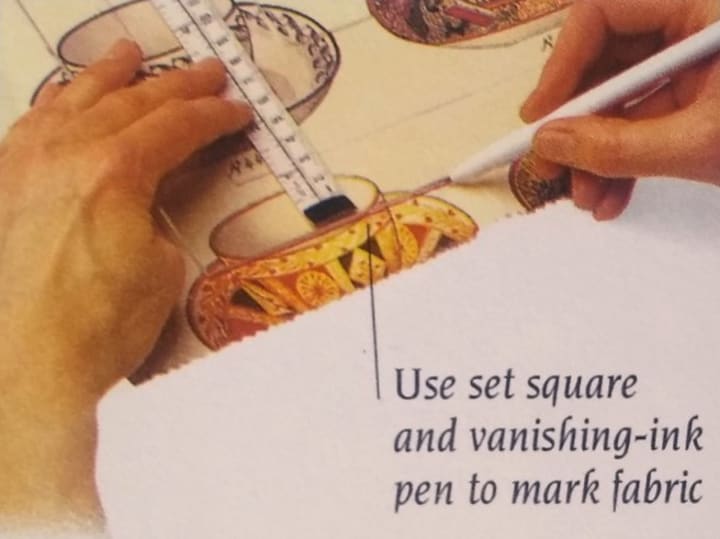
1. Marking Fabric: Mark the fabric to the required size, adding an extra 3 cm (1 1/4 in) to each side for turning double hems. Make sure that you achieve a perfect square.
Safety Notice
As there are people out there who are just beginning on their journey of complete home furnishing. I would advise taking great care when it comes to dealing with sharp knives, scissors and especially pins.
2. Trimming Corners: Fold a 1.5 cm (5/8 in) double hem on all sides, and press. Unfold edges. Mitre corners along first fold line, and press. Unfold corners. Cut across each corner.

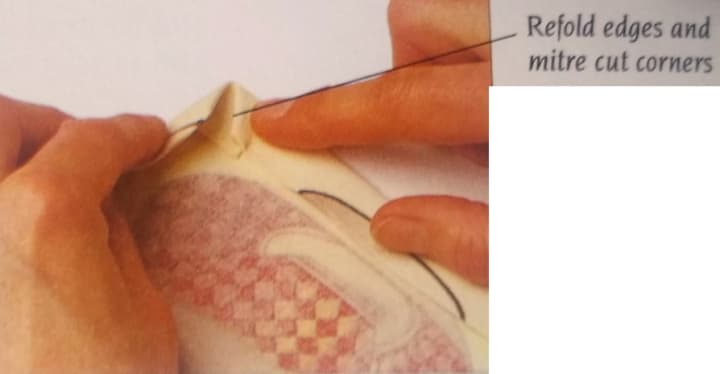
3. Folding Mitre: Refold edges and finish mitring corners. Slipstitch hems and mitres, or topstitch using a sewing machine. Press the napkin before use.
Napkin with Bound Edge
For this technique, you will need napkin fabric, edging fabric, and the basic sewing kit. Cut a square piece of fabric to the size required. Cut two binding strips to the length of the napkin, adding 2 cm (3/4 in) for turnings, by double the depth of the edging required.
Cut two more binding strips to the length of the napkin, plus 4 cm (1 1/2 in), by double the edging depth required. Fold and press 1 cm (3/8 in) turnings to the wrong side along the long edges of the binding strip.
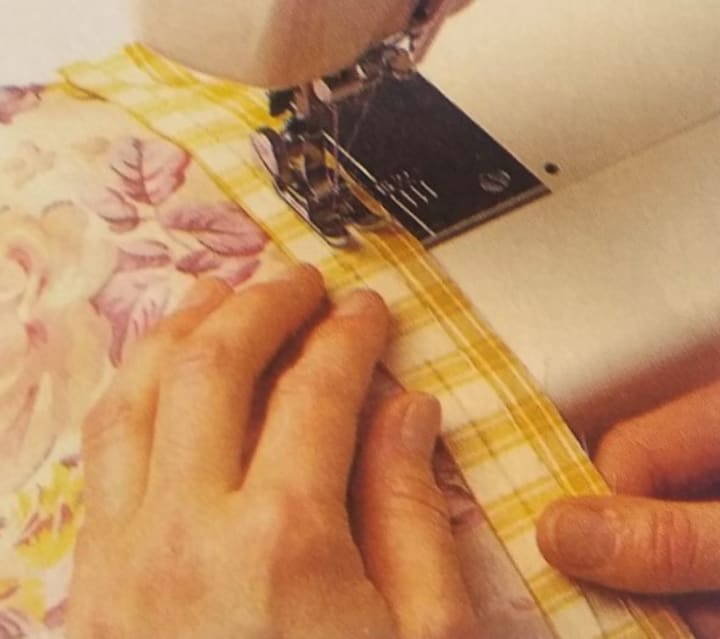
1. Attaching Binding: Open out the binding strips. Place the shorter binding strips on two opposing napkin edges, right sides together. Match the raw edges. Pin, tack, and sew along fold line of binding seam allowance. Press seams open.
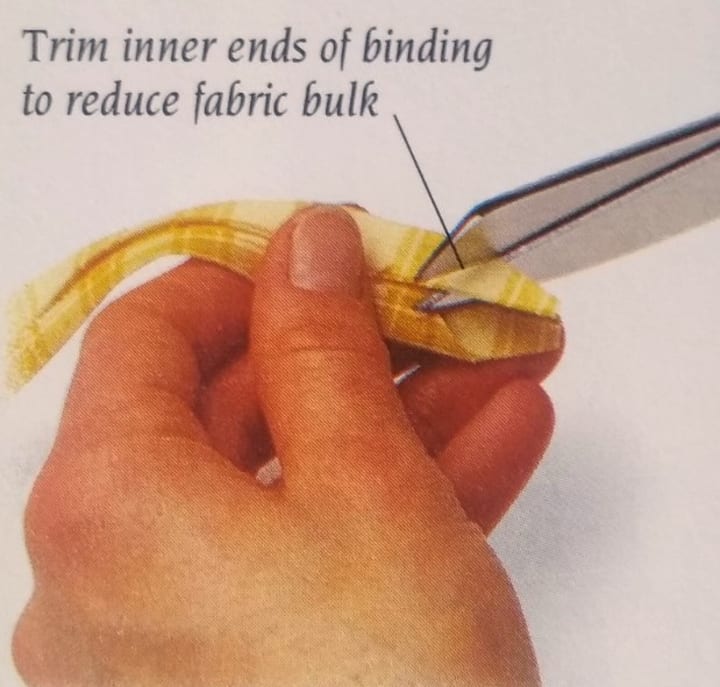
2. Trimming Binding Ends: To reduce the binding fabric bulk, trim the 2 cm (3/4 in) overhangs at the ends of the longer strips to blunt points.
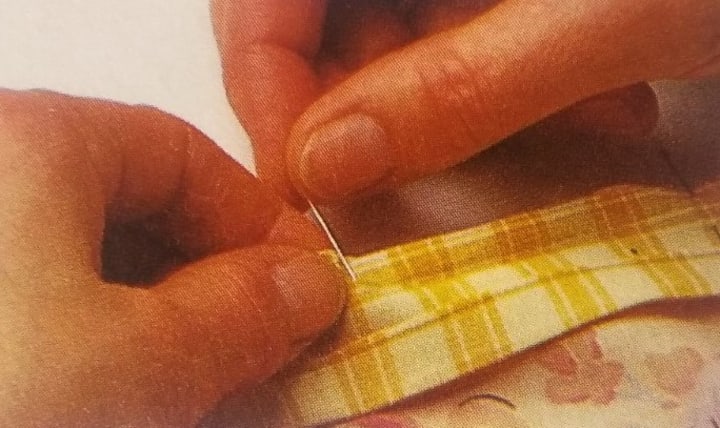
3. Pinning Bindings: Place the longer binding strips on the remaining opposition sides of the napkin, right sides together. Sew them along the binding fold line. Fold the corners inwards and trim the seam allowances.
Fold all strips over the raw edges of the napkin. Pin and tack in place. Slipstitch the binding to the fabric along the bindings folded edge.
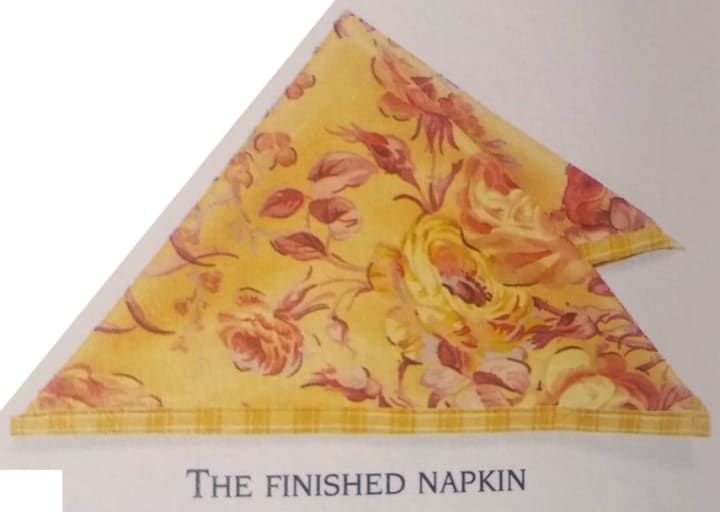
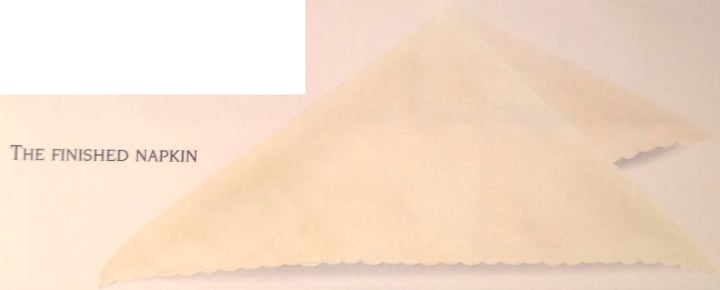
Sheer Napkin with Scallops
This type of scalloped edging is produced using a simple handsewn technique. It works best with light-weight and sheer fabrics. For this technique, you will need light-weight or sheer fabric, and the basic sewing kit.
cut out the fabric to the size required, adding 1.5 cm (5/8 in) all around for the scalloped hems.
Safety Notice
Where silicon padded gloves if necessary and make sure you use a pin cushion for all your collection of pins. Stay away from the fireplace in your house, as the majority of the fabrics are highly flammable.
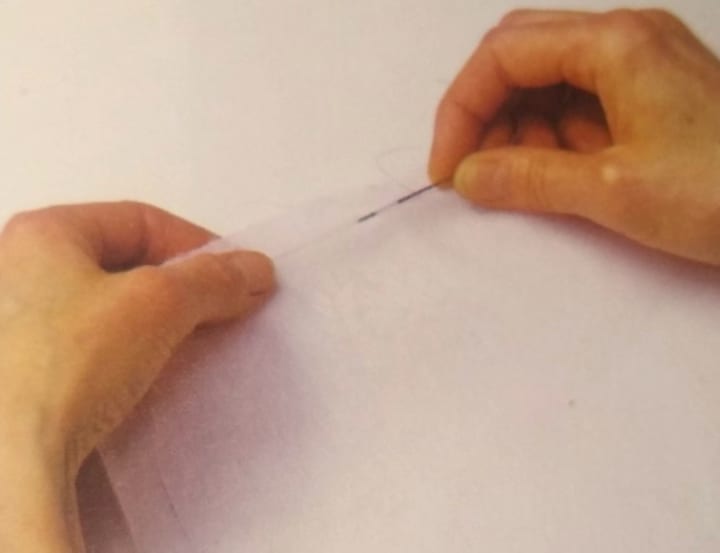
1. Tacking Hem Line: On the wrong side of the fabric, use a vanishing-ink pen to mark the hem line 1.5 cm (5/8 in) from the edges. Tack along the line. Fold each edge twice to meet the tacking line, and press.
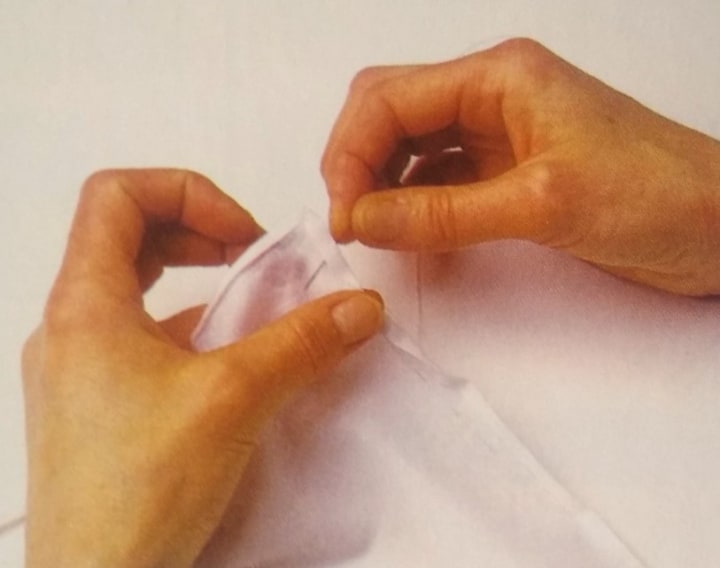
2. Securing Corners: Starting at one corner, over-sew across the corner, securing it to the wrong side of the fabric with four or five stitches.
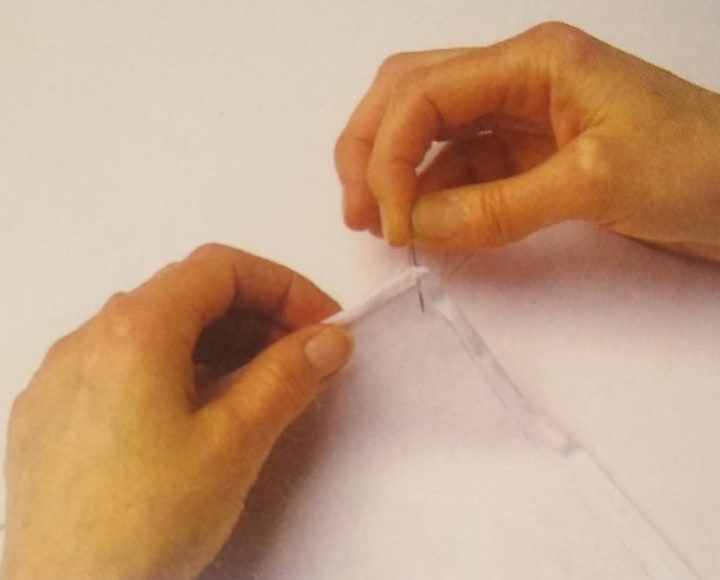
3. Beginning Scallop: Insert the needle at the outer edge of the hem near the corner. Push the needle diagonally to the inside of the hem. The wider the diagonal, the larger the scallops will be.
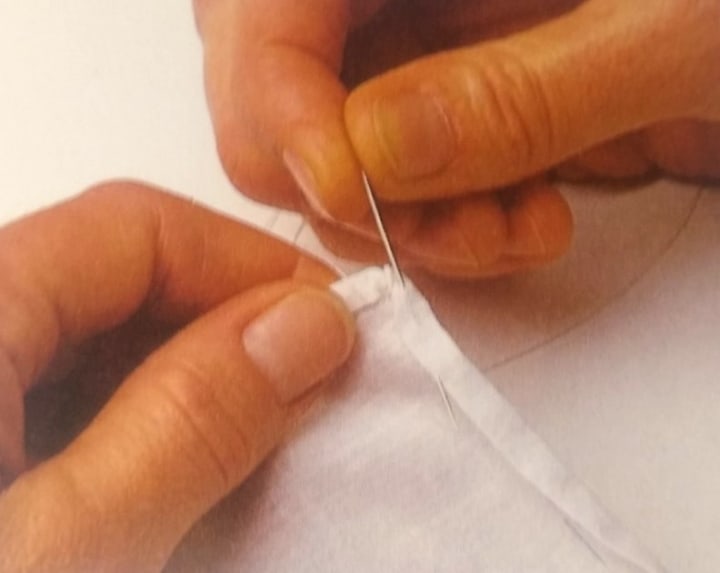
4. Stitching Hem: Over-sew the hem and insert the needle perpendicularly to the edge. Push the needle through to the inside of the hem, so that it emerges at the same exit point as in step 3.
5. Finishing Scallop: Over-sew the hem again, exiting from the same inside point, to form a scallop. Make one blanket stitch to lock in thread. Continue the hand-sewing process along the edge of the napkin, and the remaining sides. Over-sew each corner with four or five stitches.

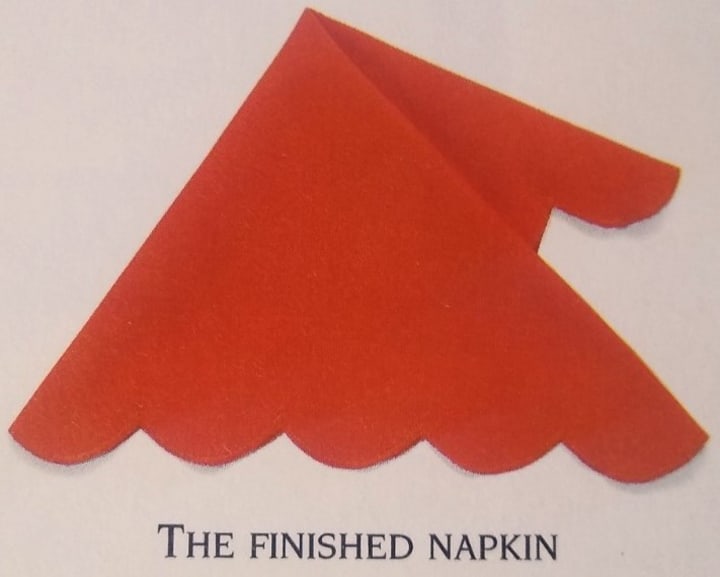
Cut Scalloped Napkin
You will need medium-weight fabric and the basic sewing kit. Cut the fabric to size, allowing 2 cm (3/4 in) extra for the edging. Make a paper strip 5 cm (2 in) wide by the napkin length. Fold the paper into sections equal to each scallop length.
Draw a curve on the paper perpendicular to the folded edge. Cut along the curve and unfold pattern. Pin the pattern to one edge of the fabric. Draw the outlines of the scallops. Mark the outlines on the remaining three sides of the fabric.
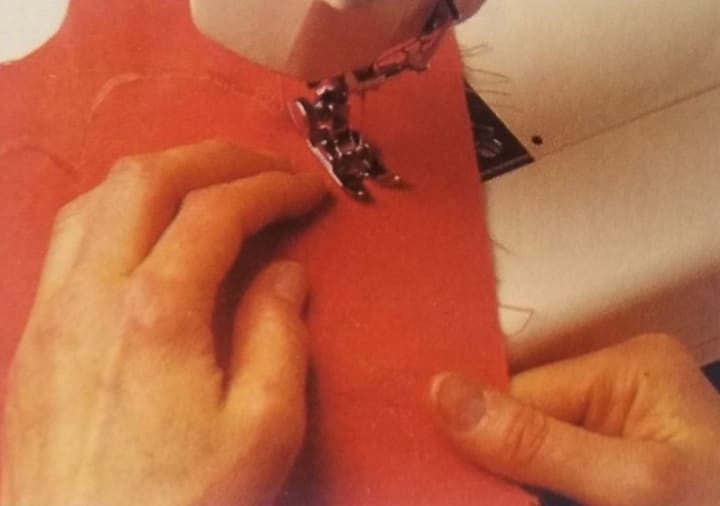
1. Stitching Scallops: Topstitch along the scallop lines to prevent the fabric from stretching. Machine sew a close zigzag along the marked lines to border the edges of the scallops.
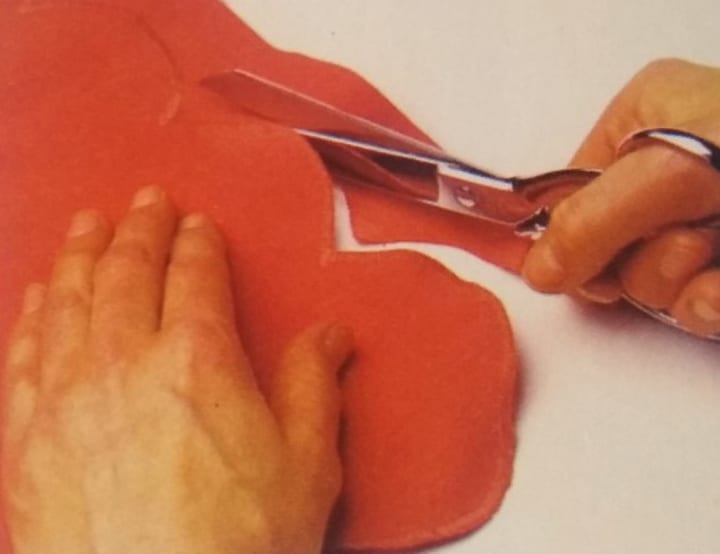
2. Trimming Excess: Carefully cut away the excess fabric close to the zigzag stitching line. Press the napkin before use.
About the Creator
Temoor Dar
💡Topic: Entrepreneur and Writer💡
♟️Hobbies: Traveling, Poems, Playing Chess and Solving Puzzles♟️
🎂Born: July 7, 1991🎂
📍Born in Stockholm, Sweden, and now a Londoner since 1996📍
📚Lifelong Learner📚
🌟Wisdom from Mentors🌟
Enjoyed the story? Support the Creator.
Subscribe for free to receive all their stories in your feed. You could also pledge your support or give them a one-off tip, letting them know you appreciate their work.
Keep reading
More stories from Temoor Dar and writers in Lifehack and other communities.
25 tactical techniques in chess that all players should know
Well-known chess master Richard Teichmann once said that chess is 99% -tactics. Of course, some players may disagree with this percentage, but it is unlikely that anyone will challenge the significance of chess tactics. Acute tactical vision allows chess players to see more opportunities, reduce the number of their own misses, play beautifully and improve the overall score.
By Temoor Dar4 months ago in Lifehack
Embracing Minimalism: The Art and Benefits of Decluttering
In an increasingly fast-paced and consumer-driven world, minimalism has emerged as a powerful antidote, offering individuals a pathway to simplicity, clarity, and intentional living. At its core, minimalism is not just about getting rid of physical clutter but also about fostering a mindset that prioritizes what truly matters. Understanding the principles, benefits, and practical strategies of minimalism and decluttering can transform both living spaces and lifestyles.
By Nicola Shaw7 days ago in Lifehack


Comments
There are no comments for this story
Be the first to respond and start the conversation.