
How to Choose Pavers That Hold Up in Sydney Outdoor Areas
A practical guide to drainage, prep, and paver choices
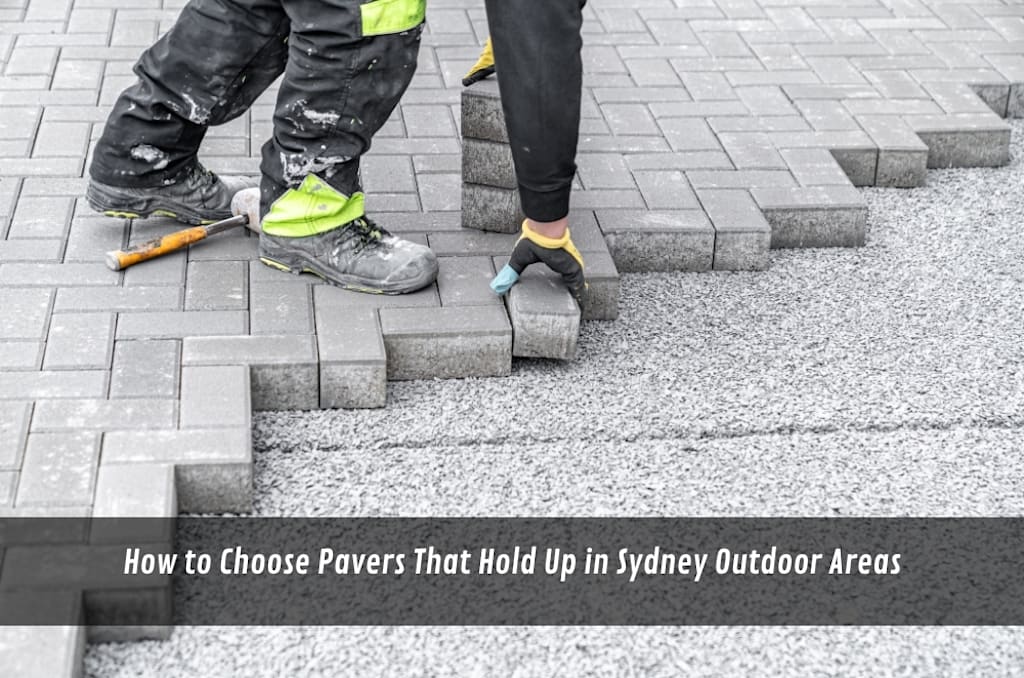
Outdoor paving looks straightforward, but the outcome is decided early. In Sydney, sudden downpours, sharp sun, and damp, leafy corners quickly expose weak drainage, rushed compaction, and slick finishes. The goal isn’t a “perfect” brochure look—it’s a surface that suits the block, the traffic, and the cleaning you’ll actually do, and still feels solid years later.
Start with what the surface must handle
Before colours and patterns, decide what the area is for.
A side path that only sees foot traffic is one thing; a courtyard that hosts weekend lunches, bins, and the occasional trolley is another.
Walk the space like you already live with it.
Where do people cut corners? Where will furniture drag? Where does water land when it’s bucketing down?
Also be honest about access.
If everything has to be barrowed through a narrow gate, you’ll feel it in the labour and the timeline.
Choose materials for conditions, not trends
There’s no “best paver,” only a better match for your site and habits.
Concrete pavers are common for a reason: range, availability, and predictable sizing. The catch is that quality varies, and some finishes show wear or staining faster than you’d expect.
Clay pavers can look great as they age and often carry colour well, but edges and faces still need to suit the level of use.
Natural stone can be a showpiece, yet it brings variability—some pieces grip better than others, and maintenance can be more hands-on in shaded areas.
Porcelain is appealing for low porosity and easy wipe-down, but it isn’t forgiving: it needs correct installation and a stable substrate, otherwise it telegraphs movement.
If you’ve got heavy shade or tree litter, prioritise a finish that won’t turn into a slip-and-mould magnet.
If you’ve got full sun, think about heat underfoot and glare, not just colour.
The hidden work is what makes paving “feel” good
When people dislike their paving, it’s often not because of the paver.
It’s because the surface moves, puddles, or looks grubby in the spots that matter.
The system is: excavation depth + base + compaction + drainage + edging + joints.
Miss one, and everything above it has to fight.
Common mistakes (the ones that keep coming up)
- Uneven excavation so the base thickness changes across the area.
- Compaction that’s rushed or inconsistent, especially if material is too wet.
- Edges without restraint, which lets the field creep outward over time.
- Drainage treated as an afterthought, creating low points that hold water.
- “Weed-proof” expectations, when most weeds arrive as wind-blown seeds in joints.
- A too-smooth finish, which can be a problem the first time kids sprint across it wet.
Good paving looks calm because it behaves calm.
That’s the difference between a surface you forget about and one you keep noticing.
Decision factors that save rework later
A few choices make everything else easier.
DIY vs contractor: a short, straight garden path with clear fall and easy access can be a reasonable DIY project. Once you’re dealing with steps, tight courtyards, vehicle loads, drainage changes, or tricky levels near doors, experienced installation becomes less a luxury and more a risk-control move.
Budgeting: don’t price the job like it’s only pavers. Include excavation, disposal, base material, compaction, drainage, edging, and whatever needs restoring around it (turf, garden borders, gates).
Timing: wet weeks can stall prep, and “pushing through” on damp ground often shows up later as settlement or rocking.
Maintenance reality: light colours and crisp patterns can look brilliant—until they sit under trees. If you won’t clean it regularly, choose a finish and tone that forgives real life.
If a quick reference would help you compare finishes, prep steps, and practical constraints, the quality pavers for outdoor upgrades can be a helpful starting point.
A simple 7–14 day plan that keeps you out of trouble
You don’t need months of planning, but you do need the right order.
Days 1–2: watch how water behaves. Check downpipes, runoff lines, and any corner that stays dark and damp.
Days 3–4: confirm finished levels at doors and thresholds, then decide where water is meant to go.
Days 5–7: shortlist two finishes and judge them like a pessimist: heat, grip when wet, and how they’ll look after leaf litter.
Days 8–10: pick a layout that doesn’t create needless cuts; lock in edges and transitions (lawn, beds, drains).
Days 11–14: get costings that spell out base depth, compaction approach, drainage scope, and disposal—then adjust design choices, not the groundwork.
Operator Experience Moment
People often spend days on a colour blend and minutes on the fall and edges.
Then the first big rain arrives and the low spot announces itself.
When paving starts rocking, it’s rarely fixed with a “quick patch”—lifting and rebuilding sections is common.
Planning drainage and restraint early is boring, but it’s the part you’ll appreciate every time you walk across it.
Local SMB mini-walkthrough: a Sydney courtyard refresh
Inner-west courtyard, part shade, downpipe near the back door.
Set finished levels at the threshold first, then run fall away from the house.
Choose a grippy finish that won’t punish you for leaf litter and damp patches.
Keep the pattern simple to limit cuts in a tight-access space.
Install edge restraint early so the perimeter doesn’t creep.
Agree on upkeep: sweep weekly, rinse after storms, spot-clean organics quickly.
Practical Opinions
Spend money on prep and drainage before you spend it on looks.
Texture beats trend when you’re dealing with wet feet and shady corners.
Simple layouts usually age better than clever patterns.
Key Takeaways
- Match pavers to your constraints: water, shade, heat, and traffic.
- Base prep, compaction, drainage, and edge restraint decide durability.
- Price the full system, not just the visible surface.
- Plan in the right order over 7–14 days to avoid lifting and relaying.
Common questions we hear from Australian businesses
Do we need to seal pavers for a commercial entry?
Usually sealing is optional, but it can help with staining where food, coffee, or leaf litter is common; the next step is to choose the finish first, then ask what cleaning looks like in your shadiest spots. In many Sydney courtyards, damp corners encourage algae, so traction and cleaning matter as much as appearance.
What causes puddles after a new paving job?
In most cases it’s a fall issue (not enough slope, or a subtle low point) and sometimes runoff from a downpipe hitting the surface; the next step is to map water flow during a proper downpour and confirm where it’s meant to exit. Sydney storm bursts don’t forgive “nearly flat” work.
Can we reduce weeds without constant chemicals?
It depends on your joints, jointing material, and how much organic debris lands on the surface; the next step is a sweep-and-rinse routine plus a jointing approach suited to your layout. In leafy Sydney streets, seeds arrive constantly, so prevention wins.
Is porcelain too slippery outdoors?
In most cases it’s safe if the slip rating and texture suit wet areas; the next step is to see the product wet and check it against how the space is used (pool, café entry, shaded courtyard). In Sydney’s humidity and sudden rain, wet traction should be treated as a core requirement.
About the Creator
Enjoyed the story? Support the Creator.
Subscribe for free to receive all their stories in your feed.
Comments
There are no comments for this story
Be the first to respond and start the conversation.